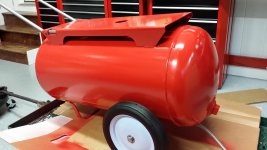
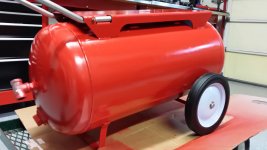
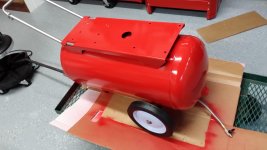
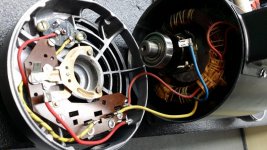
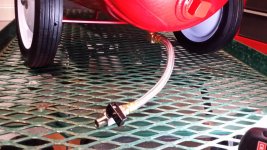
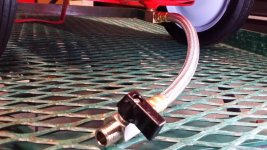
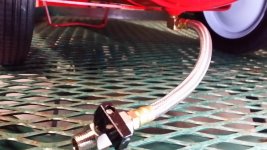
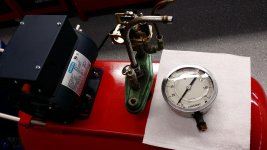
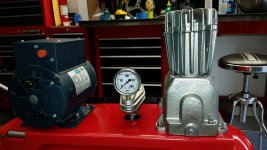
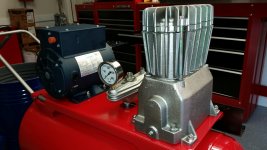
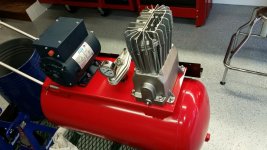
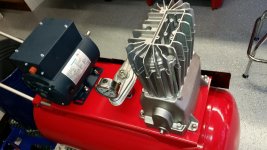
So I finally did get that compressor and today was the first day I had time to check it out and test it. Simply installed a quick connect and it works great, no other repair required
")
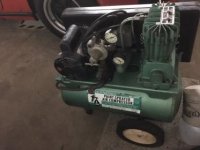
I'll get back with some pictures and further test results tomorrow. Preliminary results indicate it produces air above original specifications of 7.4 SCFM@90PSI and fills the tank faster than my first one by about 10%
Tests conducted at
- 400 meters altitude (94% sea level atmospheric pressure)
- 15C
- 90% Humidity
- after 2 full cycles (pump warm)
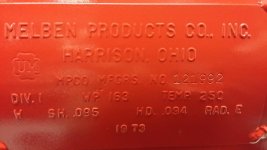
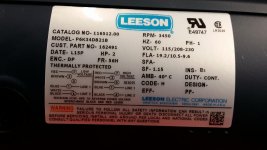
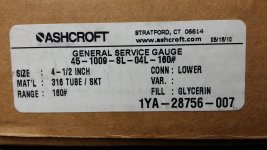
- Tank is 20 US Gallons (2.67 CuFt) (this compressor is rated at 125PSI, my older 100)
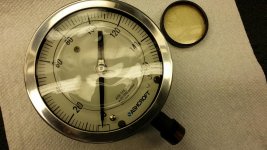
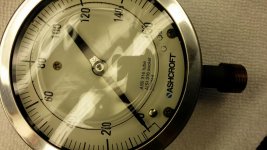
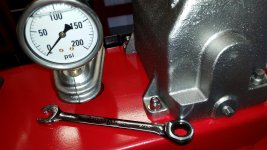
- Pressure measured with two different gauges at the same time, <5% difference between the two, averaged.
Time to refill tank from empty to 120PSI: 138s (2 minutes 18 seconds)
Time to fill from 80PSI to 100PSI (maintaining 90 PSI working pressure): 25.6 seconds
I'm going to check my math tomorrow, but it would seem to indicate this compressor produces closer to 8 CFMs
If in the meantime you would care to comment and check with yours (this is the 2HP model with the 2.5" or so pulley), I'd love to know what figures you are getting
Sent from my Lenovo TAB 2 A10-70F using Tapatalk 2