Re: Mr. Roboto's Garage Makeover
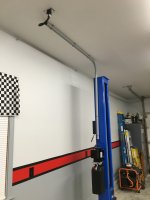
They like to drill all the way through so if an anchor doesn't bite they can just drive it out the bottom and use an epoxy anchor in the same hole.
Sent from my HTC6525LVW using Tapatalk
They like to drill all the way through so if an anchor doesn't bite they can just drive it out the bottom and use an epoxy anchor in the same hole.
Sent from my HTC6525LVW using Tapatalk


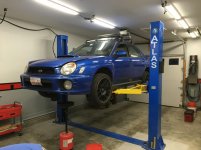


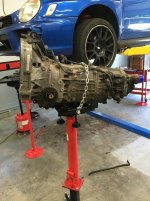
 Nice work!