bulletpruf
Well-known member
A few buddies and I are building a roached '72 Javelin into a race car for the 24 Hours of Lemons. I ordered a cage from Rollcage Components; highly recommended by the Lemons folks. Should be here on Tuesday.

Plan is to build it on plinth boxes and then remove the plinth boxes to weld the top of the cage. FYI - I have a caged '71 Javelin in my shop as well, and the cage will be fairly similar to it.
Anyway, I can weld, as can a few of the others, but this will be the first cage that any of us have built.
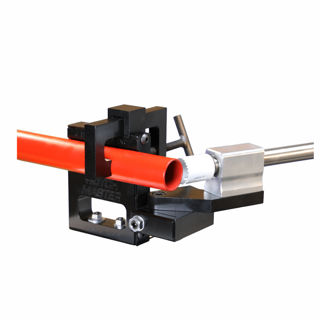
First things first, what cage-building specific tools should I have on hand?
Also, I ordered floorpan patch panels; this weekend I hope to get patches installed so that's done before we start with the cage install. Passenger side front is the worst.

Thanks,
Scott
Plan is to build it on plinth boxes and then remove the plinth boxes to weld the top of the cage. FYI - I have a caged '71 Javelin in my shop as well, and the cage will be fairly similar to it.
Anyway, I can weld, as can a few of the others, but this will be the first cage that any of us have built.
First things first, what cage-building specific tools should I have on hand?
Also, I ordered floorpan patch panels; this weekend I hope to get patches installed so that's done before we start with the cage install. Passenger side front is the worst.
Thanks,
Scott