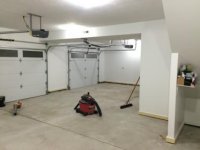
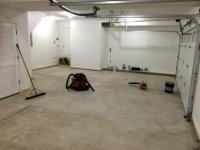
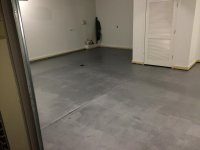
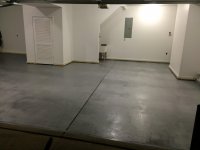
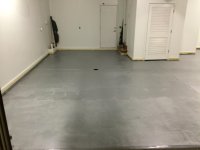
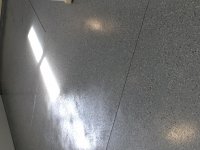
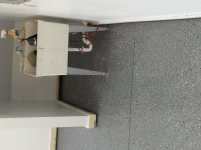
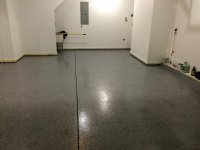
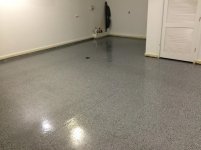
I have attached the pictures after rolling on the 1st coat of RB.
So to be clear I will start from the beginning. I wanted to coat the floor more for looks than for anything else. I work in the garage mostly detailing my cars and doing small projects like changing oil on my mustang and doing routine maint on my ATV. I recently ordered some new cabinets from NewAge and decided to do the floor and be done with the garage.
1. I swept out the floor after emptying the garage with a push broom followed by using my leaf blower creating lots of dust in the air. I then let the garage sit for an hour so the dust would settle and I followed up with sweeping the garage again.
2. I pretreated all known oil spots and heavy dirt areas by soaking with simple green and then scrubbed with a stiff bristled deck brush. I rinsed the area with water so the solution didn't dry. I also didn't dilute the All purpose cleaner/degreaser as I wanted max effect. After rinsing the floor I then sprayed a 50/50 simple green water mixture over the entire floor and scrubbed with the deck brush as to get as much clean as possible.
3. After cleaning the floor I rinsed and followed this with another spray down with simple green and began power washing the floor. This was slow as i held the tip fairly close to get as much dirt and grime out as possible. The floor looked much better after power washing.
4. After letting the floor dry I then decided I needed to Acid Etch to be sure there was not a sealant on as the water would penetrate but seemed to do so slowly. Off to the hardware store. Bought 10 Gallons. (They looked at me sort of funny). I then etched the floor and I am glad I did as this made the floor look much better and made me feel better moving forward with the RB.
5. After rinsing the floor I decided to spray 50/50 simple green and water over the floor and powerwash again. This went quickly as when the washer was no longer making suds I moved to the next area.
6. Floor dried for 4 days and then I tackled the crack across the 2 car bay(original before the addition of the 3rd bay). I decided to grind out the crack and use Rustoleum 2 part epoxy crack repair as I have used it in the past and it worked well. The only mistake i made up to this point was not using the backer rod or silica sand to pre-fill the crack. This resulted in a trip to the hardware store for a second batch to fill the crack a second time. This sat for 2 days as I wanted epoxy to cure before grinding smooth.
7. I purchased the diamabrush 4.5" for my Dewalt grinder and grinder the filled crack. After looking at the area that was filled you could tell that it was not as smooth as the rest of the concrete. Not sure if its my inexperience or if that is normal results for a hand held diamabrush.
8. Sweeping/blowing the dust out. The grinding created a great deal of dust. I swept and used my leaf blower about 5 times the day before i planned on coating the floor.
9. Day of final prep. I used my shop-vac with floor attachment and a filter for drywall dust and swept the entire floor. Then I swept it out again. I think it was as dust free as I could do.
10. Install first coat. This process to about 3hrs from start to finish by myself. Since I was doing it alone I decided to edge/cut in the entire garage first and not worry about having lines show since it it my garage and most wall space will be covered. You can see in the pics that I have trim around the entire garage and some block wall between 4"-6" on the side walls. I used a small paint brush because the chip brush in the kit was too big. Worked just fine..
Rolling the RB. This rolls on just like paint the 825sqft took about 2 hours to do the first coat from start to finish. I found it very difficult to keep roller marks from showing and was a little scared that this product wasn't what I thought. However, the 2nd and 3rd coats went much better.


 Looking forward to the project pics!