sammer
Active member
This is a copy of a post I made elsewhere a couple years ago, but thought I'd share it here.
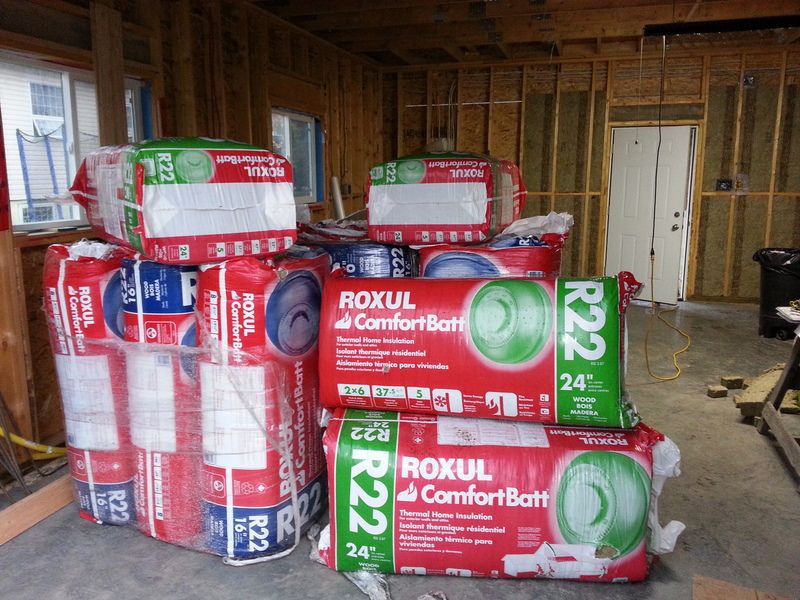
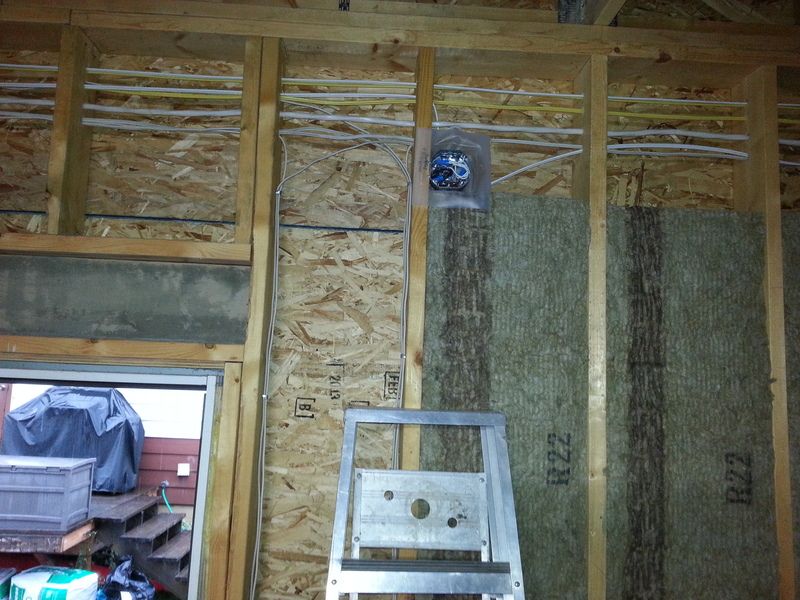
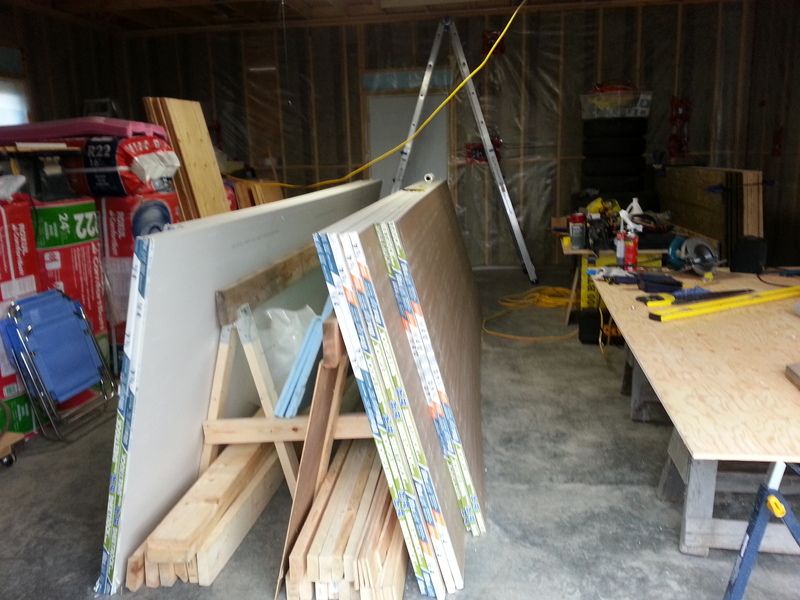
I've since made a bit of progress and will try to get pics together and update it soon.
Since buying our house 12 years ago we've been talking of building a shop in the back yard.
Our alley is one of the few in town that gets plowed in the winter. (to service the dumpster for the condos behind) City water lines are too shallow and need the insulation of the snow so they don't freeze in the winter.
Got a decent tax return to beef up my savings account and decided it was time.
Had the backhoe come in and start moving dirt. Had to find mineral soil, my yard was a vegetable garden for close to 100 yrs so had to go down a fair bit.

The alley was close to 2' higher than the yard so had to bring in a lot of fill. I think the end tally was, 6 truck loads of pit run, 1 load of 3" crush, and 1 of 3/4 crush.
Top of the new slab is 4" above the alley now.
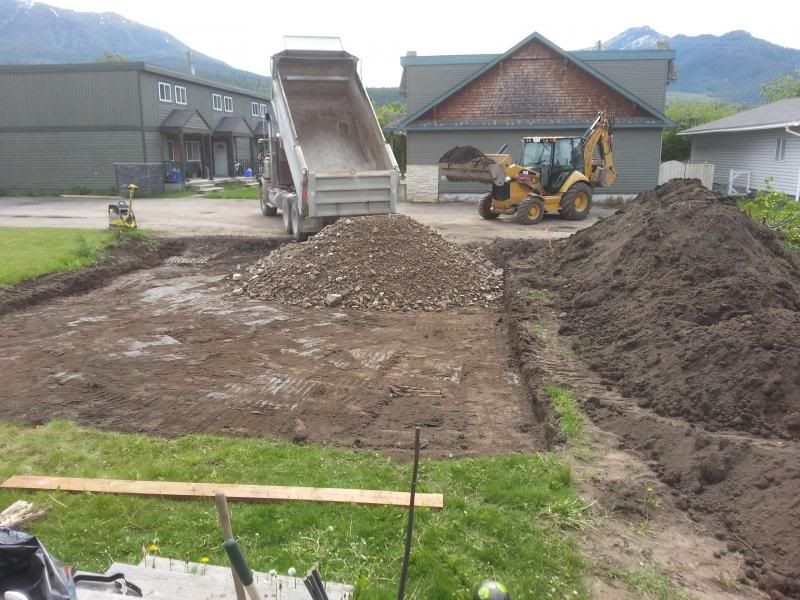
Got it all formed into shape and ran the rented compactor for the last time to get the final pad laid out.

Concrete forms in and rebar bent and tied. Waiting for the concrete truck.

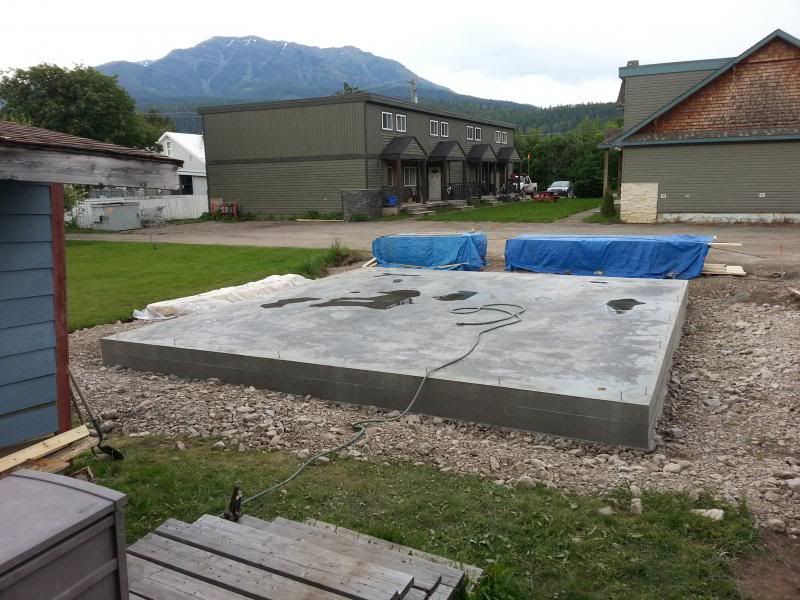
Had to work the day the concrete arrived so missed the pour and float photos. But got pics once the forms were removed. Nice solid slab 5" of cement in the main slab, reinforced edge is 14" wide at the bottom and 17" thick.
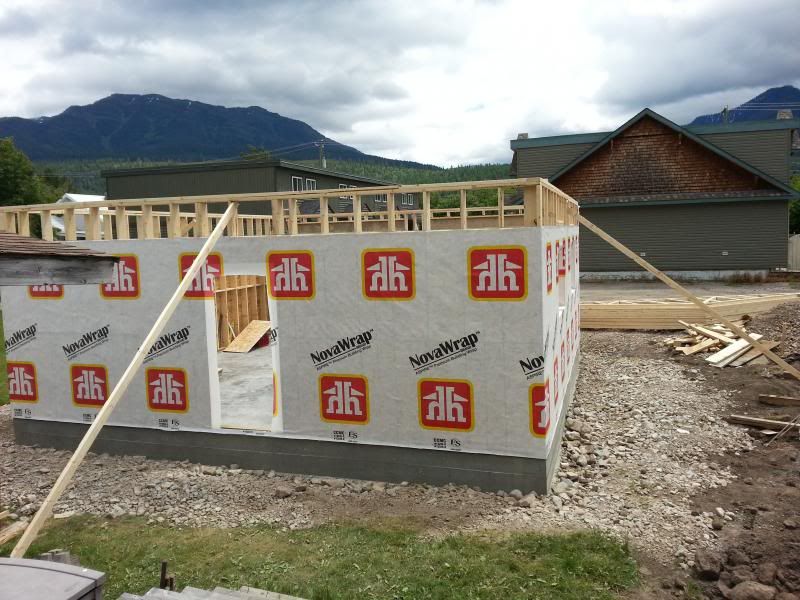
Time for framing. Let me say now I had to hire a contractor to do 90% of this entire job as I work way too much.

Walls are up and trusses are here. Fernie requires 98lb/sf snow load so engineered trusses are the only way to go.
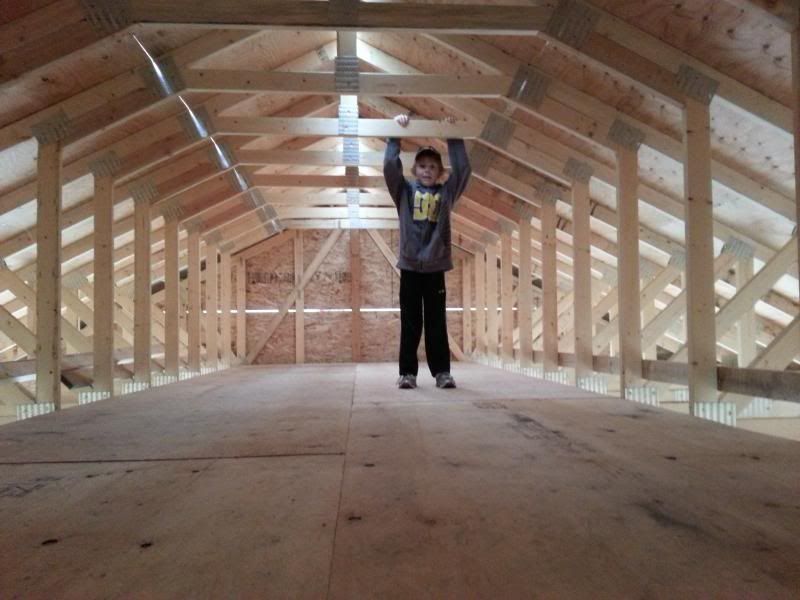
Went with storage trusses so I could have a bit of attic space. Attic area is a bit over 41/2' high by 8' wide 22' long.

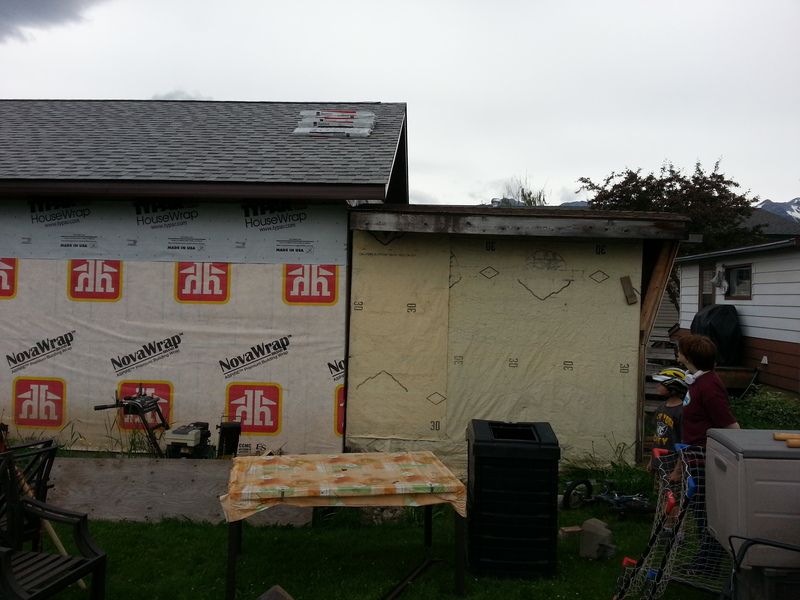
Windows and garage doors are in, roof is on (did that with a buddy one morning)


And there it sits, my wallet has bled out and waiting for a transfusion.
Final size is 24' wide by 26' long, walls are just shy of 10' wanted to go 10 but building height restrictions made it a few inches shorter.
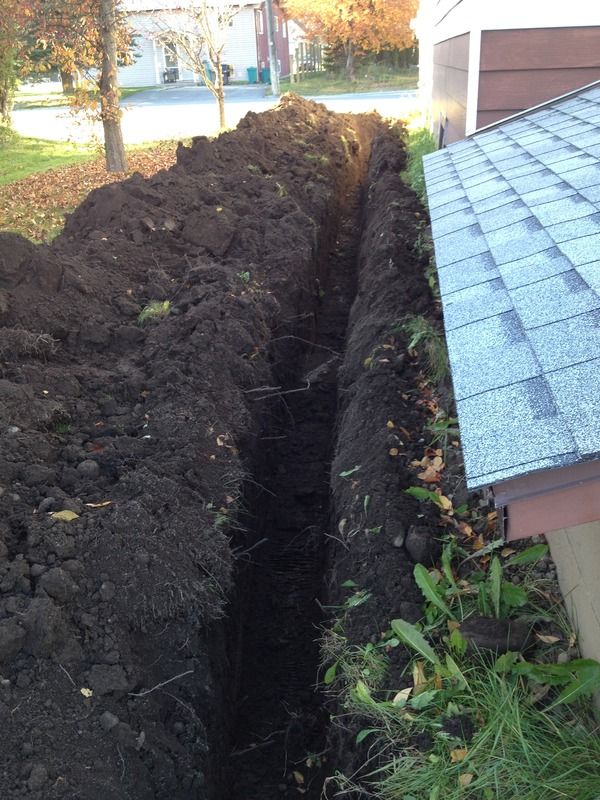
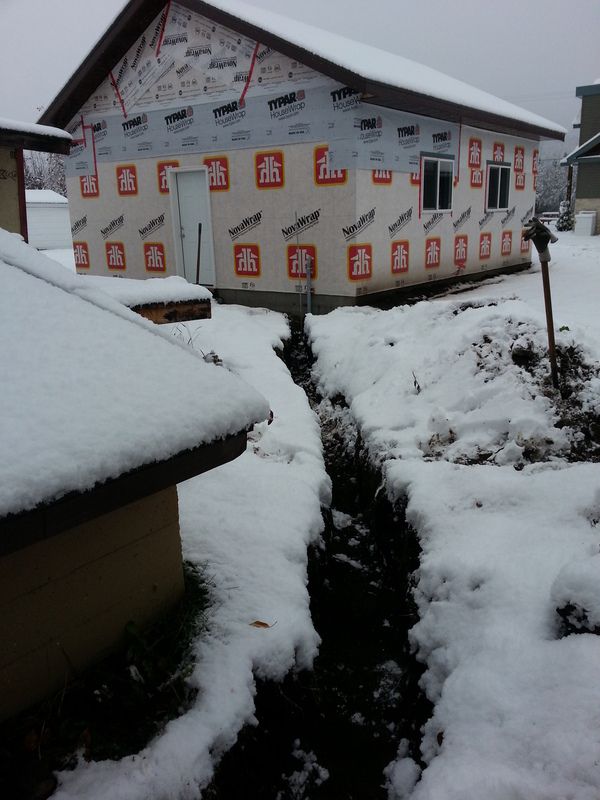
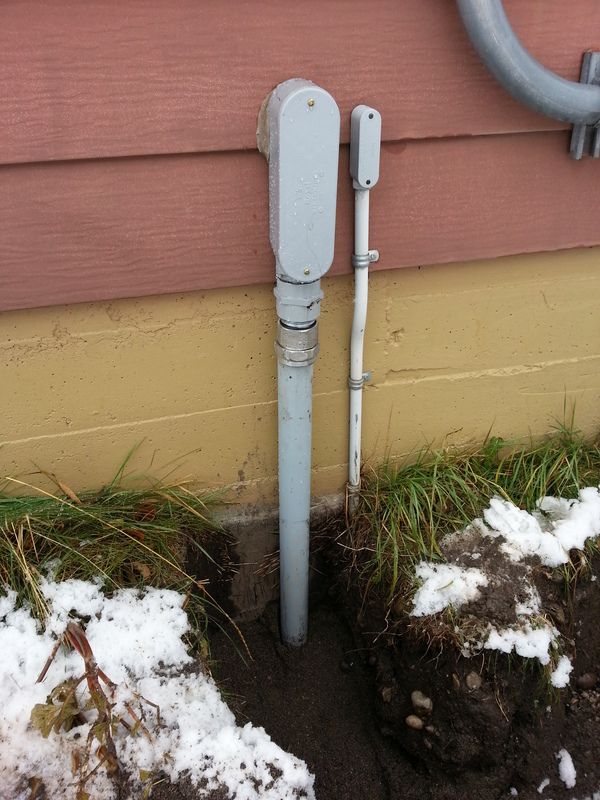
Got electrical stuff ordered this week and should be able to start trenching for the 3c/#2 teck-90 next set off.
Gonna have 100amps, should be enough for all my needs and then some. (my whole house only had 60a until a few years ago when I upgraded to 200a)
Hope to get it done before the snow flys mid next month, but probably not gonna get finished until next spring realistically.
(This definitely didn't happen, still a work in progress. I'm doing it all myself in my spare time and work way too much at the day job)
As I said, I will post more recent pics and update when I can get pics sorted and uploaded
sam
I've since made a bit of progress and will try to get pics together and update it soon.
Since buying our house 12 years ago we've been talking of building a shop in the back yard.
Our alley is one of the few in town that gets plowed in the winter. (to service the dumpster for the condos behind) City water lines are too shallow and need the insulation of the snow so they don't freeze in the winter.
Got a decent tax return to beef up my savings account and decided it was time.
Had the backhoe come in and start moving dirt. Had to find mineral soil, my yard was a vegetable garden for close to 100 yrs so had to go down a fair bit.
The alley was close to 2' higher than the yard so had to bring in a lot of fill. I think the end tally was, 6 truck loads of pit run, 1 load of 3" crush, and 1 of 3/4 crush.
Top of the new slab is 4" above the alley now.
Got it all formed into shape and ran the rented compactor for the last time to get the final pad laid out.
Concrete forms in and rebar bent and tied. Waiting for the concrete truck.
Had to work the day the concrete arrived so missed the pour and float photos. But got pics once the forms were removed. Nice solid slab 5" of cement in the main slab, reinforced edge is 14" wide at the bottom and 17" thick.
Time for framing. Let me say now I had to hire a contractor to do 90% of this entire job as I work way too much.
Walls are up and trusses are here. Fernie requires 98lb/sf snow load so engineered trusses are the only way to go.
Went with storage trusses so I could have a bit of attic space. Attic area is a bit over 41/2' high by 8' wide 22' long.
Windows and garage doors are in, roof is on (did that with a buddy one morning)
And there it sits, my wallet has bled out and waiting for a transfusion.
Final size is 24' wide by 26' long, walls are just shy of 10' wanted to go 10 but building height restrictions made it a few inches shorter.
Got electrical stuff ordered this week and should be able to start trenching for the 3c/#2 teck-90 next set off.
Gonna have 100amps, should be enough for all my needs and then some. (my whole house only had 60a until a few years ago when I upgraded to 200a)
Hope to get it done before the snow flys mid next month, but probably not gonna get finished until next spring realistically.
(This definitely didn't happen, still a work in progress. I'm doing it all myself in my spare time and work way too much at the day job)
As I said, I will post more recent pics and update when I can get pics sorted and uploaded
sam