

djd99
Well-known member
buying something old brings a lot of things to light
1. there are a lot of great US companies, some of whom are still in business and some of whom that are still in business actually still make things and make them well
- so for example, one of the pictures above (Post #18, middle row, middle) shows the stamped steel tag for the tank mfg - turns out they are alive and well 50 yrs later making tanks for CNG cars and scuba, etc here http://www.pressedsteel.com/
- called SB for a color code to get some paint - turns out they use a company called SP Kish Industries, around since '46, here http://www.kishindustries.com/ , who kindly is sending a swatch since the formulation is theirs and doesn't correlate to something a store could mix
2. How little things change when they are good and correct to start with
- i will call SB with a question and they will fax me over a spec or a schematic from the 80's (or earlier) b/c they have been making it the same way forever
3. How pushing a huge amount of air slowly is a lot easier on the ears then pushing a small amount rapidly
4. How good steel used to be made
- this thing sat out of service for almost 2 years when i bought it - the first (and only) time i fired it up and it went to pressure, about 2-3 gallons of water came out of the bottom - alot - and none of it was rust colored
5. And, like everything else in this world teaches me, how little i know!
OK - enough with the BS and on to some technical questions:
- the cylinder head is stuck to the cylinder b/c the gasket petrified - short of taking a pry bar or screw driver to it (which will gouge the iron), is there another way to get these apart? - heat? - PB Blaster? - any good tips or tricks?
- i am assuming the problem i am having is valves that are stuck open - if it turns out that i can still use the valve train instead of replacing it, what should i use to clean up the varnish and gunk that will be in there? - mineral spirits?
- what should i use to clean out the inside pasages of the pump and the exhaust manifold - when i stick a finger in there there is a bit of an oil film and grime - should i swish it out with mineral spirits? - or a degreaser like simple green? - if the latter, do i need to worry about flash rusting in there?
thanks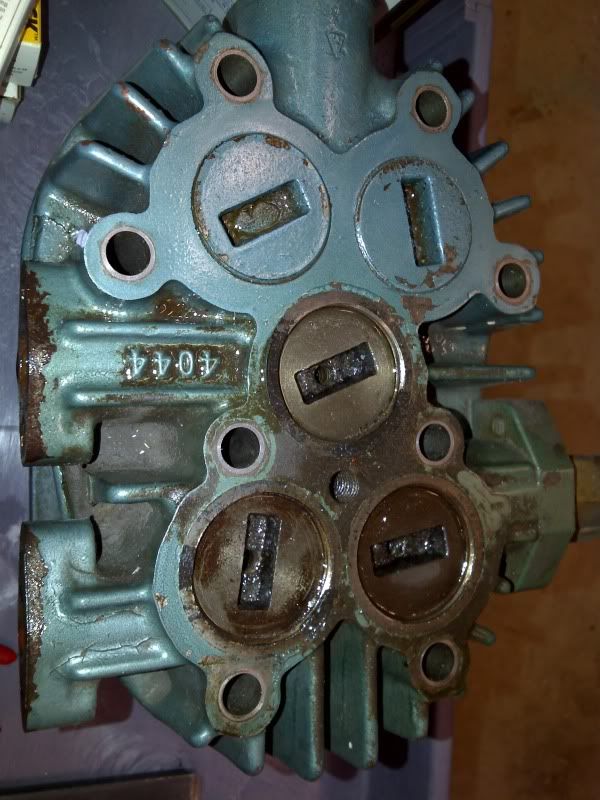


 ...around $80 and up to $170. The plugs on your pump are old style.