TwoInch
Well-known member
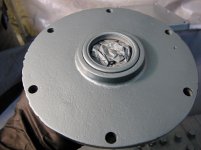
I got the official Saylor Beall paint put in some spray cans for me at a local automotive paint store. It seems to work great and they even put a nice label on it with the Kish paint number. The tank I will have someone come and paint that but I will do everything else with some rattle cans.
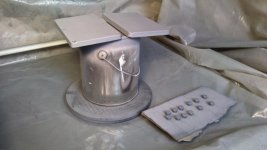
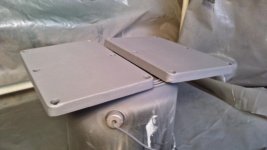
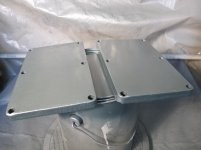
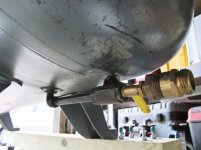
As you can see from the pictures I am having some trouble with some fibers in my paint. I think it is coming from my filter. So it looks like I will cover those up and see if it helps.
Now this is the problem. After every primer coat I will sand it down because it is very rough but every time after I sand there will be some primer that comes off. Do I have to keep going over and over again until this does not happen or can I paint with it like this? Will the paint stick to the surrounding areas and help it bond? The cast metal has too many ridges and valleys and it makes sanding very difficult. It seems like paint will always come off unless I get it very thick but at $16 a can I would really like to use less of this primer. I have been through four cans already.
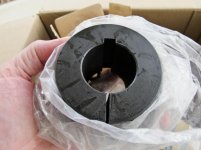
what are the filters for exactly?
sounds like your process is a little messed up. you shouldnt be pulling the primer back off, and really, it should need much sanding at all anyway. you arent looking for a smooth surface with the primer. some people try to make a 'finish" with the primer, but thats not needed, and not what its for.
did you completely clean and degrease the parts before priming? it should adhere really well to clean surface. you also must find the right balance of how thick to apply it, to thin wont work, and to thick will look terrible.
 Oh well, like you said good thing you aren't using it.


 Have you put any thought into what orchestral music you will use to score the "unveiling" YouTube video
 ...it must be something grand!


 Say it ain't so!