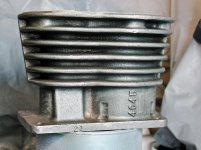
This guy rebuilds a quincy 325 start to finish. I think a lot would be similar to yours minus the valves. Those are a quincy invention.
1/2 a thousandth is really a difference between one surface finish and another and in reality should be speced with a temperature attached. I wouldn't worry about it.
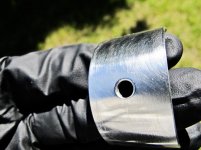
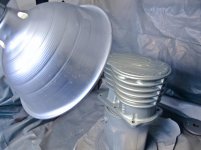
I have some stuff called crankshaft polishing paper, its basically rolls of really fine sand paper ( I got them out of some dumpster during a clean out and they looked old when I got it). But it works great for polishing all kinds of shafting, well almost

Quick google search didn't find where to buy more though.
On the motor starter, I used a soft starter on my lathe. It had a delta-wye connection with all sorts of **** on it originally. I ripped it out and bought a one on ebay for $100. Works great.
Something like this
http://www.eaton.com/Eaton/ProductsServices/Electrical/ProductsandServices/AutomationandControl/ContactorsStarters/SoftStartersControllers/index.htm
Its basically a VFD without the variable speed. Its meant to start a motor with a lot less current and a lot less acceleration. If you have something like a conveyor or similar machinery its a big deal.
I think you can wire them as you would a VFD for 220V operation though I haven't tried. I know it will cut out if one leg of the three phase is lost.


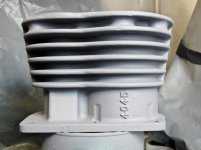
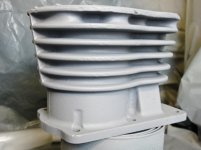
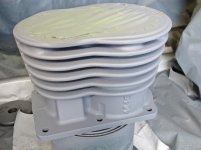


 You must be champing at the bit to bolt everything back together.