Wow! that's really starting to come together. Looking great! I like the way you build your own tooling to 'get it done.' I think I've decided that is the reason I want to get a welder...not necessarily for 'fastening things,' since I primarily use aluminum rivets for that, but to build tooling to fabricate special pieces.
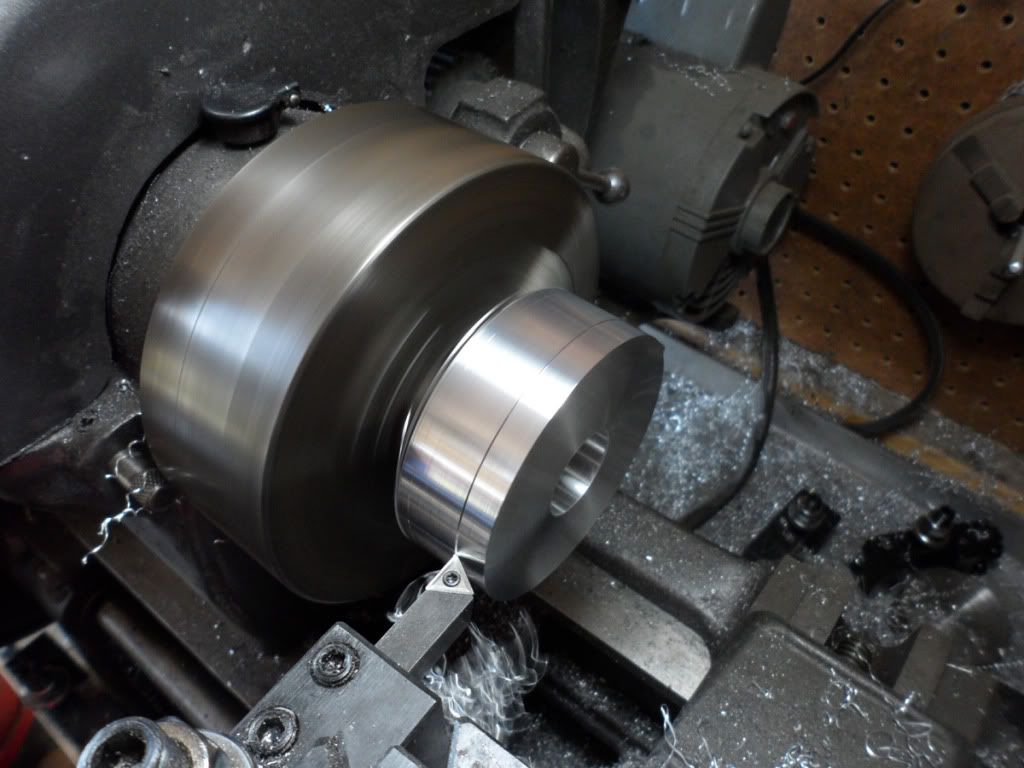
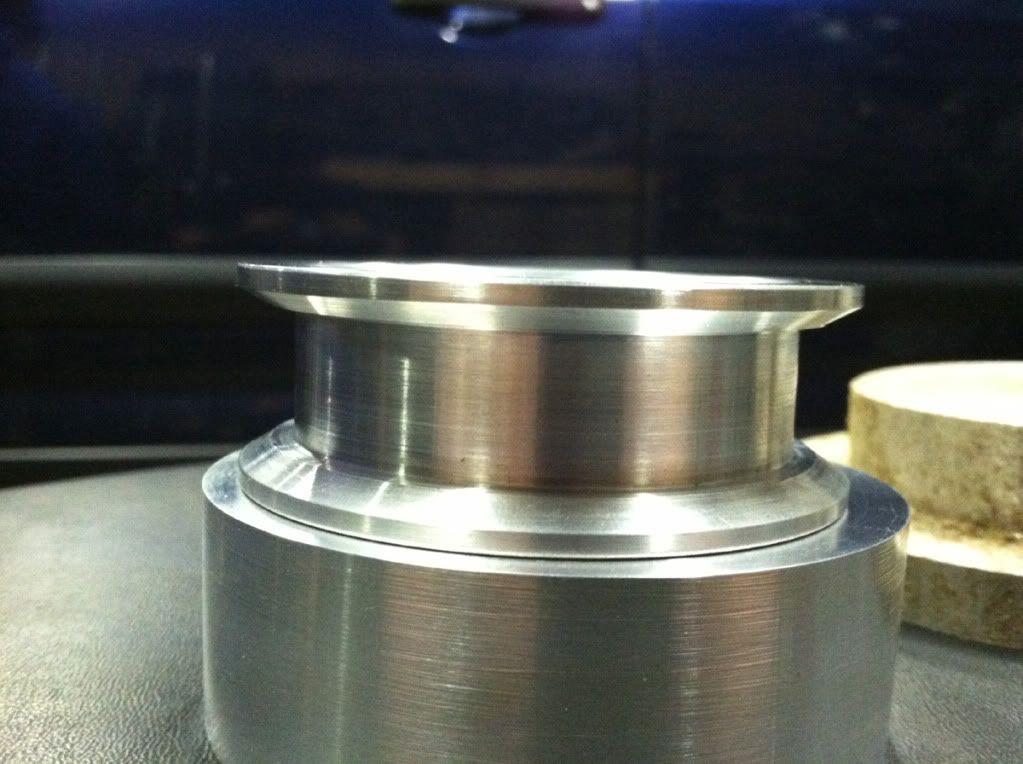
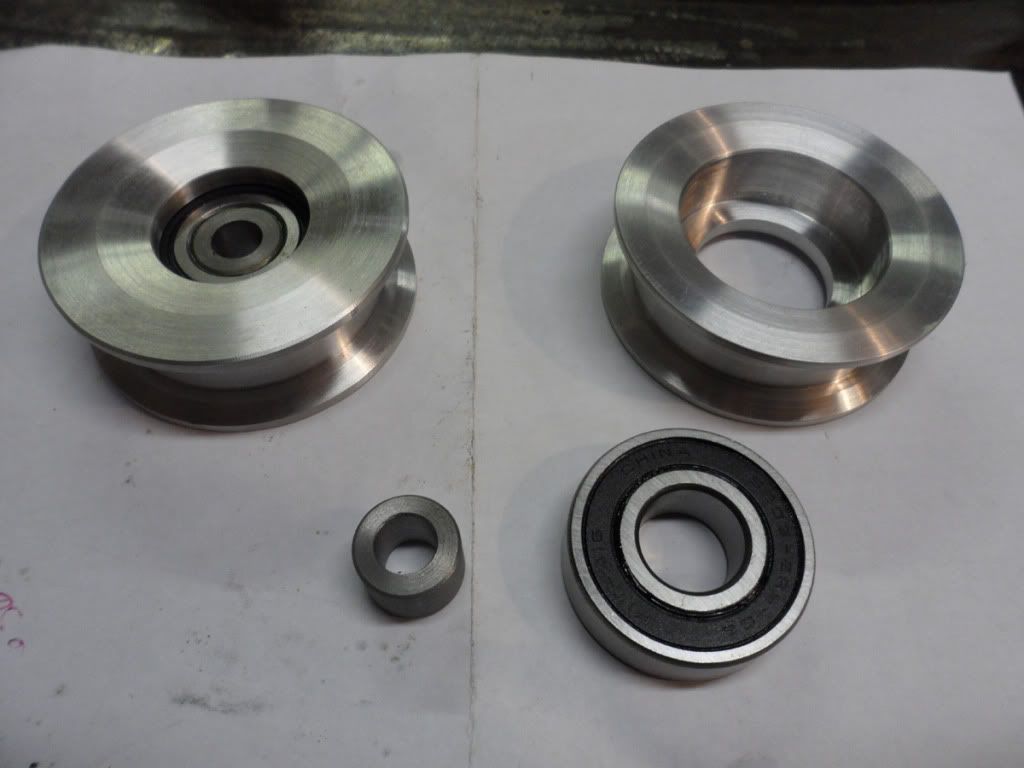
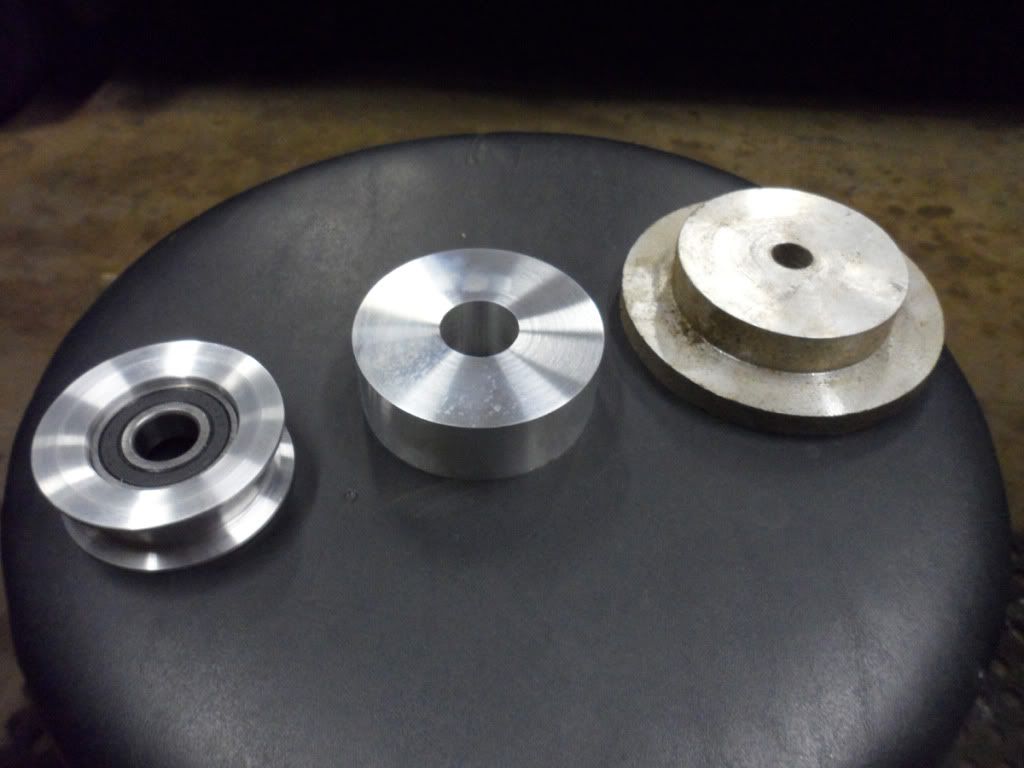
Thanks. I built another tool (you'll see it below). I can't help it. I dig the new 3 in 1 combo you bought. You definitely got a steal on that thing.
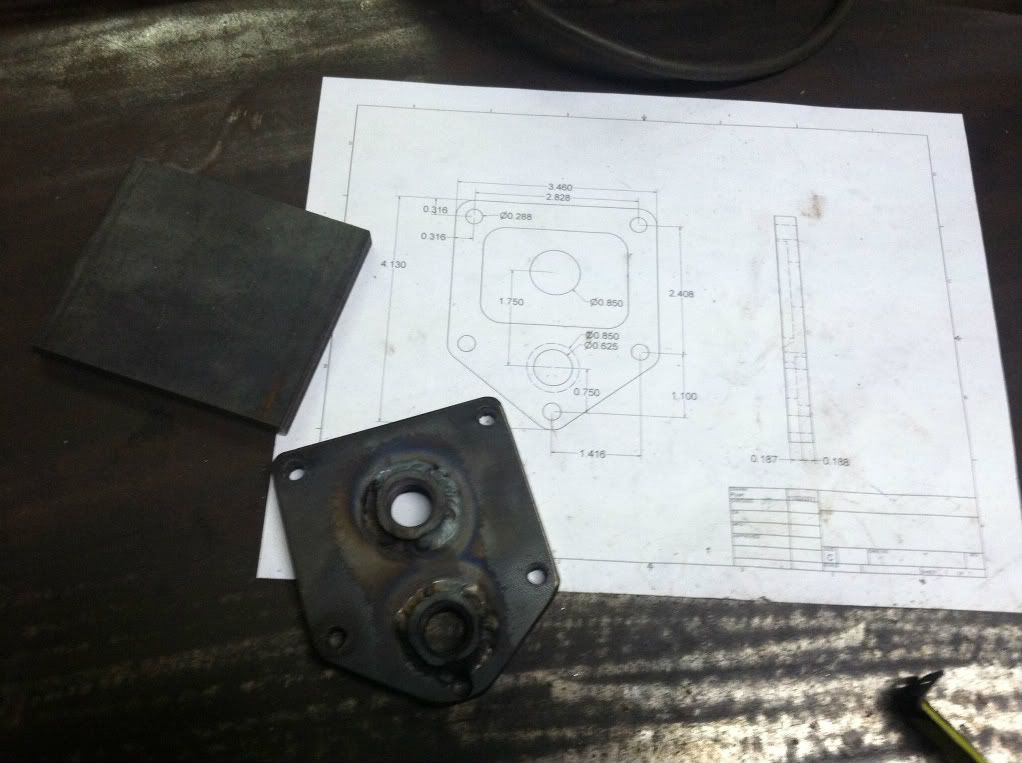
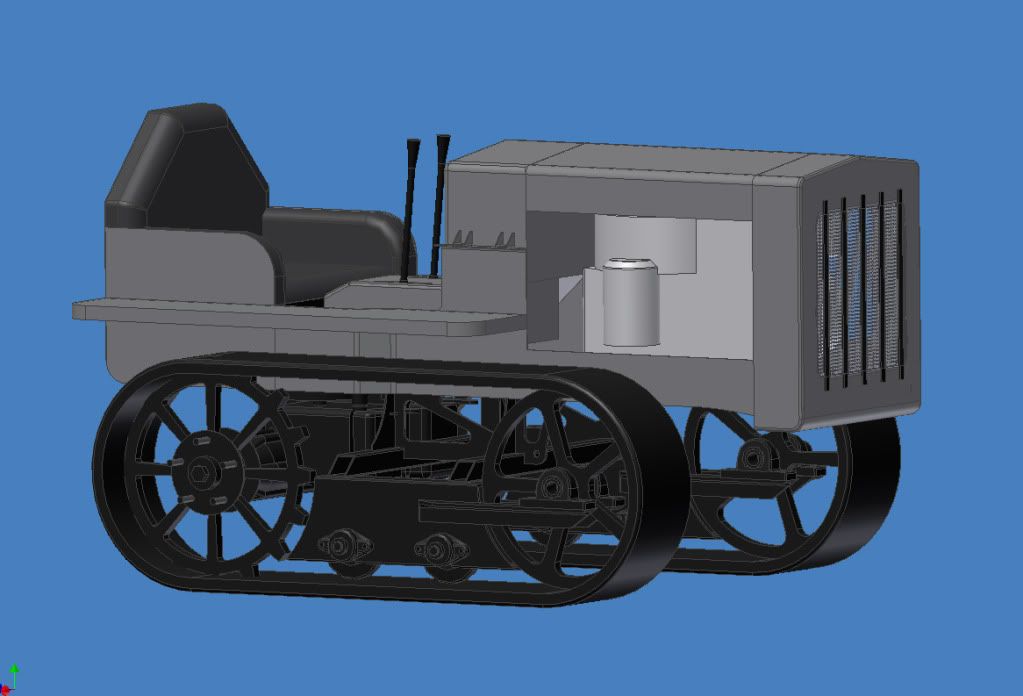
You may have mentioned this already, but what CAD program are you using for modeling?
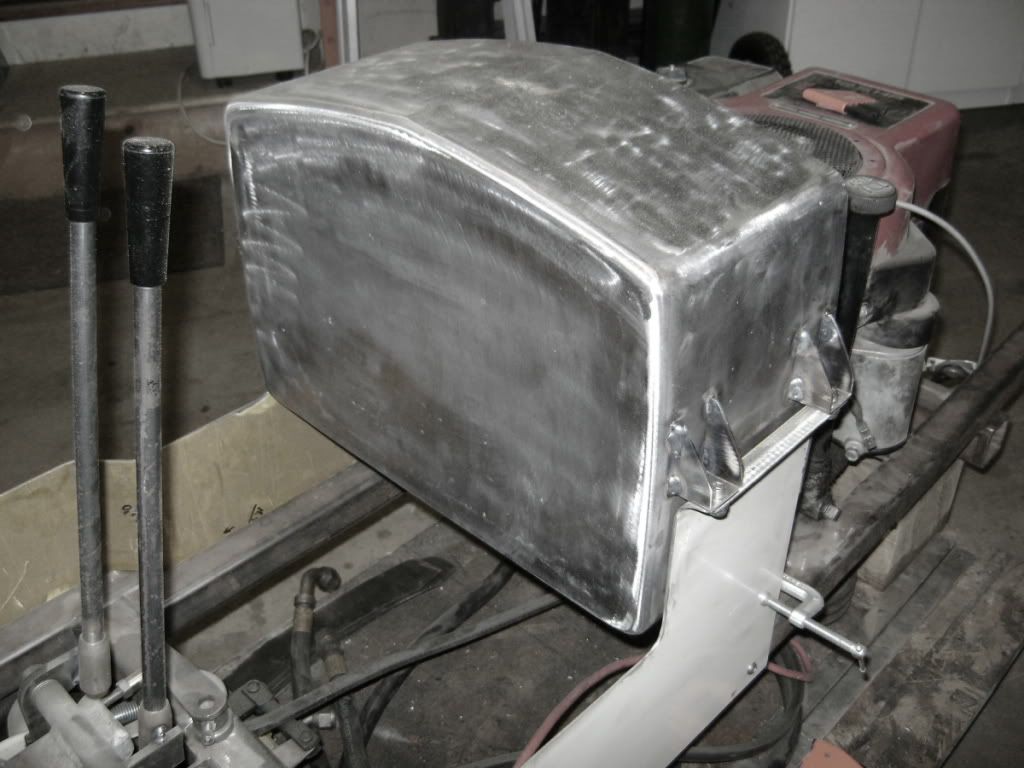
What do you do for seam sealing in the gas tank? I thought that tank seams had to be almost a continuous weld bead to insure against tiny pinhole leaks?
I use Autodesk Inventor. It's what I learned in school.
I didn't want to do continuous welds to keep warping down. I plan to use the stuff from Caswell. I hear motorcycle guys use it a lot to seal their fuel tanks.
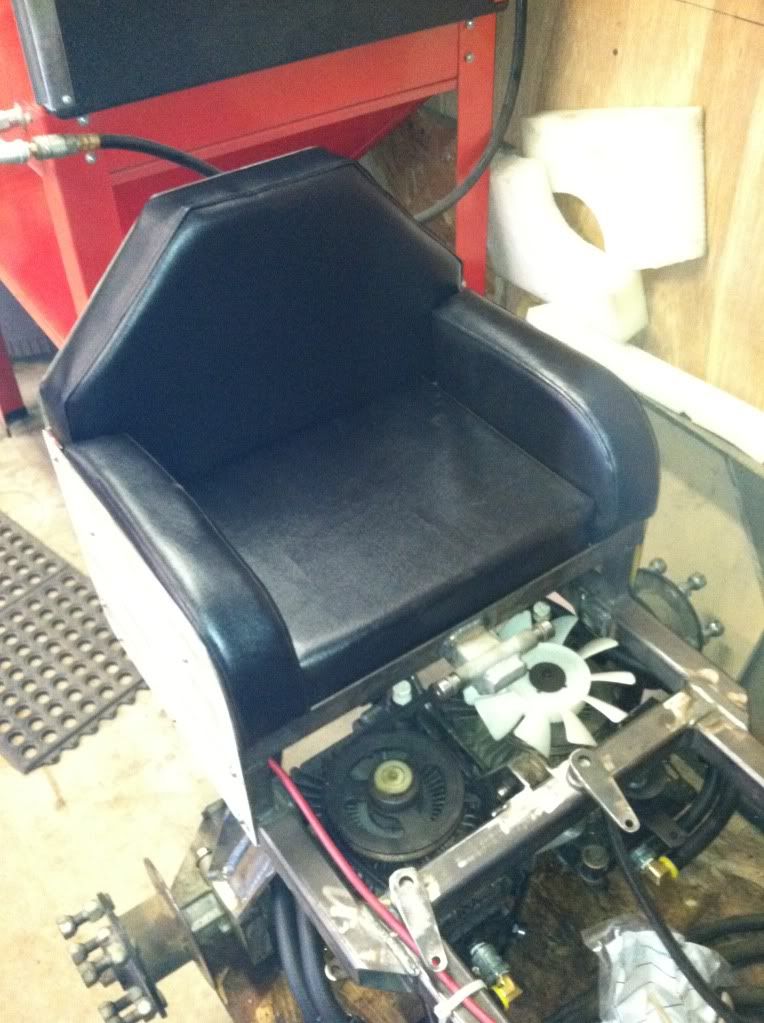
Btw, nice flippies that you work in. lol
Ha! I was wondering who was going to catch that. I do it because it's easy to flip them off (get it) when I go into the house. Then I don't track in metal shavings and dirt. And I'm too impatient to put on real shoes. Knock on wood haven't lost a toe yet.
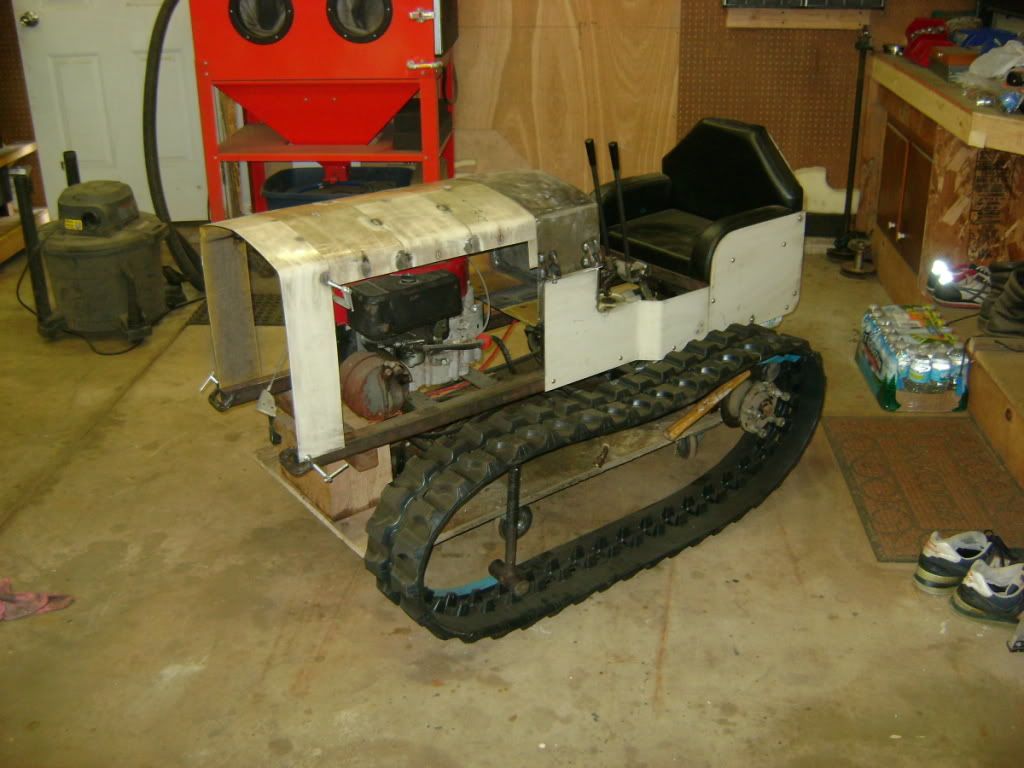
And thank you all for looking. Now on to the update. Been tough lately with a friends wedding. Bachelor party, rehearsal dinner and wedding. And also mothers day. Not much time left to work. But here goes.
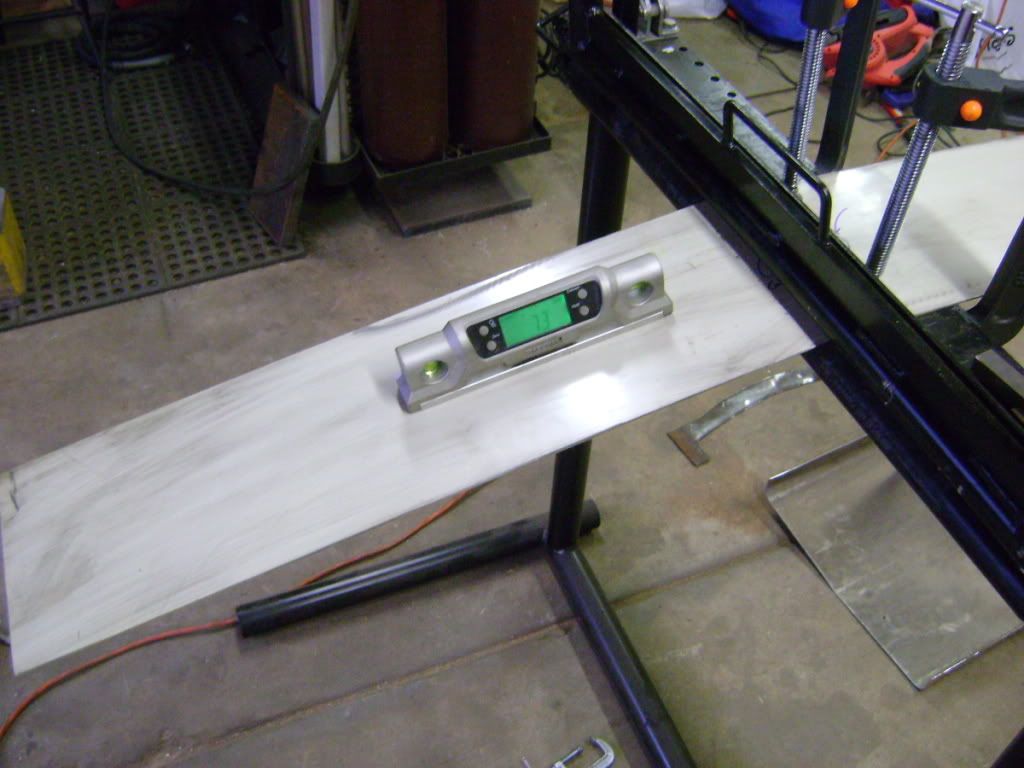
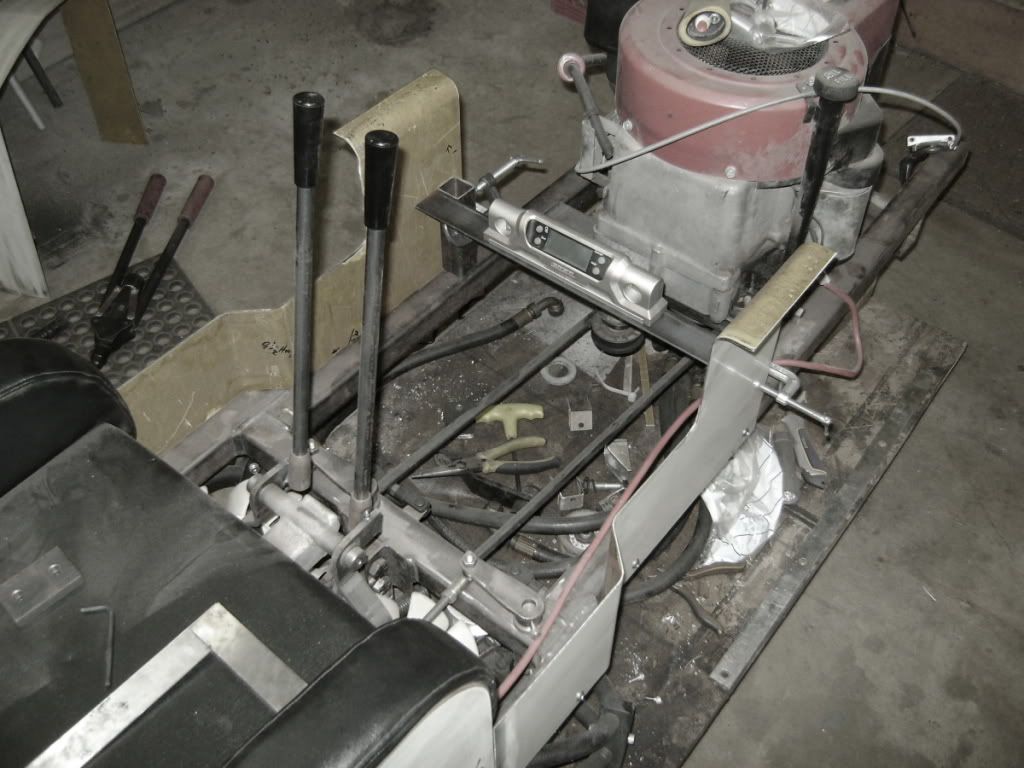
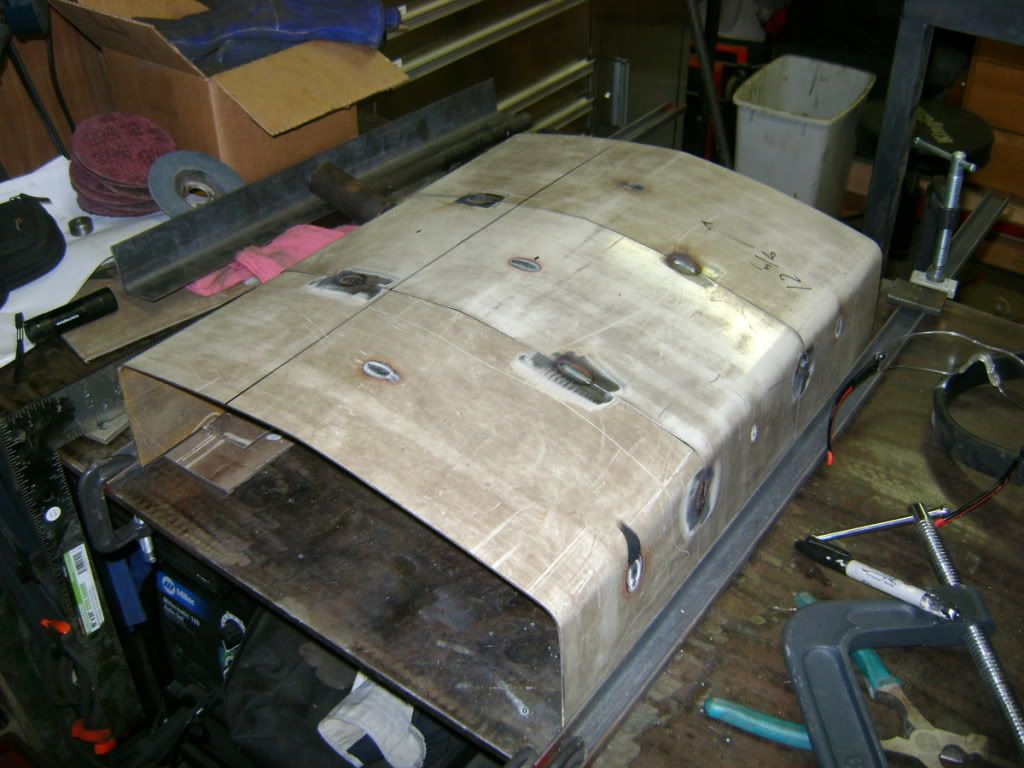
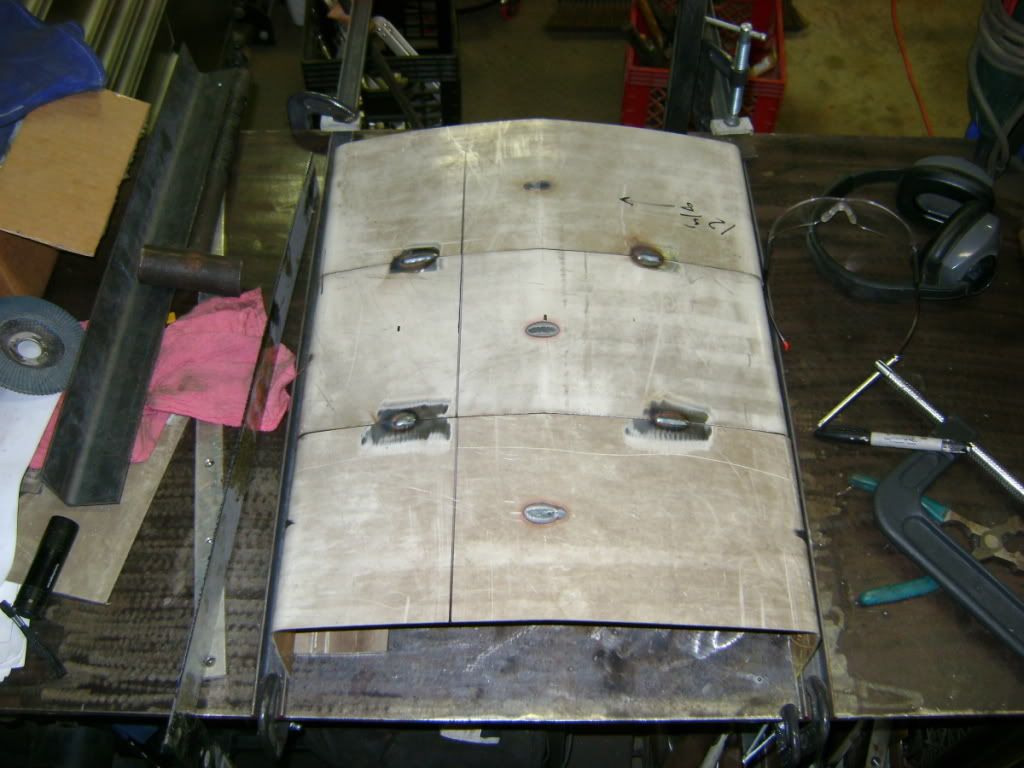
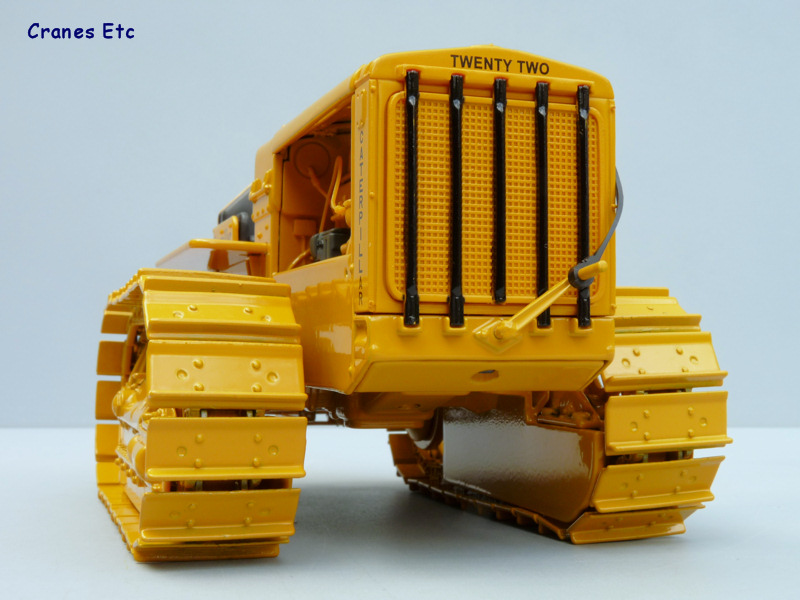
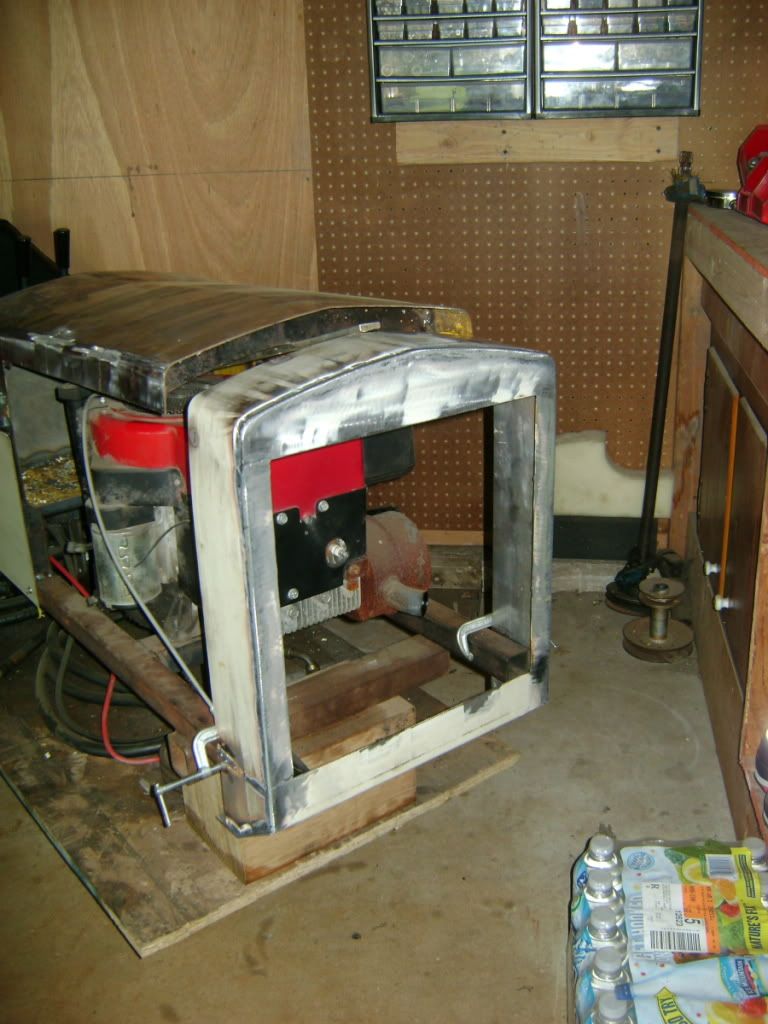
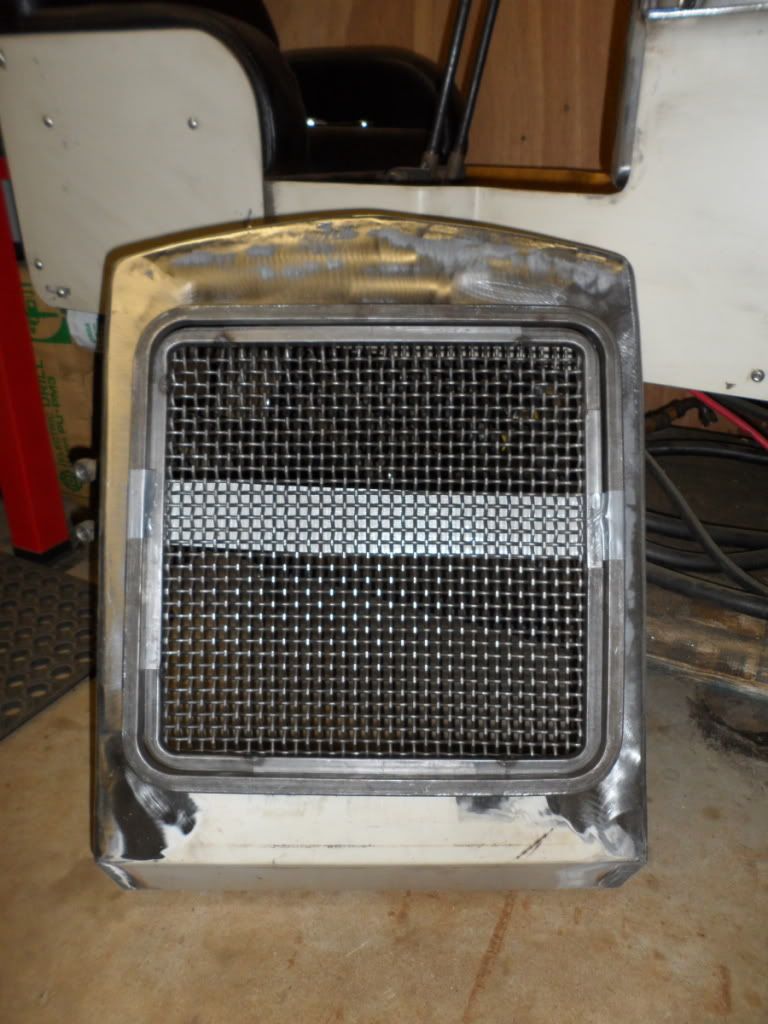
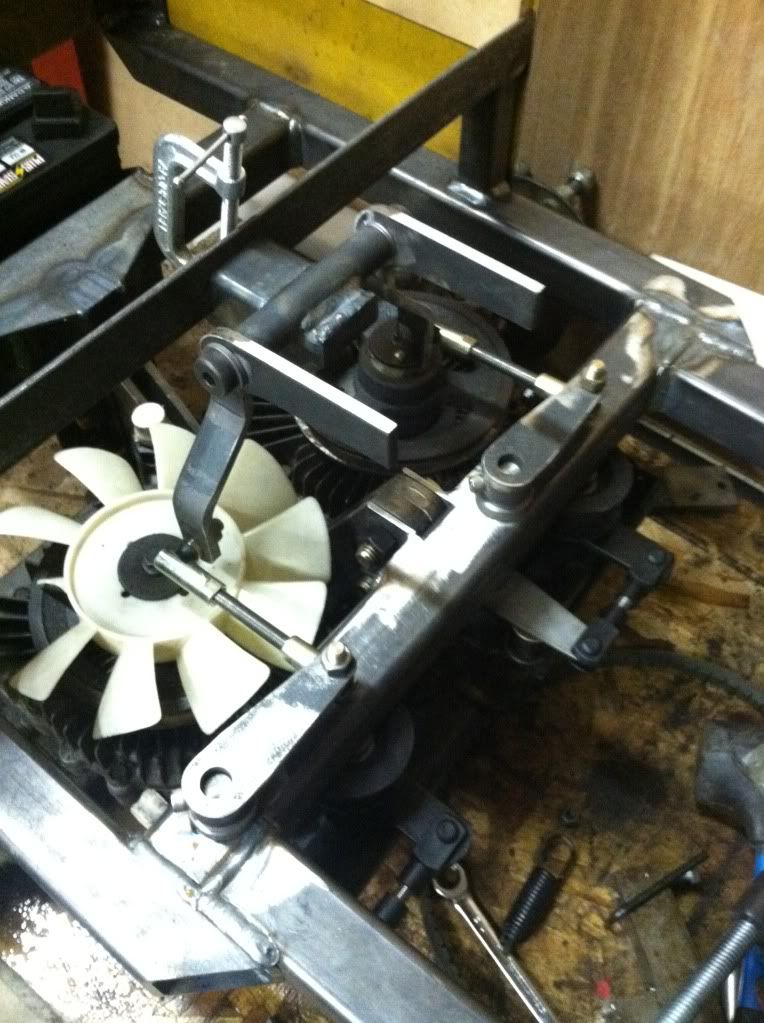
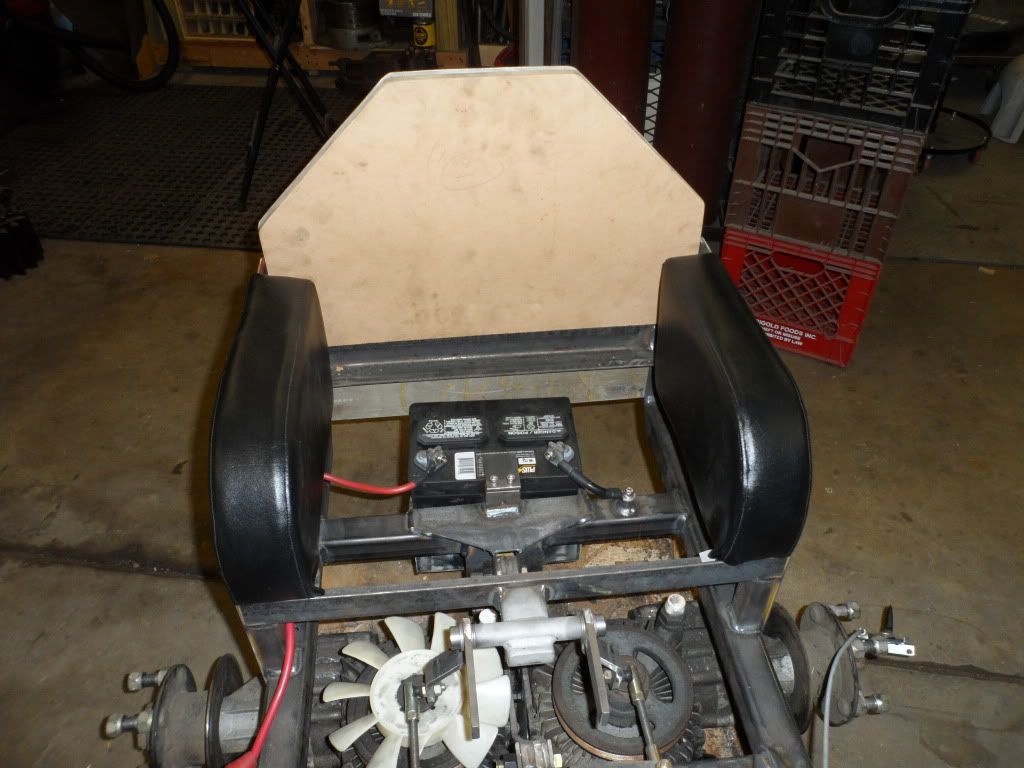
Been working on the grill. Here is what I'm using as reference.
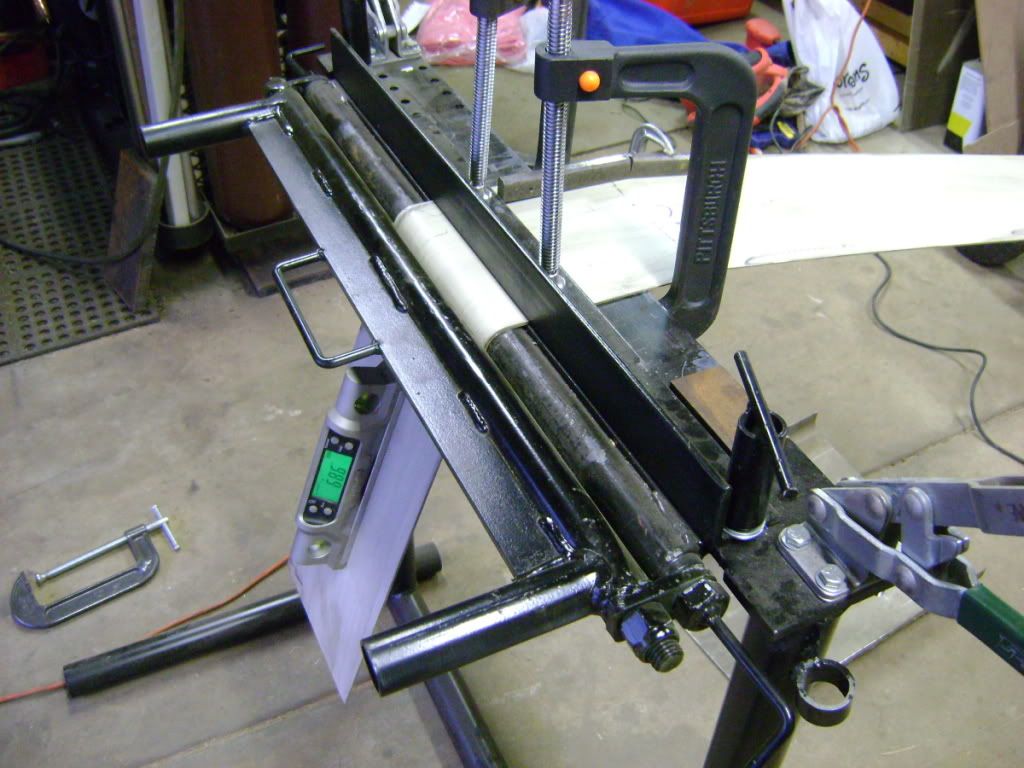
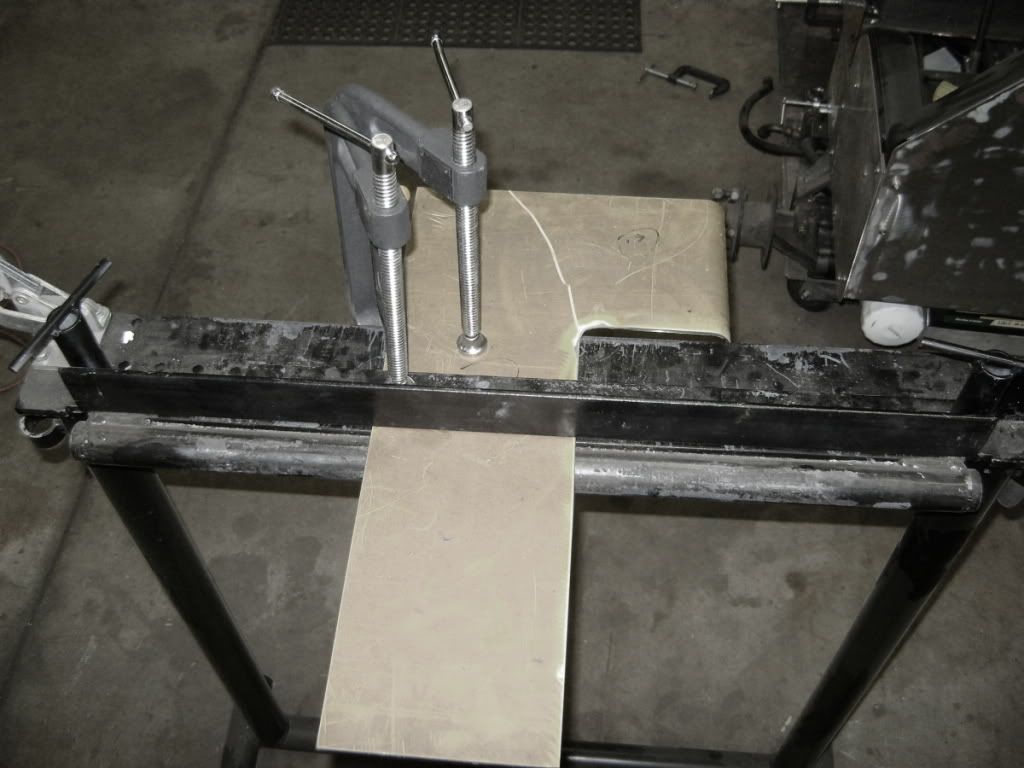
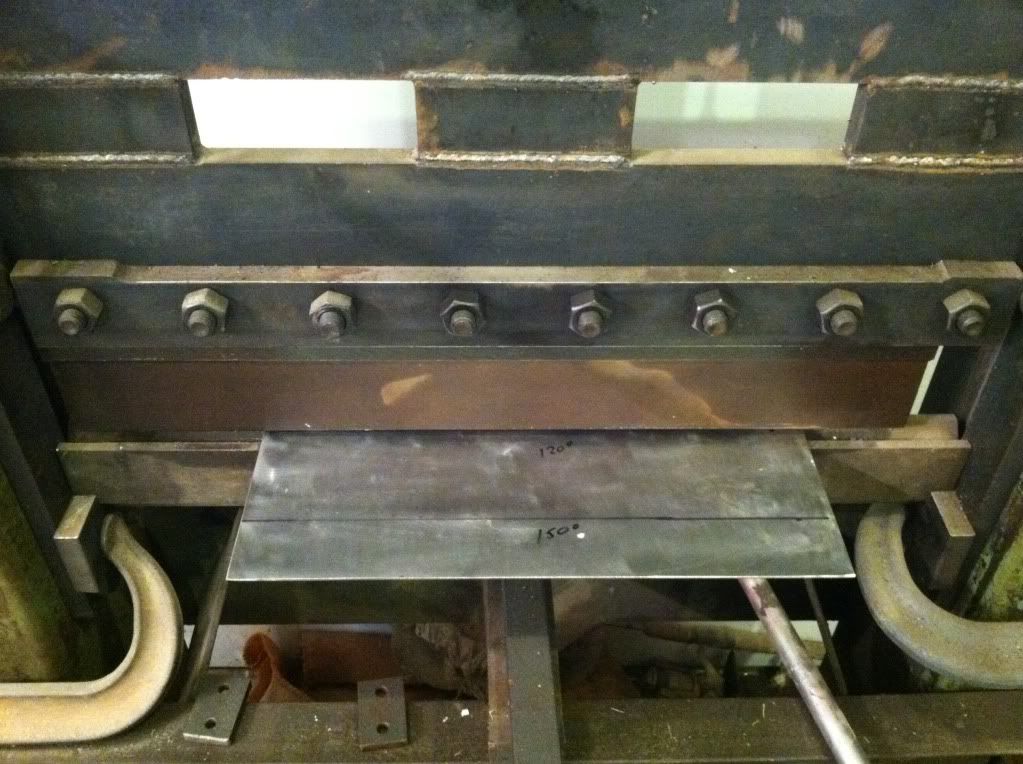
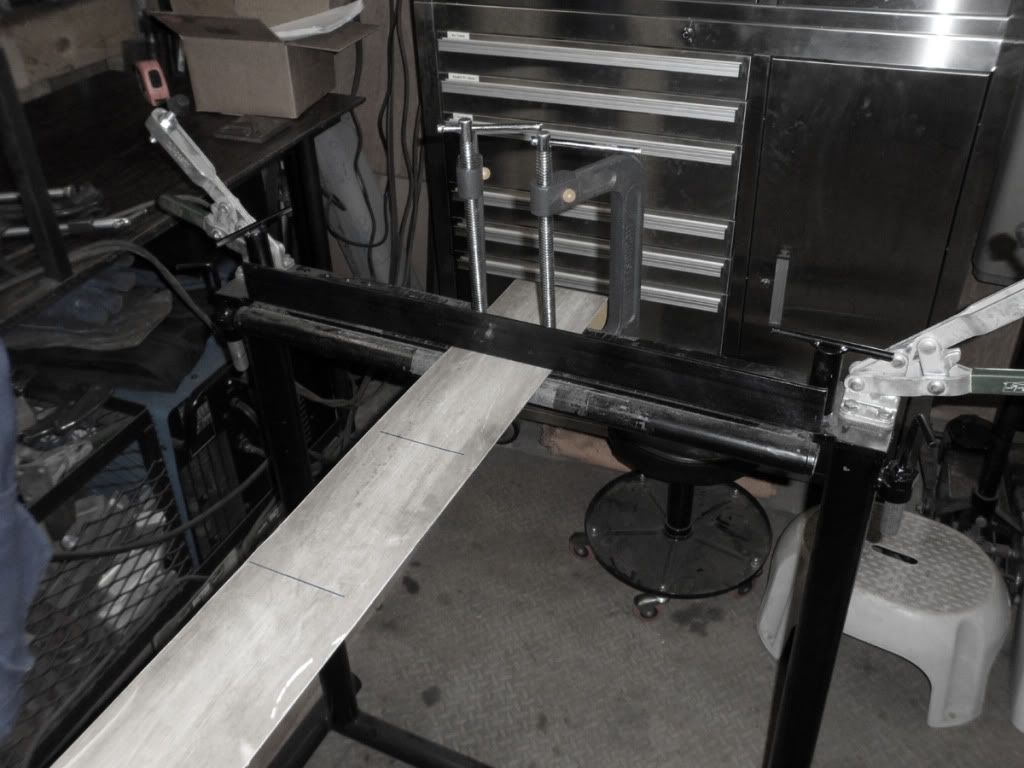
My brother has a wider brake at his house that we built together. Needed it to bend the lower portion.
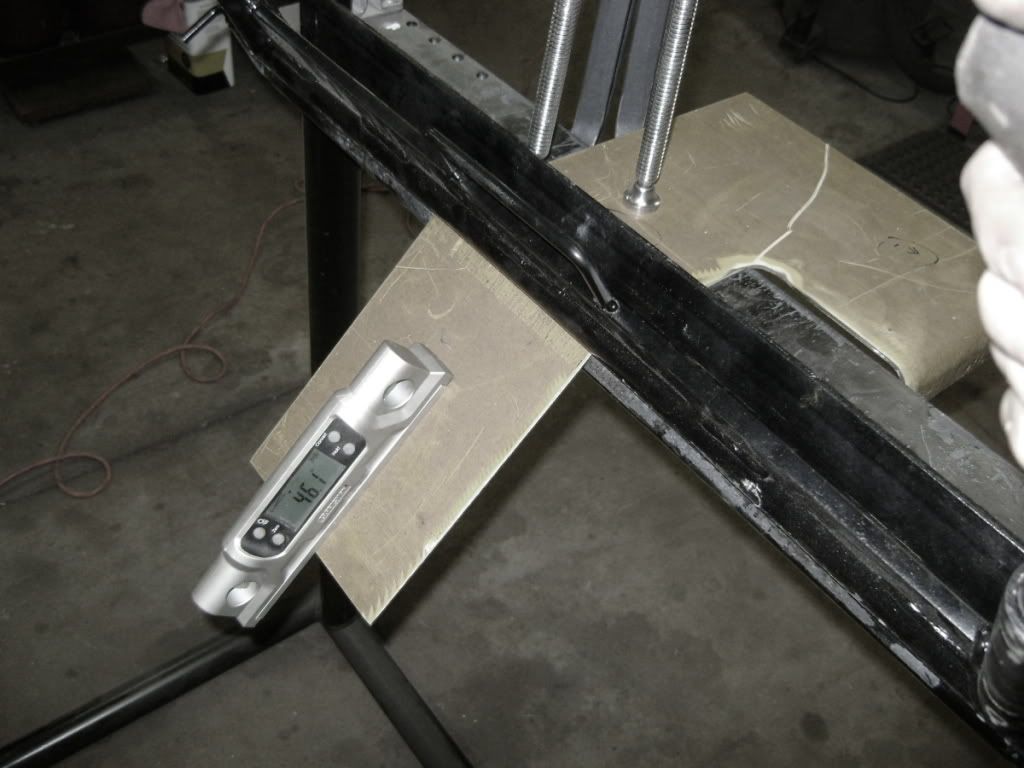
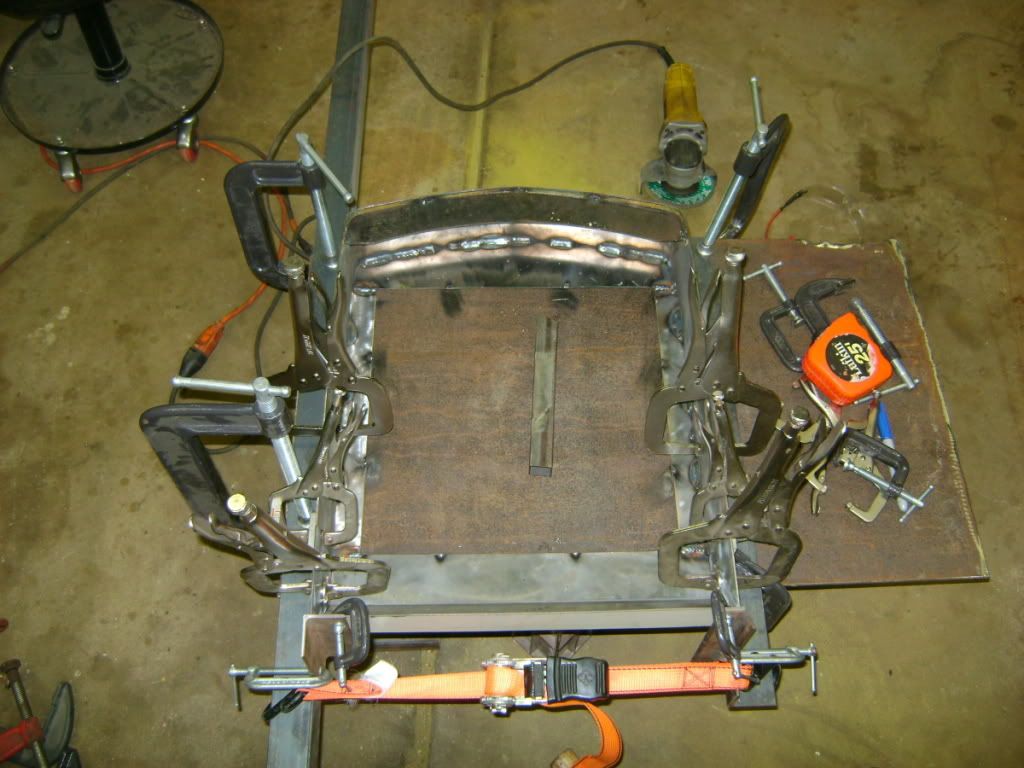
Then I clamped everything down to keep from warping too badly.
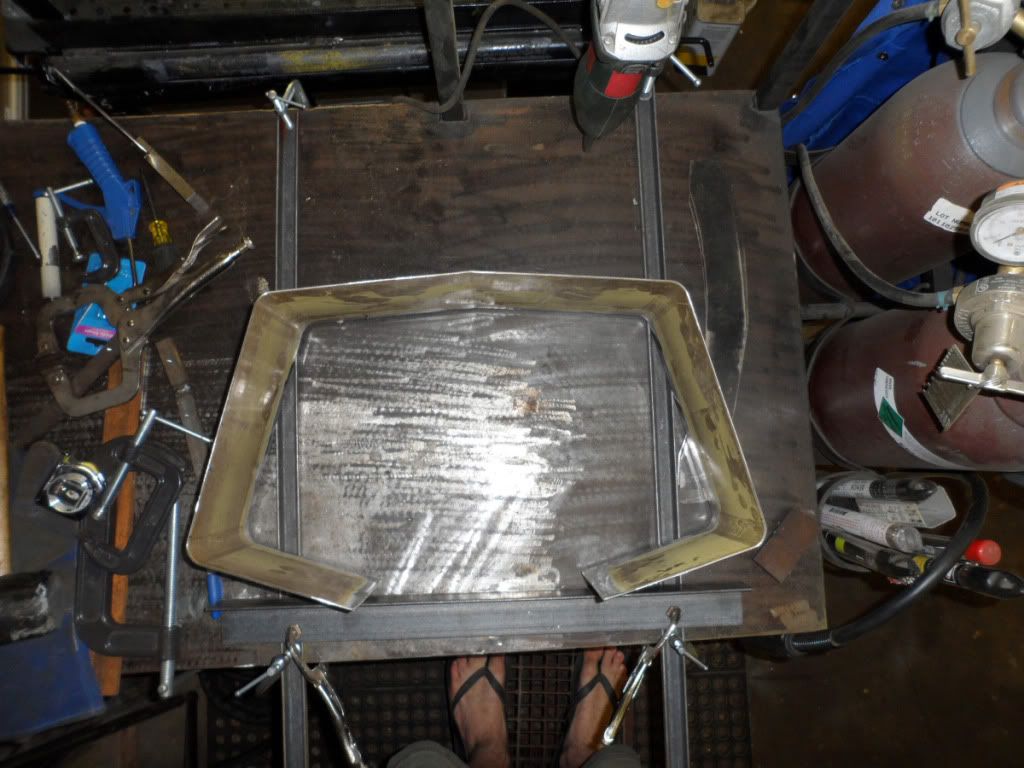
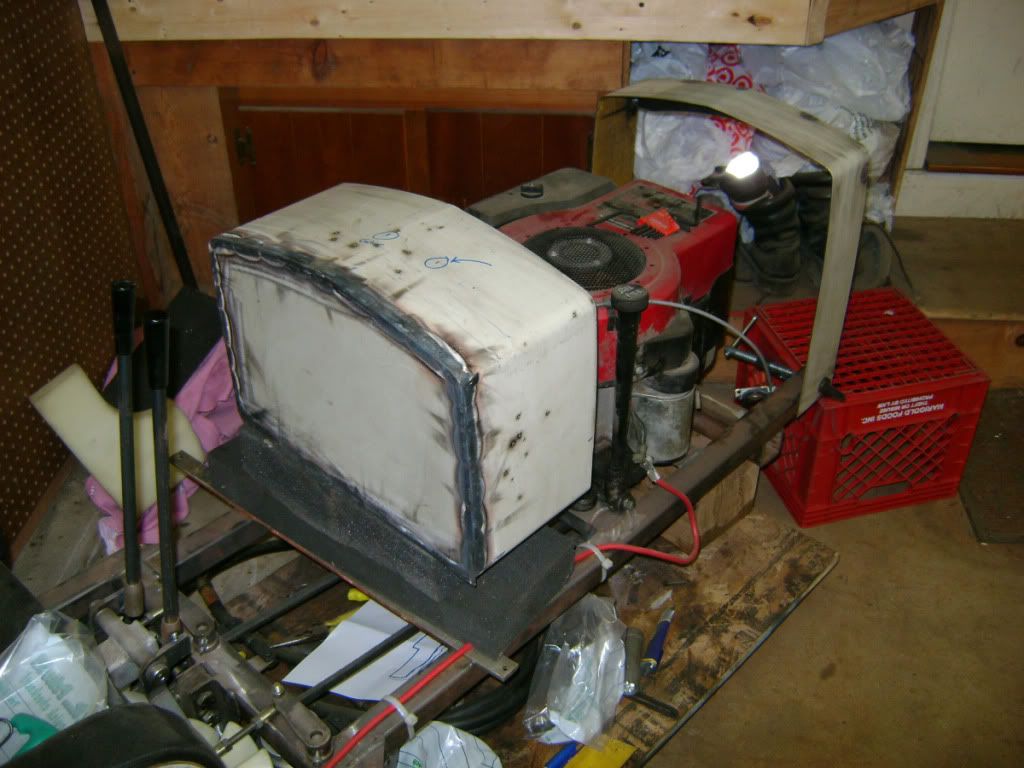
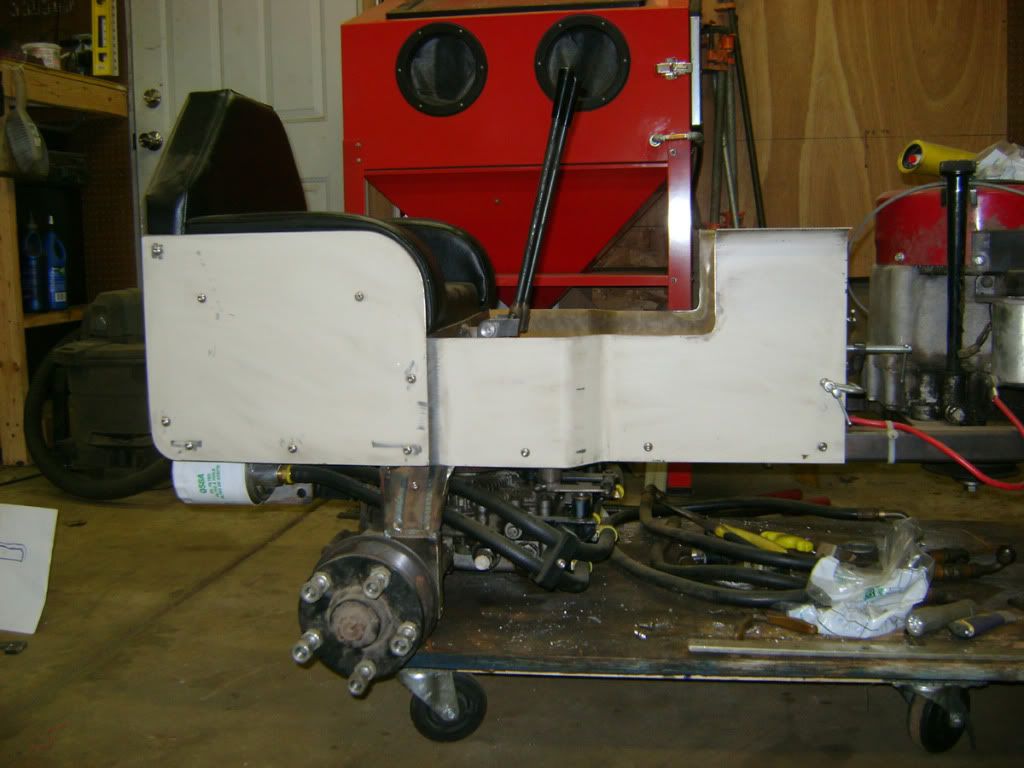
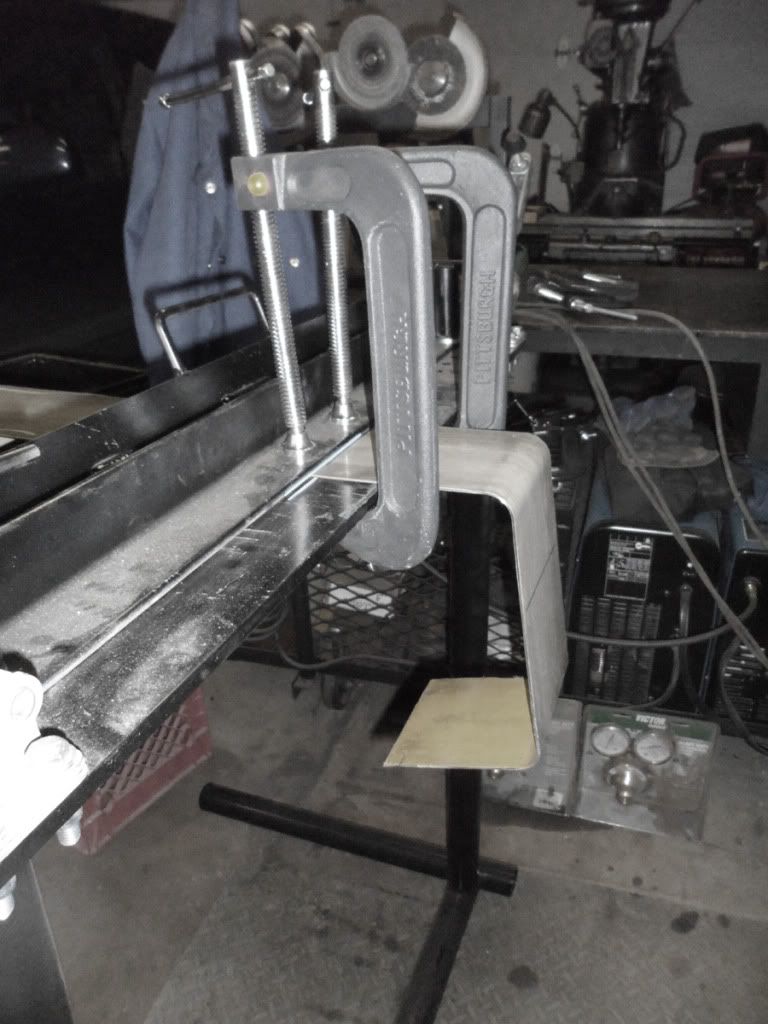
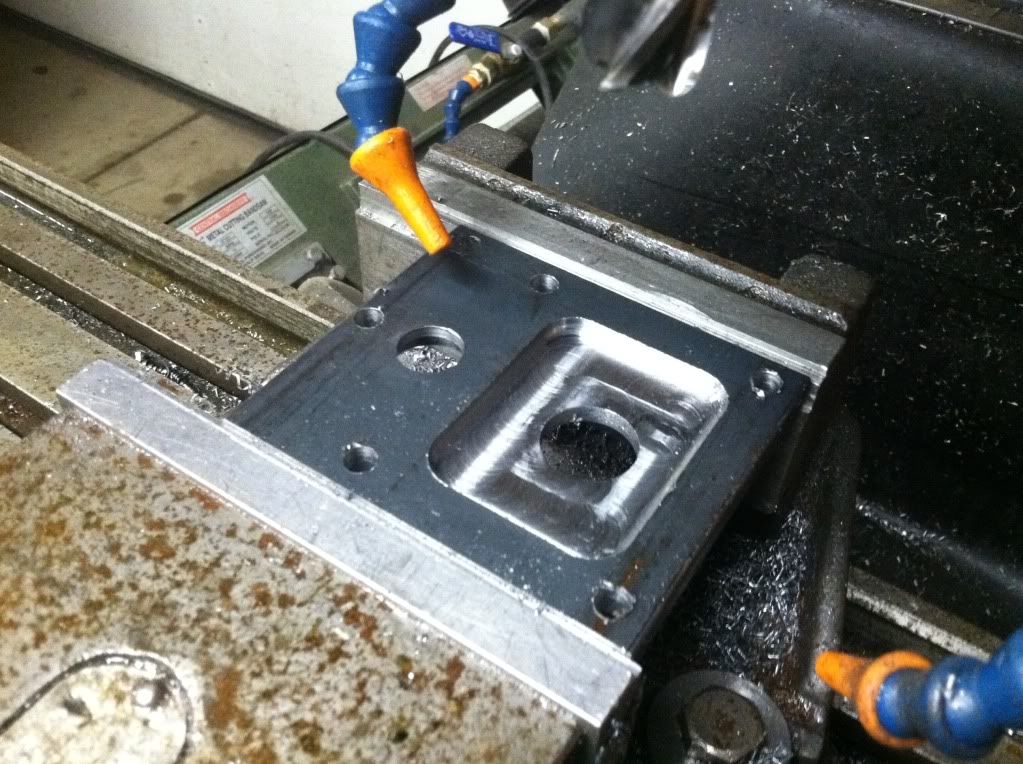
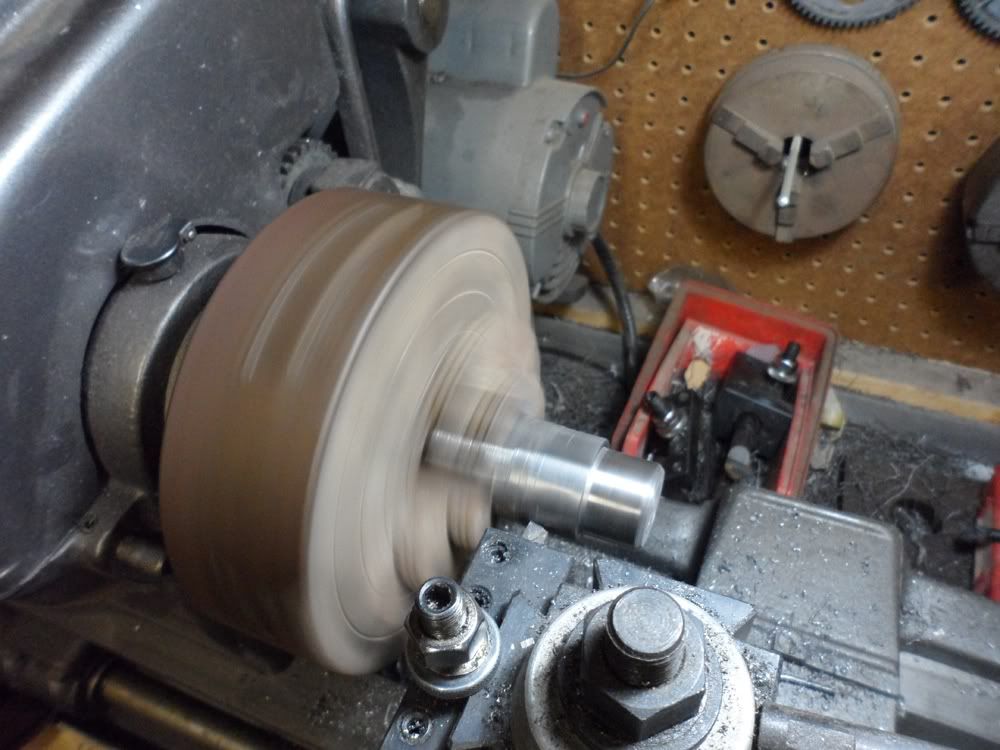
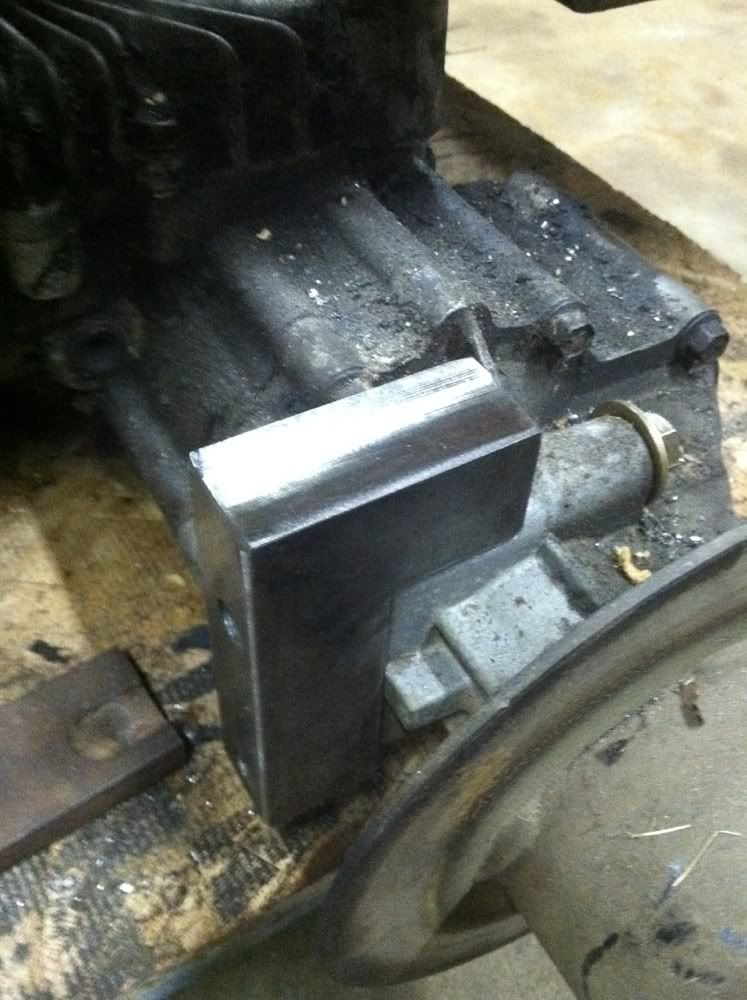
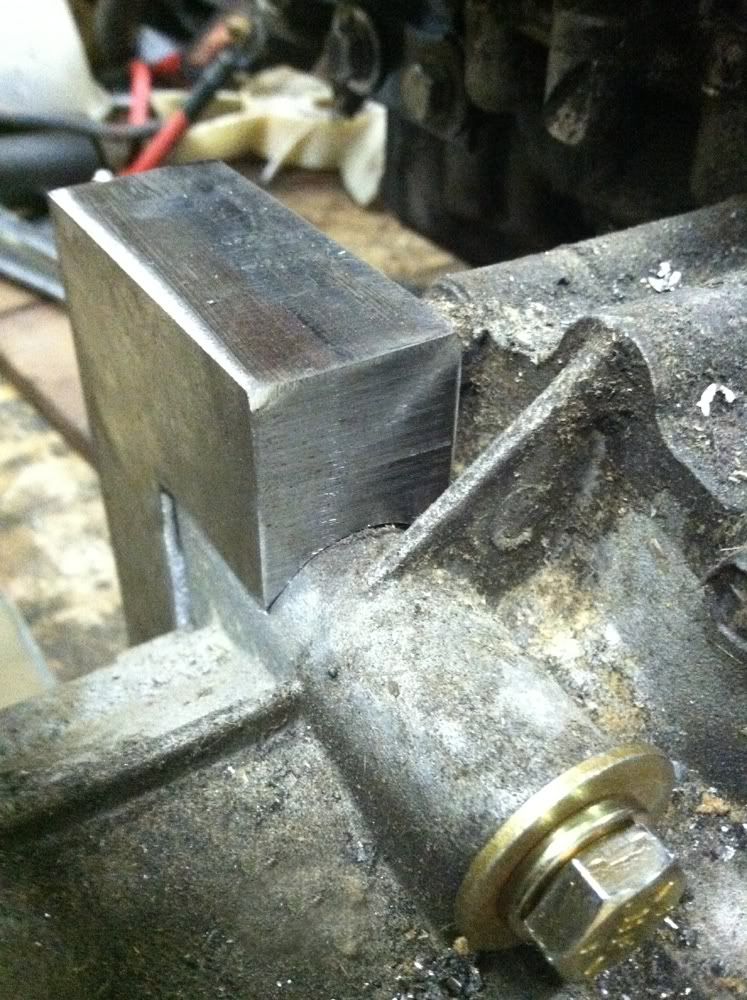
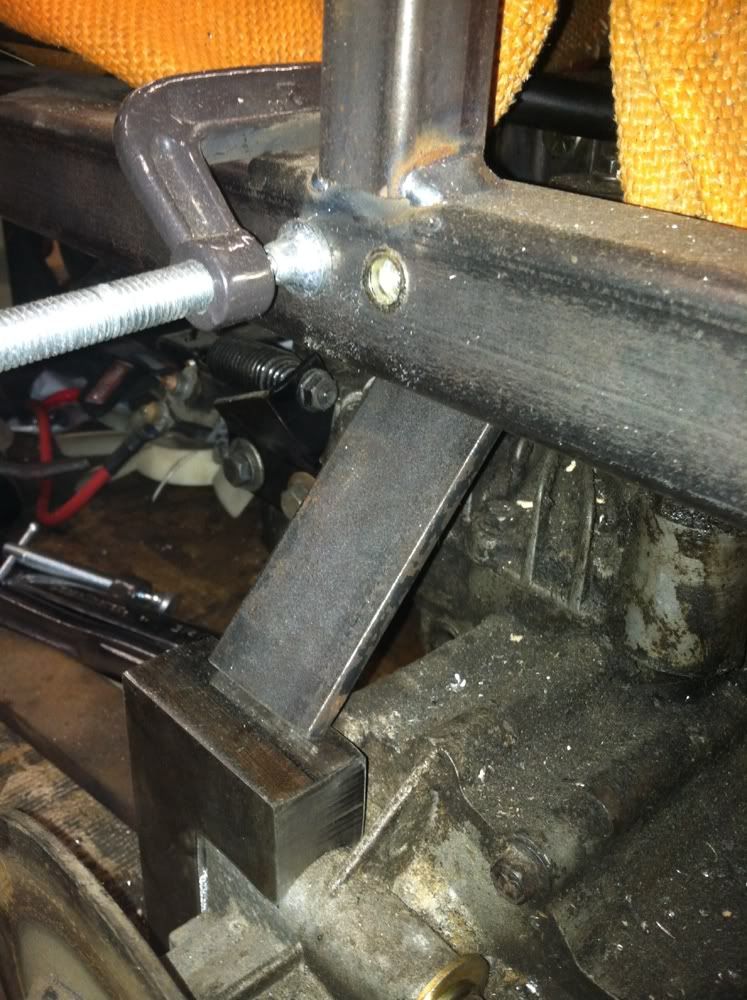
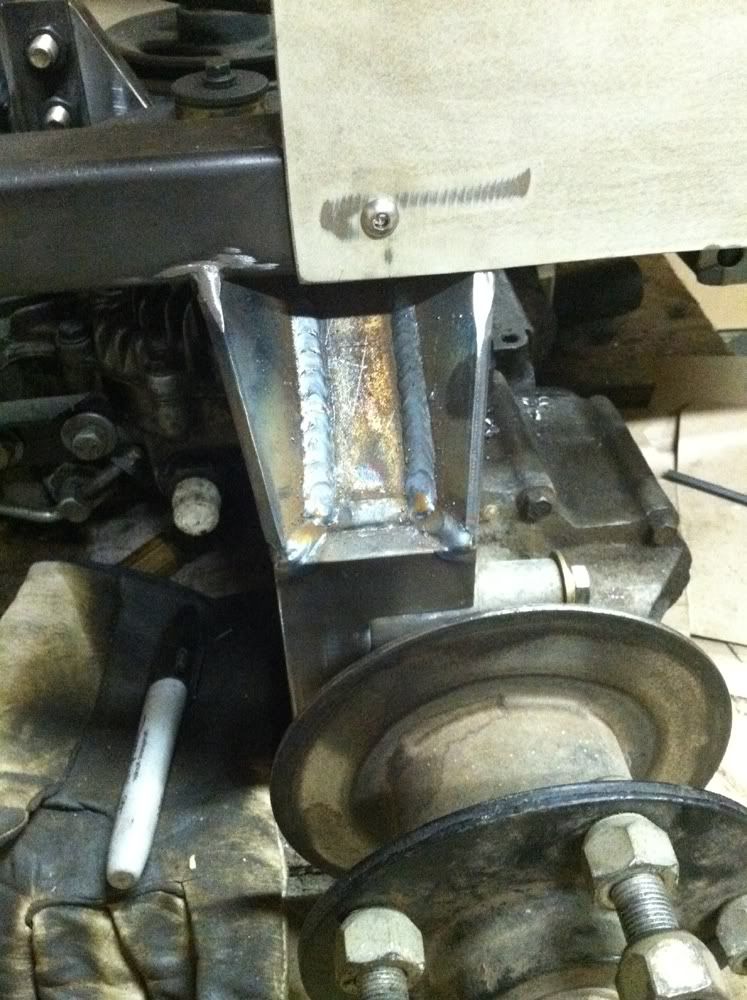
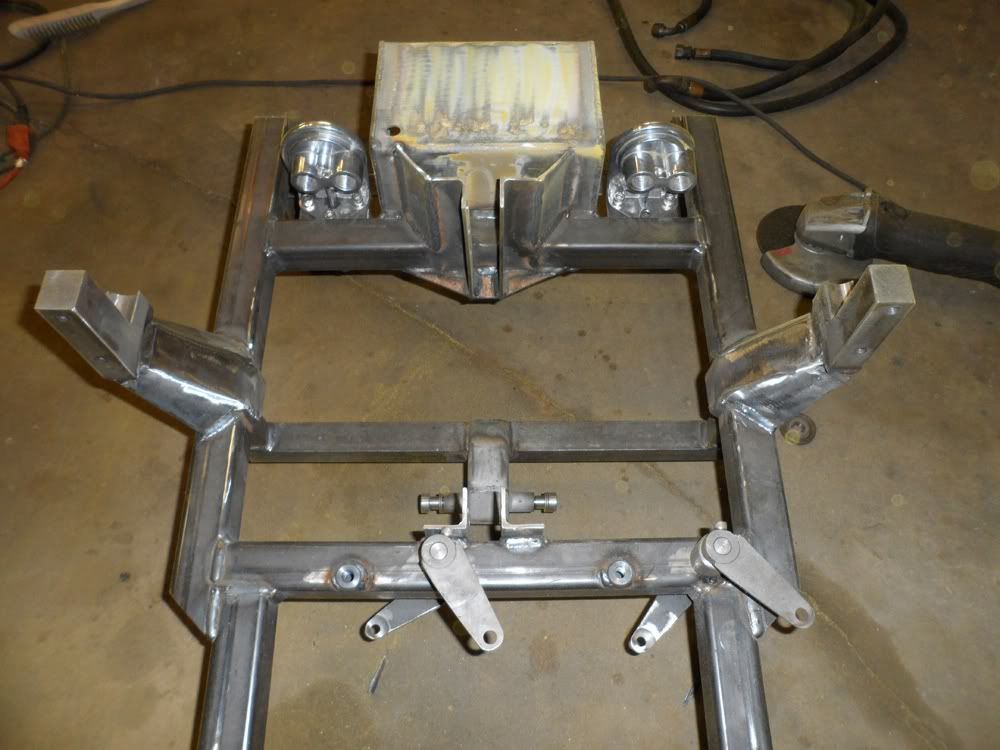
I had to mount it up. Still need to grind the corners like I did to the tank.
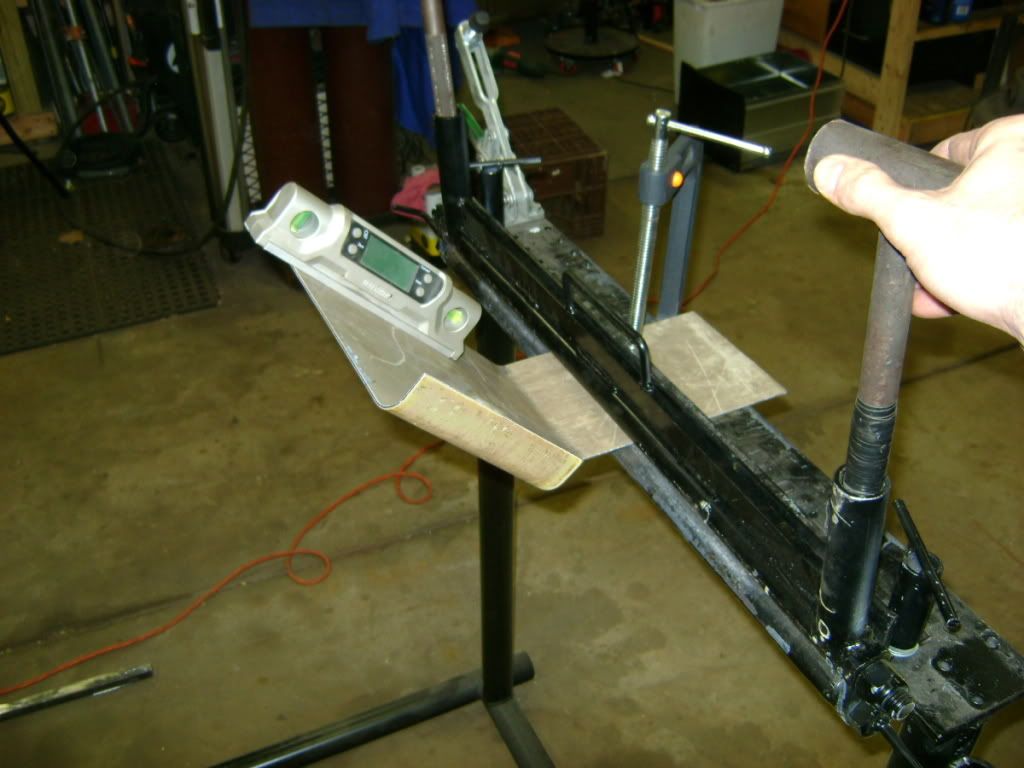
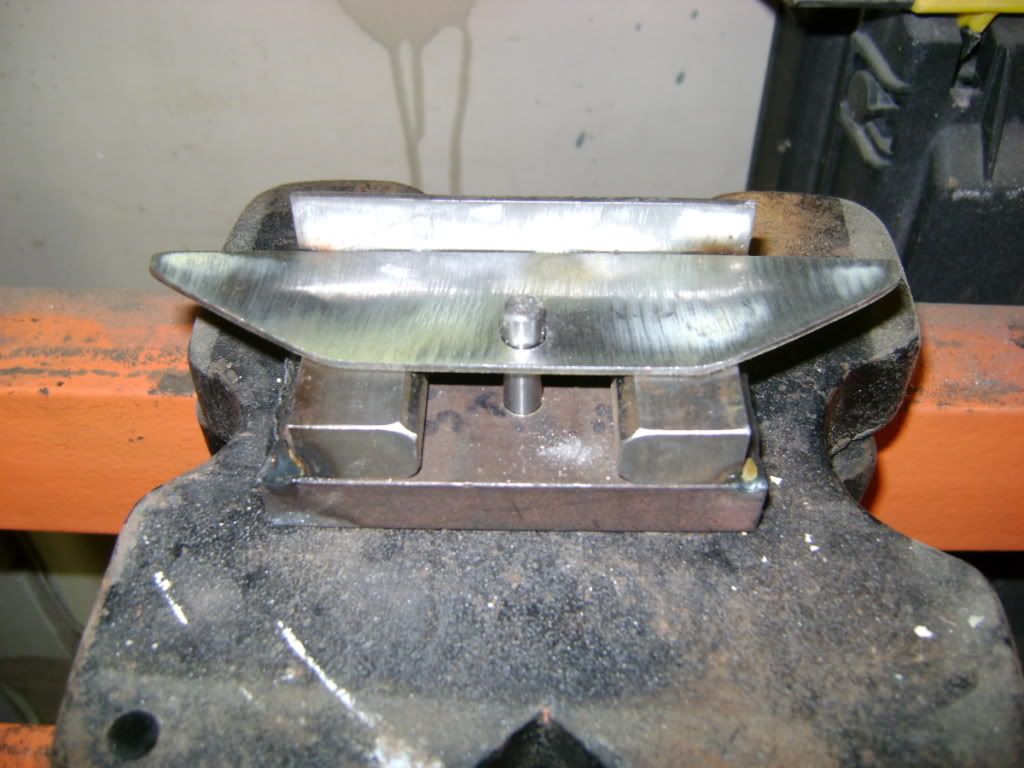
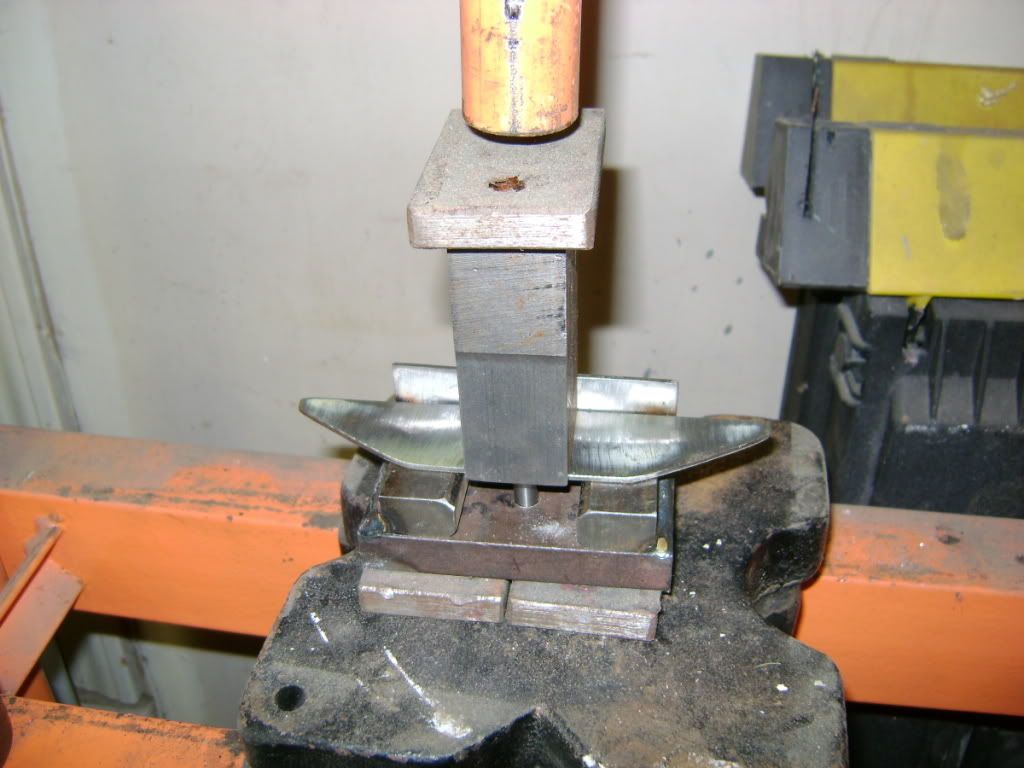
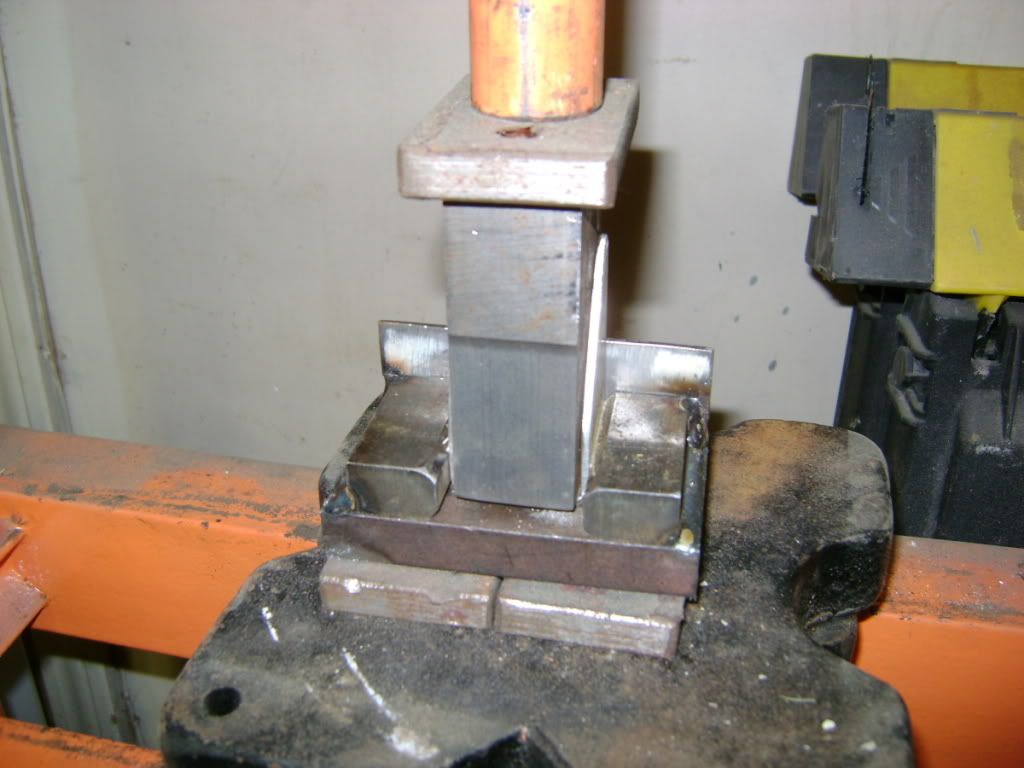
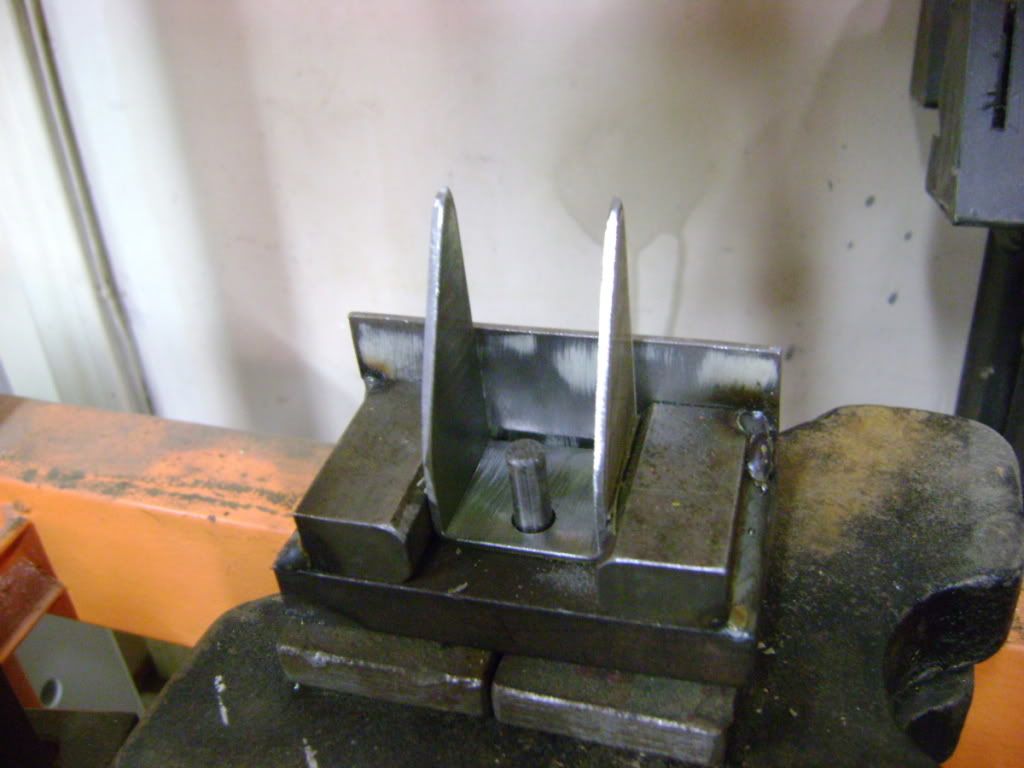
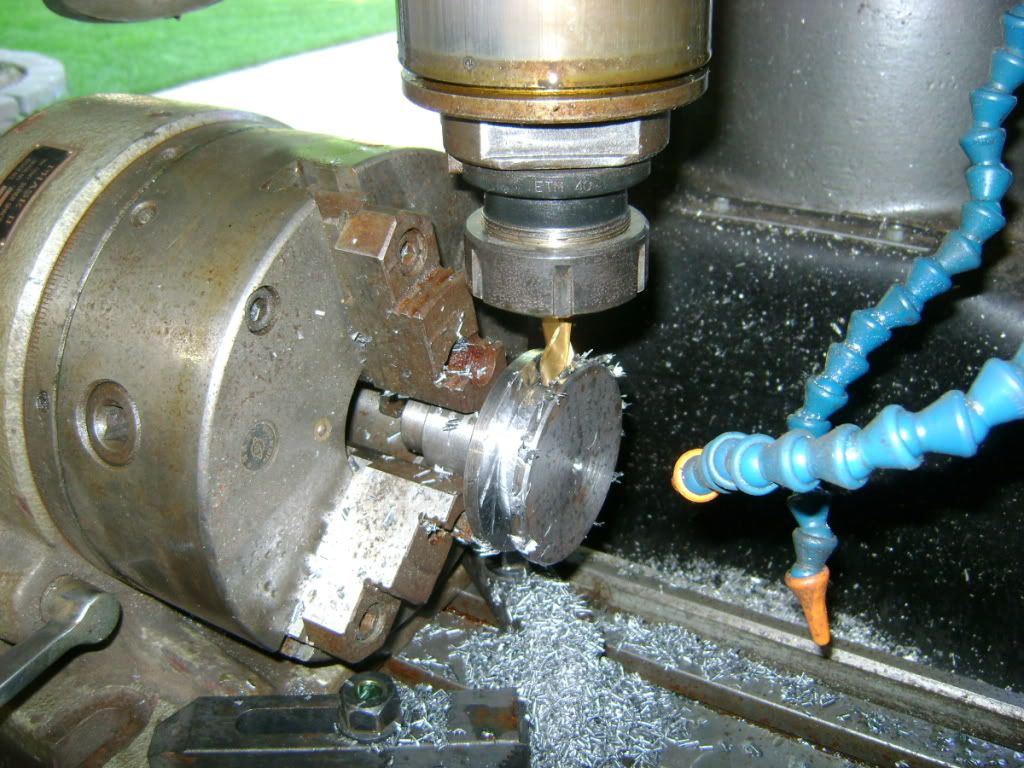
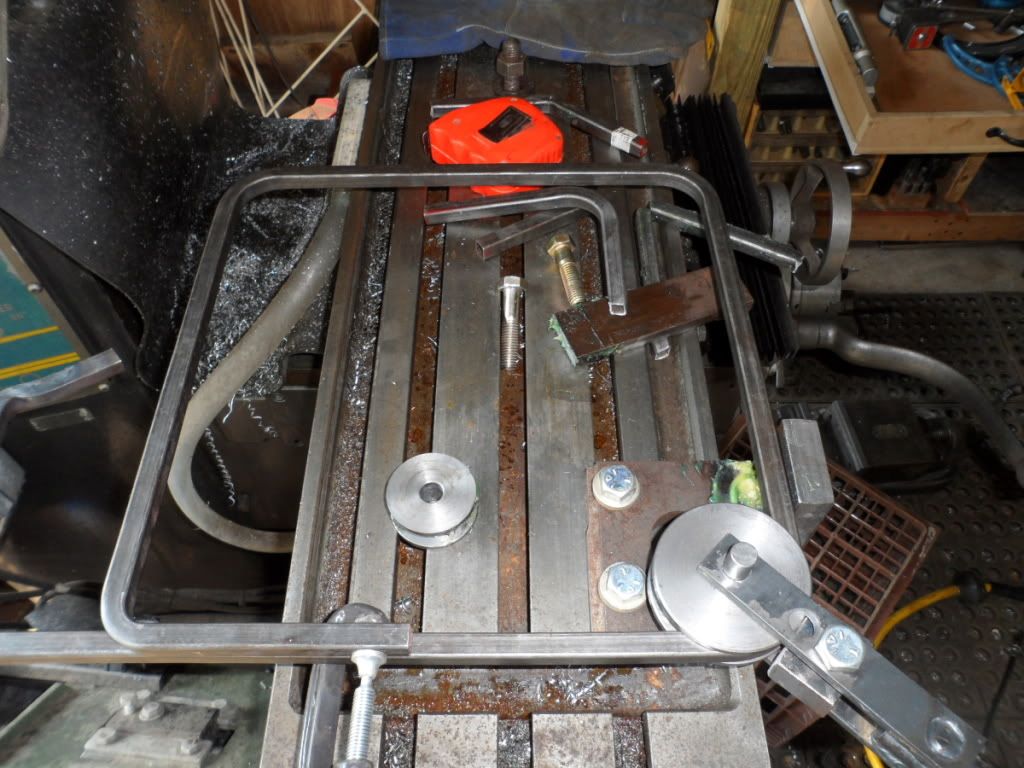
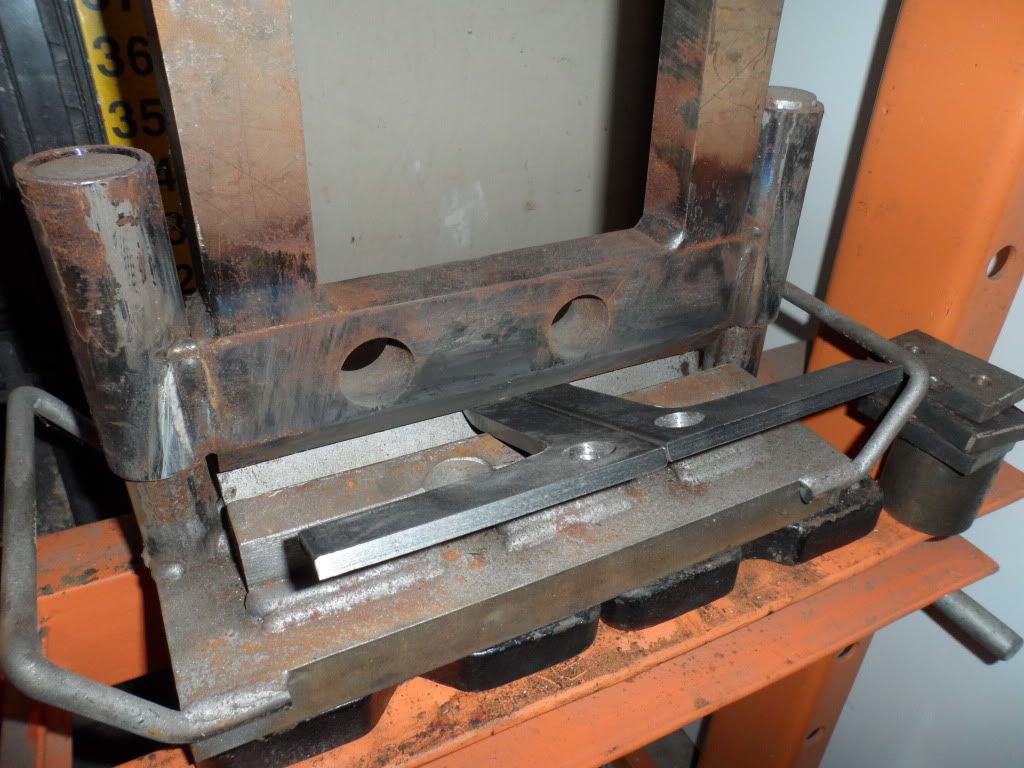
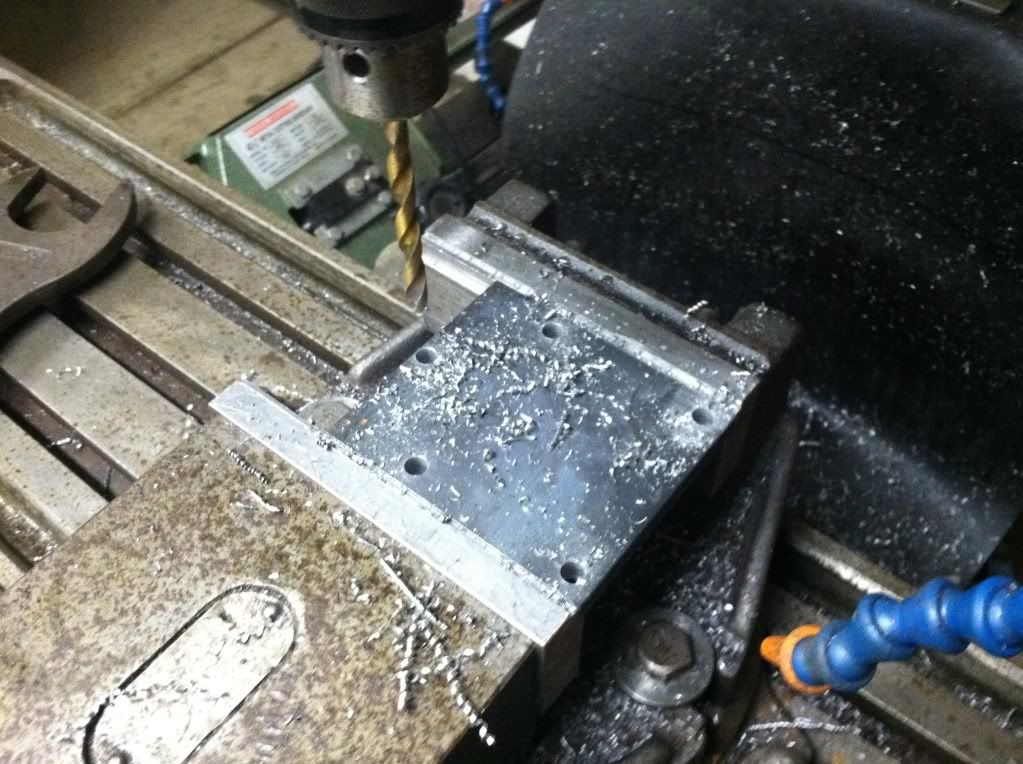
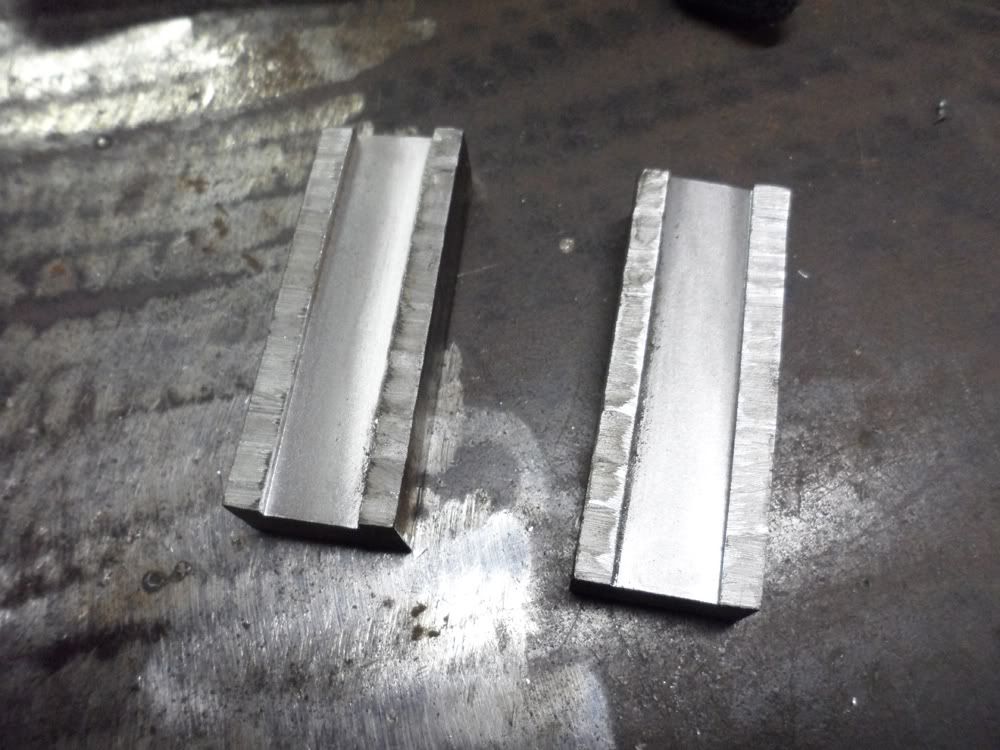
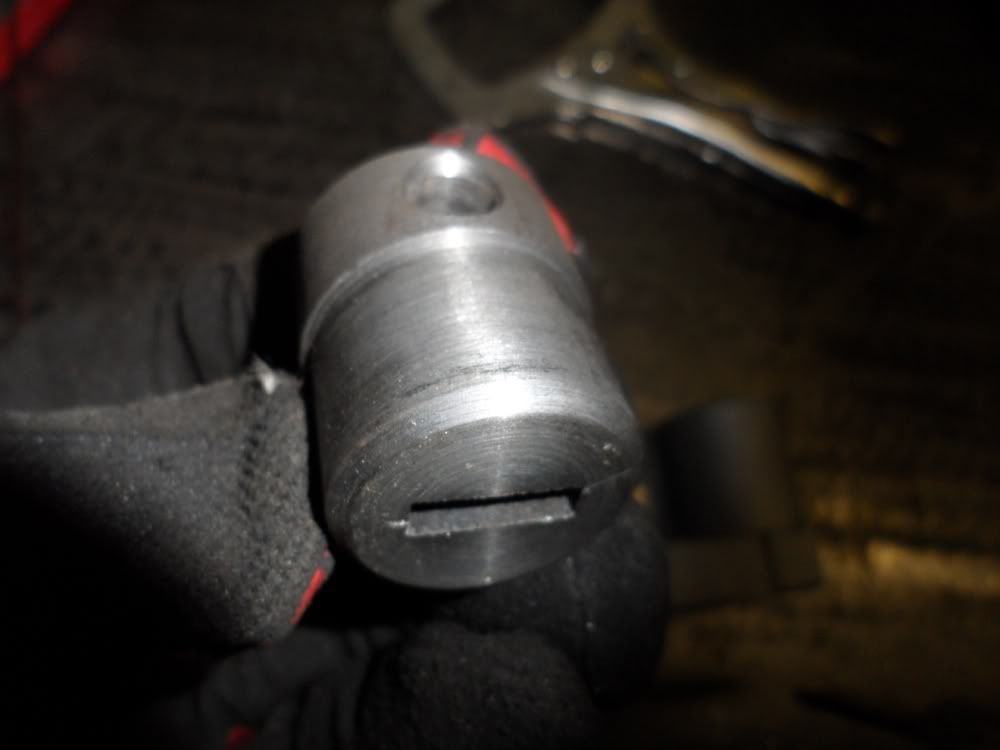
I wanted to use some 1/2" square tubing for the "frame" around the grill. I tried a simple set up but it didn't work. So I had to get more elaborate. I needed to make my own die. Luckily, I had a piece of scrap that worked just right.
I used a chuck that I had to hold it. It's not a rotary table so I would make a pass with a 1/2" cutter then rotate 15 degrees. Cut, repeat. Then I chucked it in the lathe to clean it up a bit which a crappy parting tool. Not the best but it works.
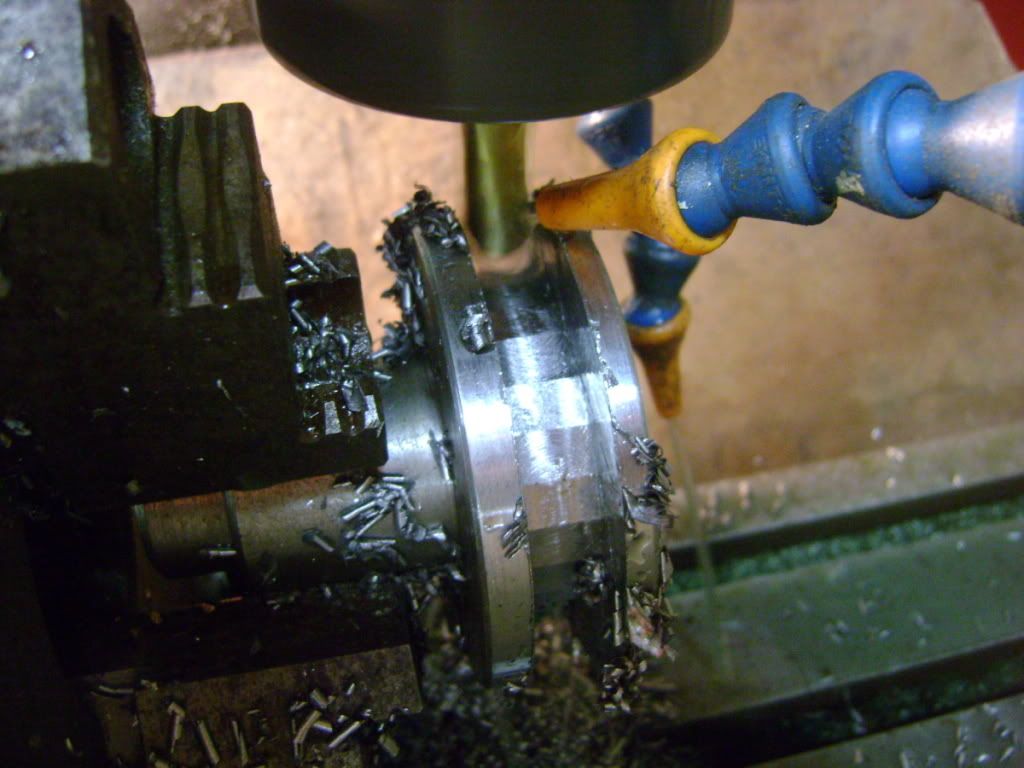
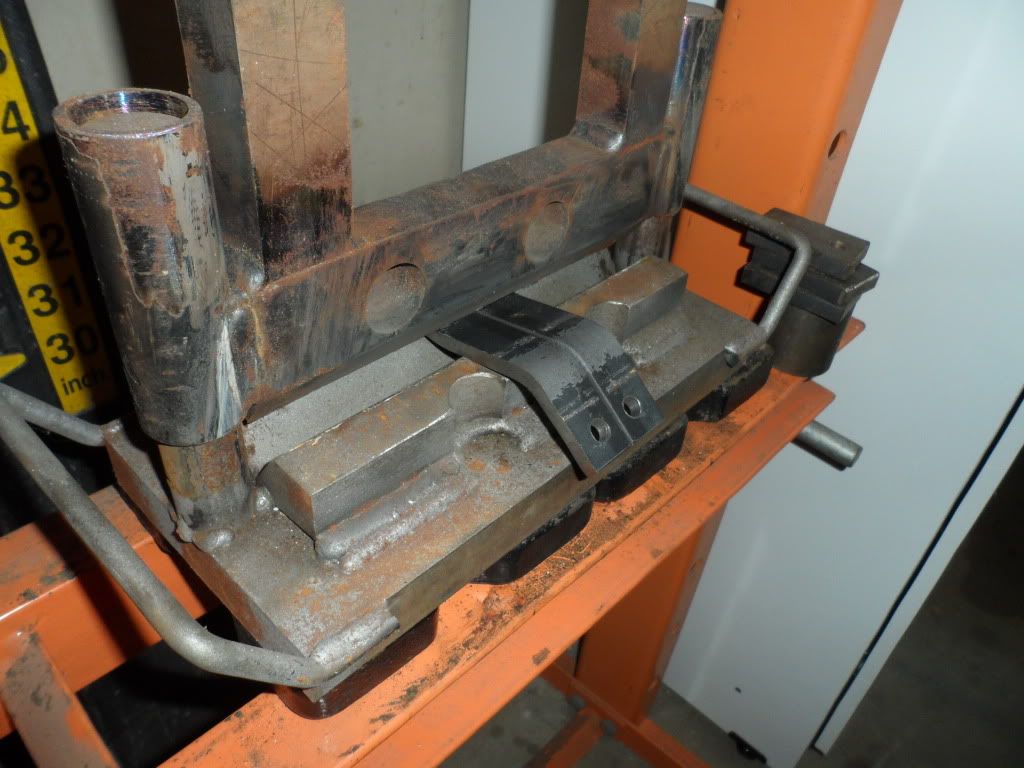
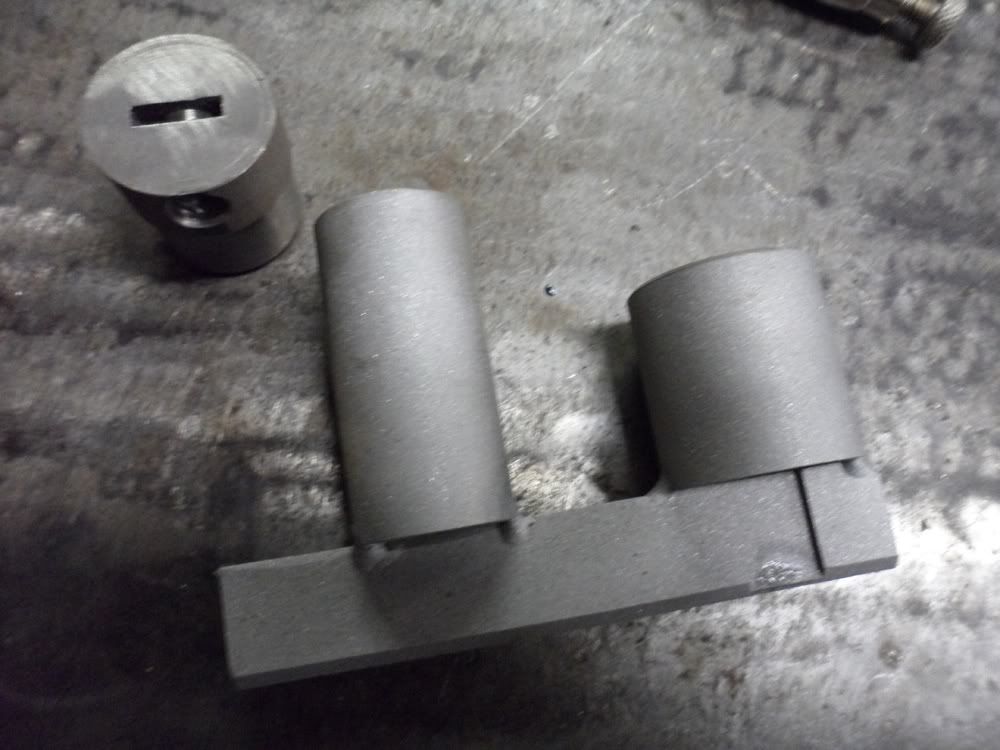
Here is the final set up.
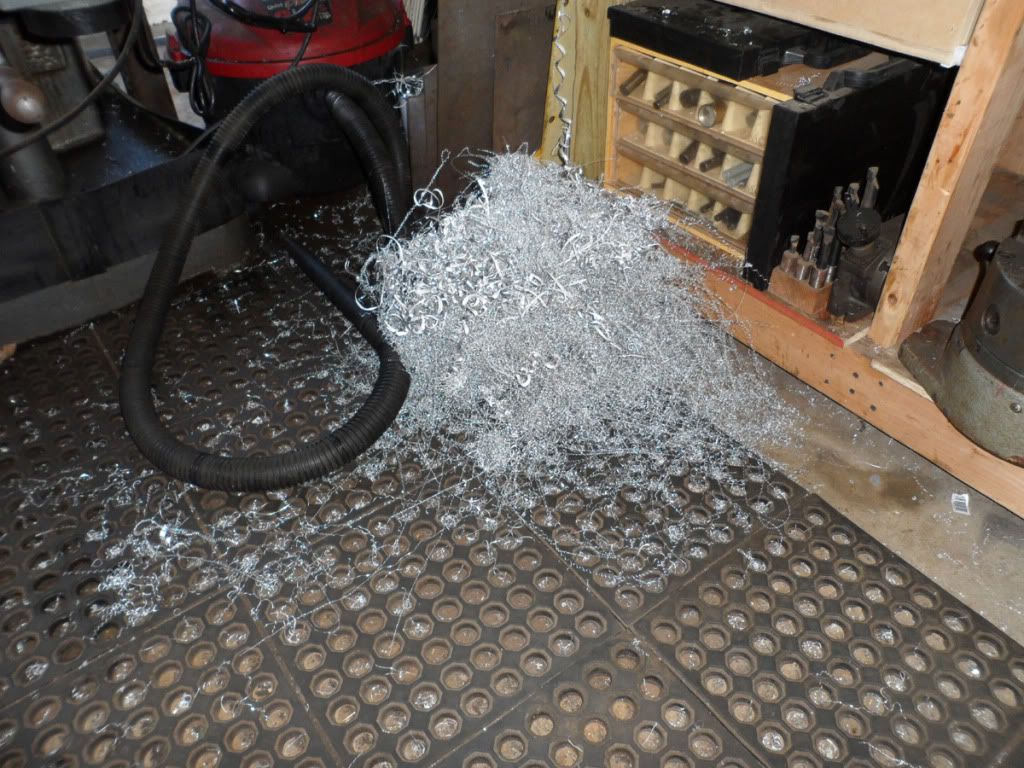
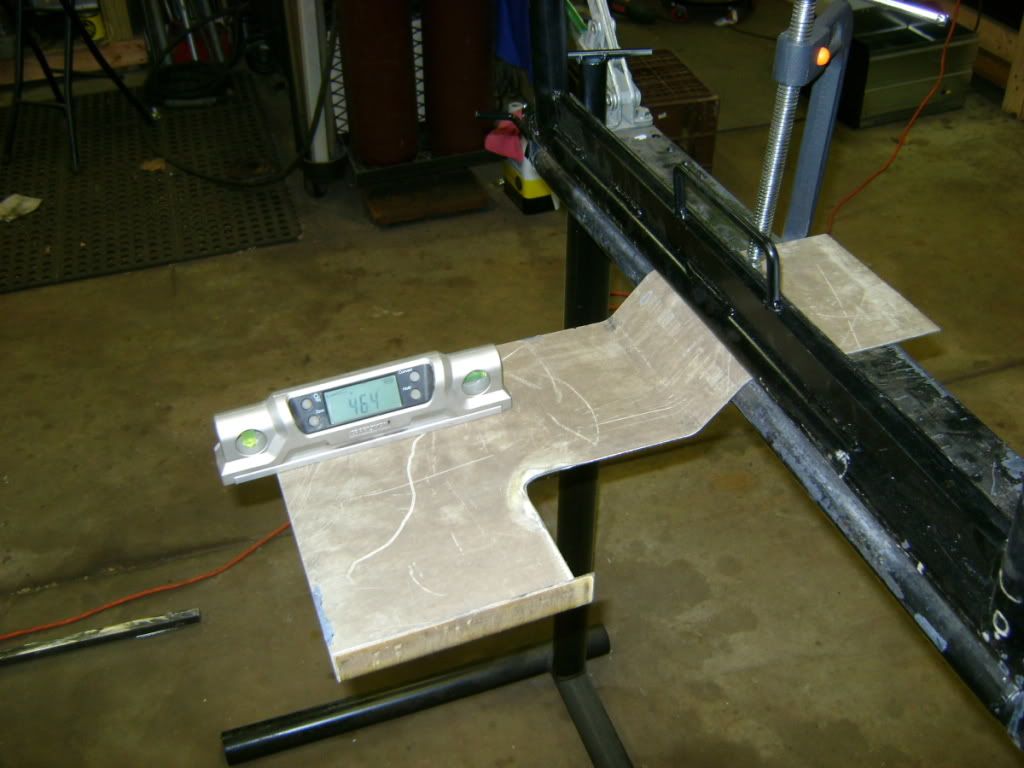
Now you may notice two dies. I made one for 1/2" radius and another for a 1" radius. I'm doing a two tiered frame to get the extra inch width I'm looking for. I bought a 12" square piece of wire mesh and didn't feel like paying a lot more for a 2'x2' just to cut out 13" square. I'm picky. 14" square to the edge of the tube is what I wanted. So it's what I did.
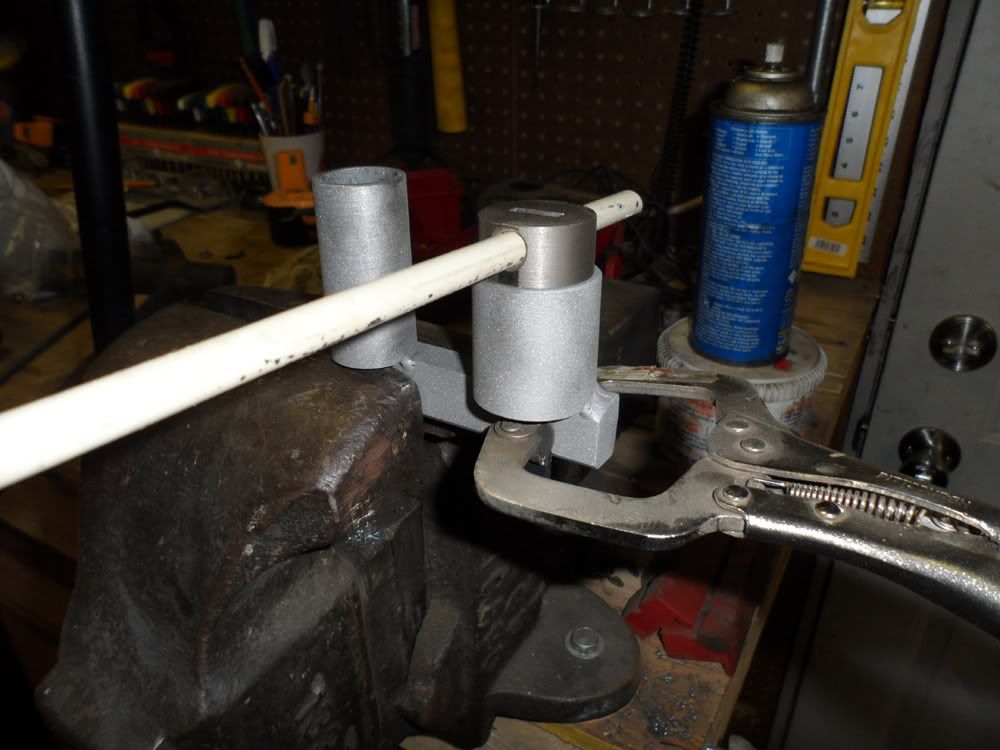
The 1" radius die worked great. The 1/2" not so much. First bend was nice. The next 12 kept tearing the steel. I ended up getting 4 corners and I just had to piece that frame together. Live and learn.
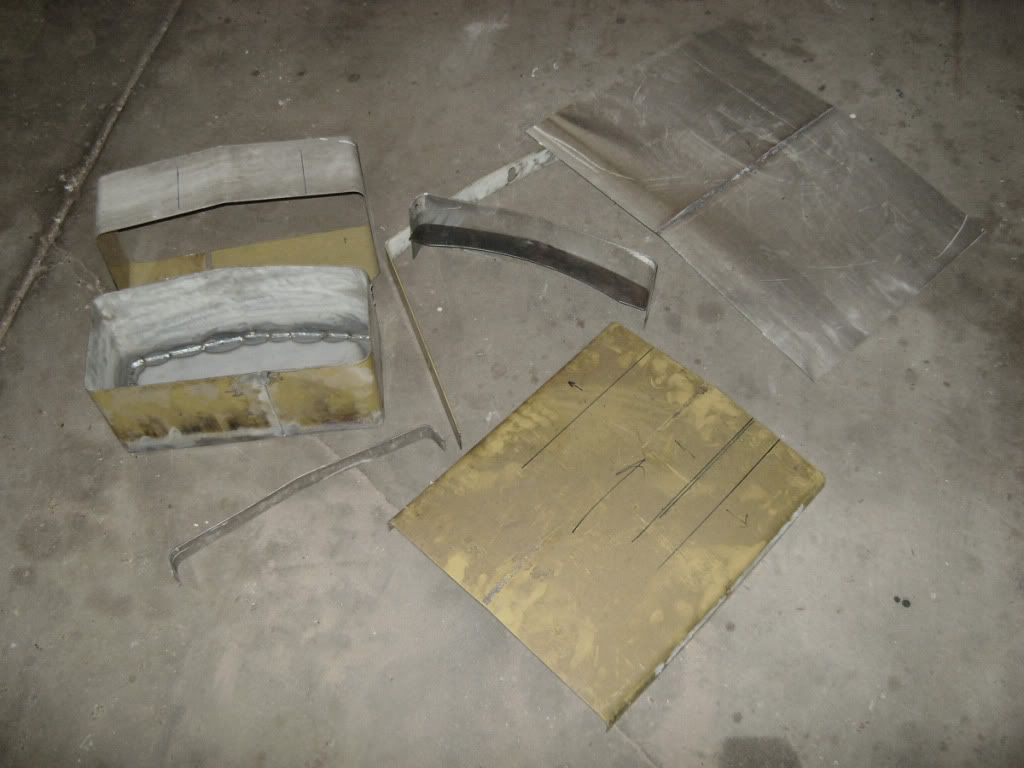
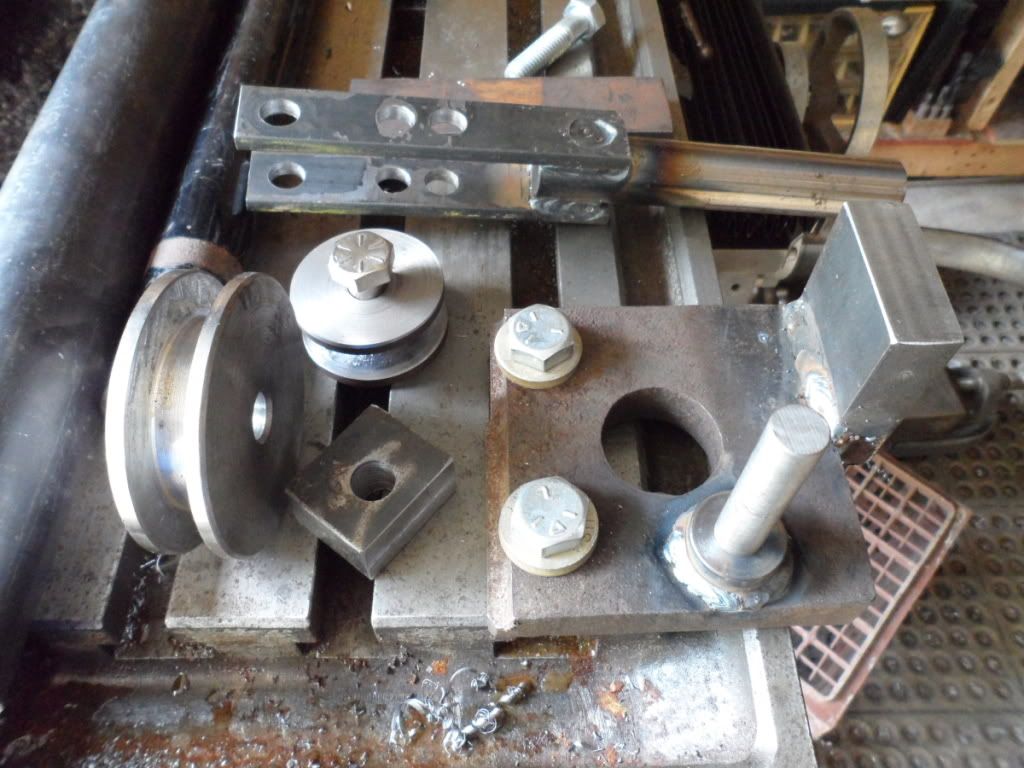
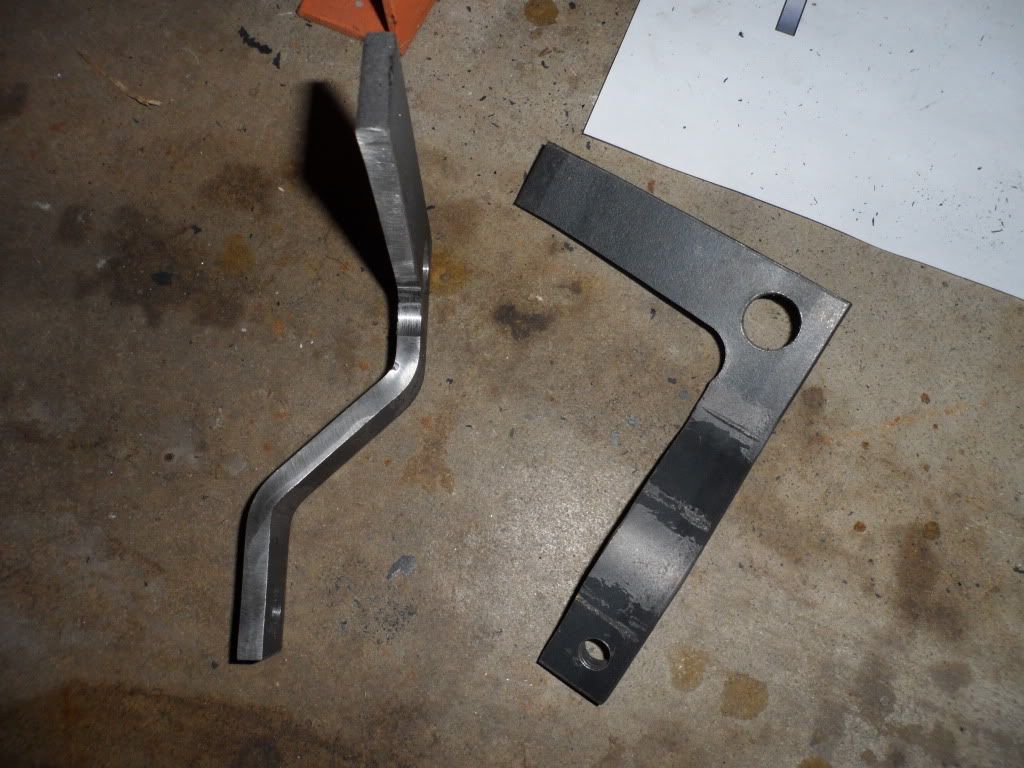
Here is the outer frame.
I got all of the frames tacked together and called it a night. I was anxious to see how it all looked so I taped it together. It looks like **** in the pictures but it will hopefully look better when I'm done. Might be all the glare.
That is all. Thanks for looking.


")