autoclassicnut
Well-known member
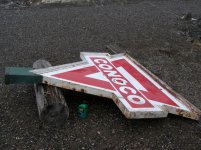
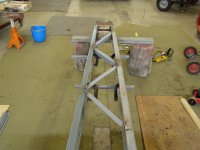
I have been keeping my eye on this for a while and finally talked the P.O. into parting with it...It's the real deal, (including several bullet holes). This baby's heavy... Got it home, now I got to get it put up.


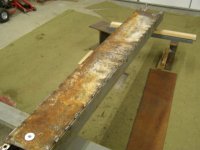
You gonna fill/repair the bullet holes? They add character, but I'd restore it.
Don't restore it...signs are usually worth more long haul if they are untouched.
If you dont mind me asking, what did you pay?

He wanted $600... but I got it for $450
I have one thats 3 foot tall and over 9 foot long still mounted in orginal frame


What are the dimensions?
Sweet! That sign looks big... you planning to mount it on a light pole?
8' across top (or so)and 7' from green stand to top of sign (or so)..
 From the first pics, it doesn't look that big. Nice score
Wow great score! I tought it was quite large. In one of the first photos there is a quart bottle of oil under the sign. Please keep posting photos of the progress. I would like to see the finished project.
Lucky Dog! Enjoy!He wanted $600... but I got it for $450
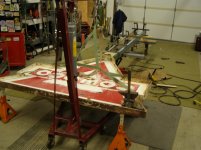
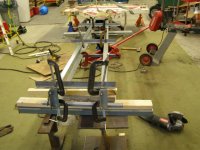
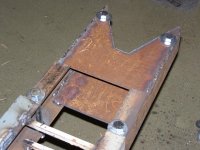
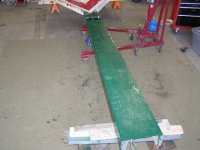
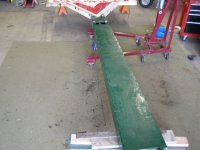
Made a little progress yesterday,with some bracing and such. But it's funny how life with your family gets in the way. Have to enjoy every minute I can while we're all together for sure.

Sweet sign. I am going to the PIR swapmeet in Portland this weekend, just hoping to score some nice signs like that to decorate my shop with. My white walls are boring, signs like yours would really dress everything up nicely.