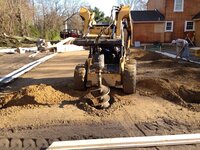
Who ever is buying concrete should set final grade. It needs to be checked for final grade against thickness of slab at desired elevation.
Very true - The importance of accurate final grading is major.
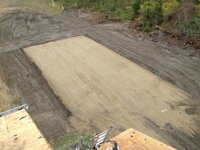
Like in my case we will be doing a slab this spring that has to have a certain specific TOP surface elevation to match up floor level w existing stuff
So, if our final grade before pouring was just 1" too low, on our 1400 ft sq slab that would be an EXTRA 1" x 1400 = over 4 yds extra wasted money... not even to mention running out of mud in the middle of a pour headaches etc etc.
$4-500 totally wasted cause was not done accurately enough.
Course, fill matl and labor is not free either.. but in our case we have high ground extremely sandy virgin packed soil we are pouring on, and we are being slow and careful to not cut too deep .
So, not paying for fill, in our case it would be those $ wasted.
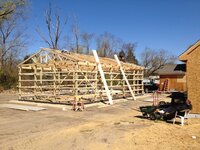
Now, on a typical stand alone polebarn, if your slab surface ends up + - 1" of final planned elevation, you MAY be OK.. other than could cause problems w door heights.
But wait - the finishers will pour puddle and rough screed to a elevation given to them.. so actually, they will run out of mud.. and you will have a large dirt corner that at least your cats will like.
ALSO -- even if your average finished before pour grade is good, you still don't want sloppy 3-5" range deviation in slab thickness due to it not being flat consistent 4".
So, in most ALL situations , accurate FINAL grade before pour is very important.
AND, you sure don't want to be a yard short, nor do you want a one yard concrete carbuncle in yer yard as a Lawn Ornament.
But maybe they bring excess back to their yard ?? (but you still paid for it).
Whoever gives and blesses a final # for elev has a BIG responsibility on their shoulders, and definitely sign off on compared to a stable benchmark so blame cannot be shifted.
This is one reason it's good to have a concrete guy that does final grading himself, as long as you still get your spec'd thickness minimum !
I'm NOT a concrete guy.. If I'm off on anything feel free to correct me.
Marc