To avoid these ads, REGISTER NOW!

Sheet metal sandblast damage - a test subject

MP&C

Well-known member
Joined
Oct 21, 2009
Messages
4,405
Location
Leonardtown, MD
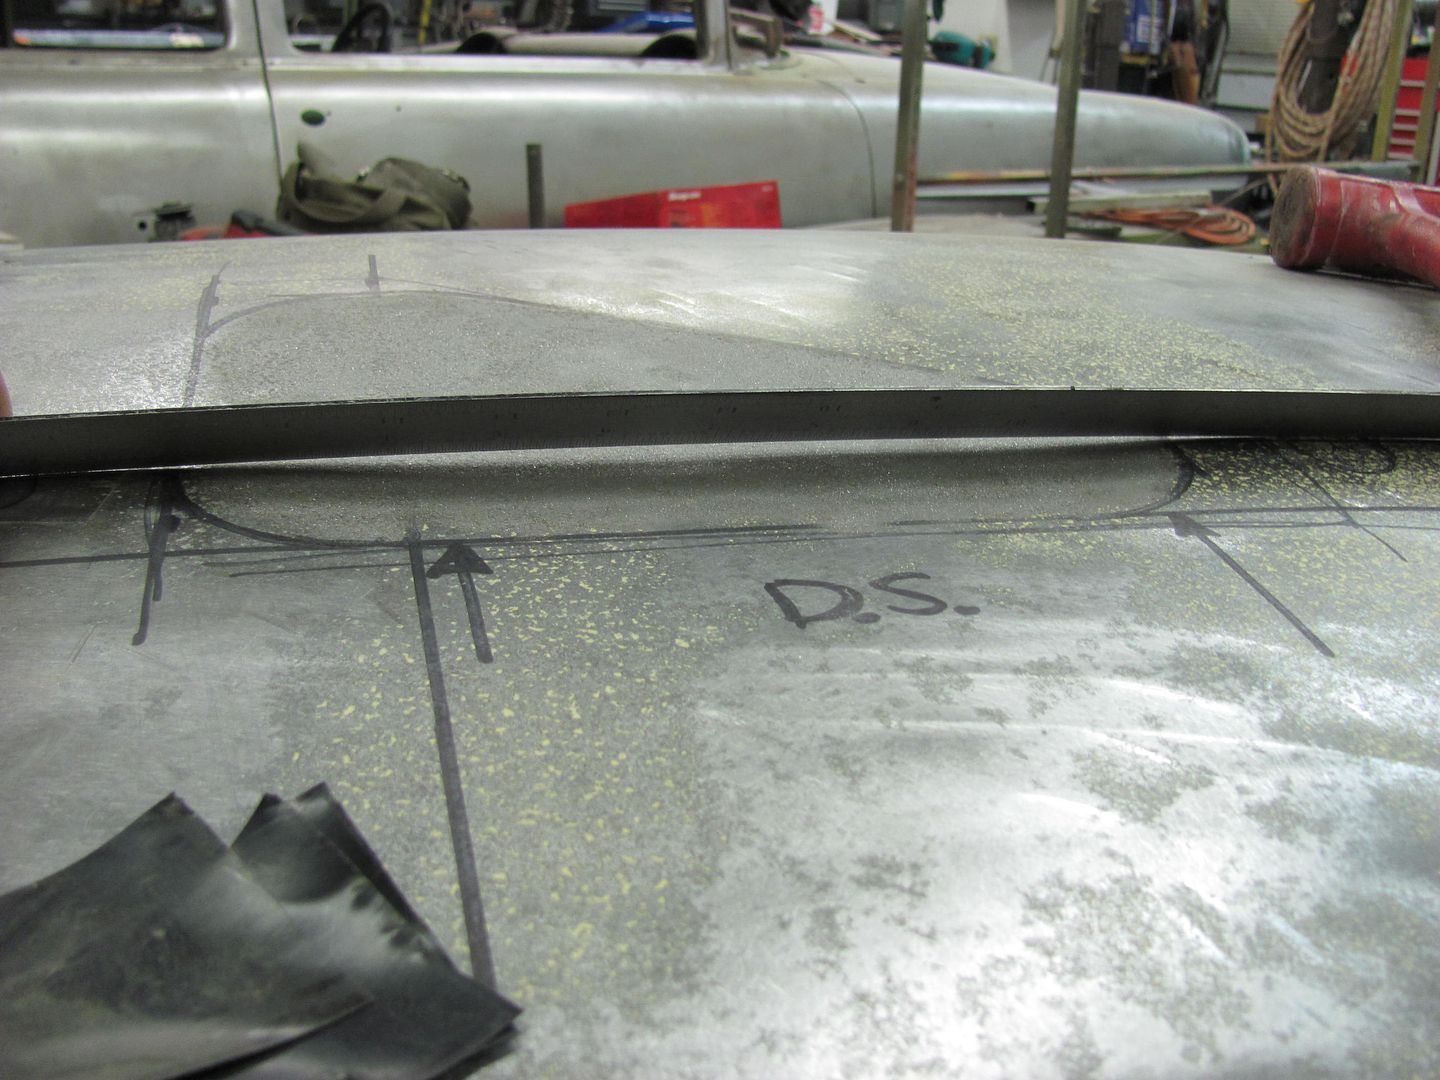
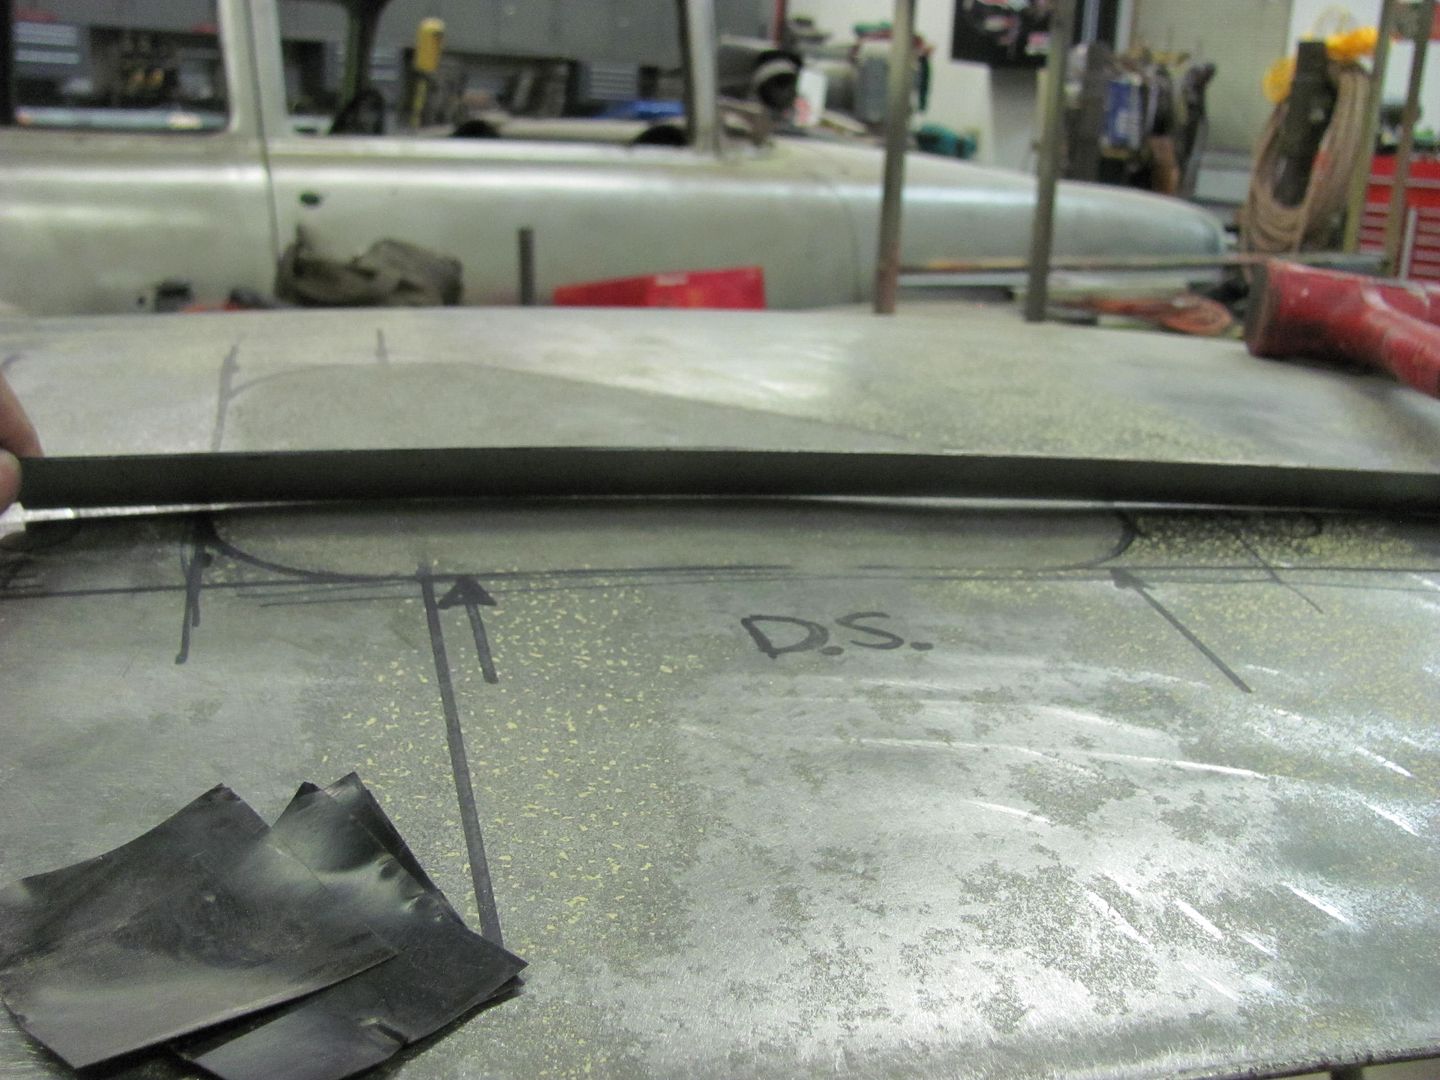
One of the guys on another forum I frequent had the misfortune of trusting his 55 Chevy to a sandblasting expert ("been doing this stuff for thirty years!") and now is trying to regroup from the damage. The trunk lid was only sandblasted from the inside, and needless to say, too much pressure, too coarse media, one or both produced these results......

IMG_0371.jpg


.......where the peening action caused the inside of the skin to stretch until it bulged inward. Discussion ensued as to the correct action to take to remedy the situation, with the primary differences of opinion being:

1) sandblast the outside to equalize the pressure caused by the peening (that caused a stretch on one side only) and then once equalized, shrink as needed to restore the panel to proper crown.

2) Shrink the panel as it sits, then take corrective action (stretch/shrink as needed) to restore the panel to proper crown.


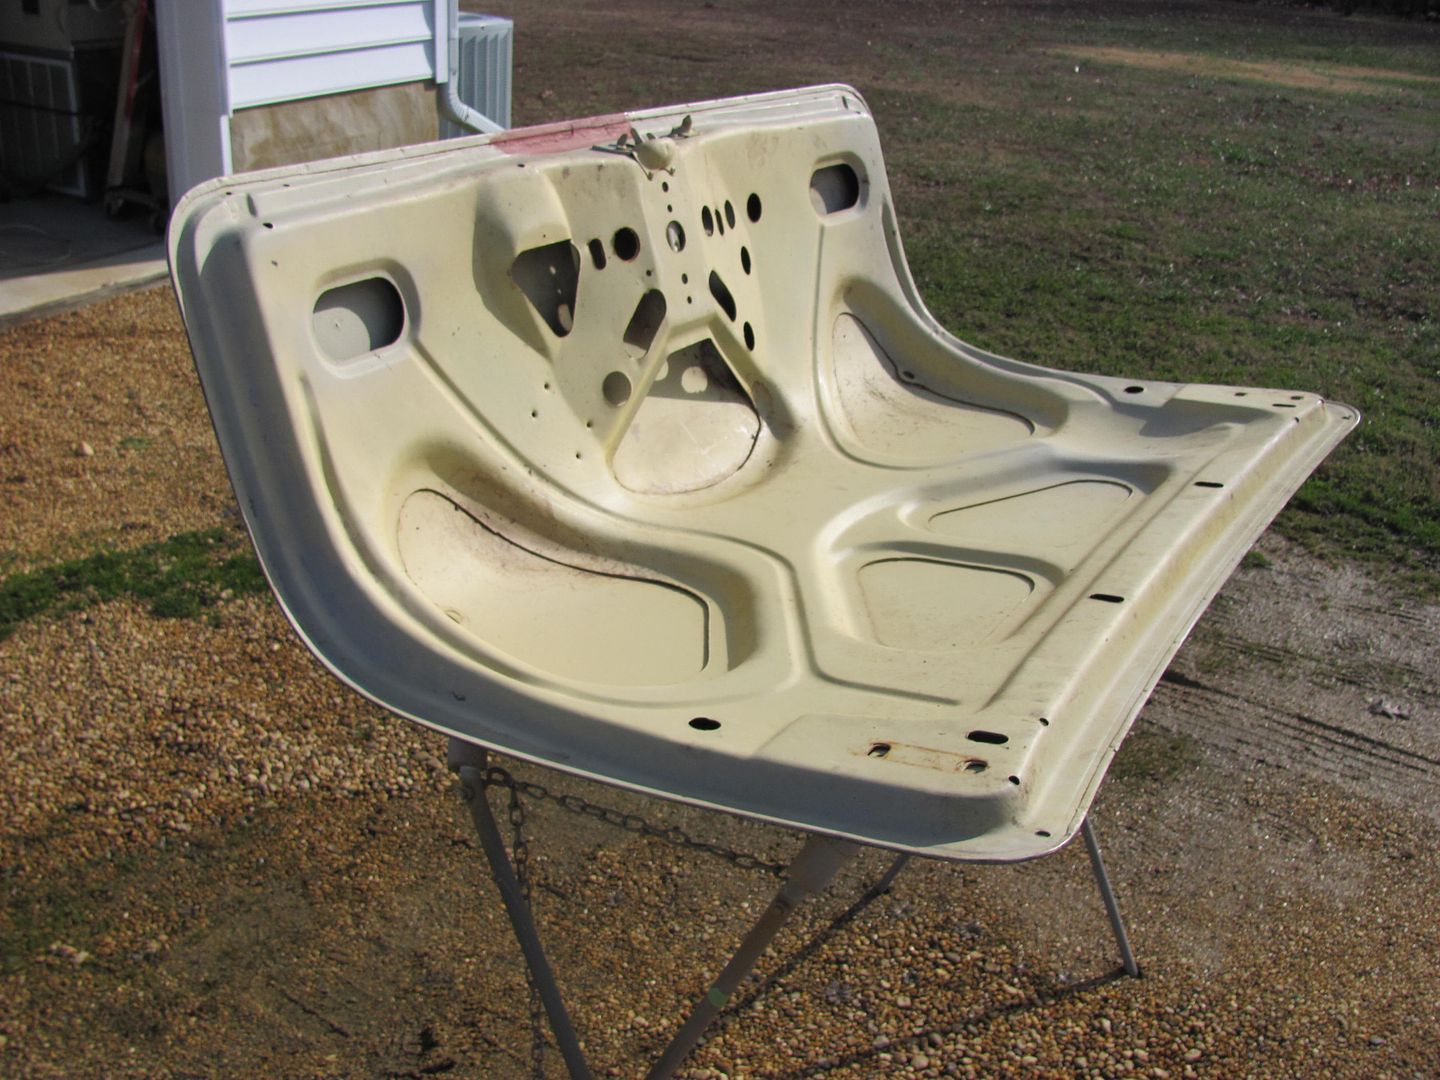
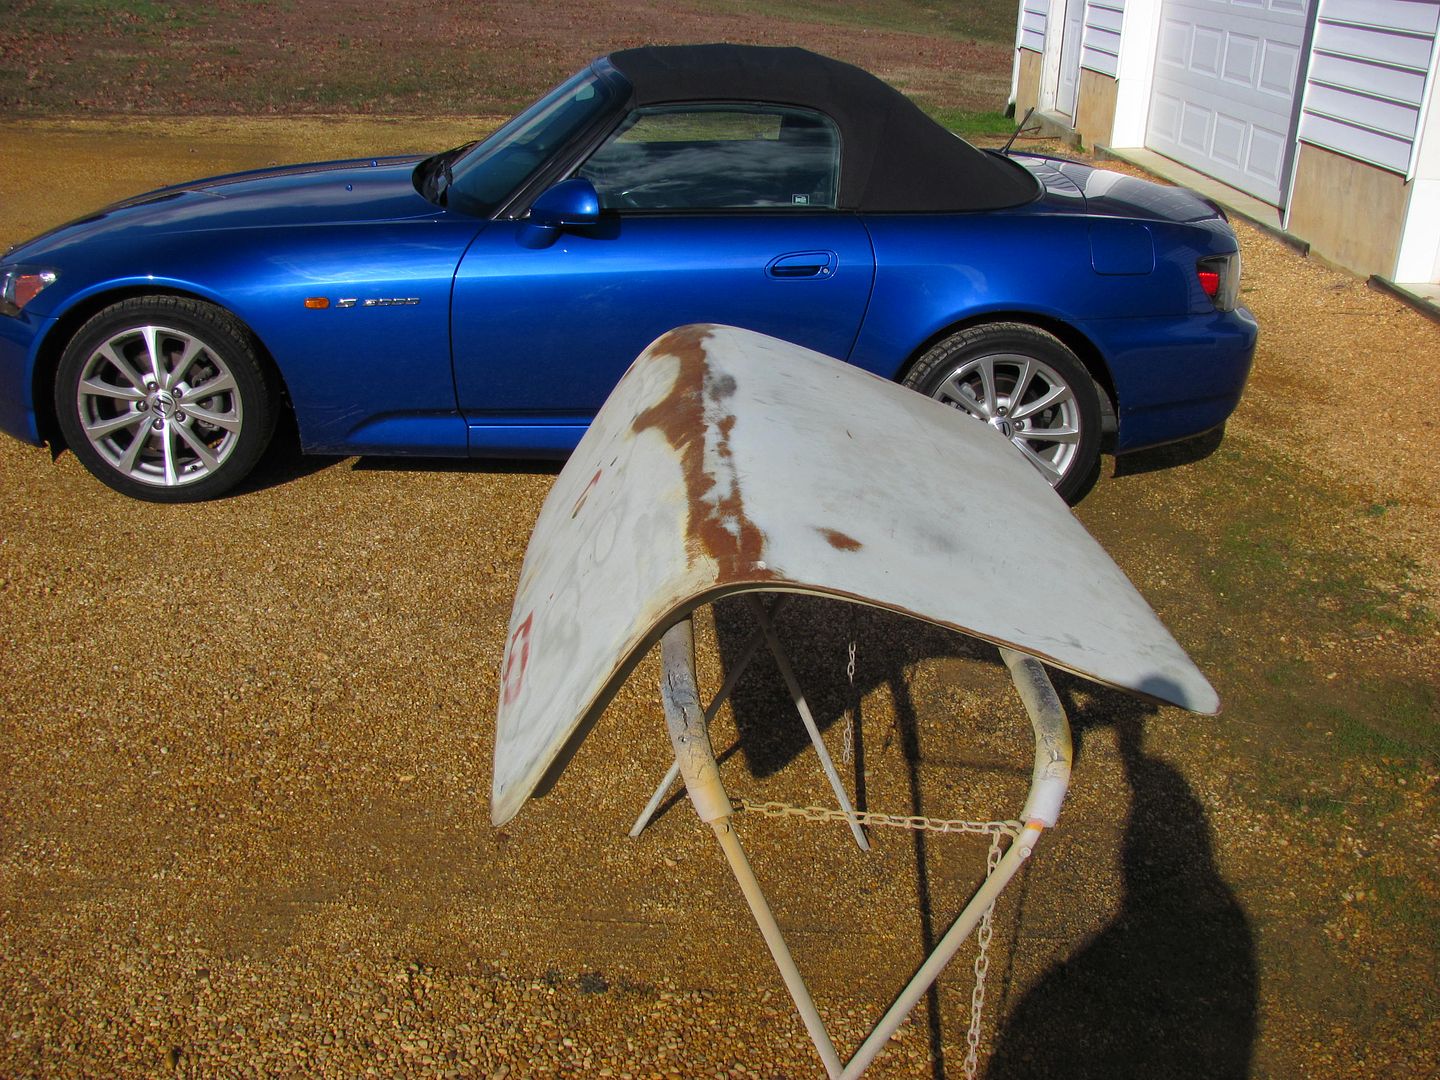
After various inputs, the owner of the car is rather timid to try anything until a concensus is reached. So in the interest of learning something, I decided to help the guy out by conducting a test of both theories, and see what plays out. A local test subject was obtained, and also picked up a bag of medium grit Black Beauty from United Rentals.
Picture005-4.jpg


Picture008-3.jpg


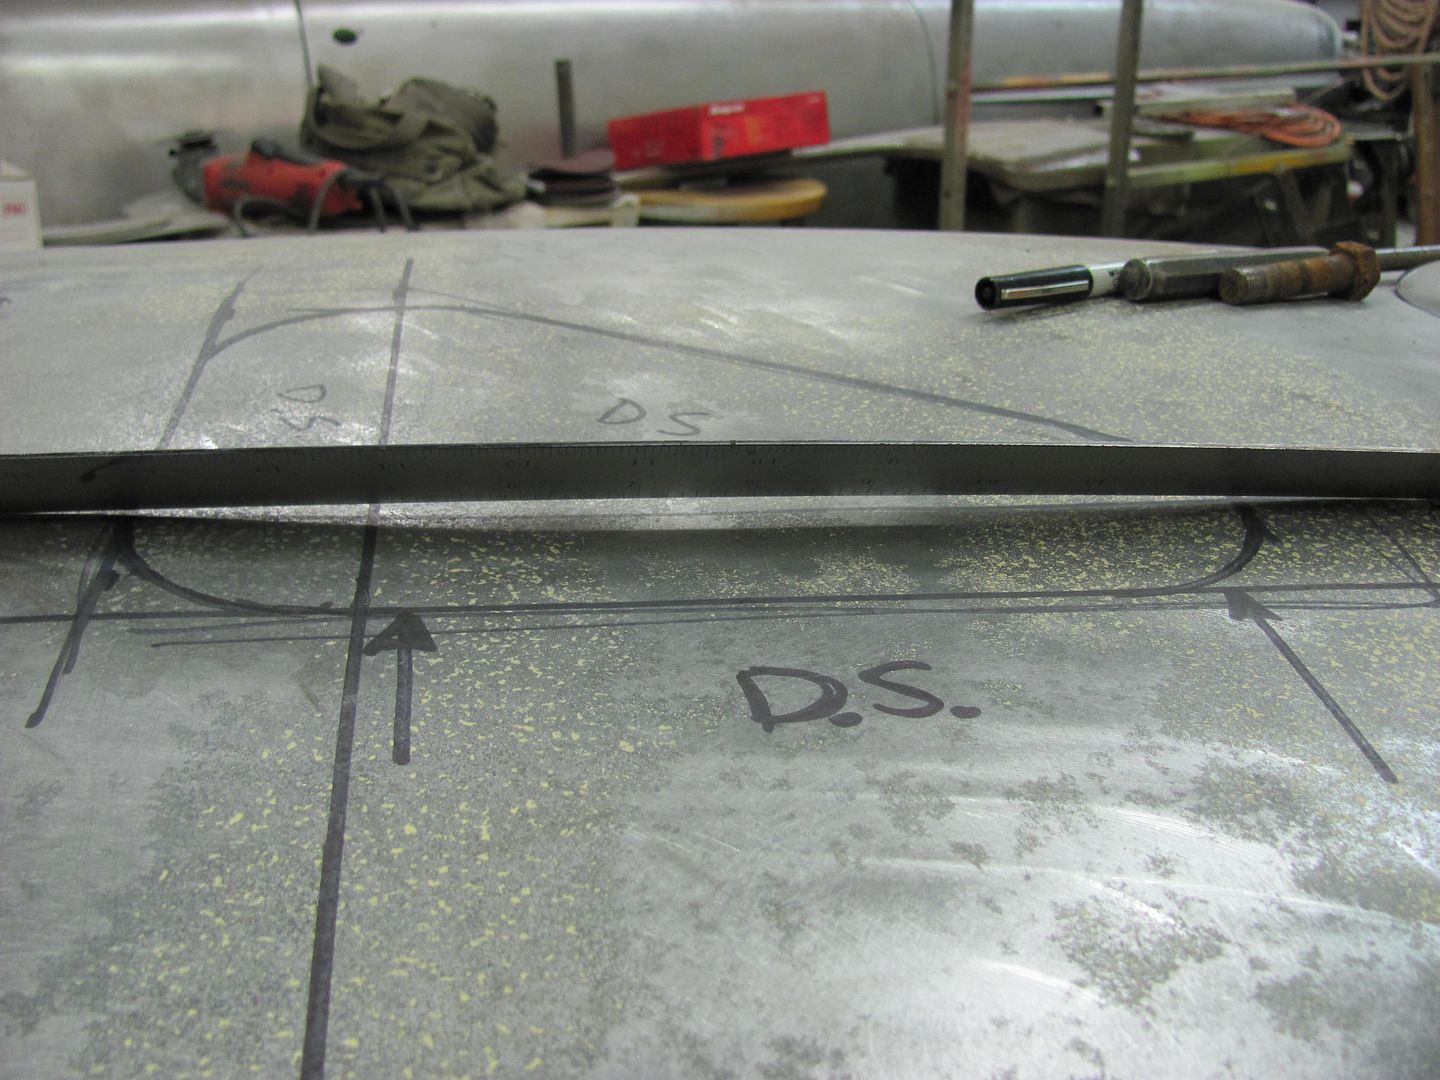
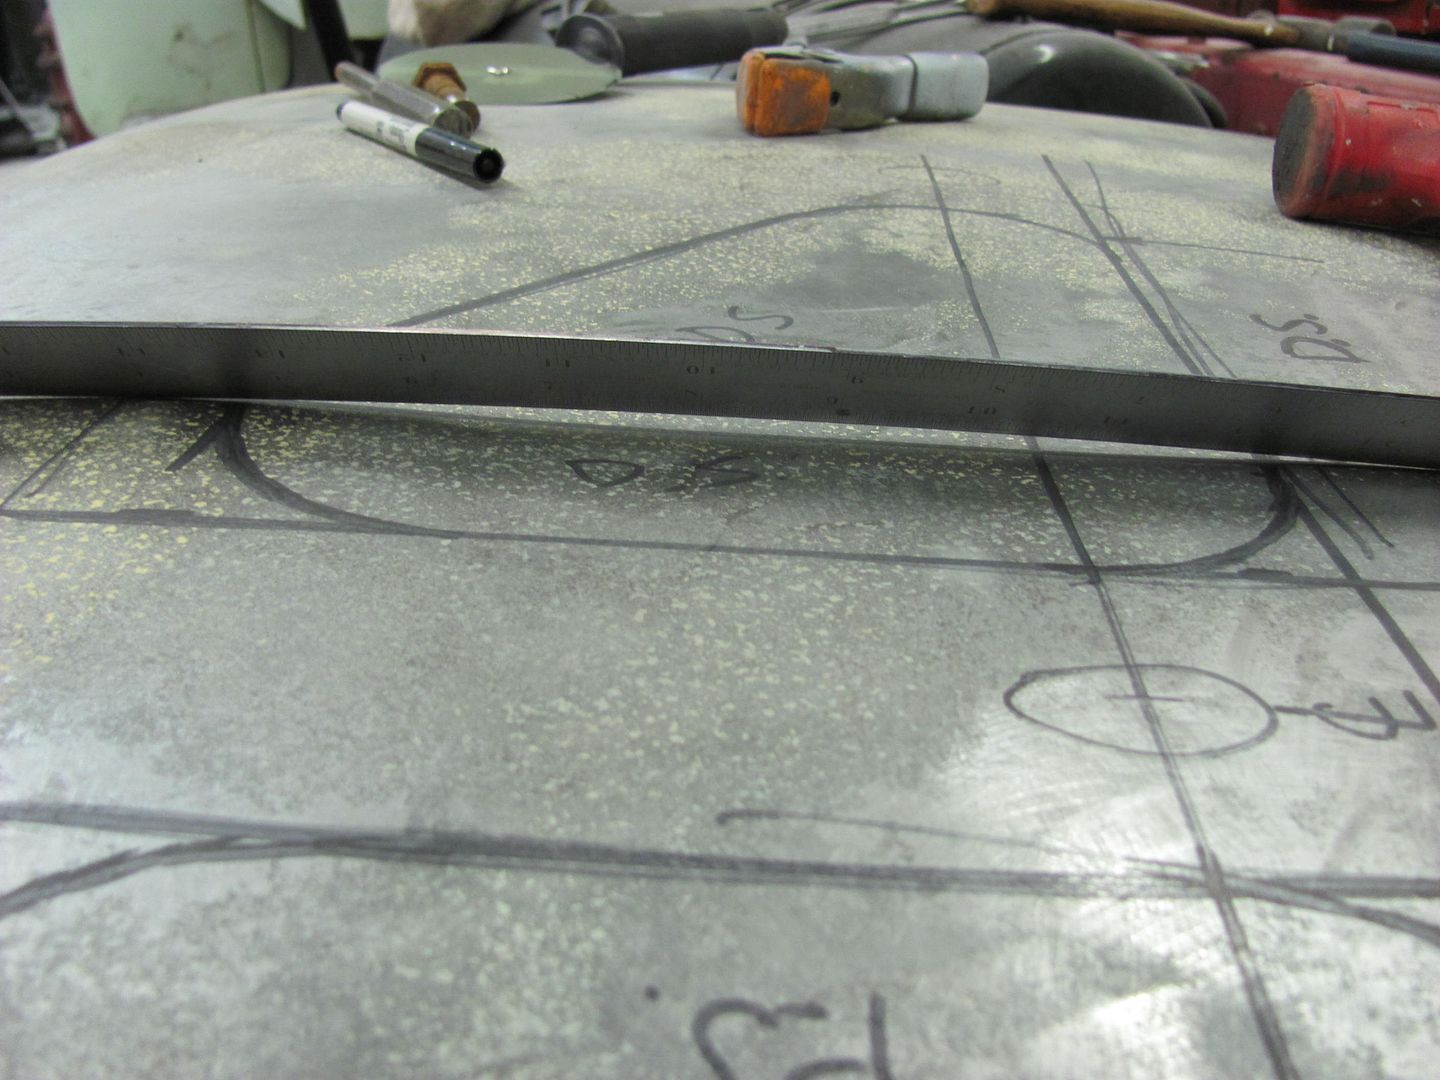
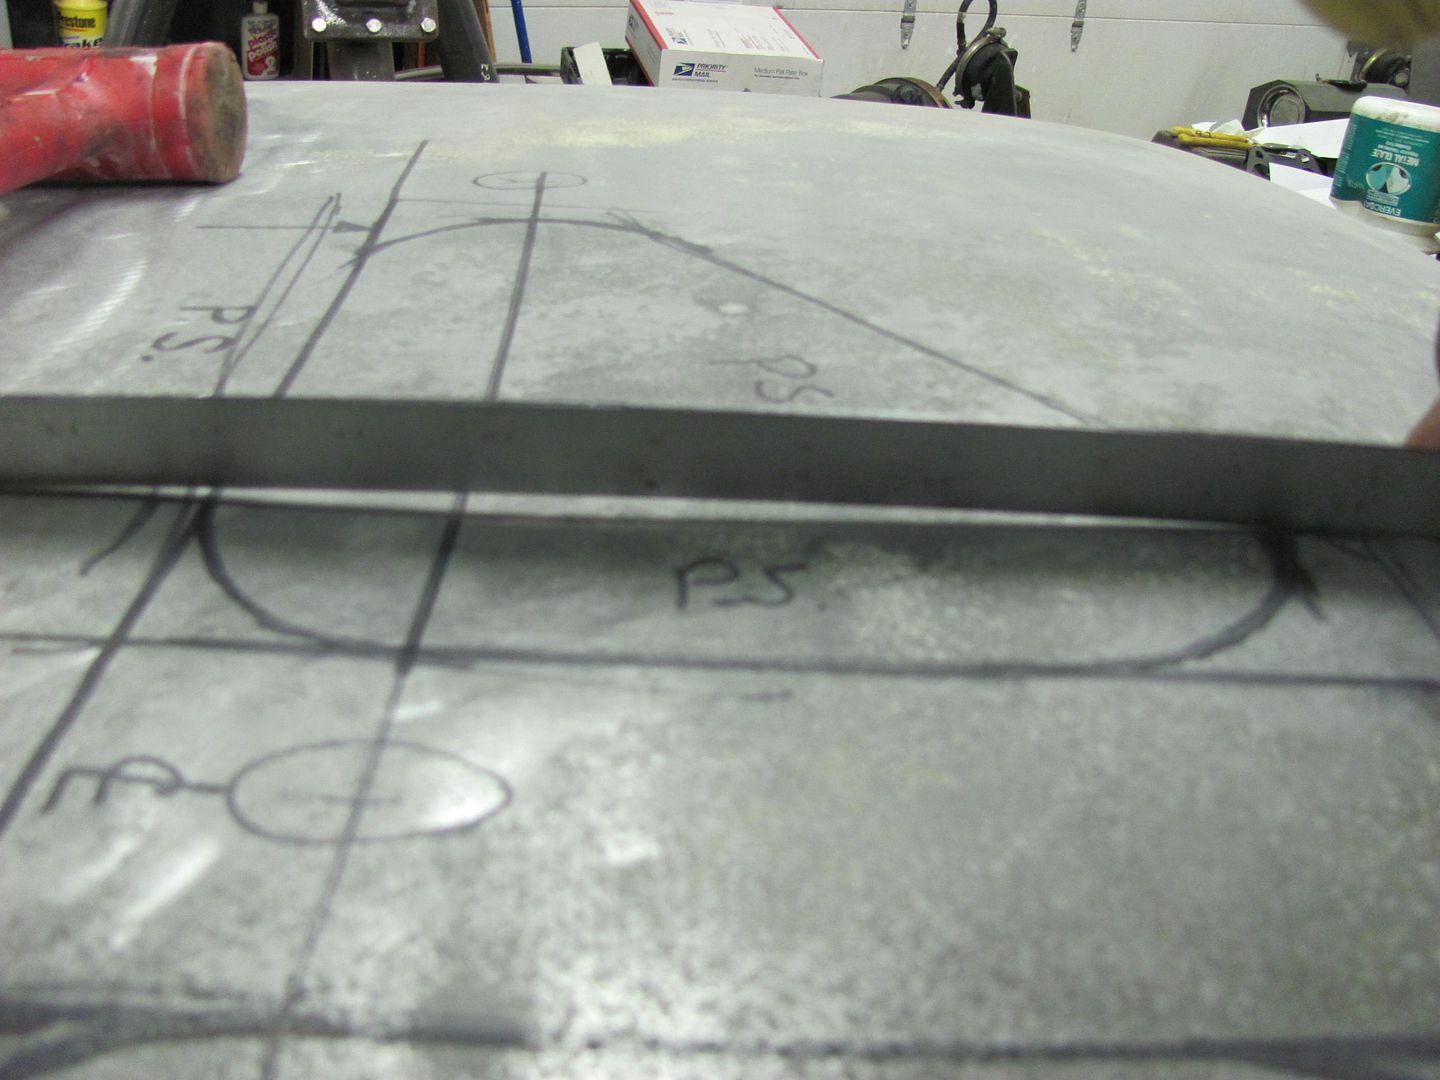
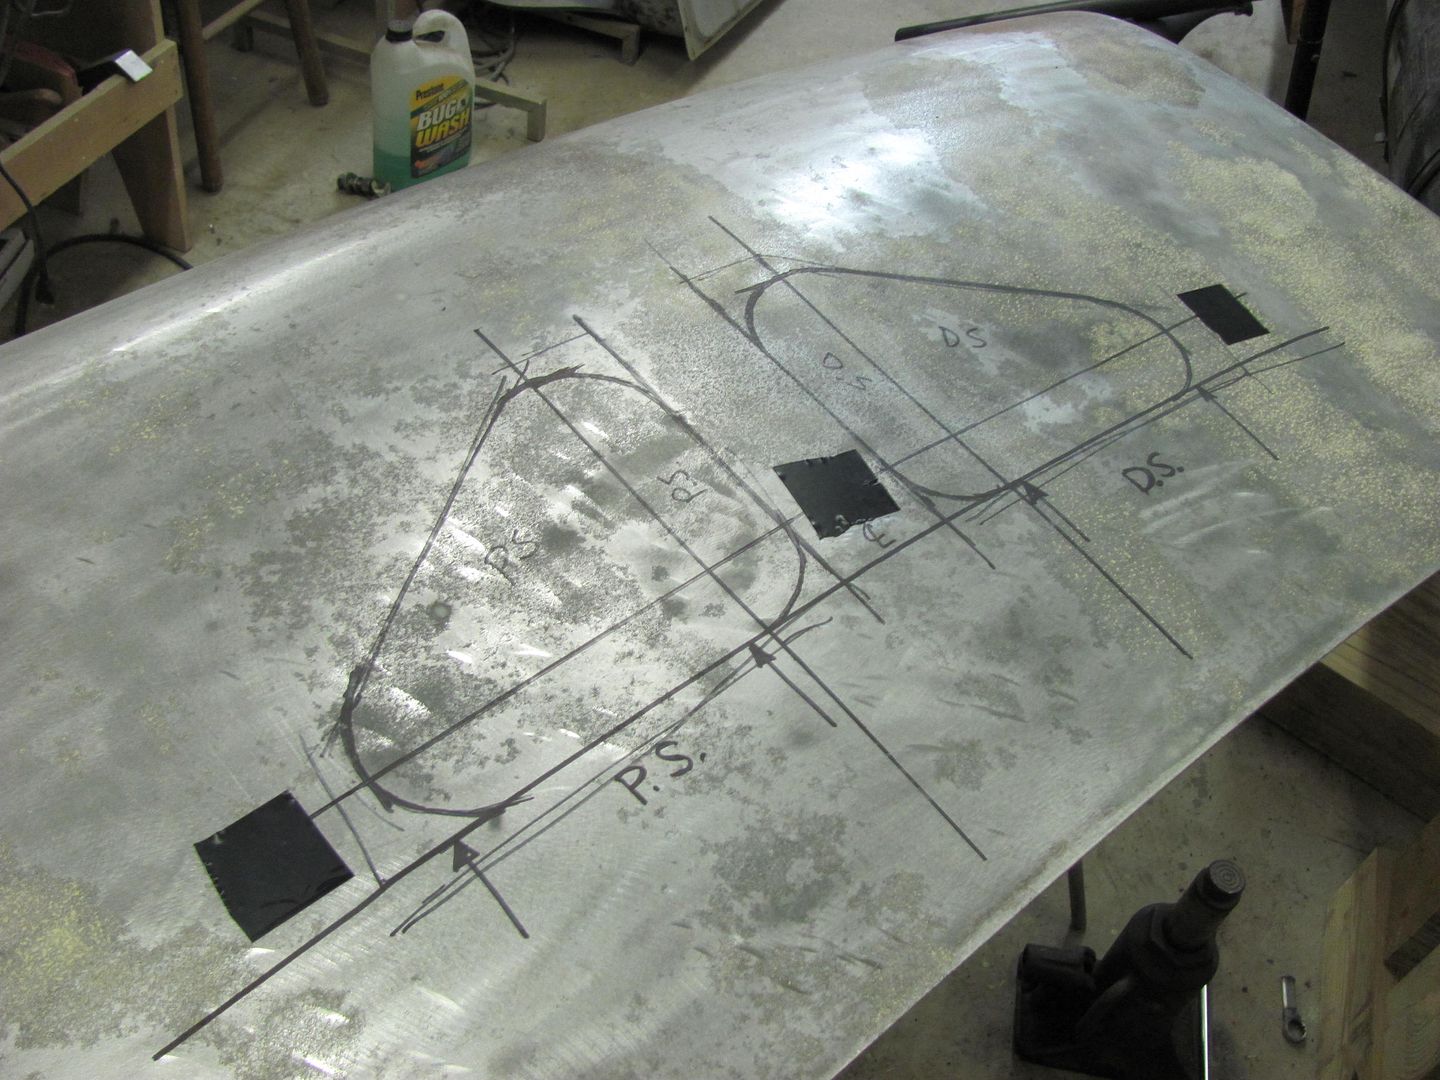
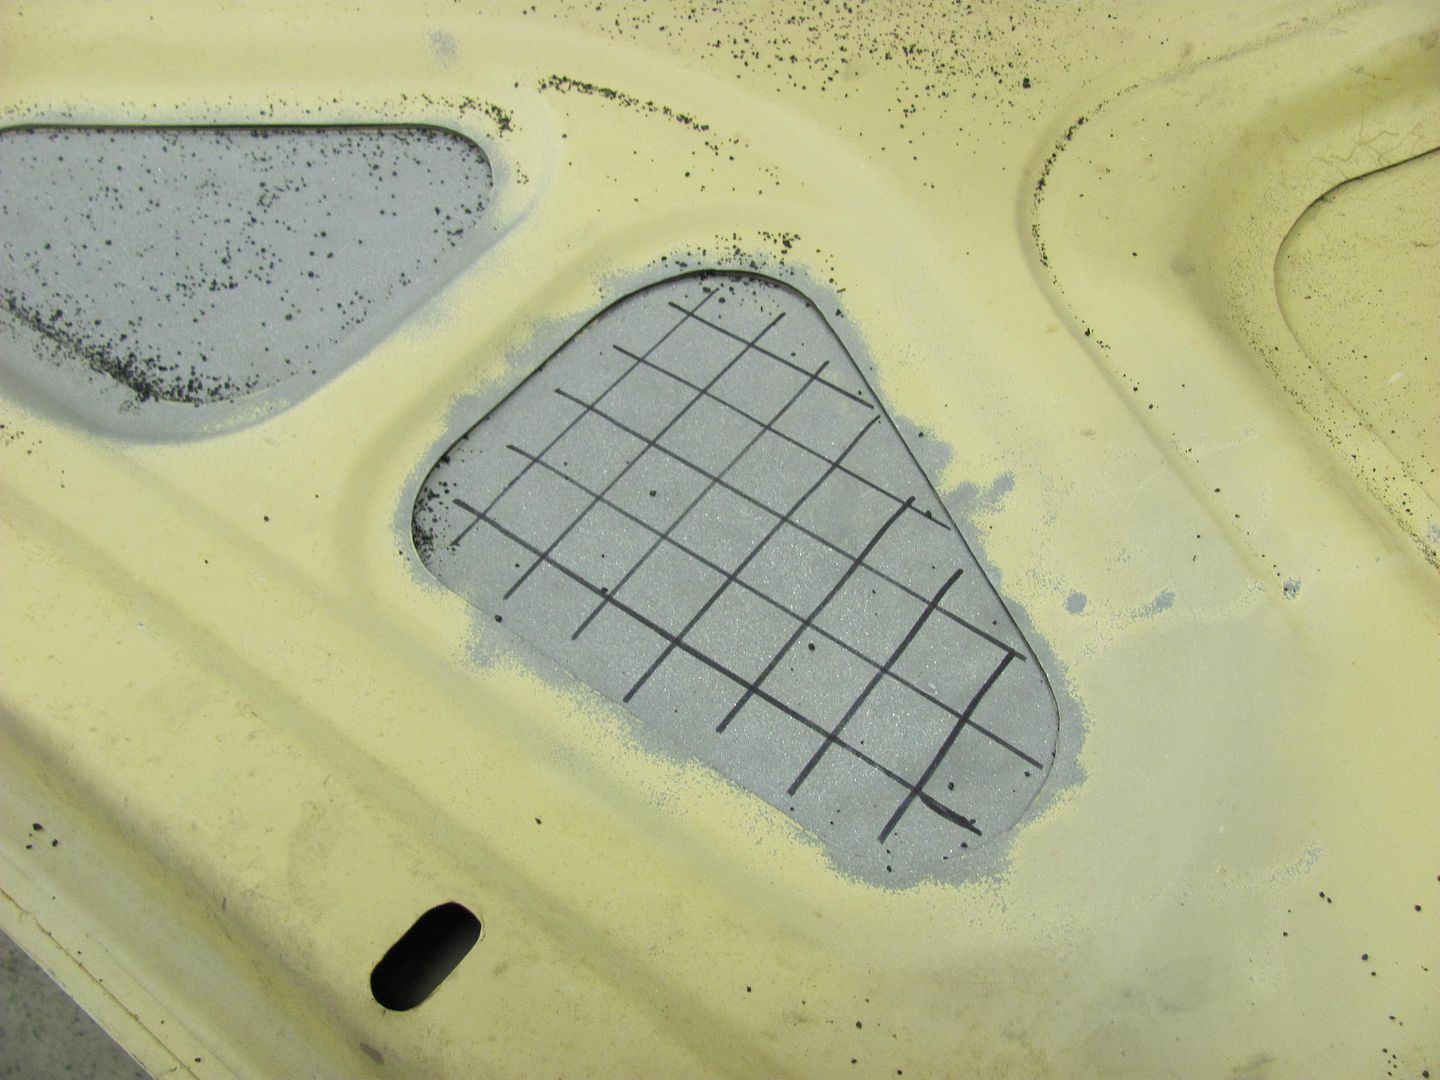
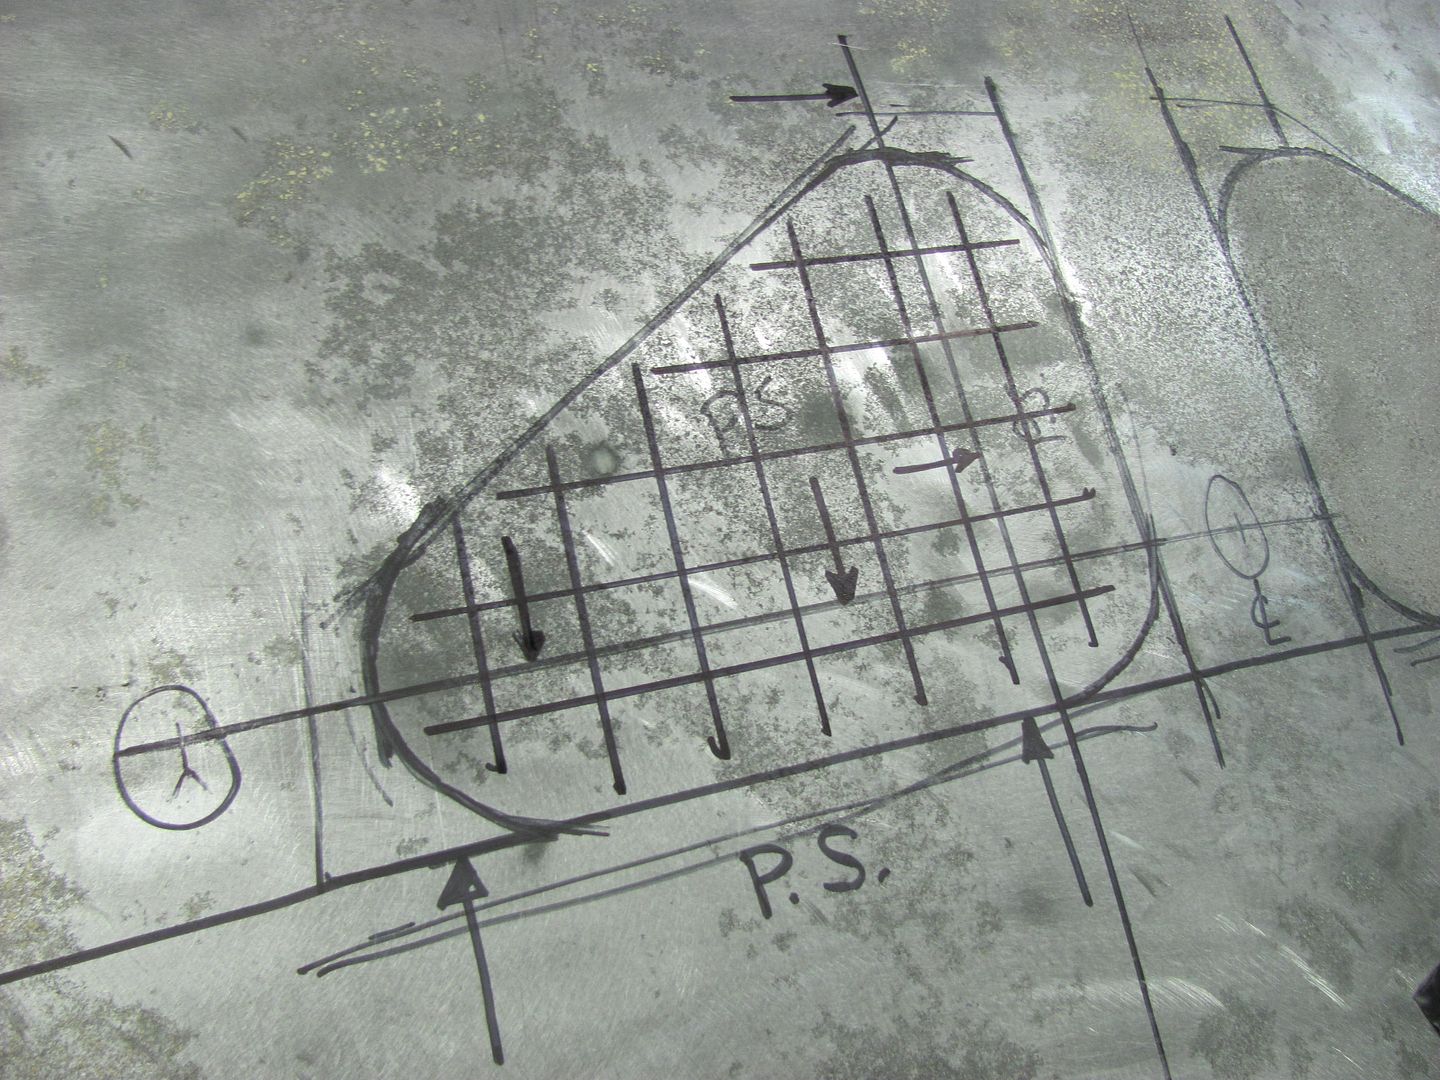
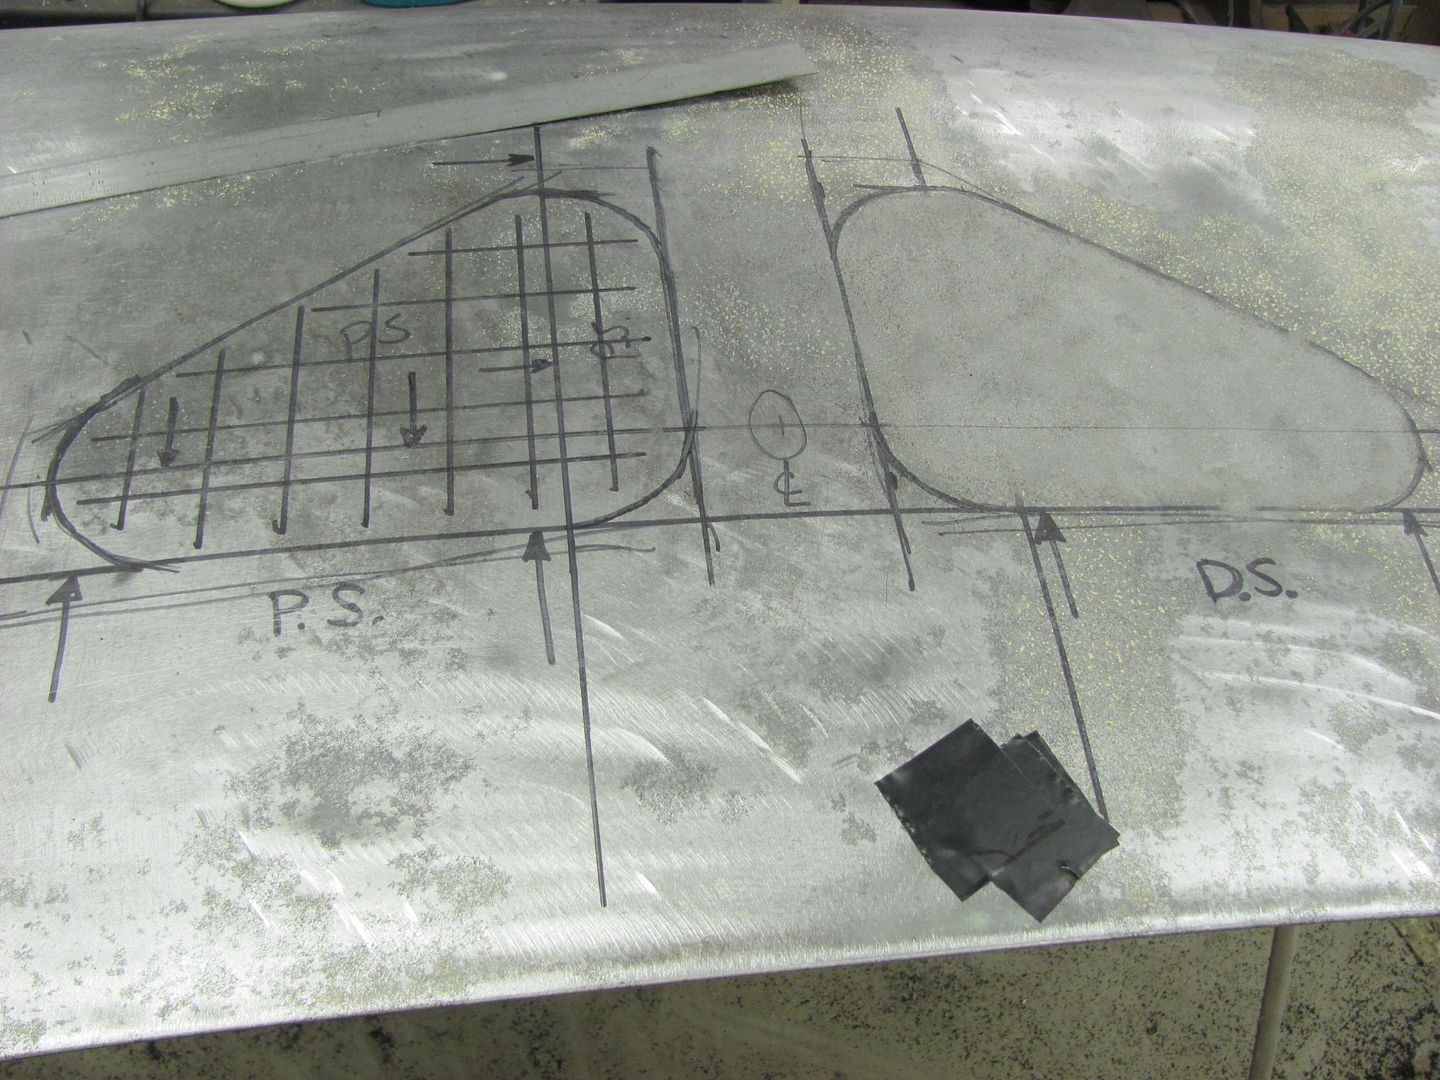
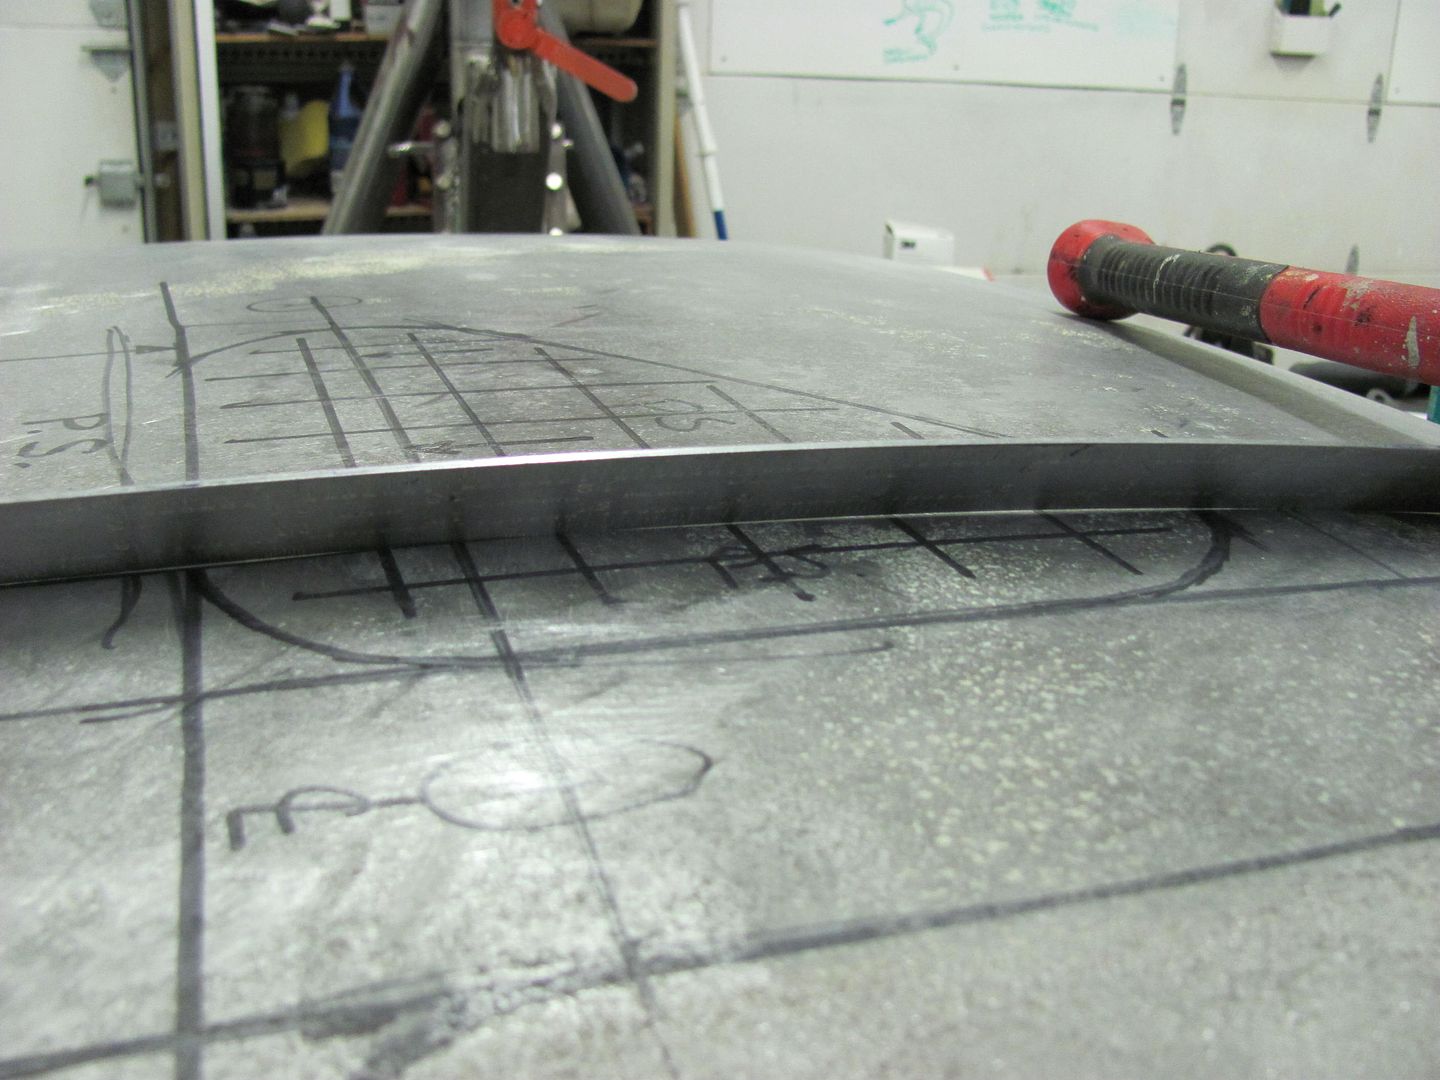
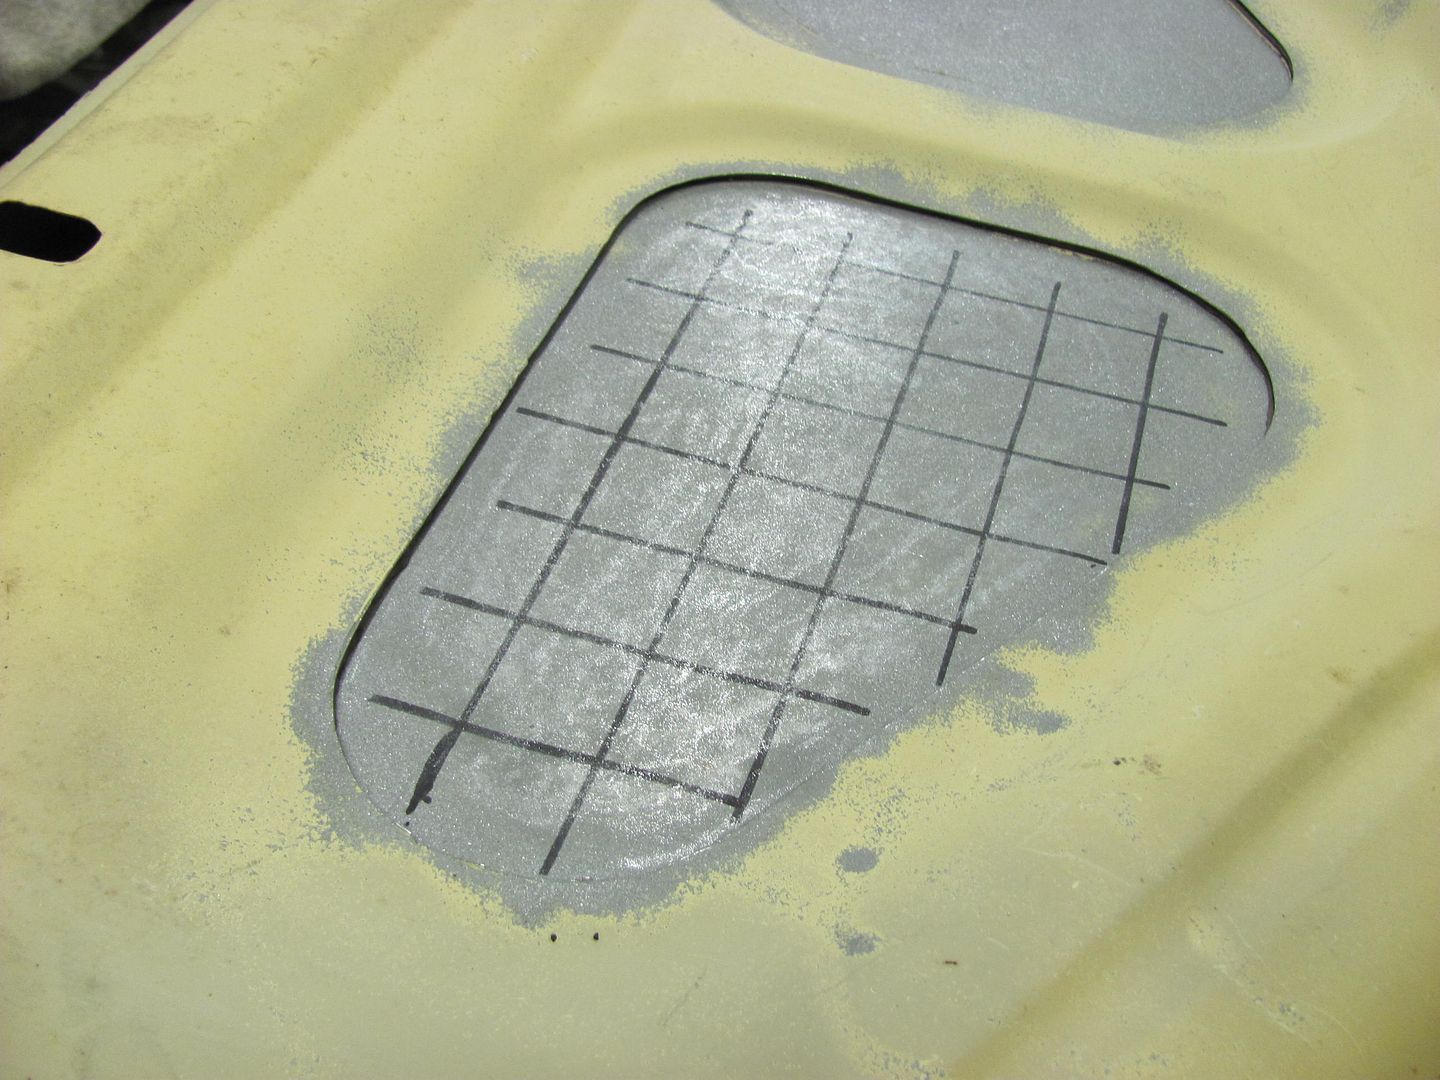
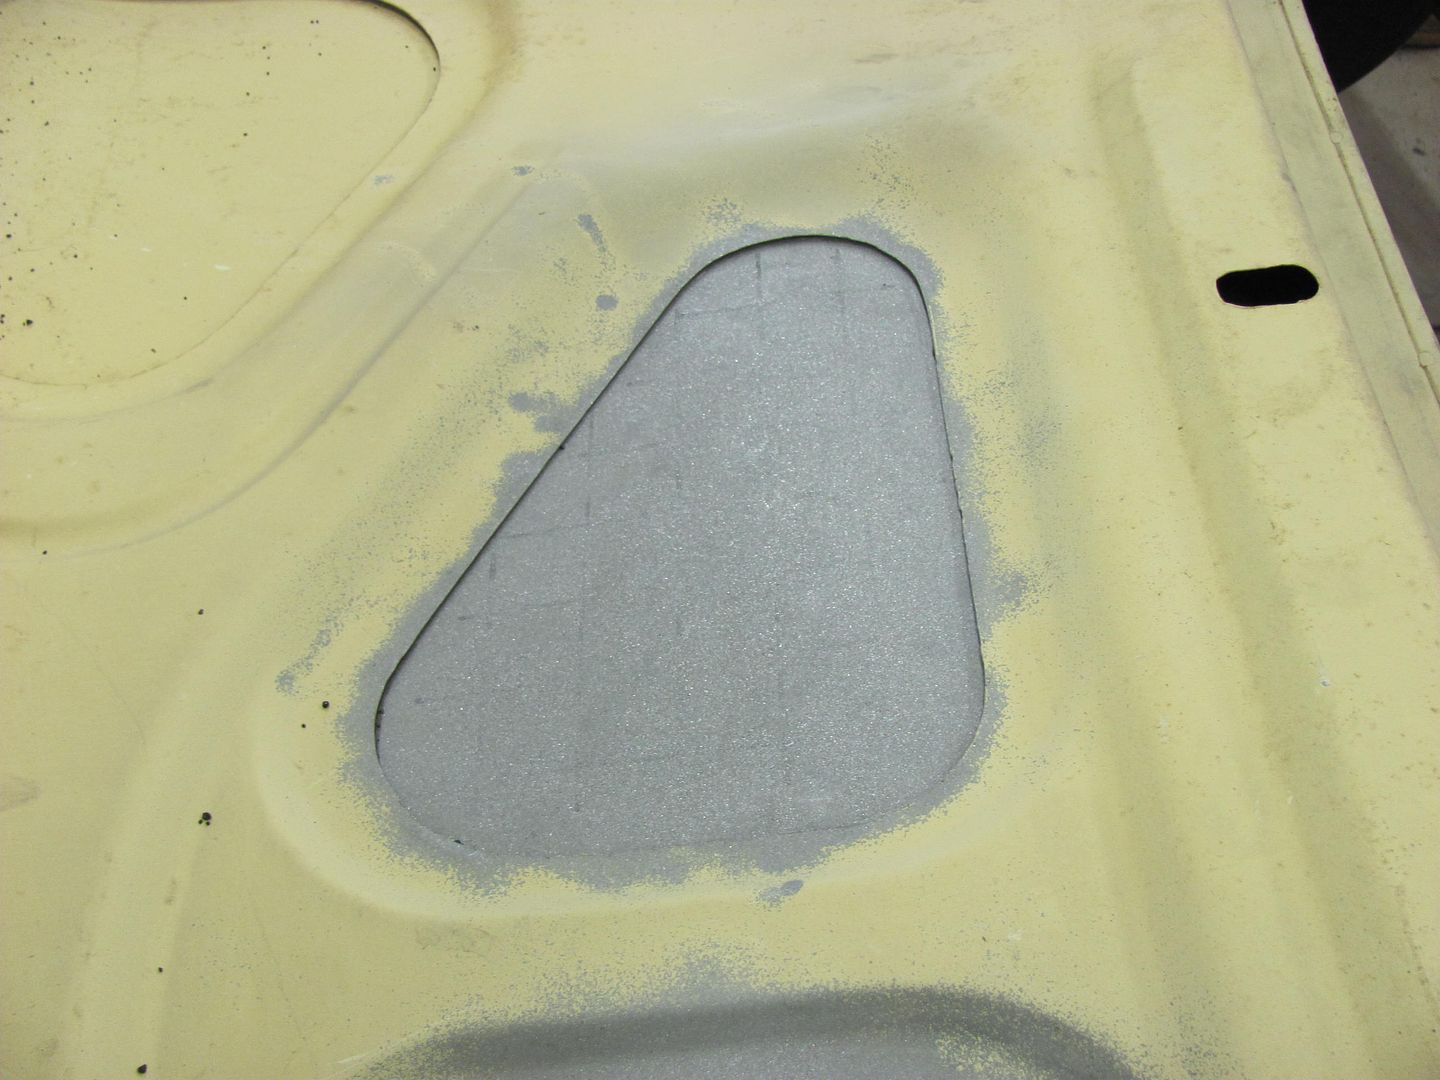
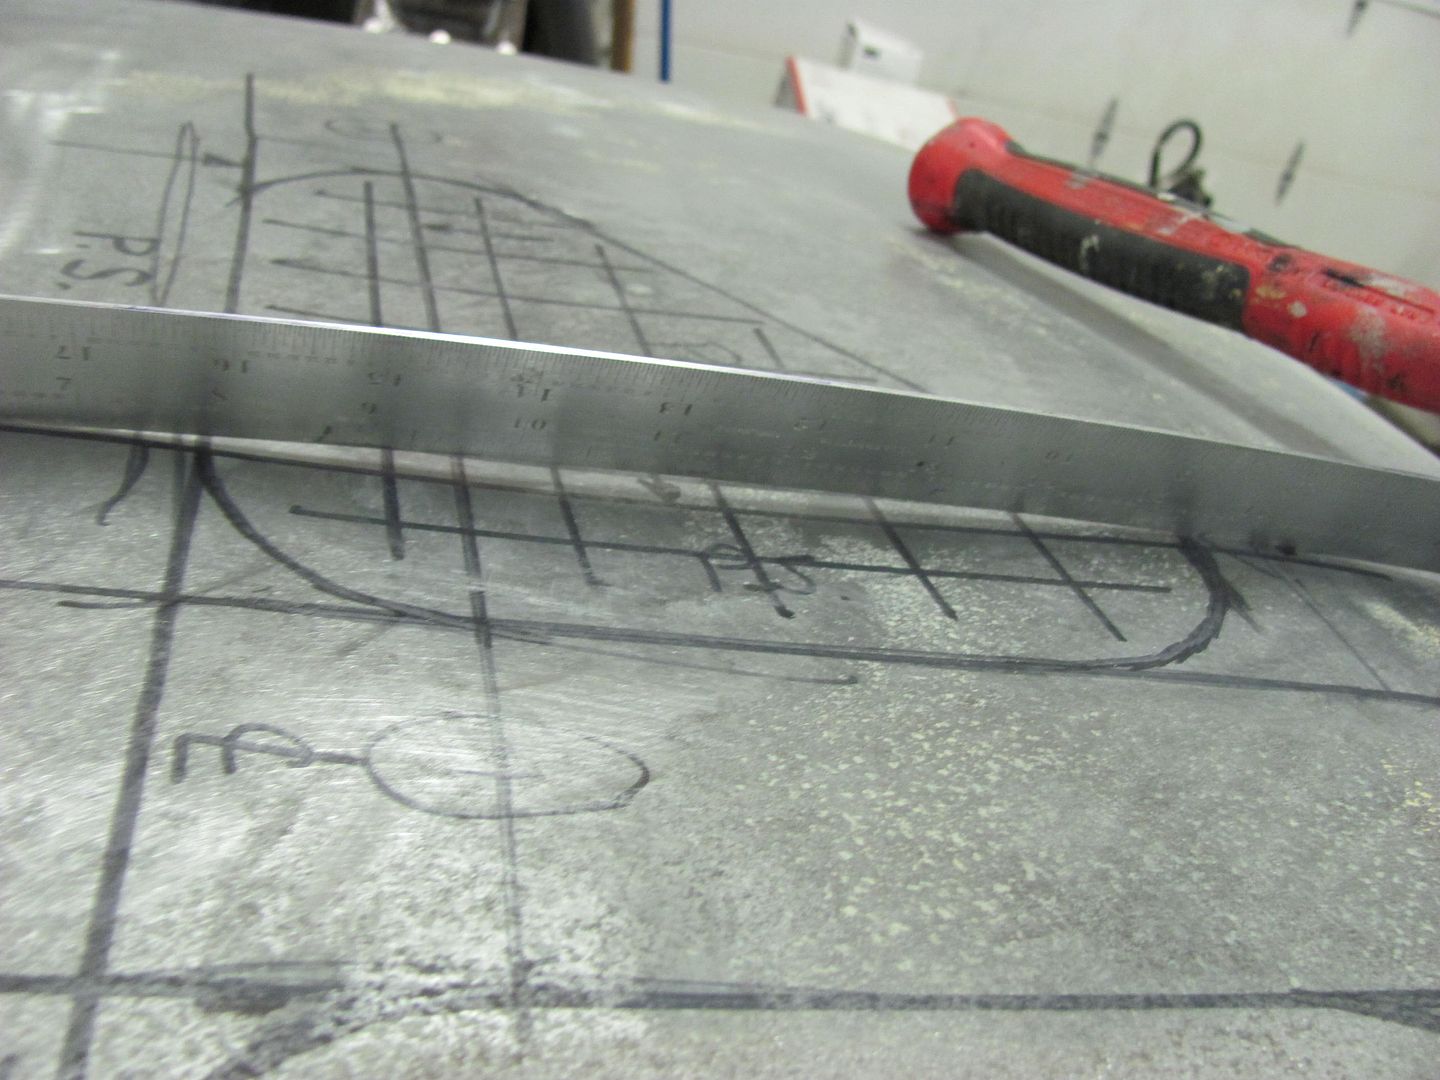
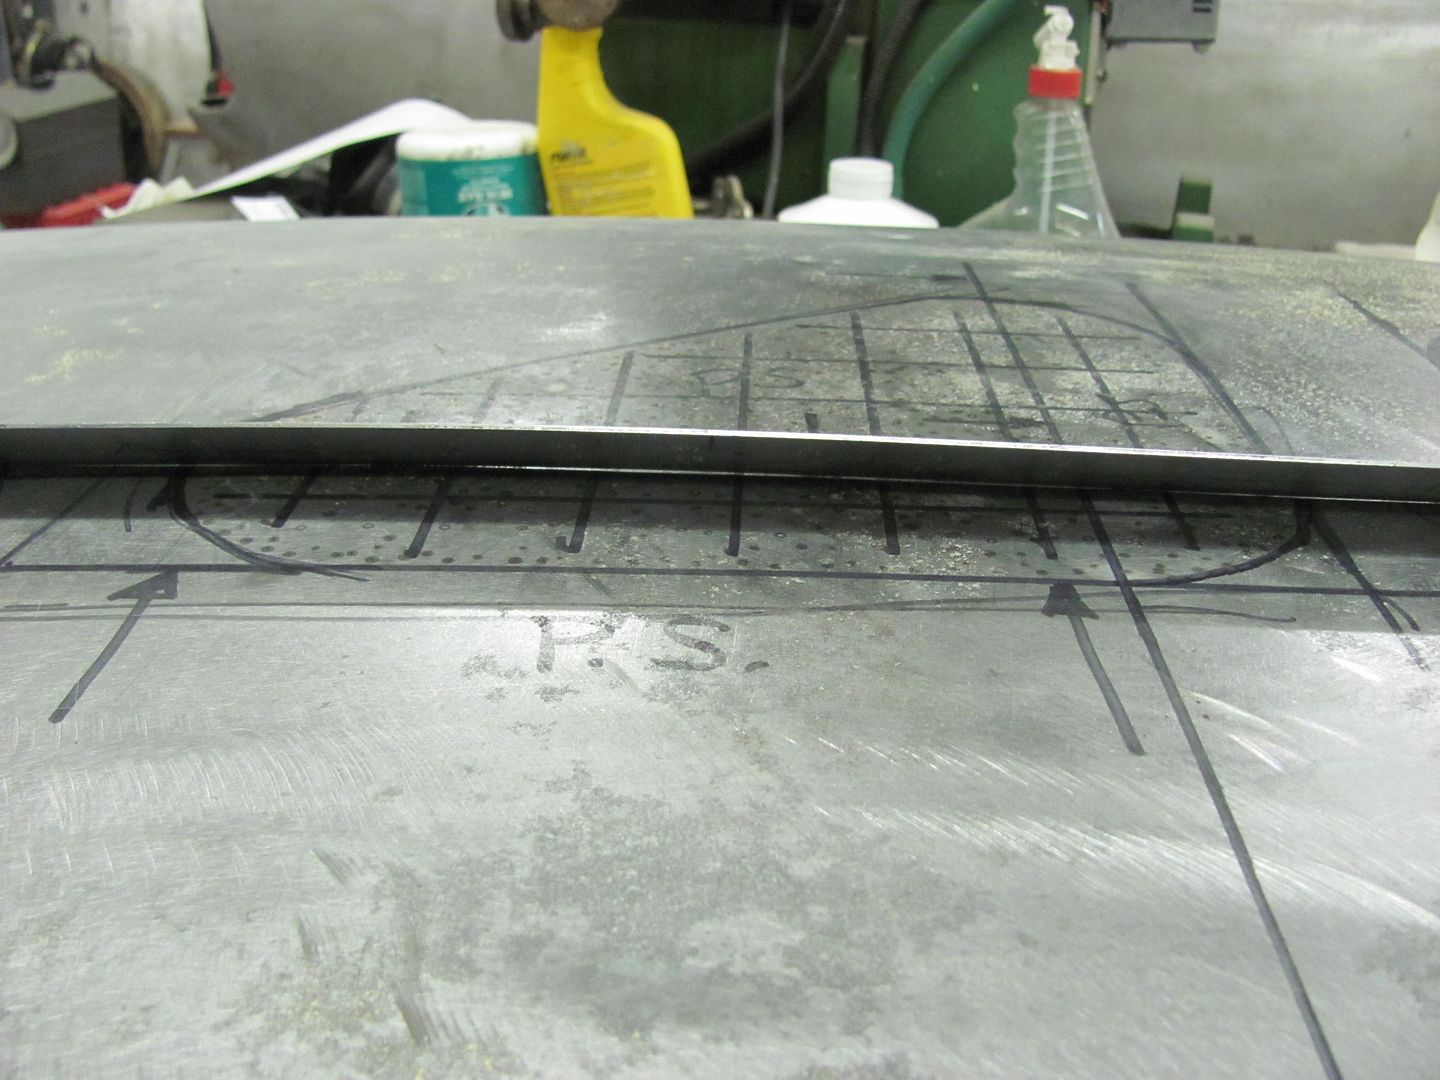
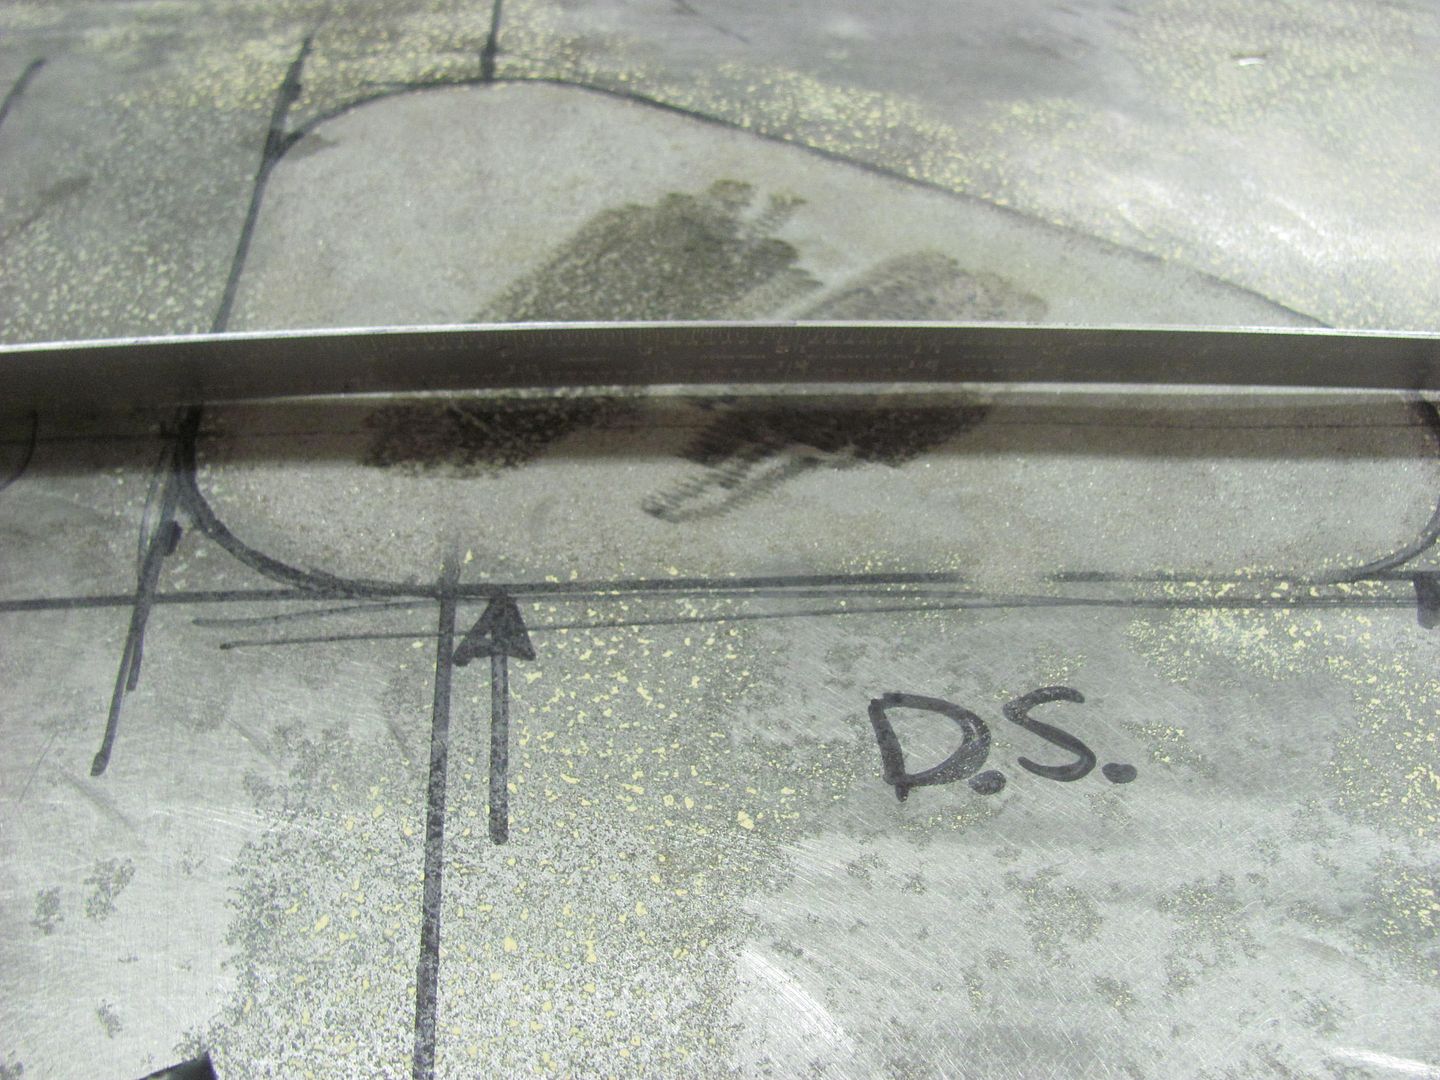
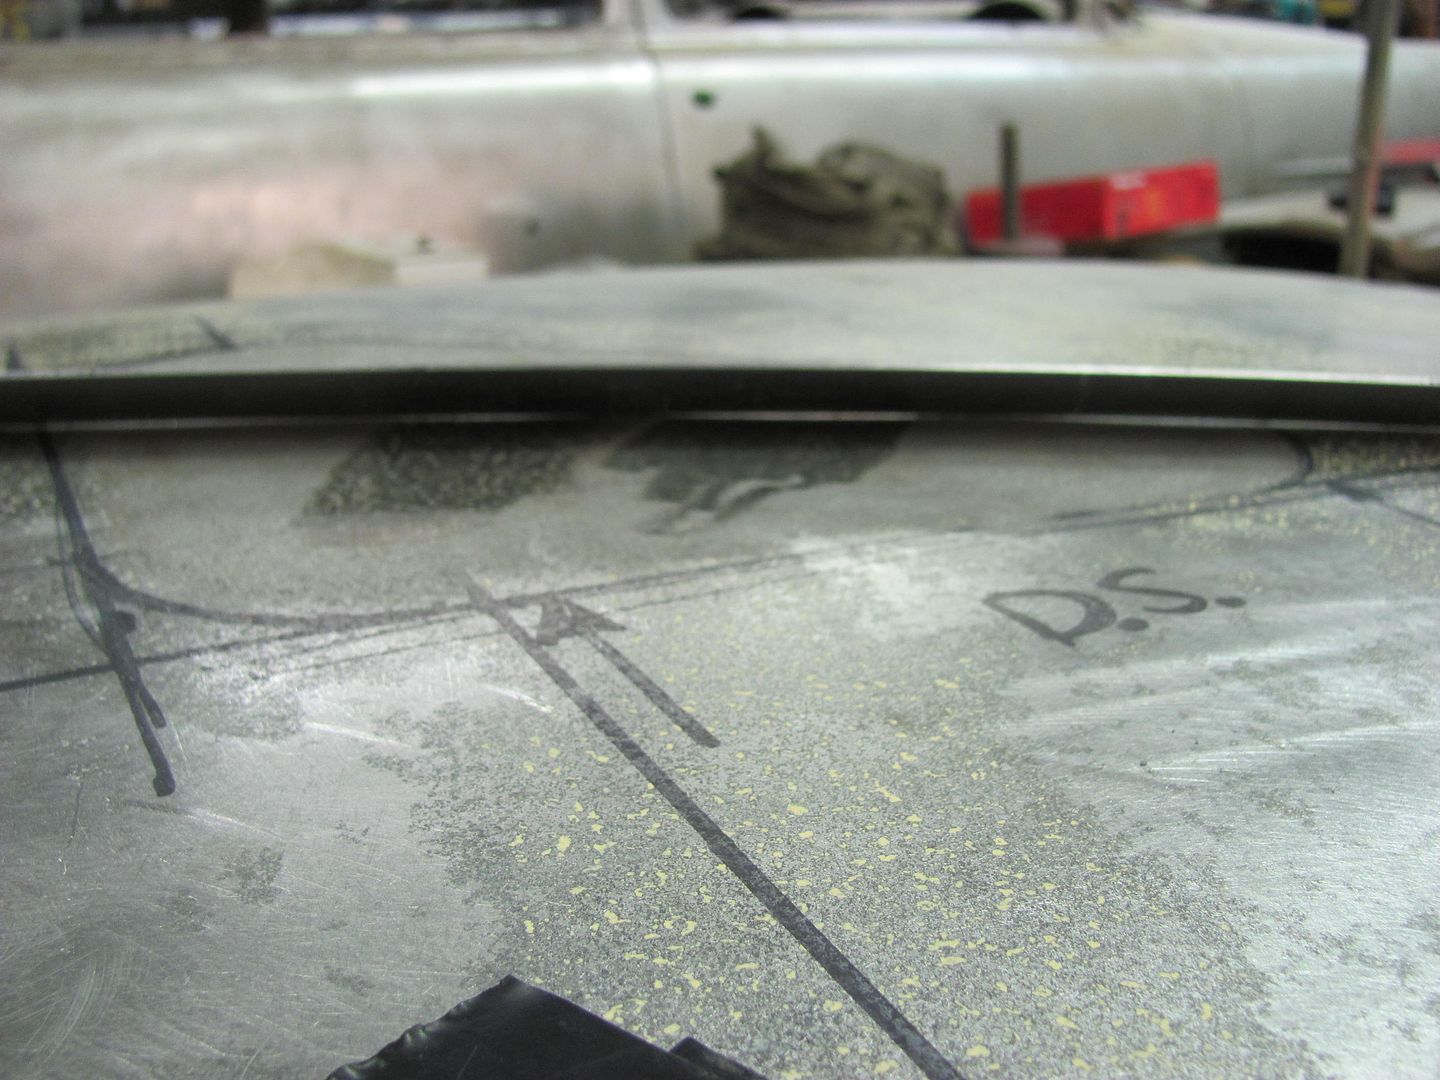
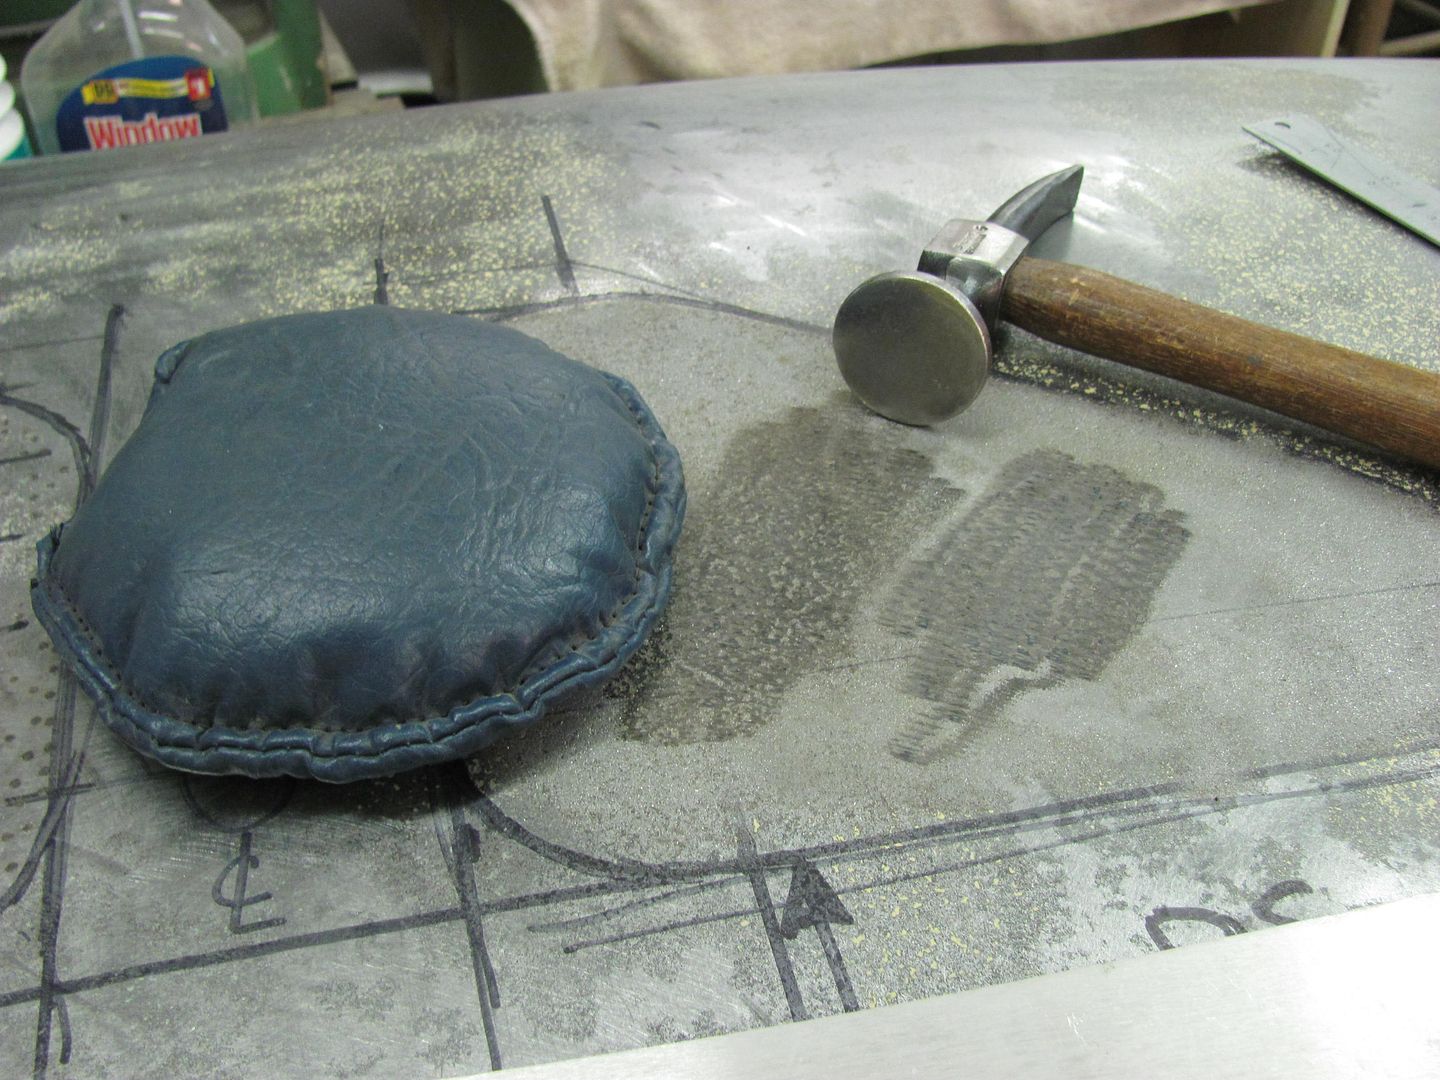
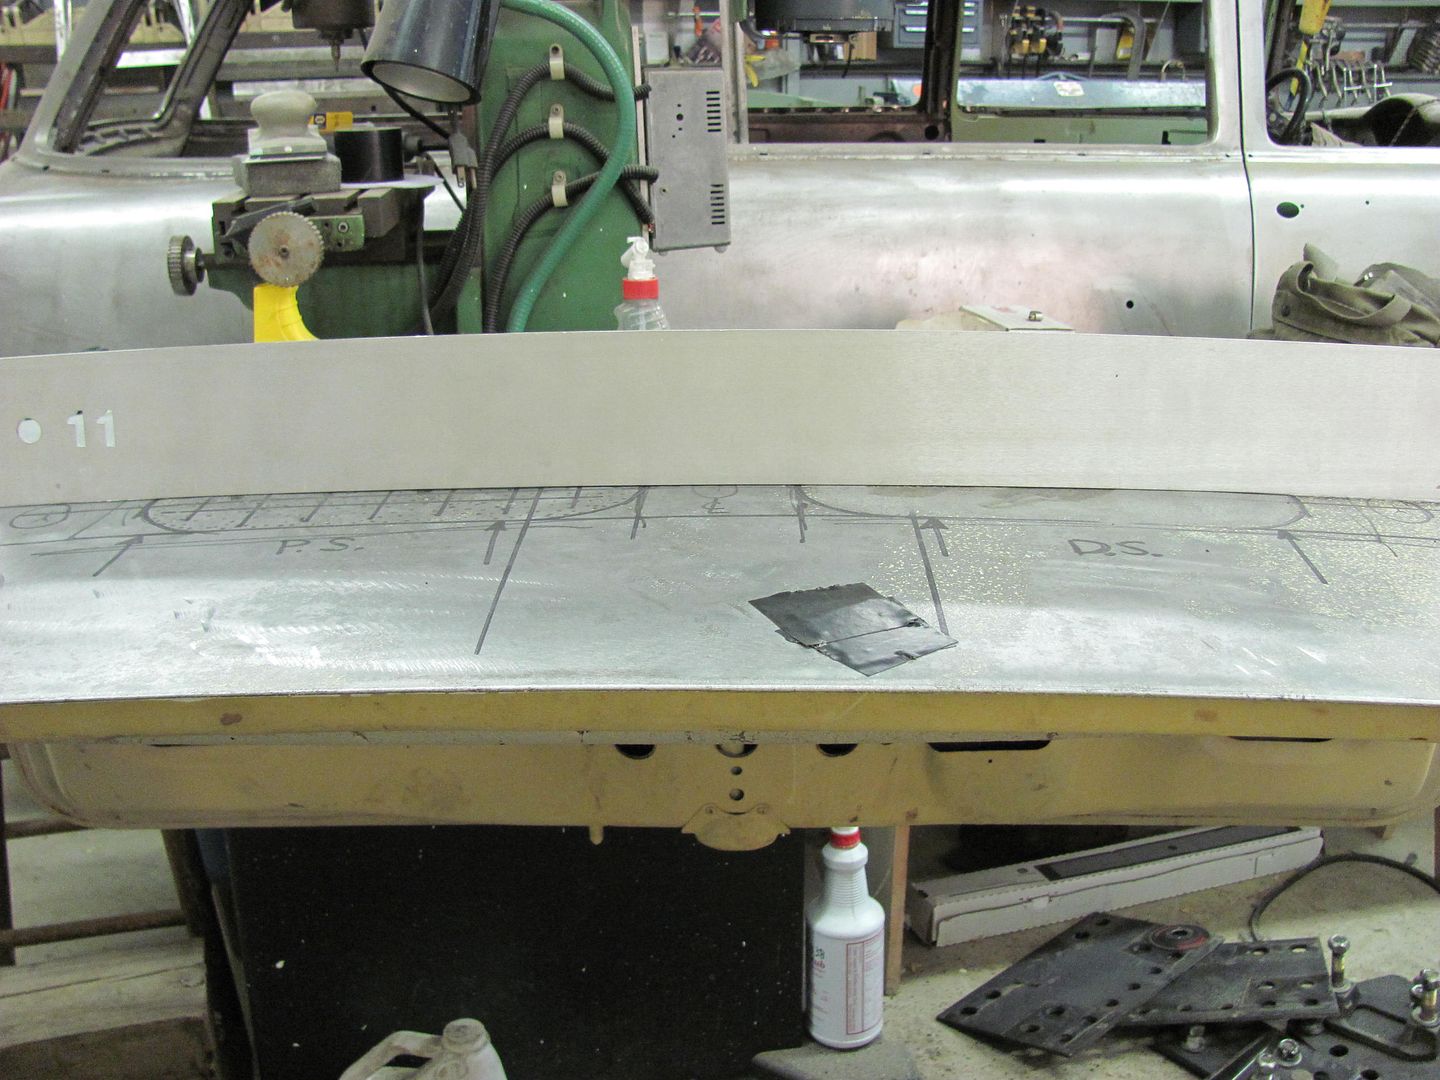
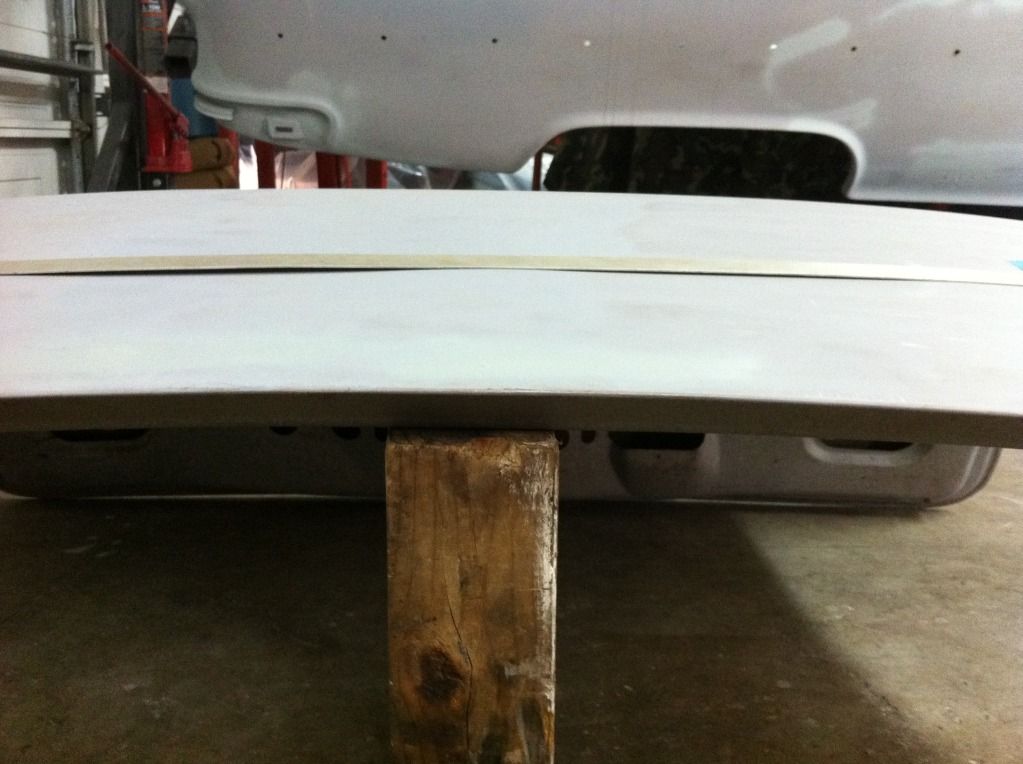
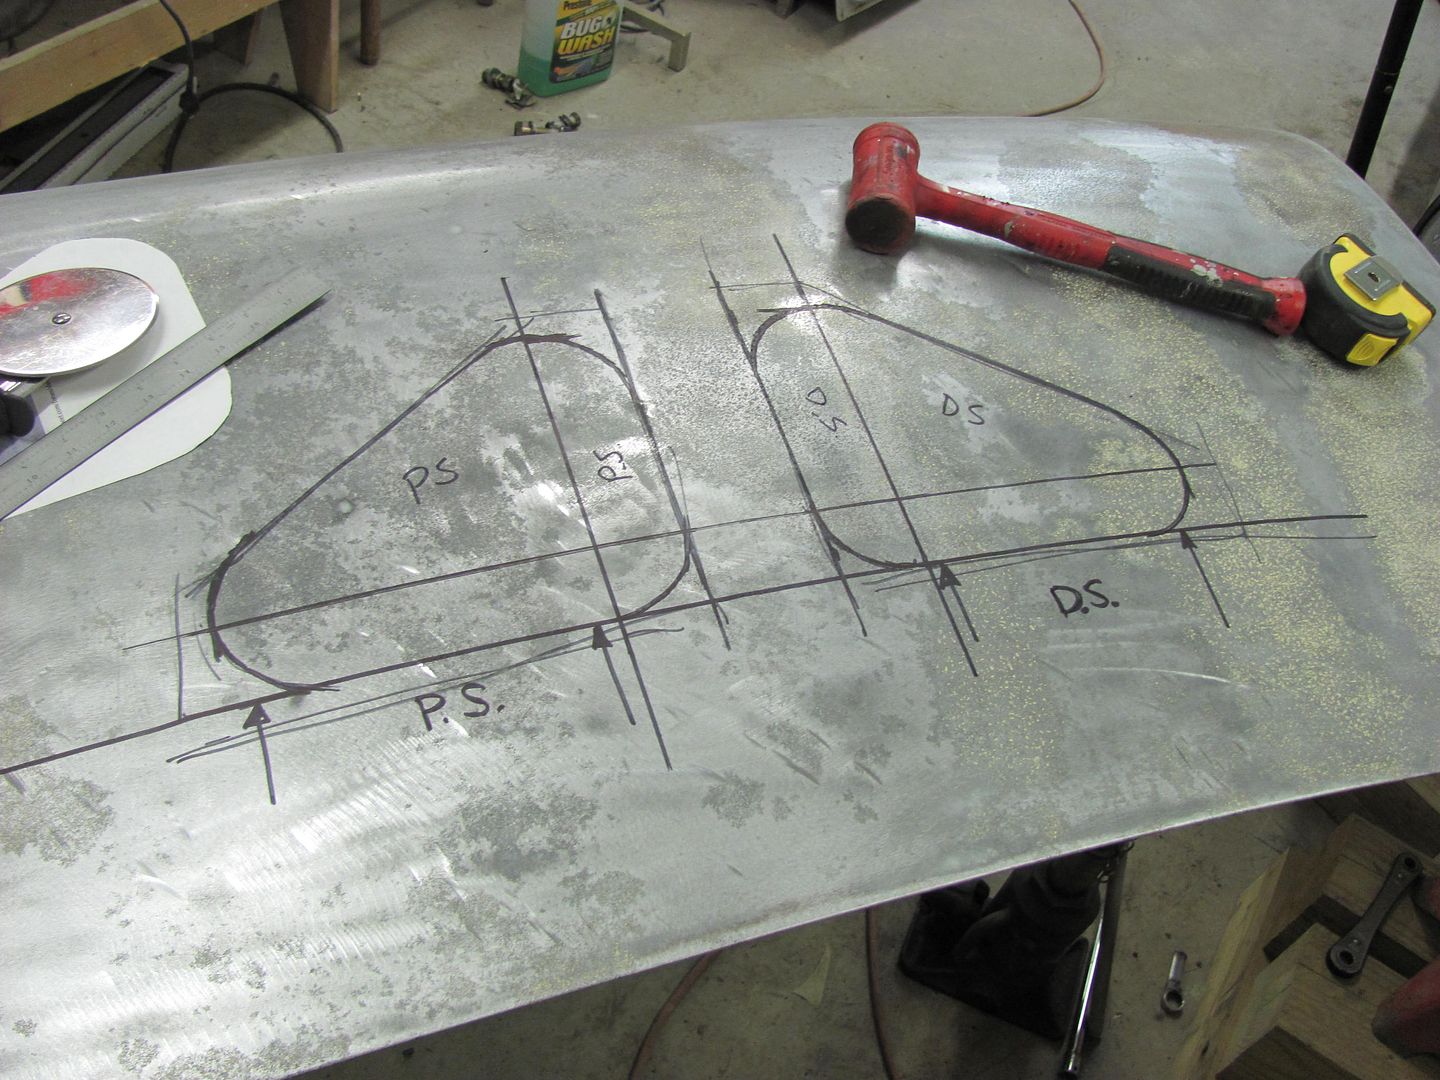
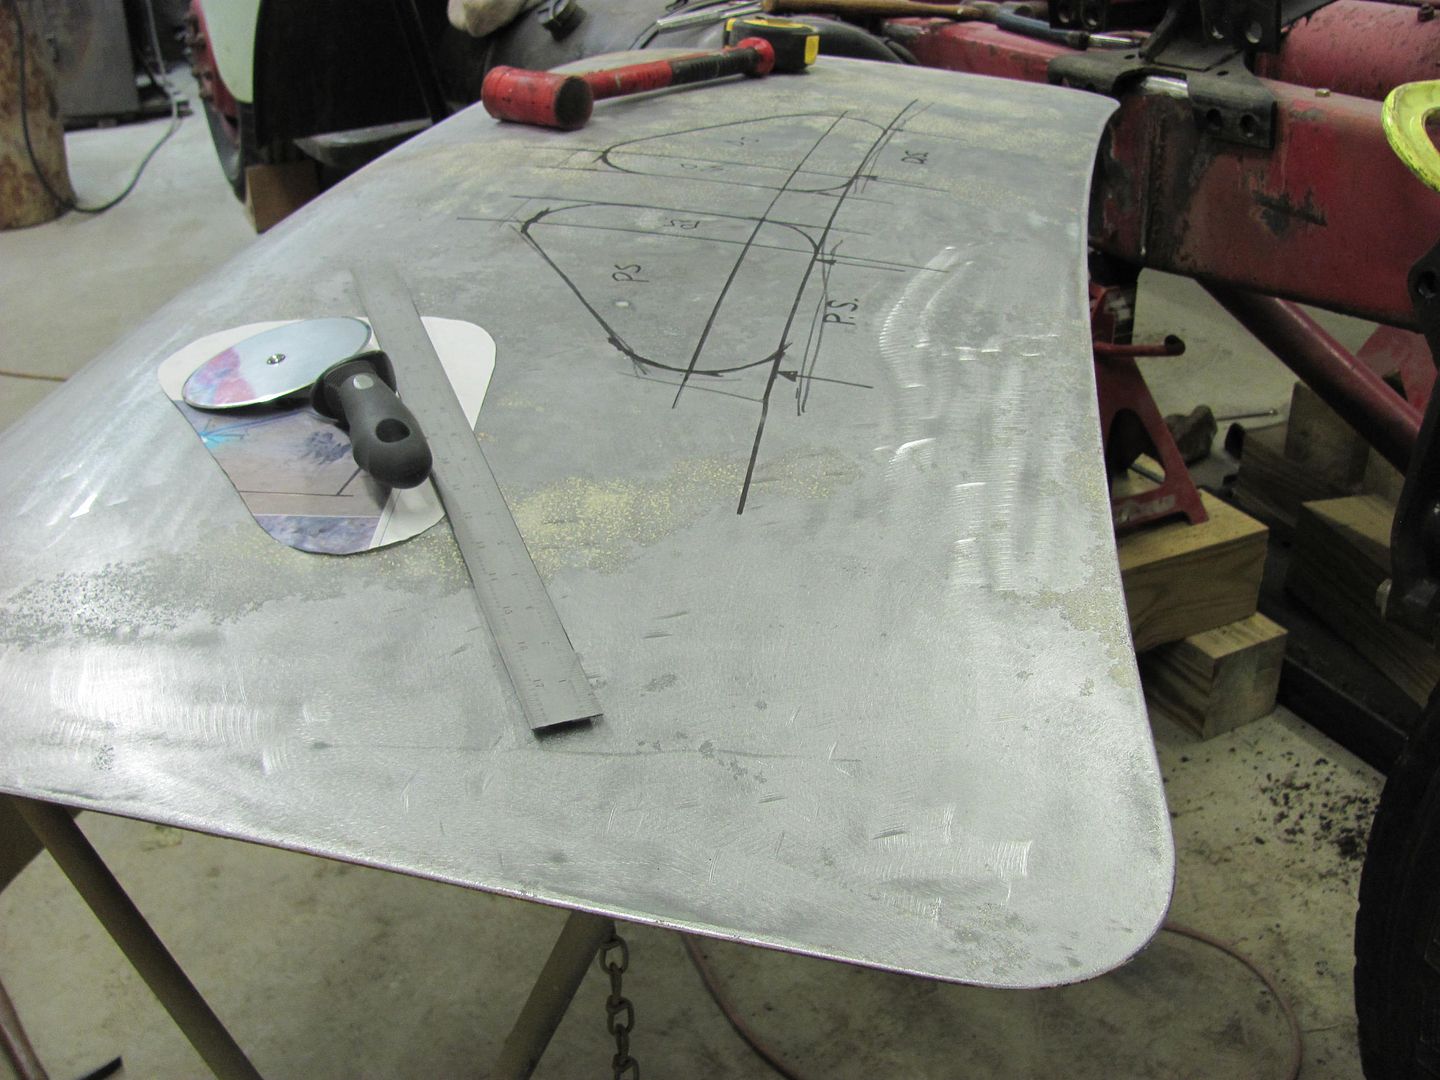
I got a chance today to sand all the bondo off the top part of the sample trunk lid. I took some measurements, made a template of the inner brace opening we will be using, and laid out the pattern on the outside so we can monitor the progress of the different methods. A datum was drawn about 2" in from the forward edge and the center edge of each hole. This was chosen as it is approximately the center of the radius on either end.
Picture146-2.jpg


Picture147-2.jpg


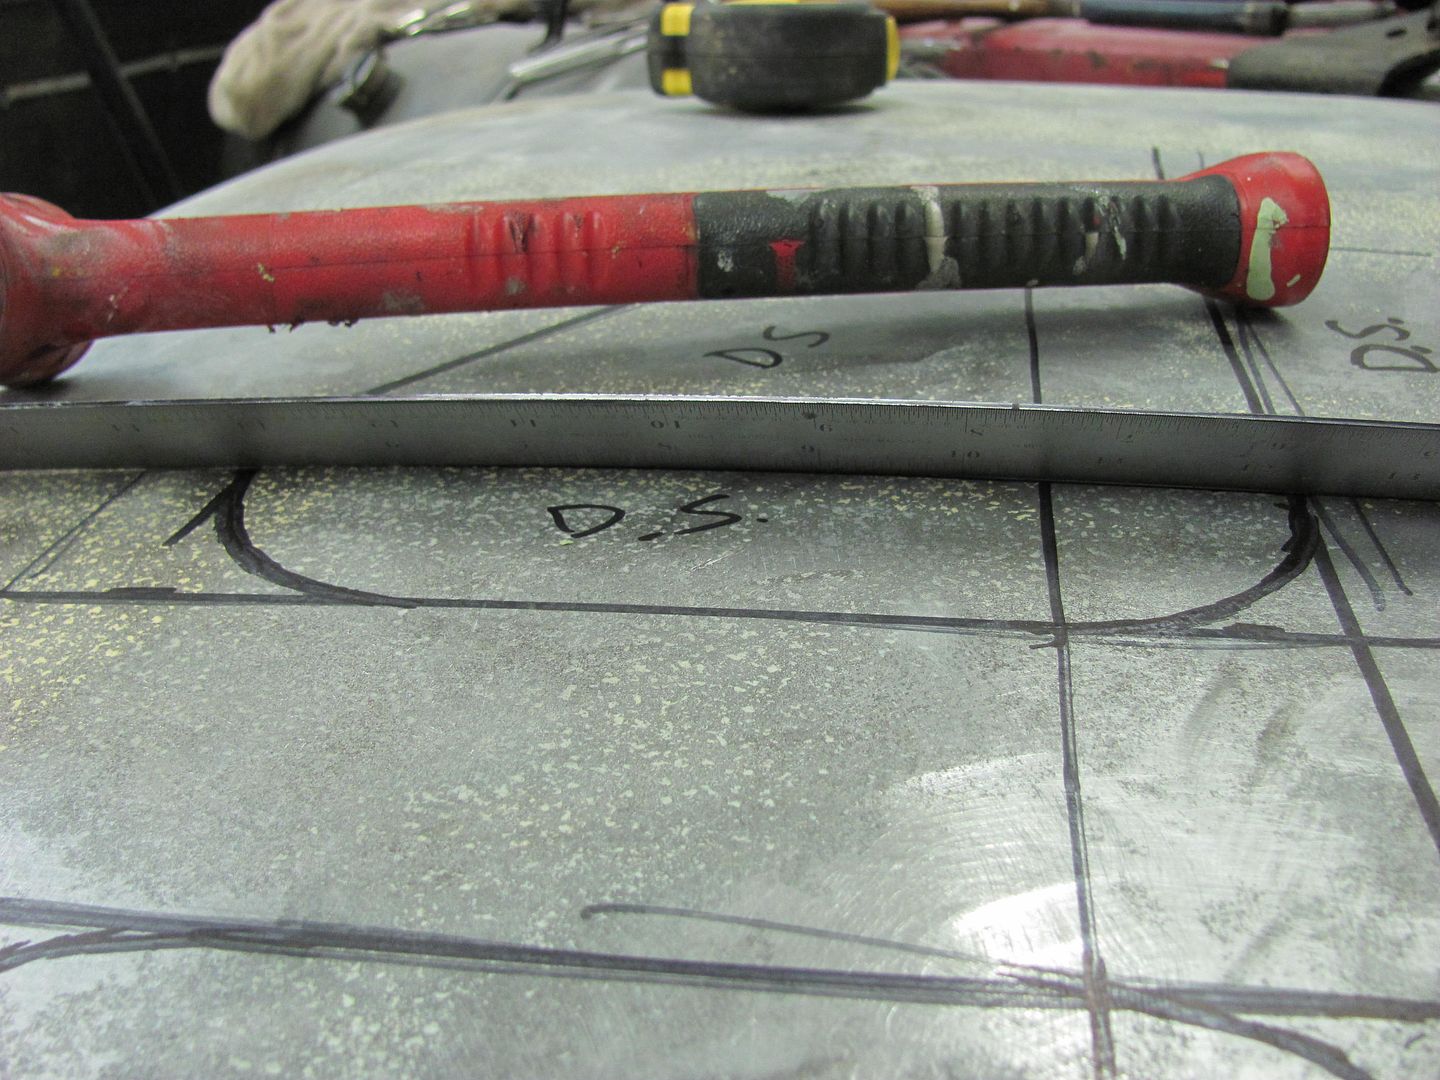
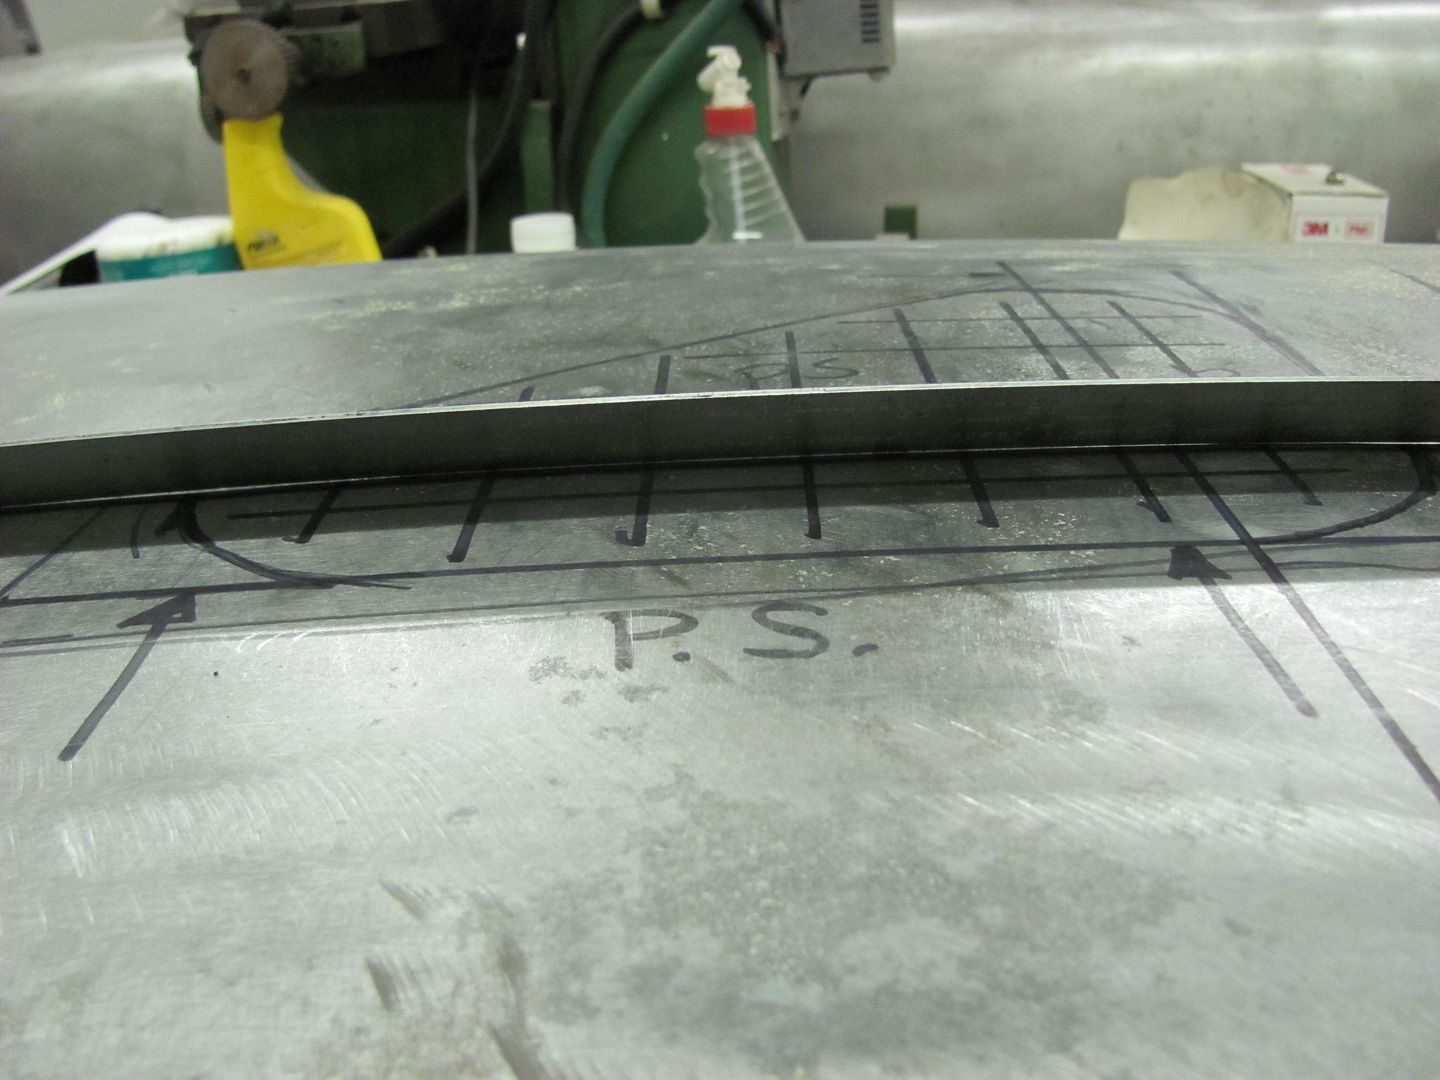
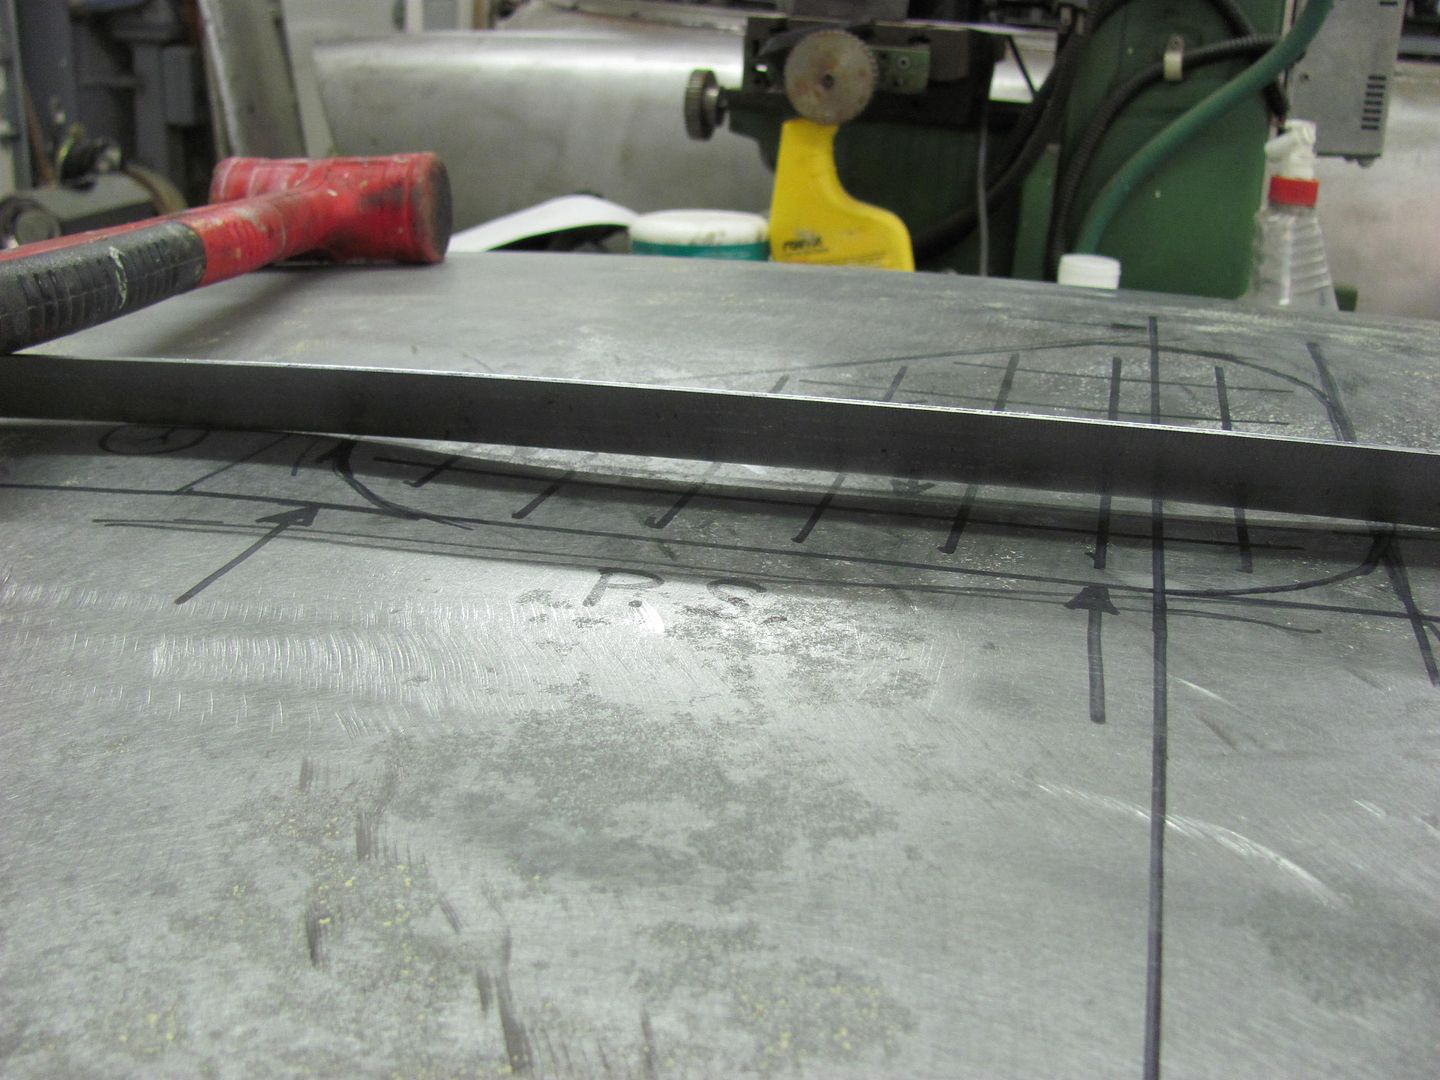
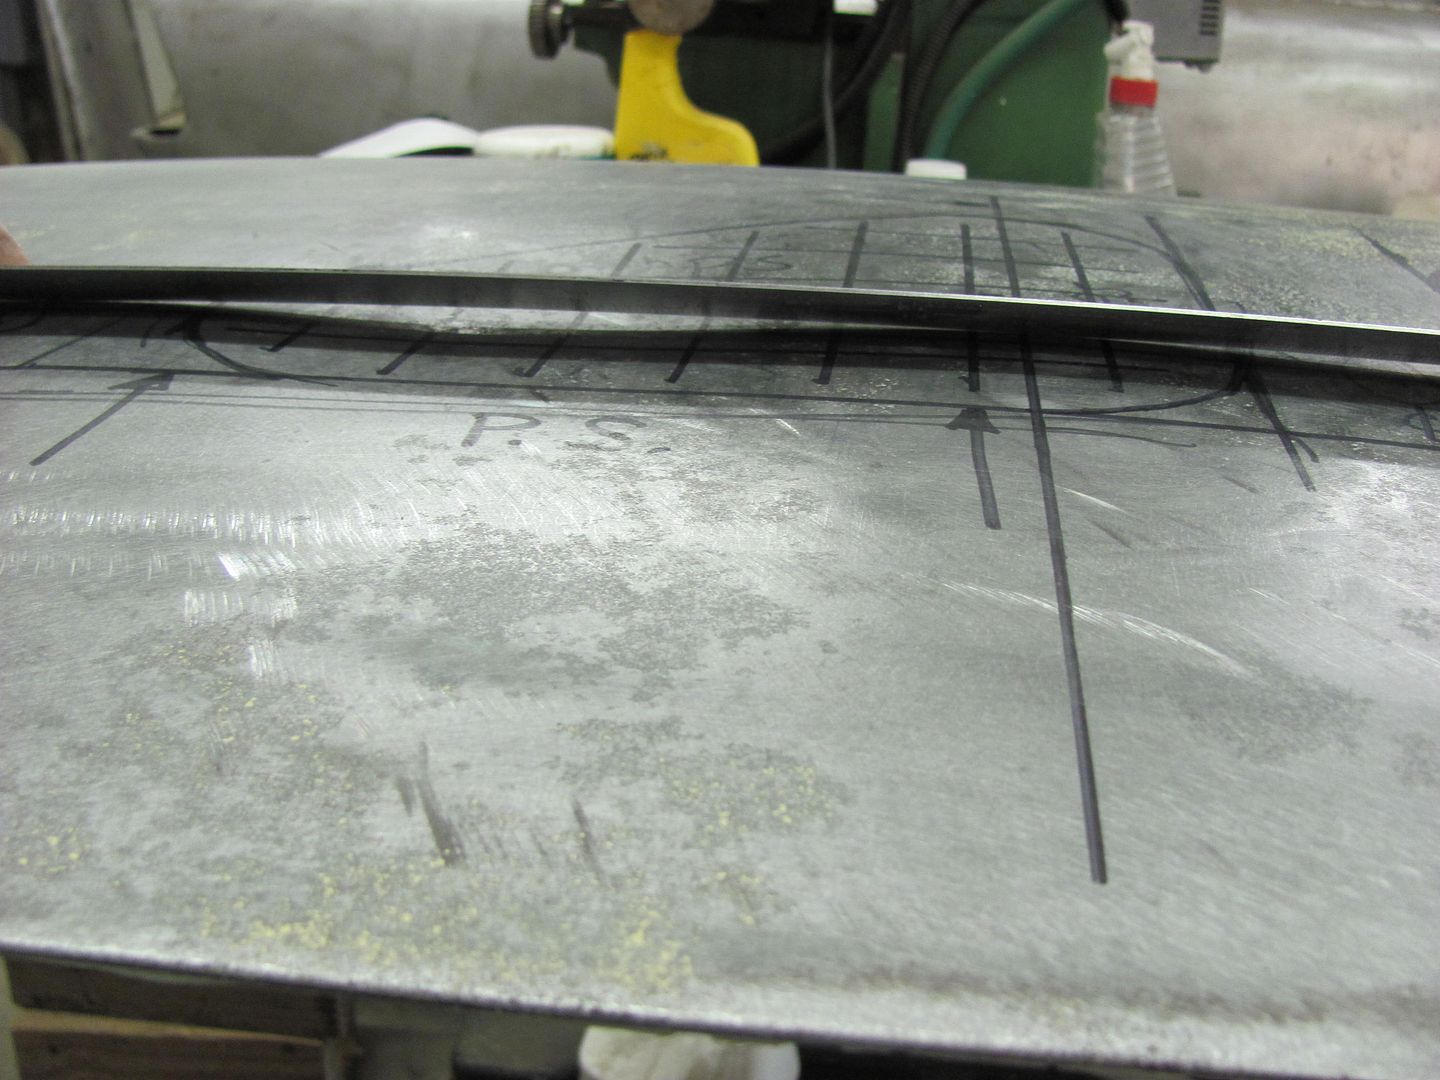
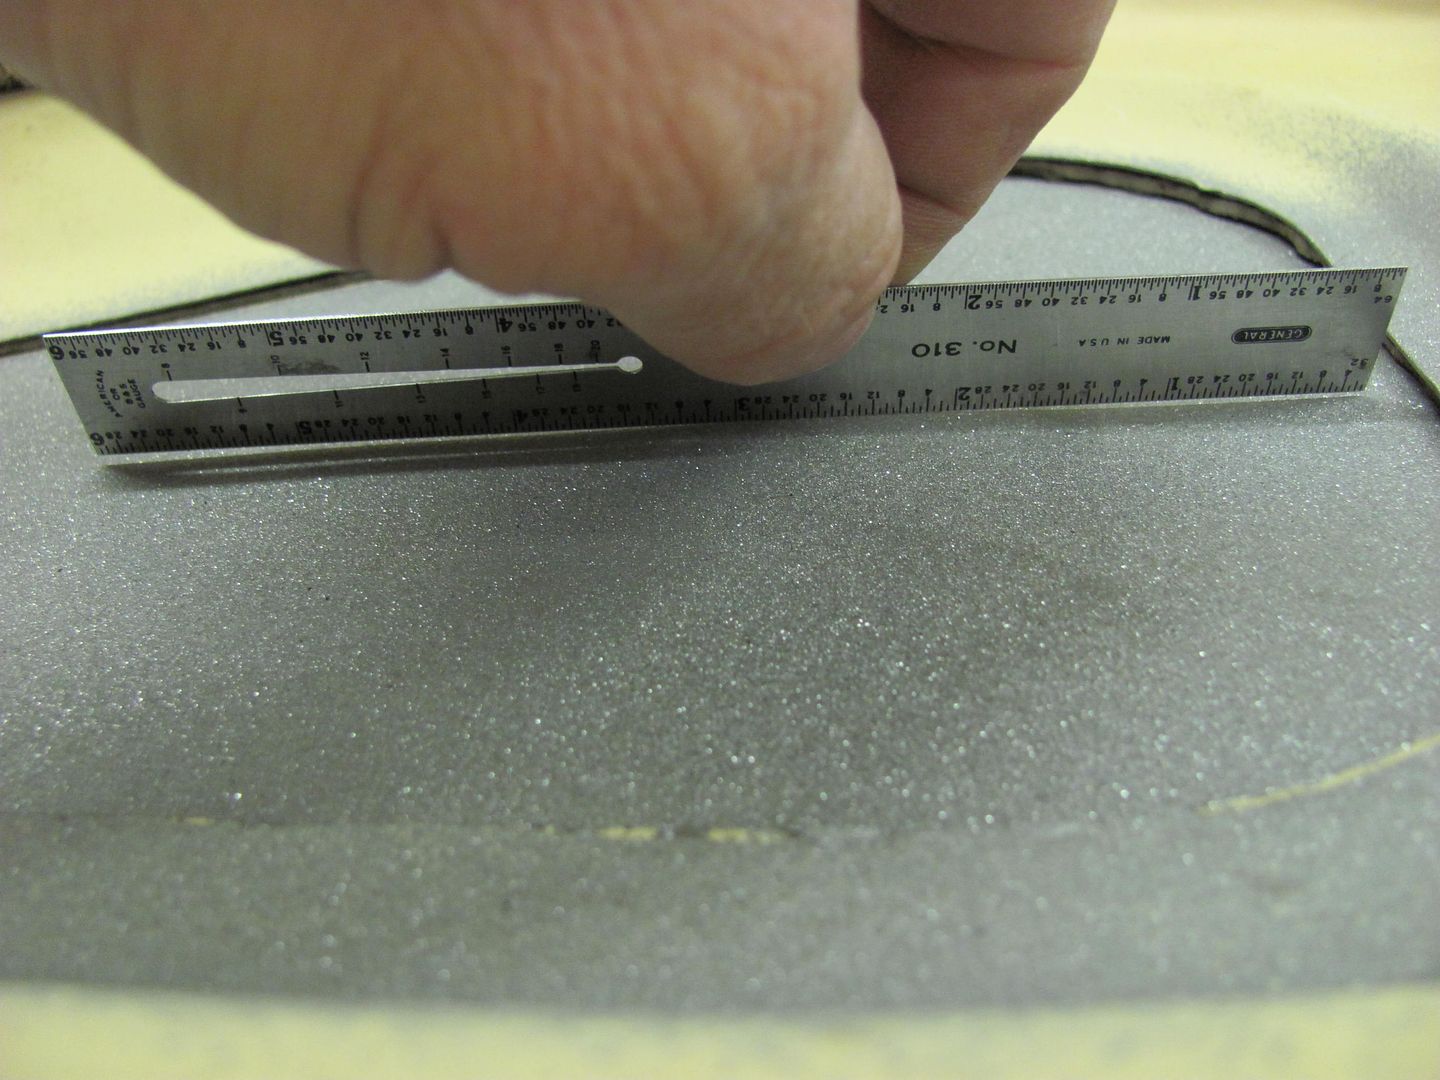
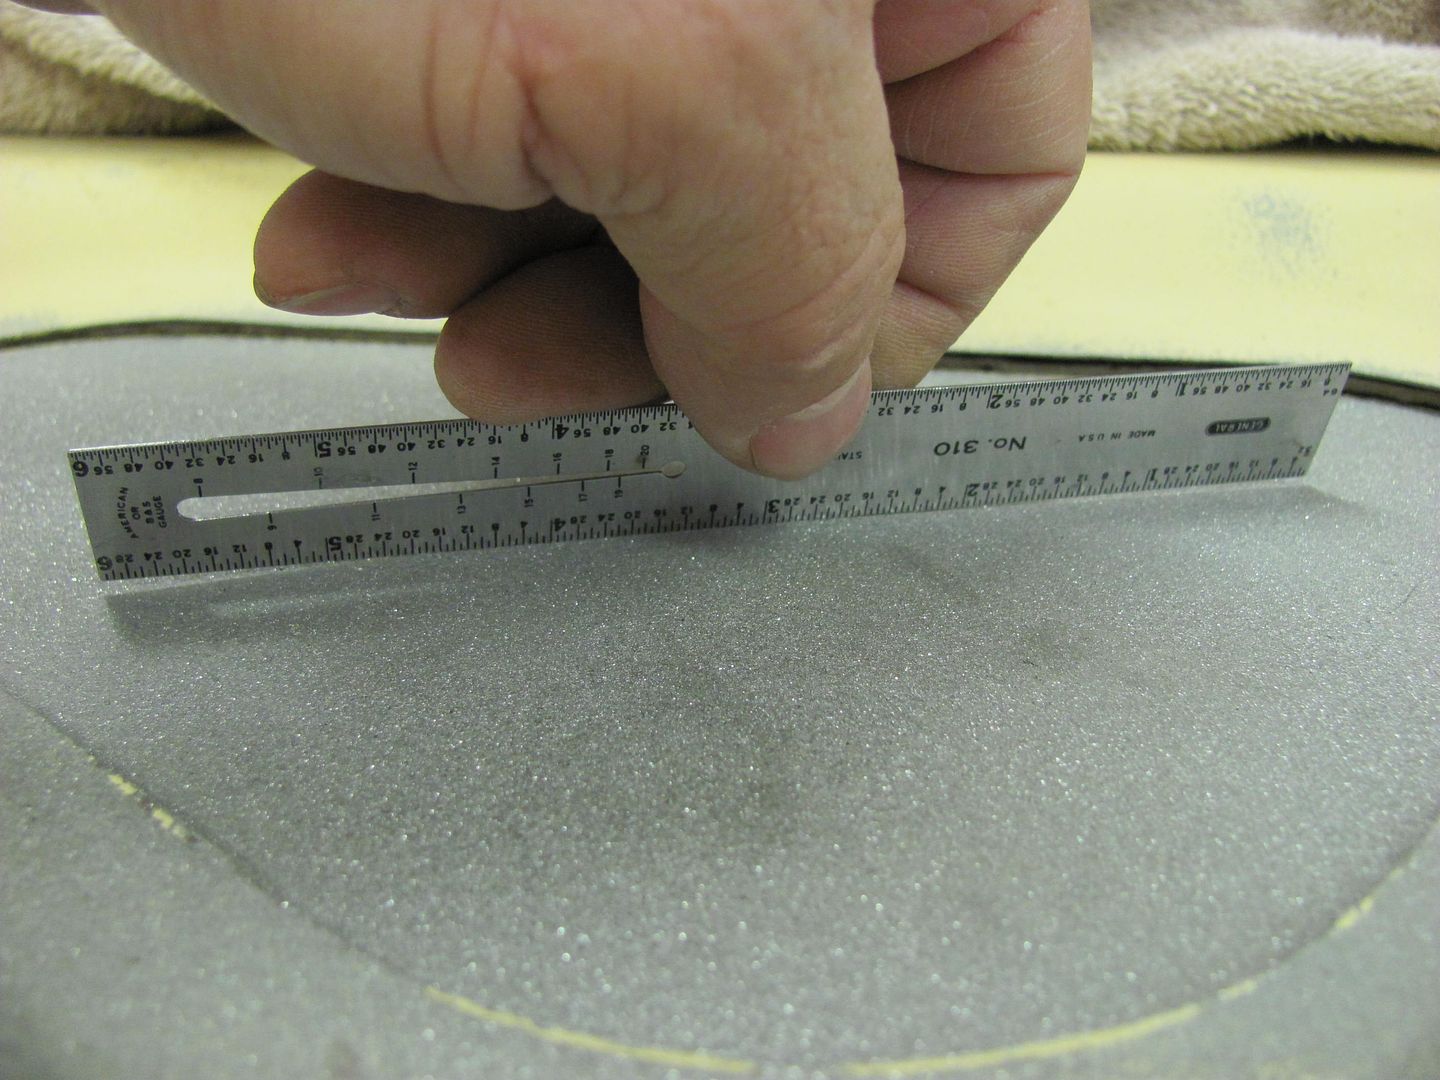
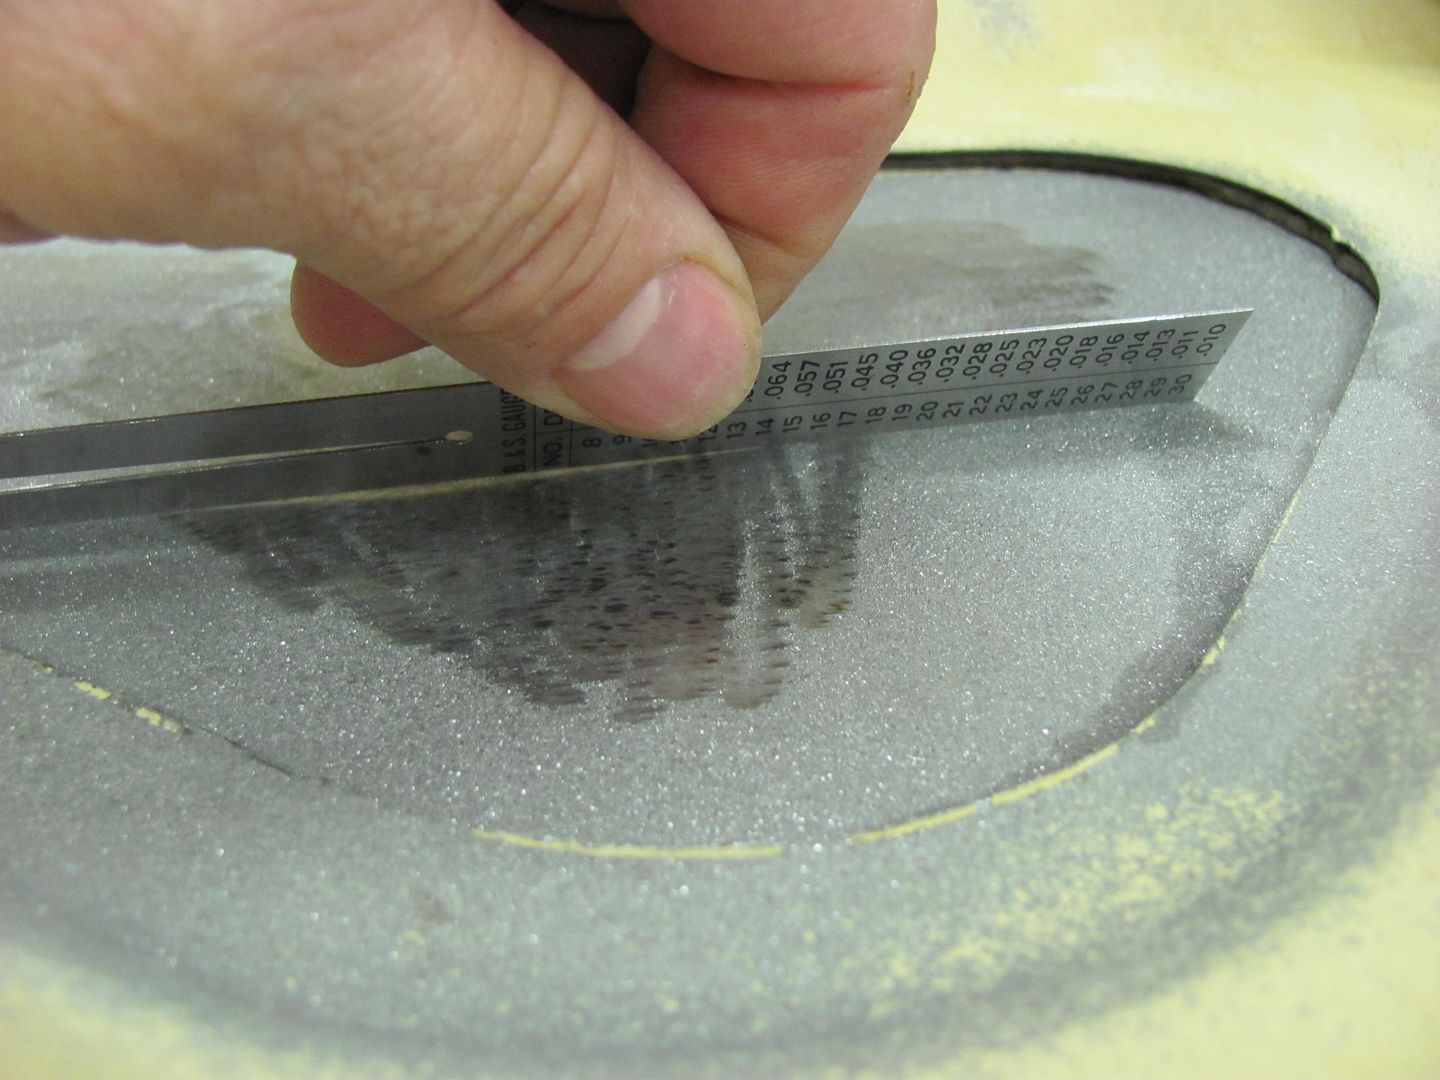
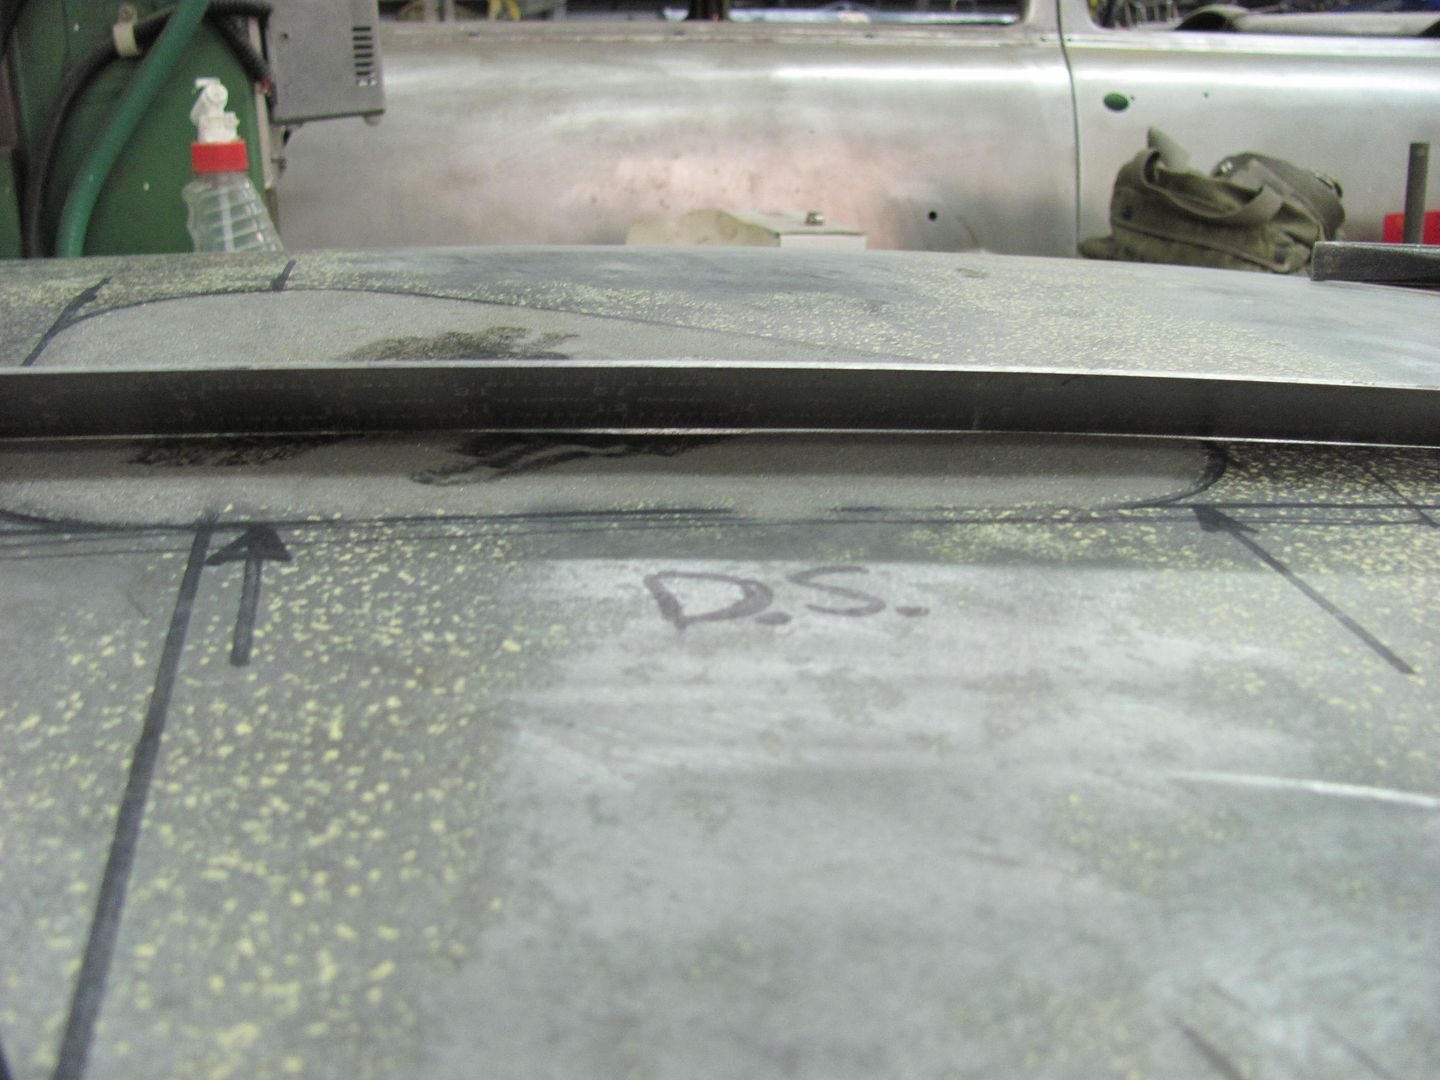
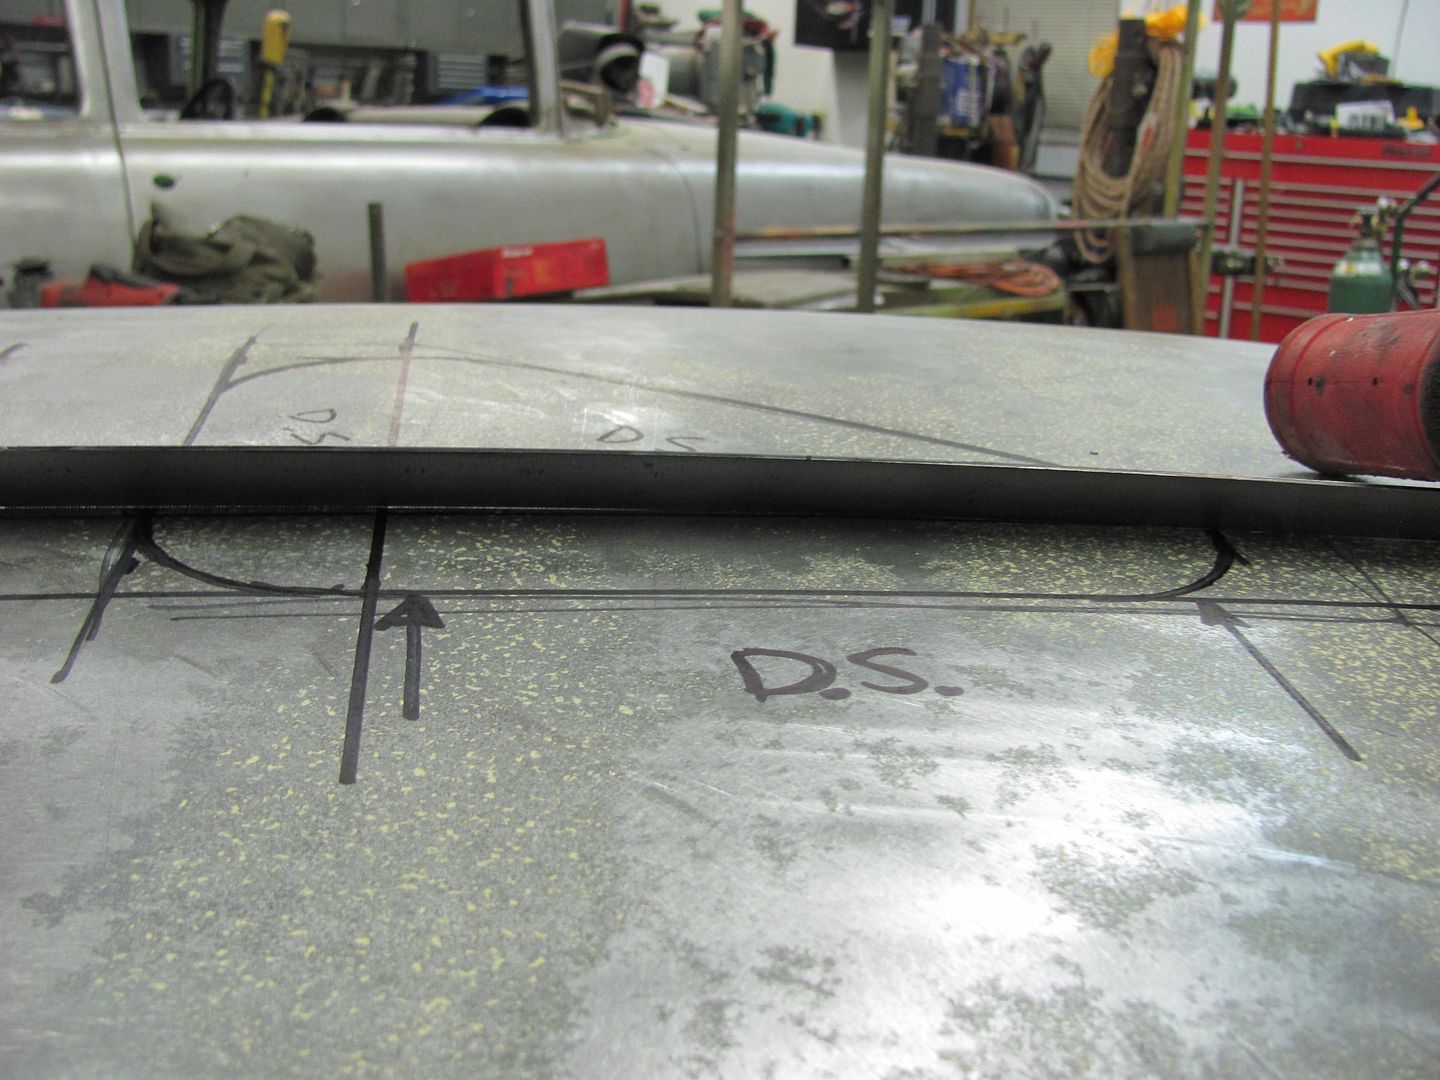
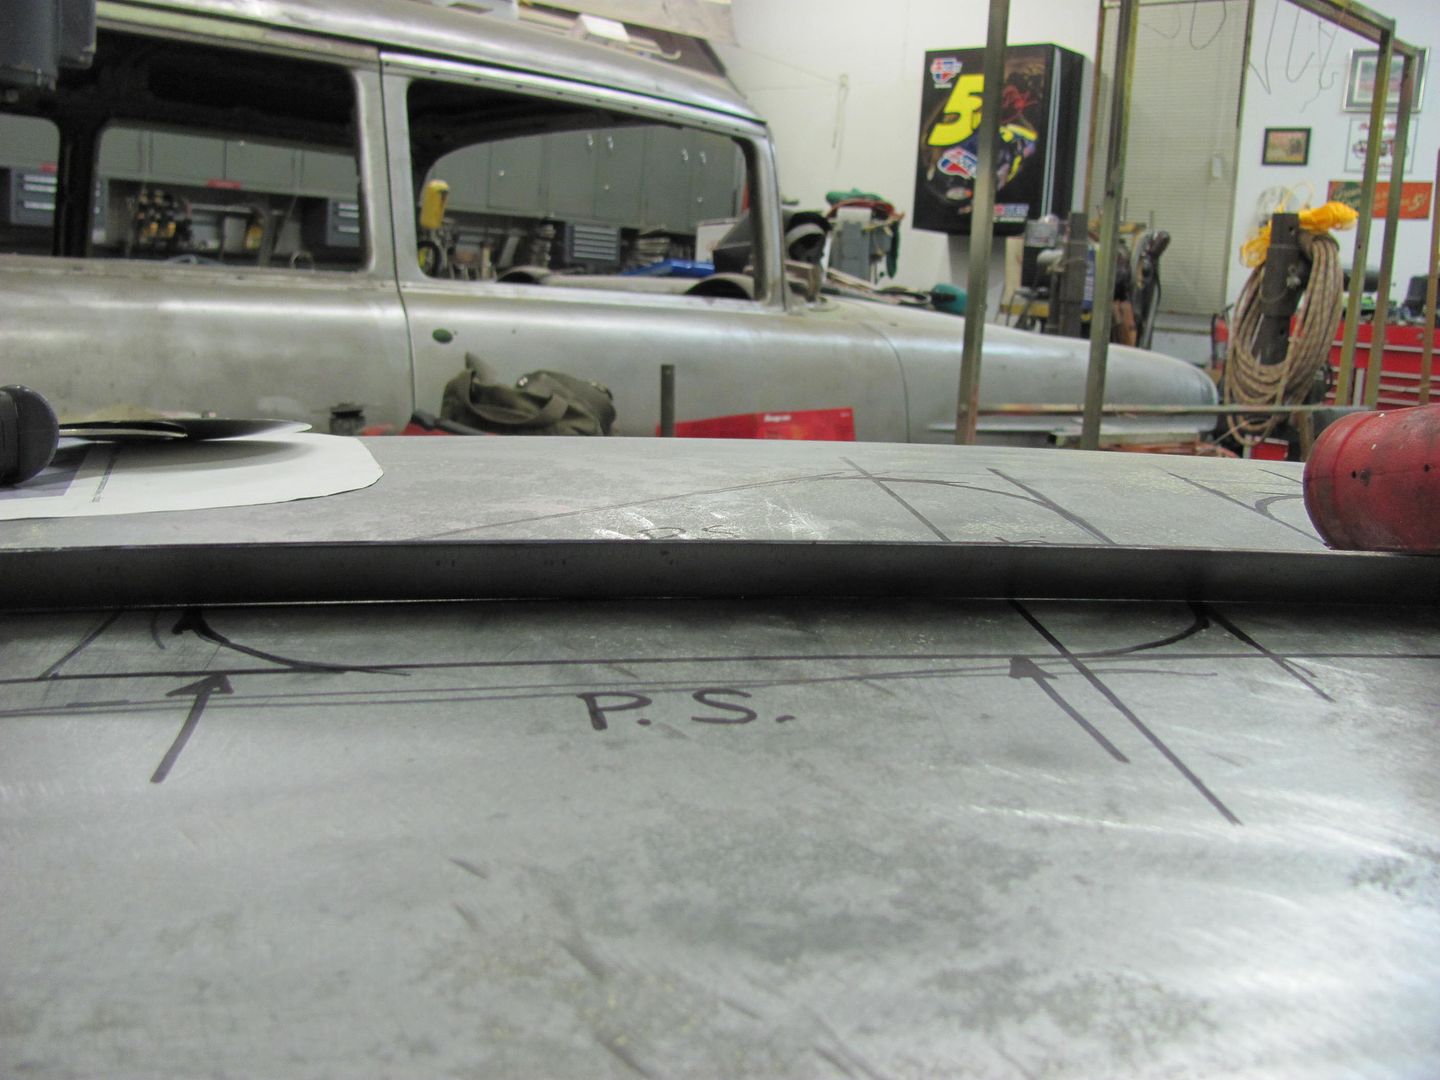
Next, the panel was checked along the datum lines in both directions to give us a baseline for panel straightness, and we'll check along these lines after sandblasting to see what damage occurs. Where there was a bit of waviness, it was a minimal amount that would have disappeared with some high build primer and block sanding. Given our 57 year old test subject, I guess we're lucky it's that close.
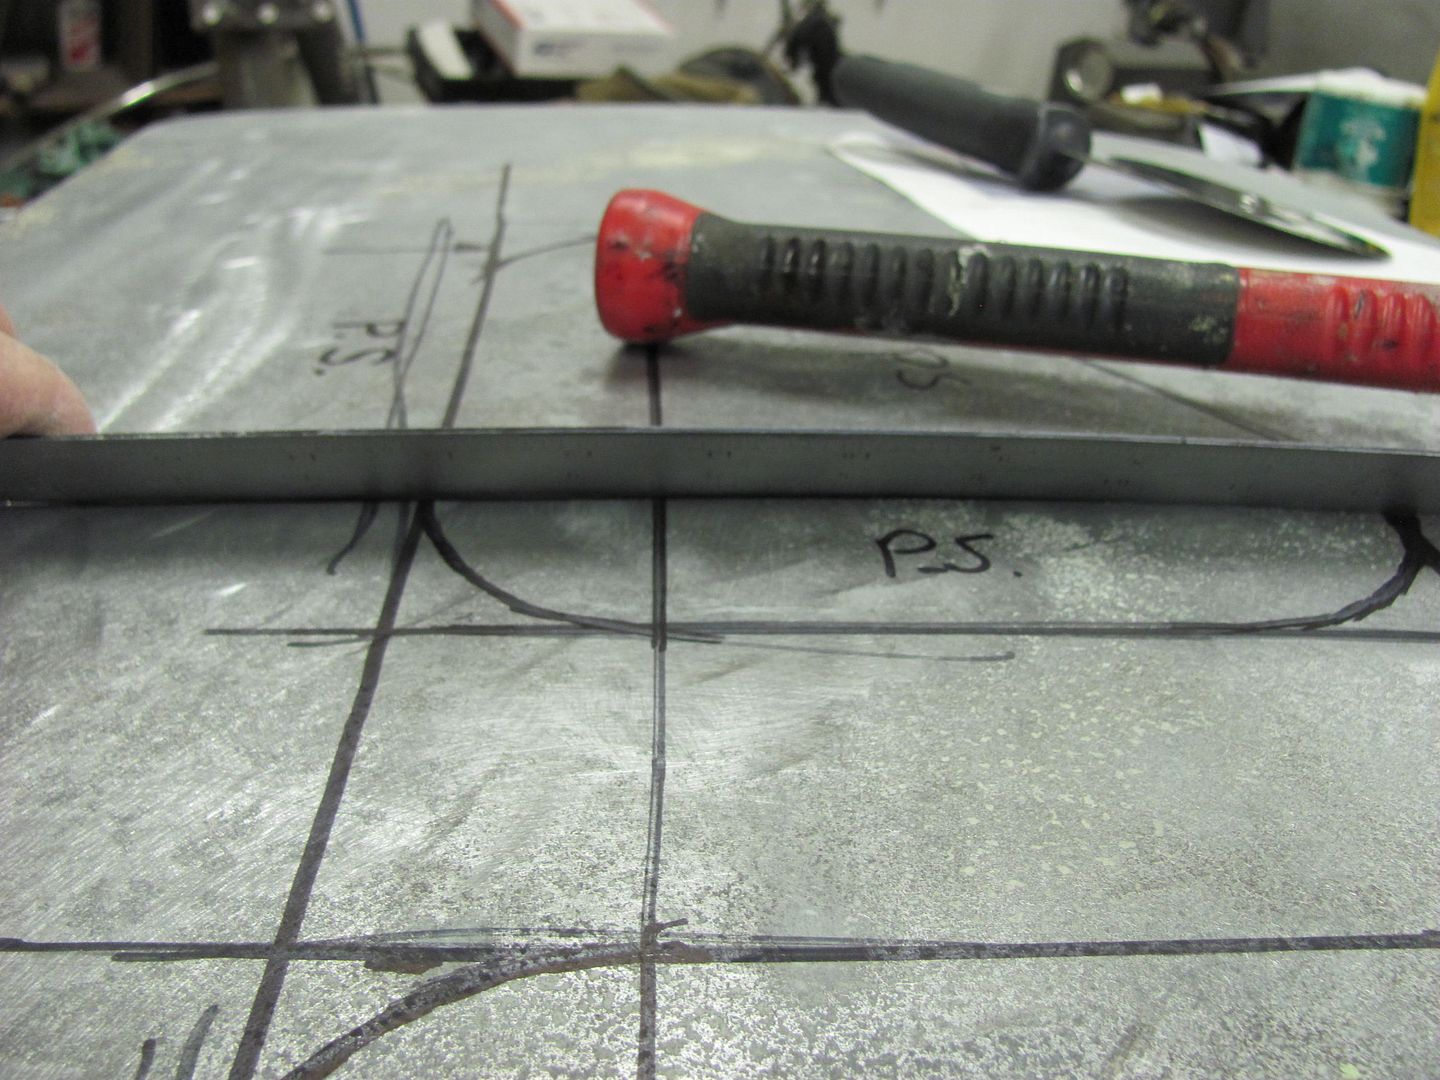
Picture148-2.jpg


Picture149-2.jpg


Picture150-1.jpg


Picture151-1.jpg


And here's our test subject, awaiting sandblasting.
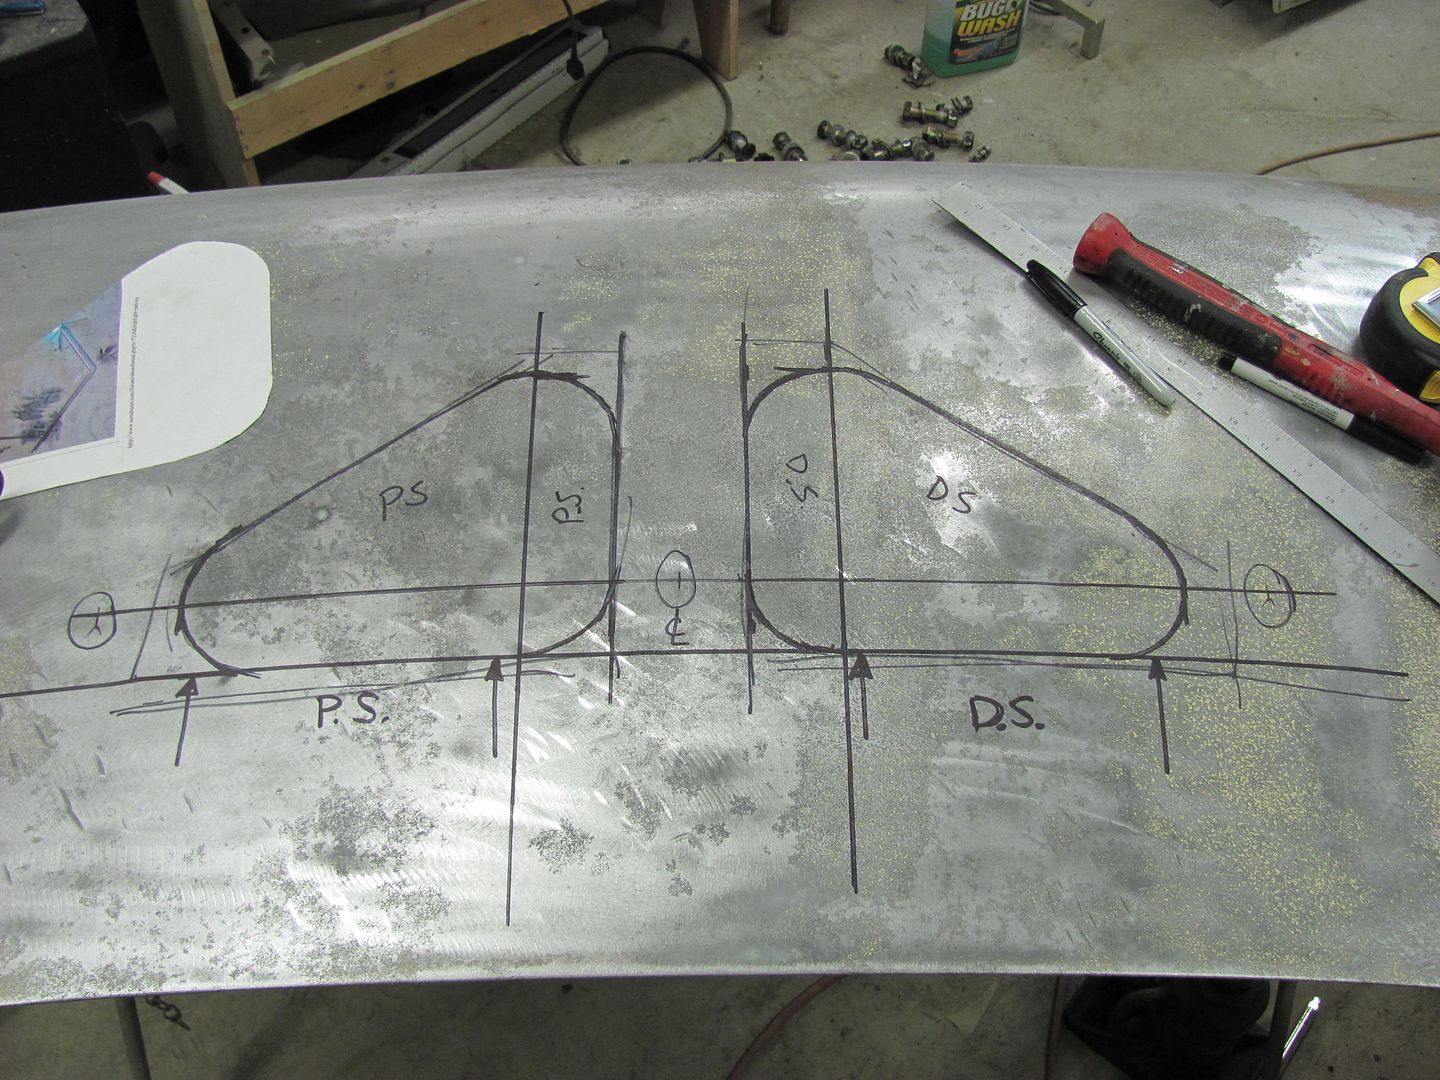

Picture157-1.jpg


until the next installment...........
 
Last edited:
To avoid these ads, REGISTER NOW!

rsanter

Well-known member
Joined
Dec 22, 2007
Messages
18,523
Location
visalia ca
sounds to me like too much pressure and that the pannel was overheated in the blasting process
go to metalmeet.com and research the pannel shrinking and the shrinking disc.
that is the approach I would take. blasting the other side can make it worse in my mind

bob
 

CARS

Well-known member
Joined
Jan 19, 2011
Messages
535
Location
New Ulm, MN
Wow Robert!

Before heading to bed, doing a last forum check.

First MetalMeet, then AllMetalShaping, and now GJ.

I'll be watching all 3 to see what you come up with for an answer.
 

Brad54

Well-known member
Joined
Jun 13, 2006
Messages
4,646
It will have to shrink the metal from the other side in the exact same proportion it stretched it... that means the same number of passes with the blast gone, the exact same distance from the panel, the same volume of material over it, the exact same pressure, and the exact same duration. Plus the same amount of time.

And even then, it wouldn't.

-Brad
 

Charles (in GA)

Well-known member
Joined
Jan 11, 2006
Messages
12,489
Location
50 mi south of Atlanta
There are so many other good ways to clean parts such as sheet metal, such as soda blasting, why do people persist in attempting to sandblast stuff such as this?

Charles
 

CARS

Well-known member
Joined
Jan 19, 2011
Messages
535
Location
New Ulm, MN
There are so many other good ways to clean parts such as sheet metal, such as soda blasting, why do people persist in attempting to sandblast stuff such as this?

Charles

Soda doesn't get rid of rust.

A professional media blaster will use a number of different medias through the stripping process.

I have my restorations completely blasted (Never again will I use soda), mostly with a recycled coal ash (ethanol plant by-product) and have never seen warping like Robert is trying to fix.

This will be a great test :thumbup:
 

CARS

Well-known member
Joined
Jan 19, 2011
Messages
535
Location
New Ulm, MN
Robert,

Did the first panel's adhesive get removed before blasting? (the globs between the skin and frame)

Not even sure how a person would release this type of panel from the frame, but I have noticed that my blaster always cuts the globs loose before he starts. Real easy to re-bond later.
 
Last edited:
OP
M

MP&C

Well-known member
Joined
Oct 21, 2009
Messages
4,405
Location
Leonardtown, MD
Chris, I'm not sure if it was there previously on the damaged trunk lid (the guy lives in Miami area) but the test sample I picked up seemed to be mostly free of any globular hangings, and was fairly straight along the top.
 
OP
M

MP&C

Well-known member
Joined
Oct 21, 2009
Messages
4,405
Location
Leonardtown, MD
sounds to me like too much pressure and that the pannel was overheated in the blasting process
go to metalmeet.com and research the pannel shrinking and the shrinking disc.
that is the approach I would take. blasting the other side can make it worse in my mind bob

Bob, that was my thinking as well, a panel stretched within a void, add more stretching (regardless of changing to opposite side of the panel) IMO will only add more stretch, to force the bulge inward even farther. But I'm trying to keep an open mind with the tests, and add different parameters that will prove/disprove the aspects of the theories thrown out there in hopes the actual results will help guide the proper corrective action. One each of the two holes will be used to test the different theories for repair once the damage has been inflicted in the test panel...
 

TAMPAGT07

Well-known member
Joined
Feb 20, 2008
Messages
11,147
Location
Palm Harbor, Fl
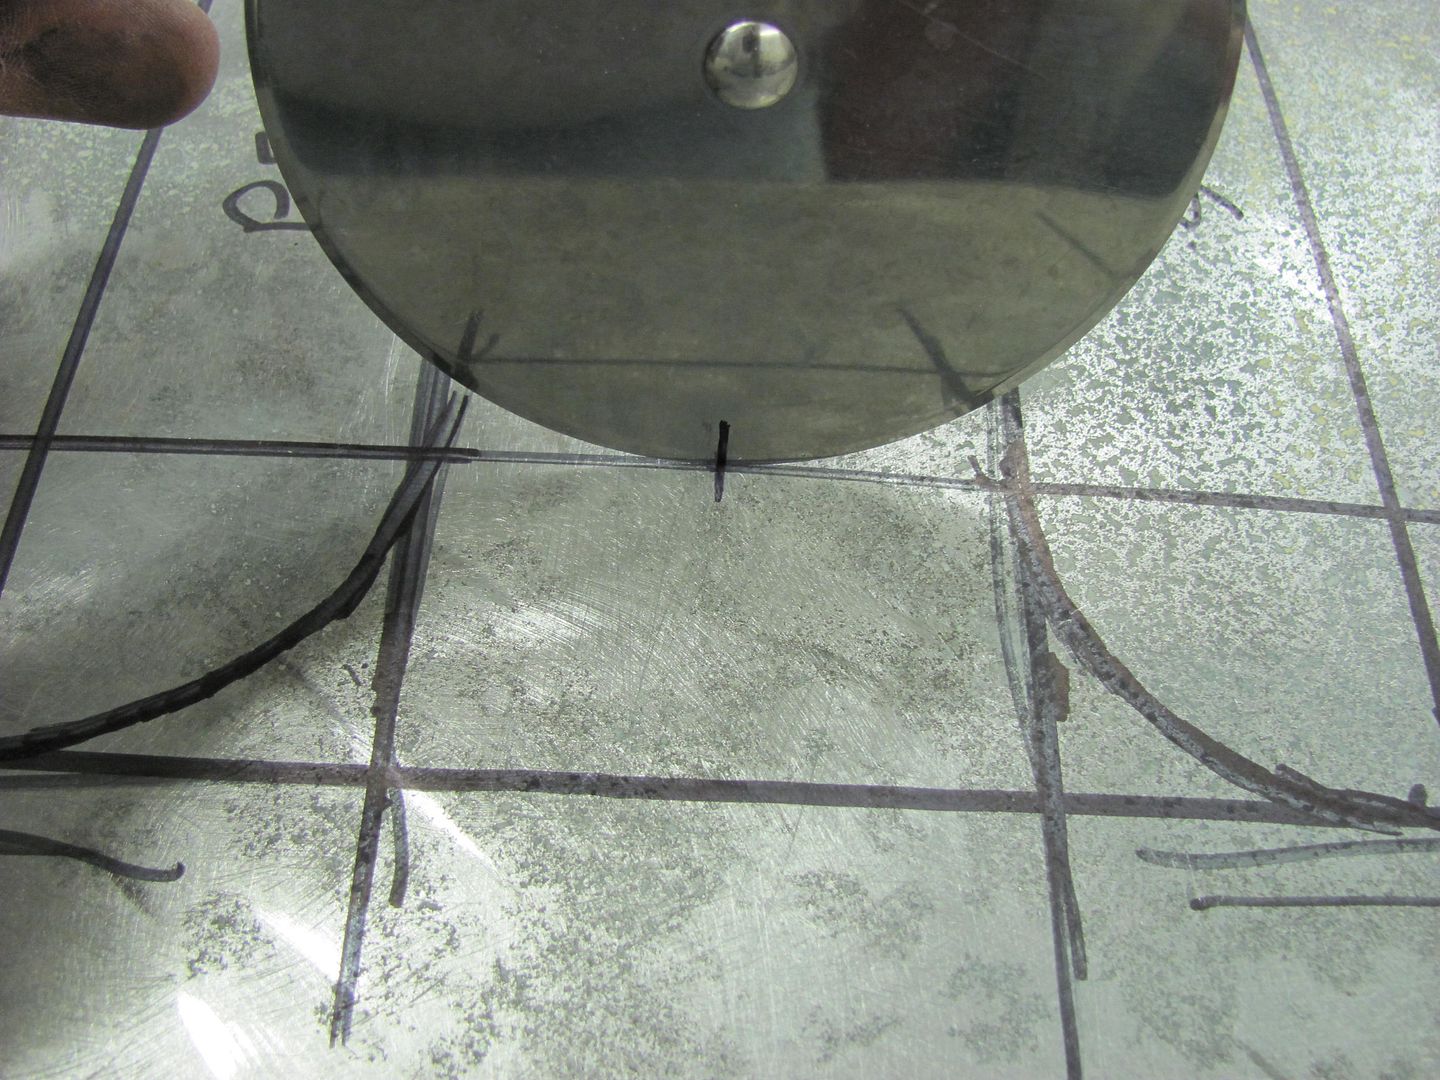
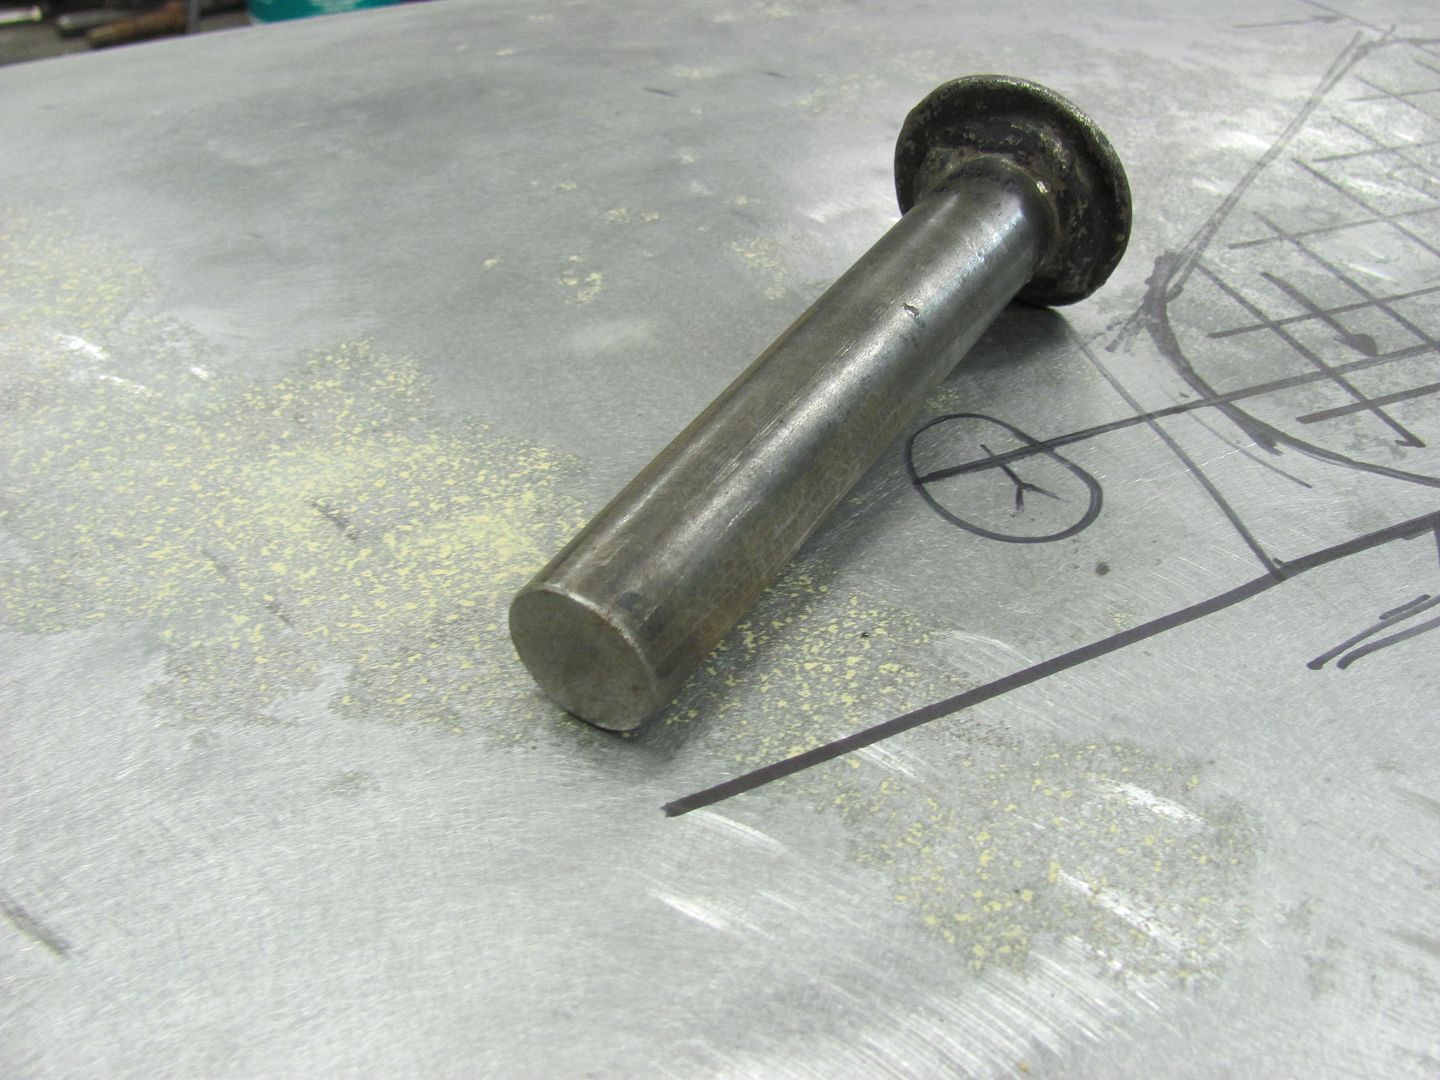
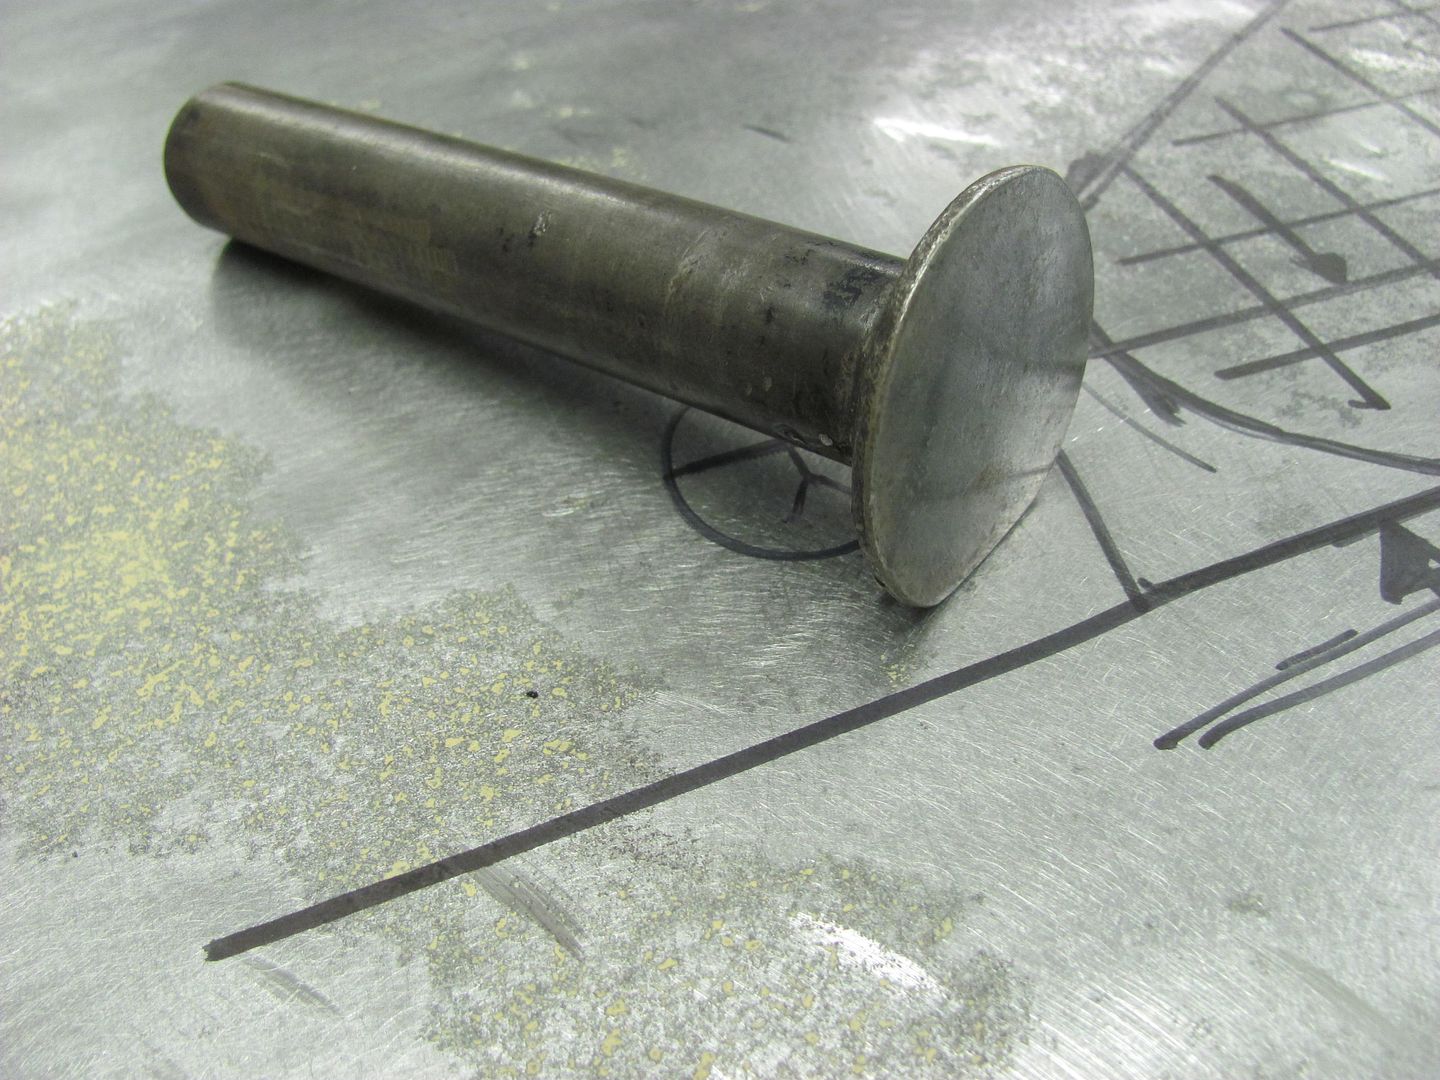
The stretch monitoring device is aligned to a center mark along the rear dadum, and rolled to the driver's side one revolution and marked on the trunk lid. Then repeated for the passenger's side. A check of this measurement after inflicting sandblasting damage should indicate if there is any stretch, shrink, or no change on the outside skin.


Picture152-1.jpg

This is just a Pizza cutter, no? :dunno: Either way, I am going out to get a pizza..Thanx alot...
 
OP
M

MP&C

Well-known member
Joined
Oct 21, 2009
Messages
4,405
Location
Leonardtown, MD
Yep, sure is. The datum line through each of the test areas was marked at a "one pizza cutter revolution" for the distance. Trying to measure with a ruler would be inaccurate as it wouldn't follow any panel deviation, where the pizza cutter would. Not really rocket science, or highly accurate, but just trying to identify if there was a shrink, stretch, or no change on the outside of the skin to better understand what may be needed to fix it. A check after inflicting the sandblast damage, even if it only shows a change of half a sharpie mark width, would still help to indicate these changes.

Enjoy your lunch!
 
Last edited:

NUTTSGT

Super Moderator
Staff member
Joined
Sep 14, 2009
Messages
51,135
Location
Northern Central Ohio
. . . . . . 58% of GJ members run out to buy a new measuring device. . . . . . the stock market reports a run on pizza cutters. :beer:
 

EdT

Well-known member
Joined
Sep 21, 2010
Messages
1,104
Location
North Georgia
Interesting thread. I have two thoughts:
1) Right now the you think the inside is too big( stretched) from enthusiastic blasting and the outside is "correct". I guess I don't understand how making both sides too big is going to help.
2) The amount of "extra " metal length it takes to make a sizable ripple is extremely small. In your situation, probably just a few thousandths of an inch if that. The Pizza cutter may not have the resolution required to "see" any changes.
Just some thoughts. I'll be interested to see how it works out. I hope it works out well.
 

ng8264723

Well-known member
Joined
Aug 28, 2006
Messages
743
Location
Oakham MA
I would think that a few passes with a shrinking disc would fix this. Having said that I have bead blasted sheetmetal before (furnace sides) and had warpage. Since it was only a furnace side i flipped it over and blasted the back and it did staighten out. I would not try this with a vintage piece of sheet metal
chris
 
OP
M

MP&C

Well-known member
Joined
Oct 21, 2009
Messages
4,405
Location
Leonardtown, MD
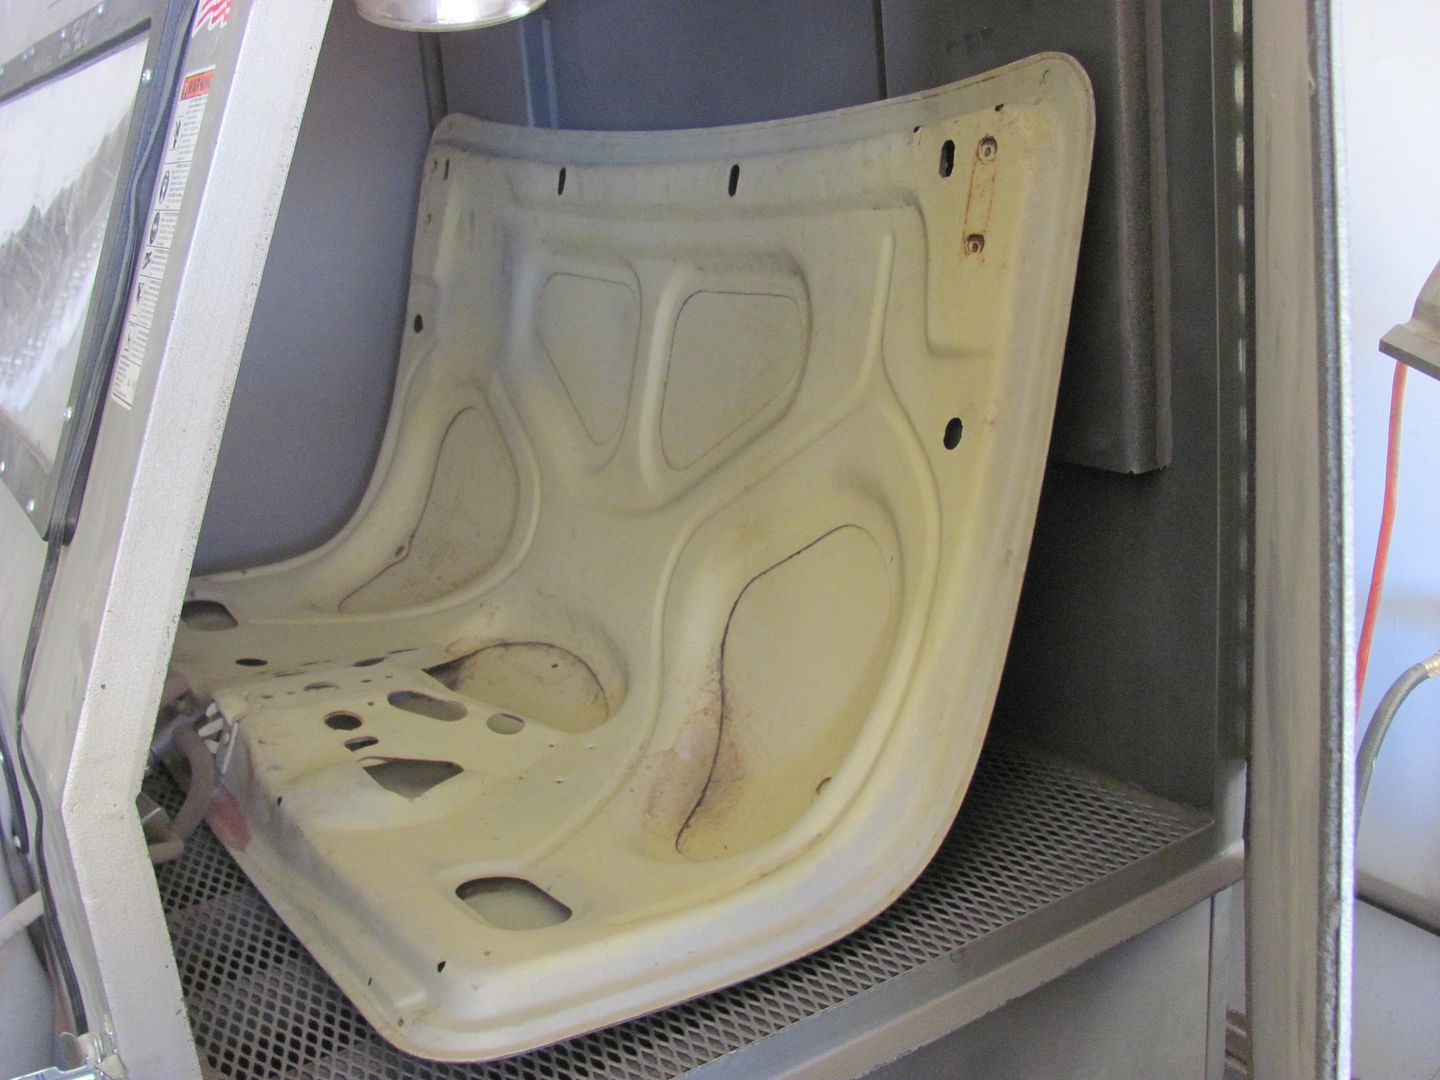
Well here's phase two of the test. The trunk lid was fitted into the blast cabinet.


Picture158-1.jpg


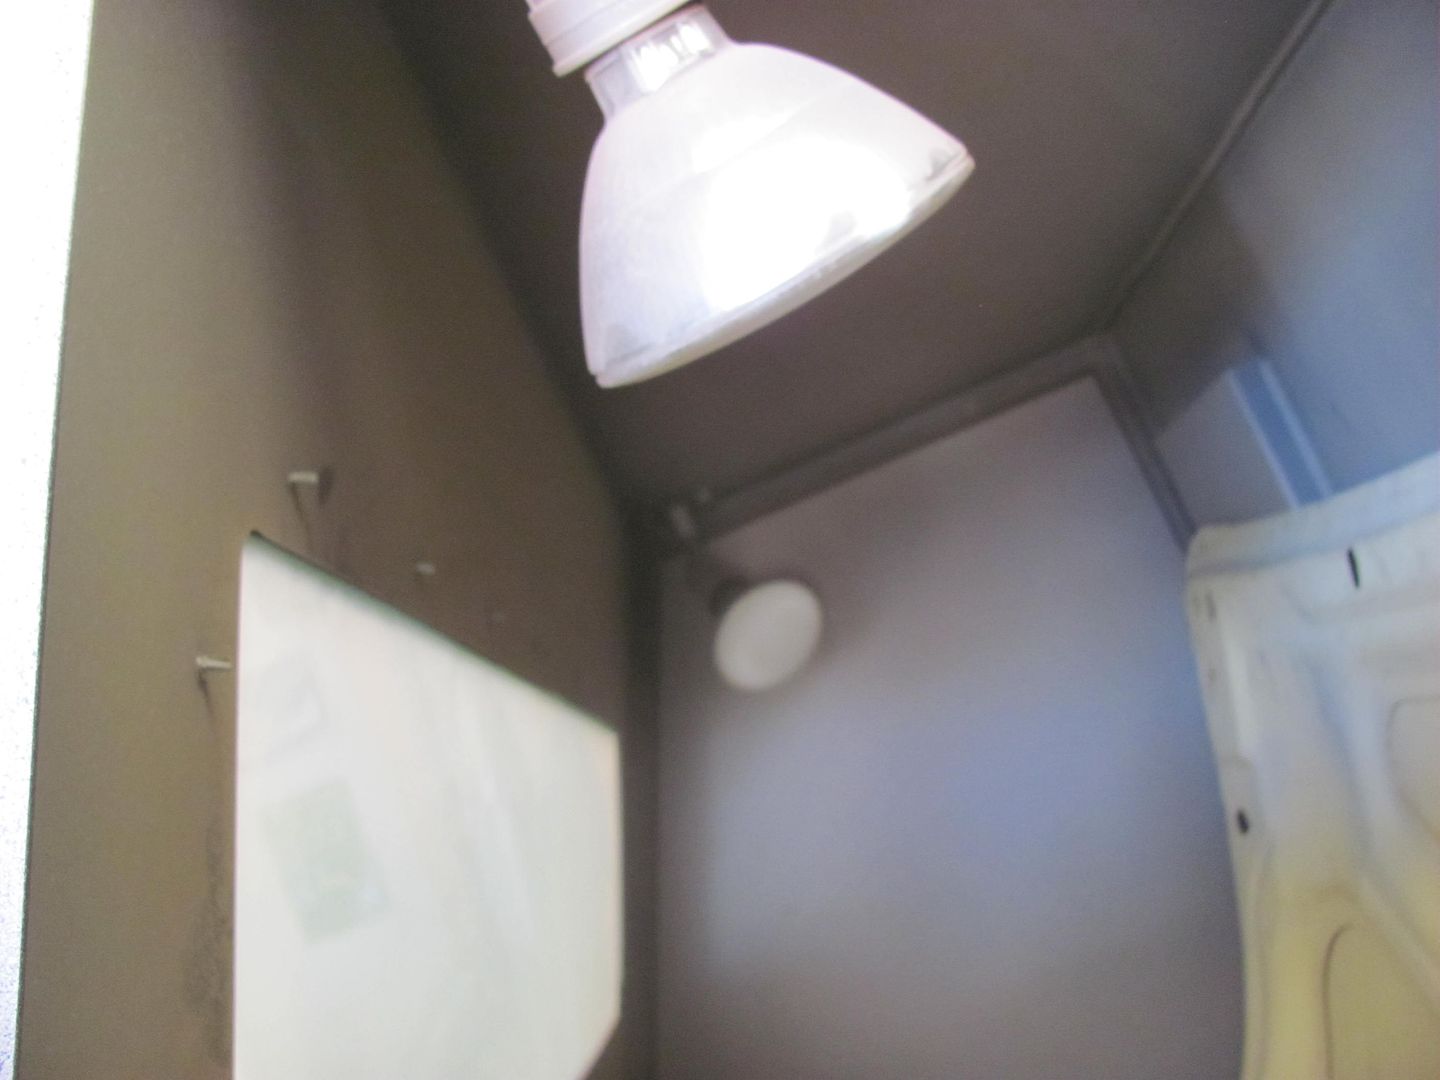
You always hear about how the heat from sandblasting is what causes the stretching and warping of the metal. I never gave that theory much thought before, but while we are testing, this would be a good opportunity to add that in the mix. In an attempt to minimize any outside influence while we measured temperature, the flood bulbs inside the cabinet were unscrewed enough to keep them turned off...


Picture159-1.jpg


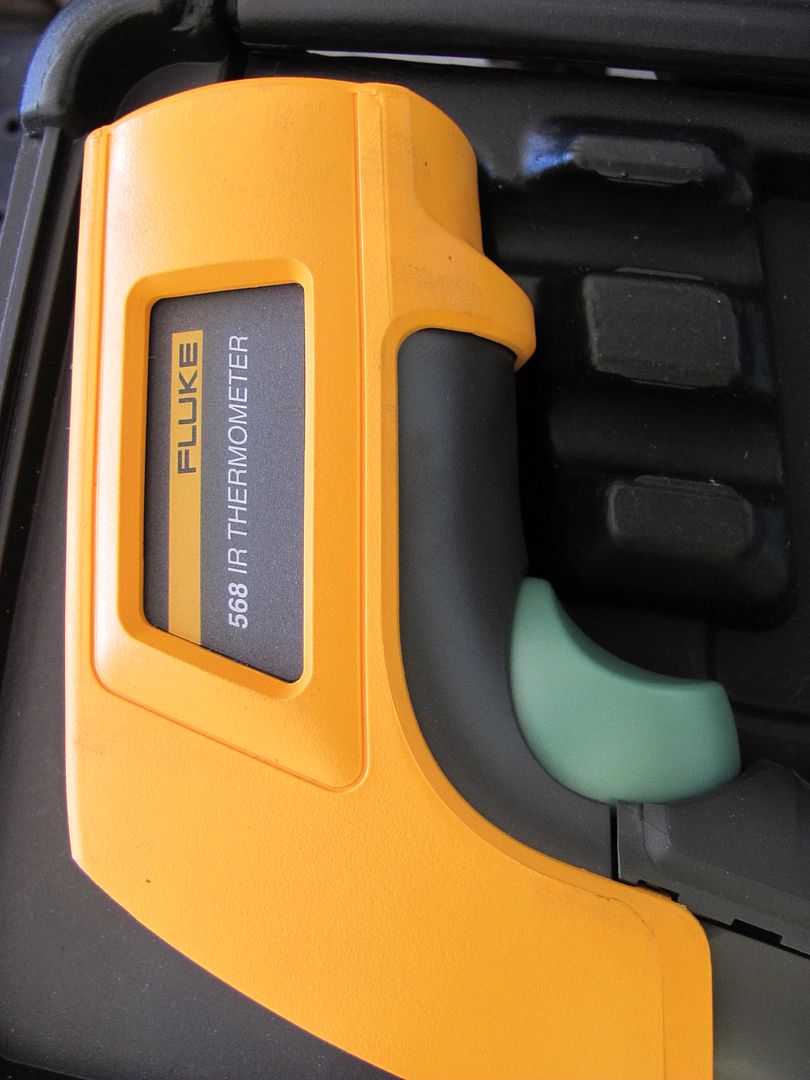
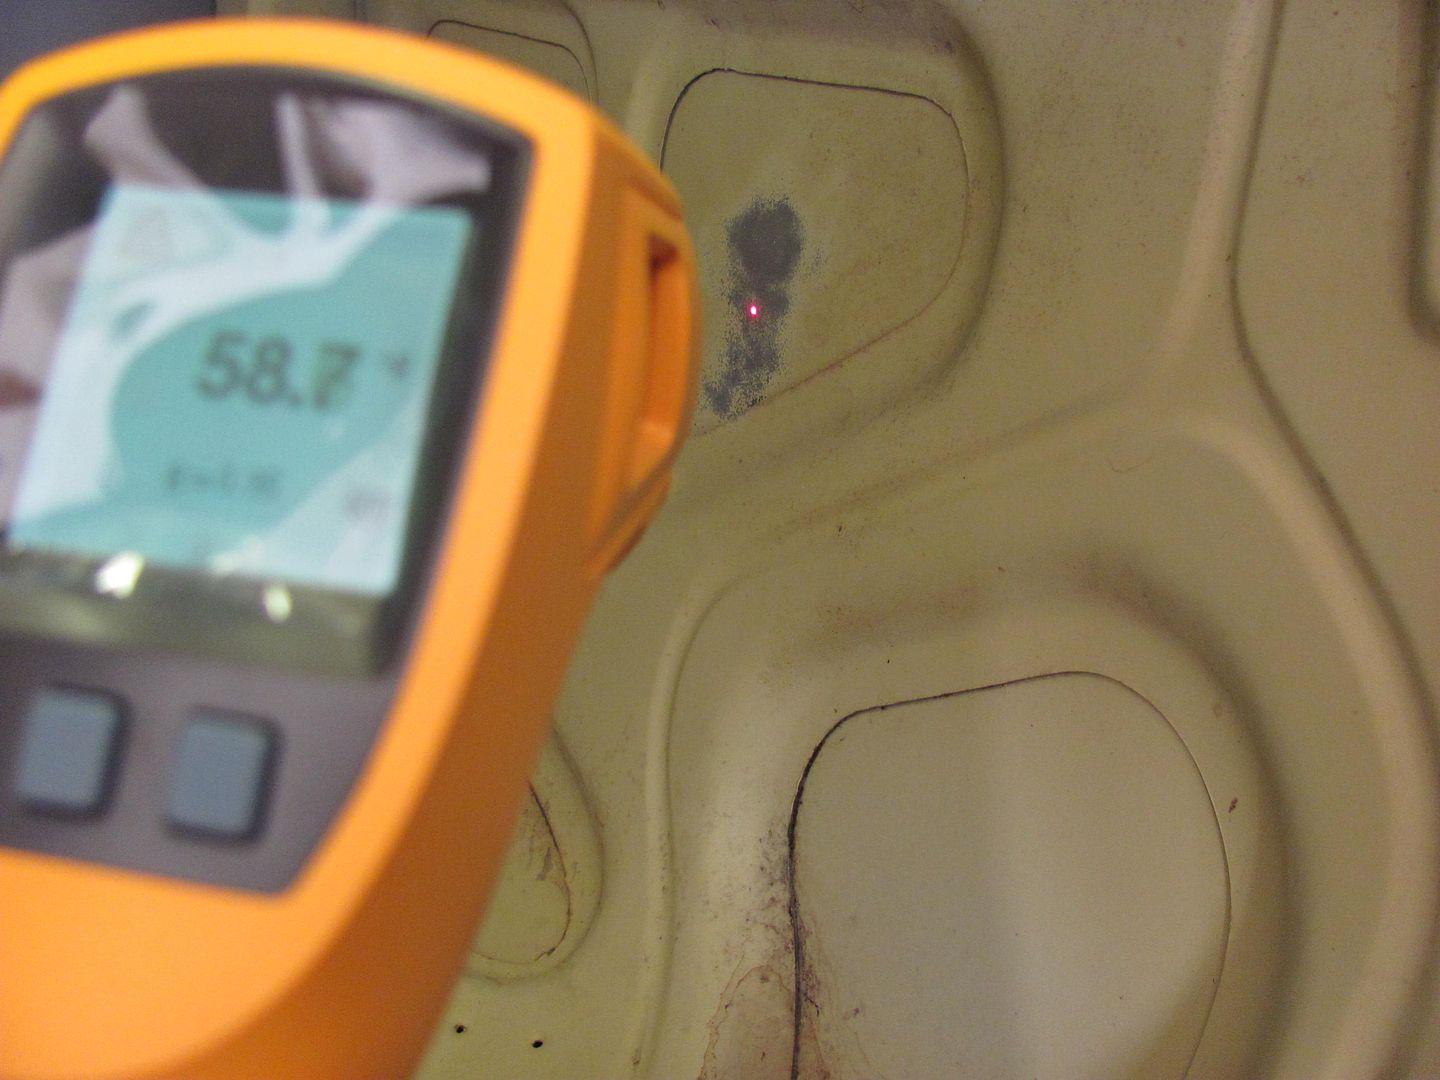
Here is the thermometer we'll be using today....


Picture160-1.jpg


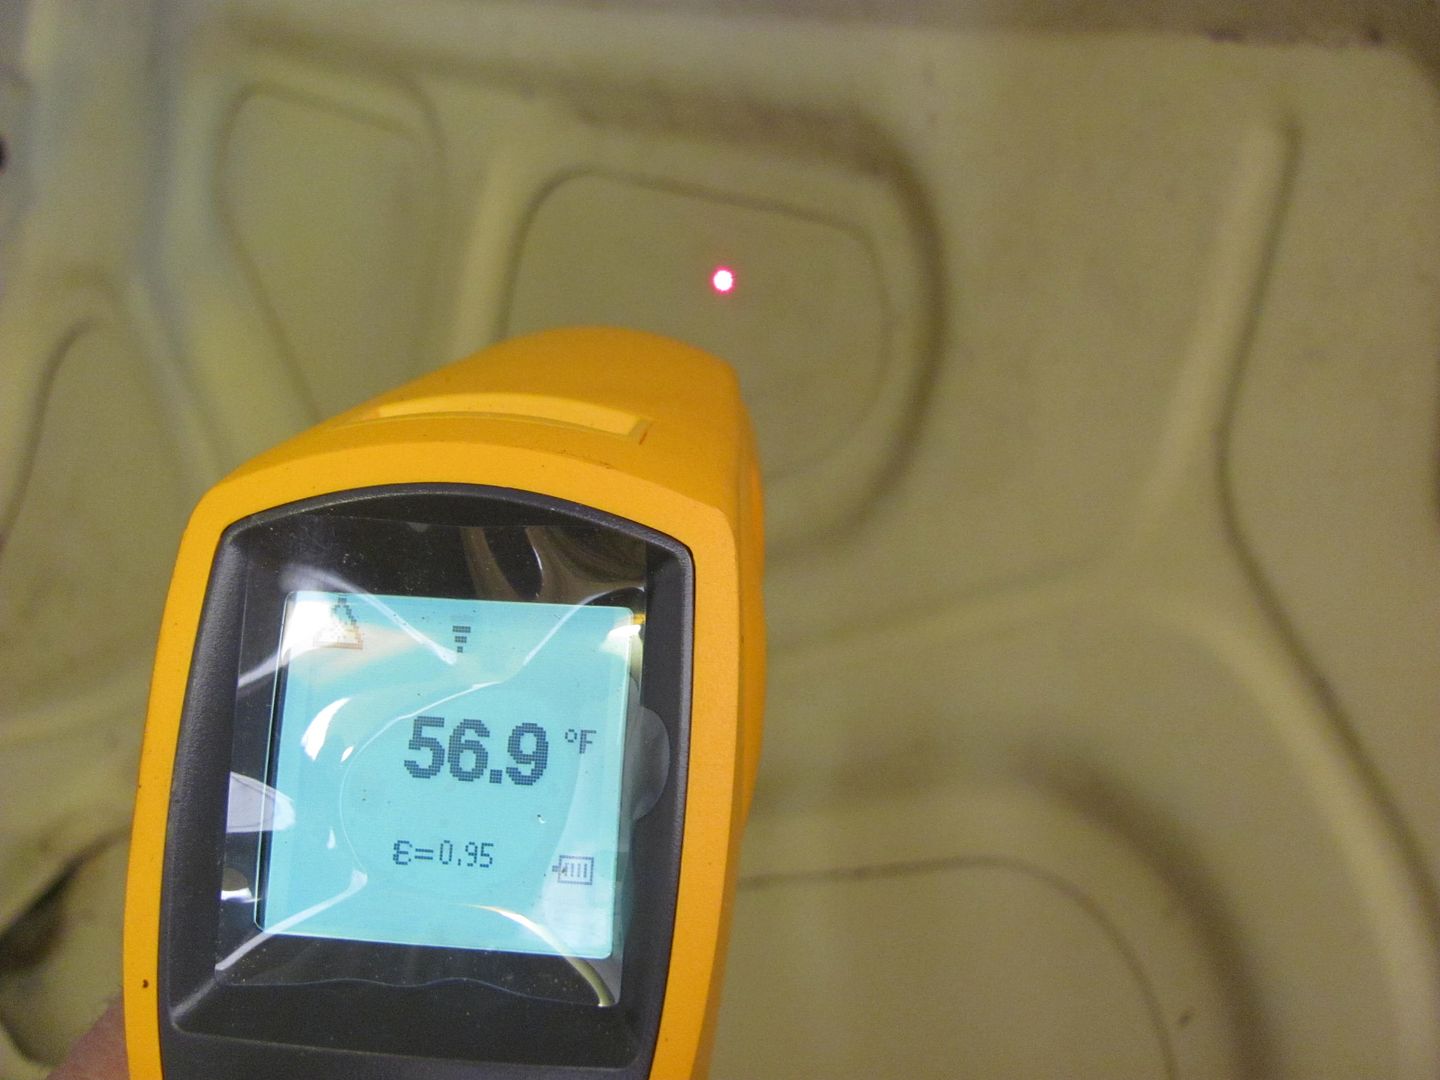
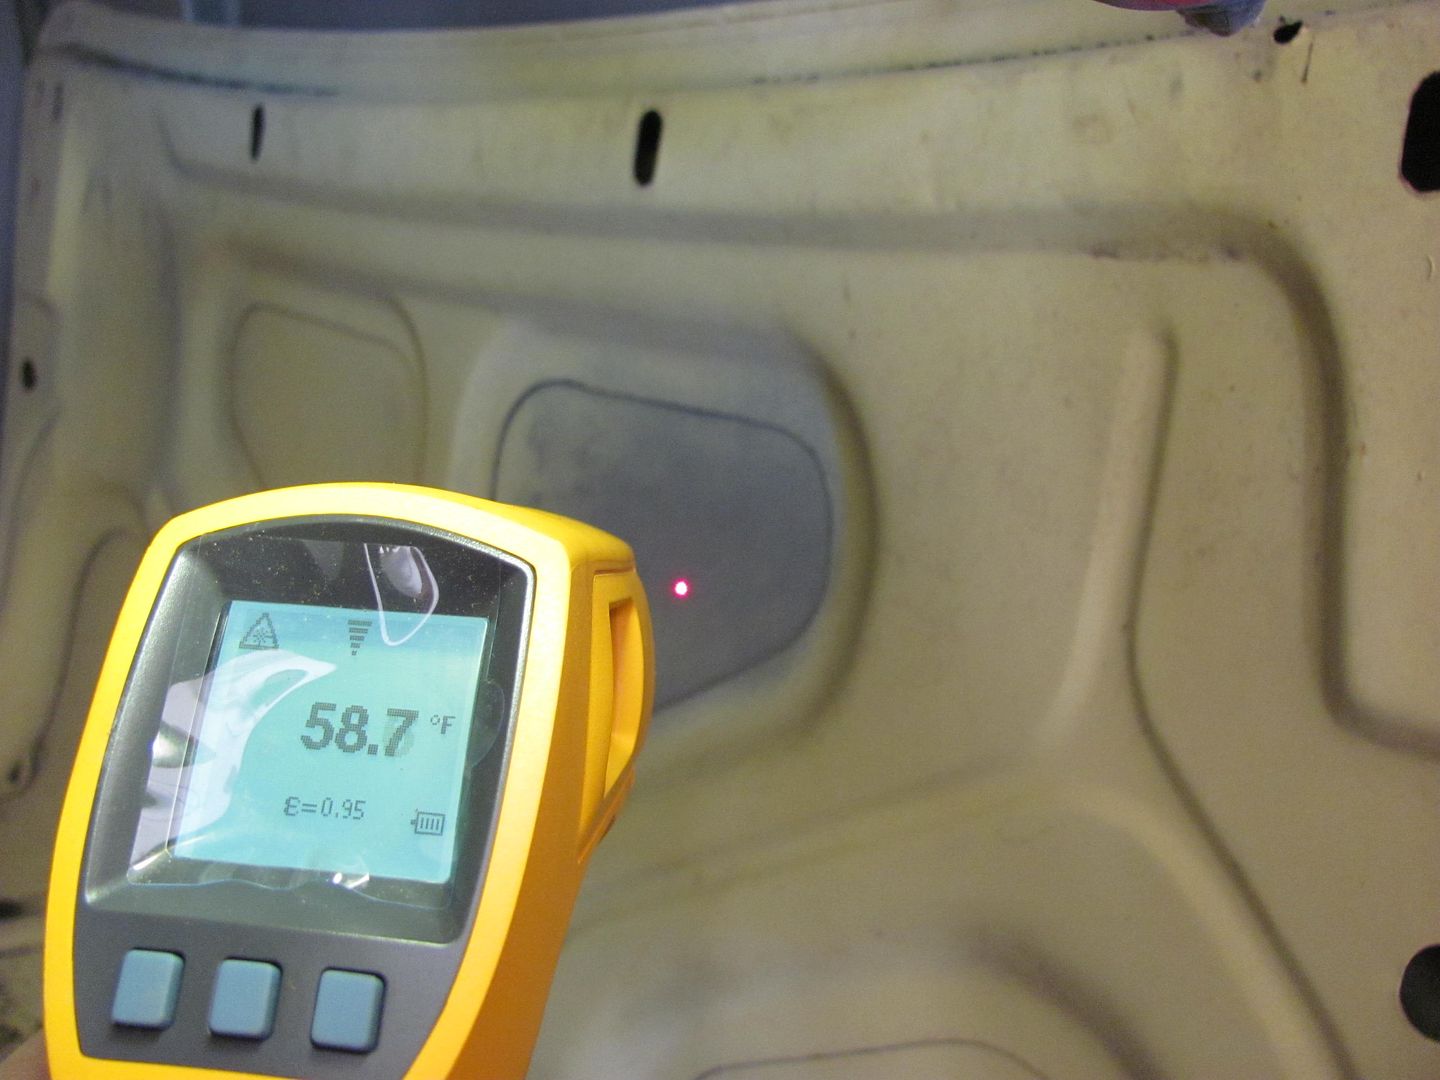
And here is the baseline temp.....


Picture161-1.jpg


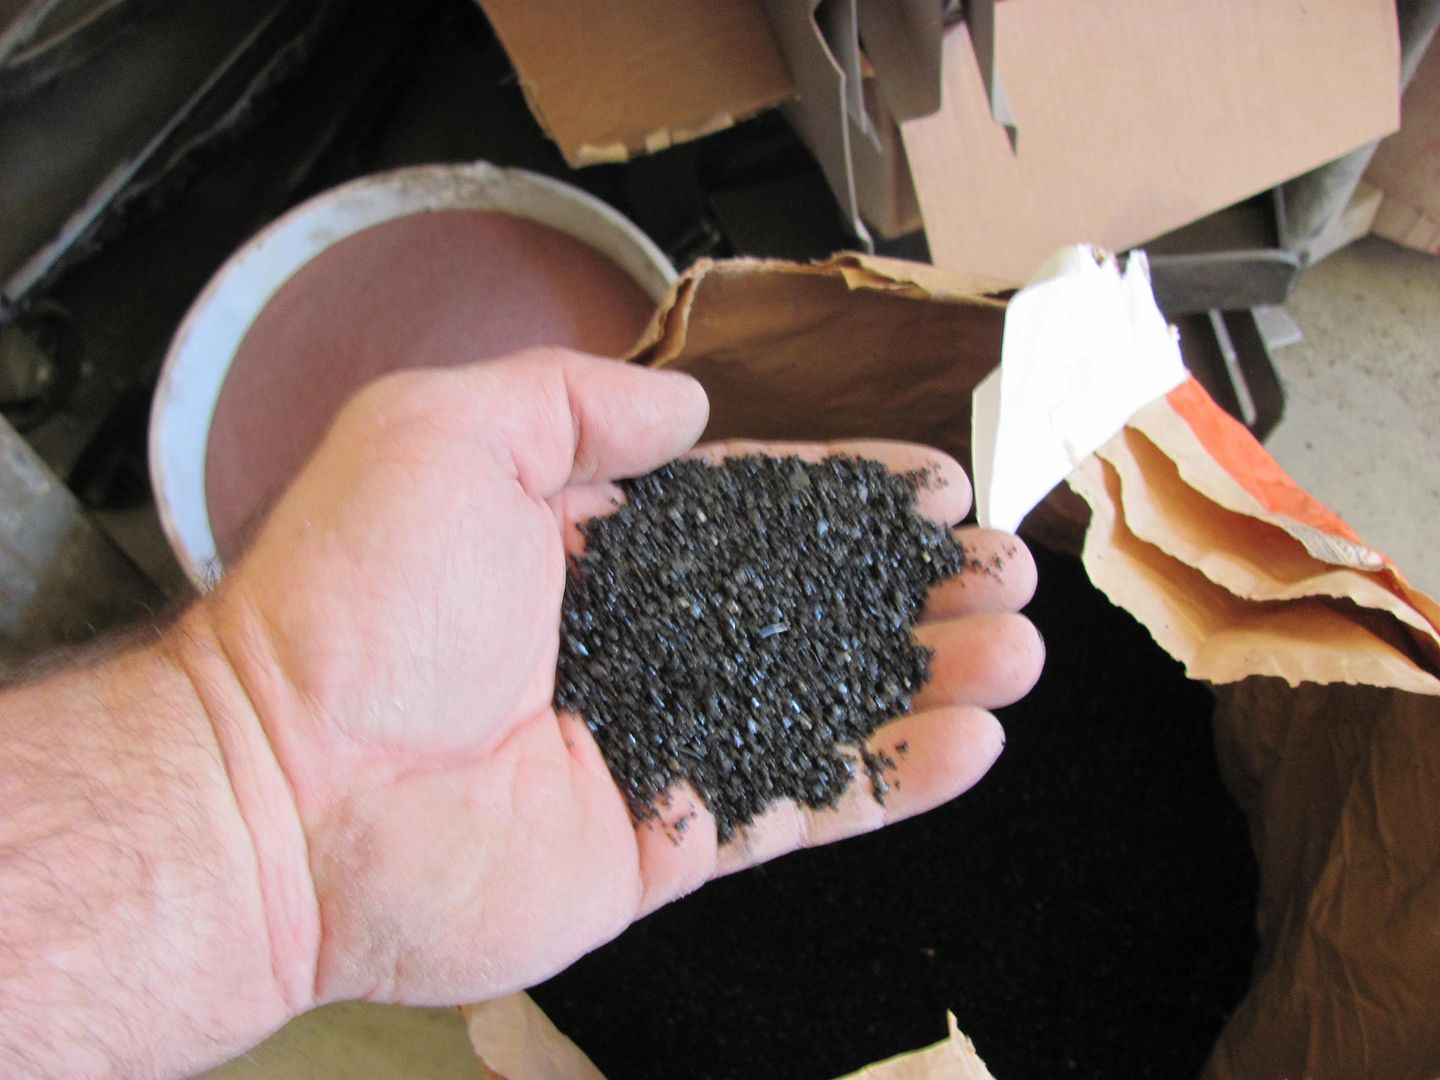
This is the media we'll be using today, Black Beauty medium grit. A bit coarse for sheet metal, but we're trying to duplicate the damage seen on Joe's trunk lid, so we'll give it a go.....


Picture162-1.jpg


Then I changed out the media in the cabinet, and started blasting. As I had opened the garage door and it's rather warm out, and I was rather slow in getting the media changed out, I thought I should check the temp again.


Picture163-1.jpg


After clearing off the one hole, we had noticeable panel distortion from the outside. In checking the temp again, it had not moved since the last check.


Picture164-1.jpg


So in essence, the temp of the panel did not change from the time we started blasting the one hole until it was finished. If you want to scream conspiracy, well it has gone up a whopping 1.8 degrees since the trunk lid was placed in the cabinet. I doubt seriously this can be attributed to a heat issue. I do have a refrigerant dryer on my air system, so that helps to keep the compressed air from getting warm, and yet the panel stretched still, despite the abscence of any significant heat increase. It should be safe to say the damage is caused due to the peening action of the media against the panel surface.


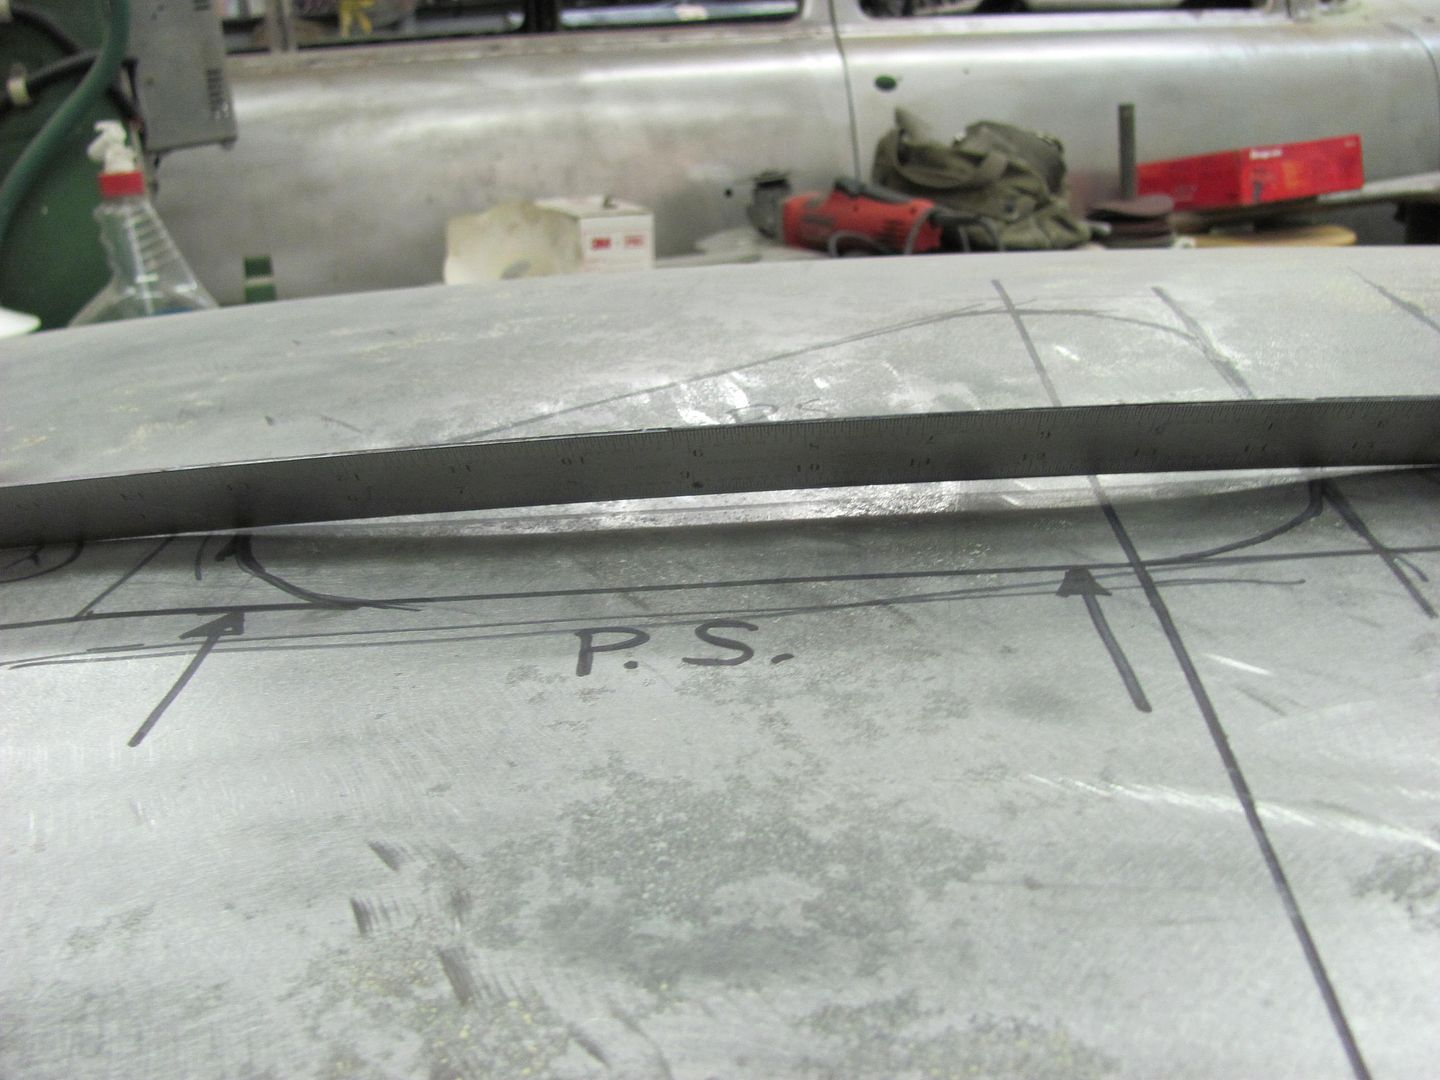
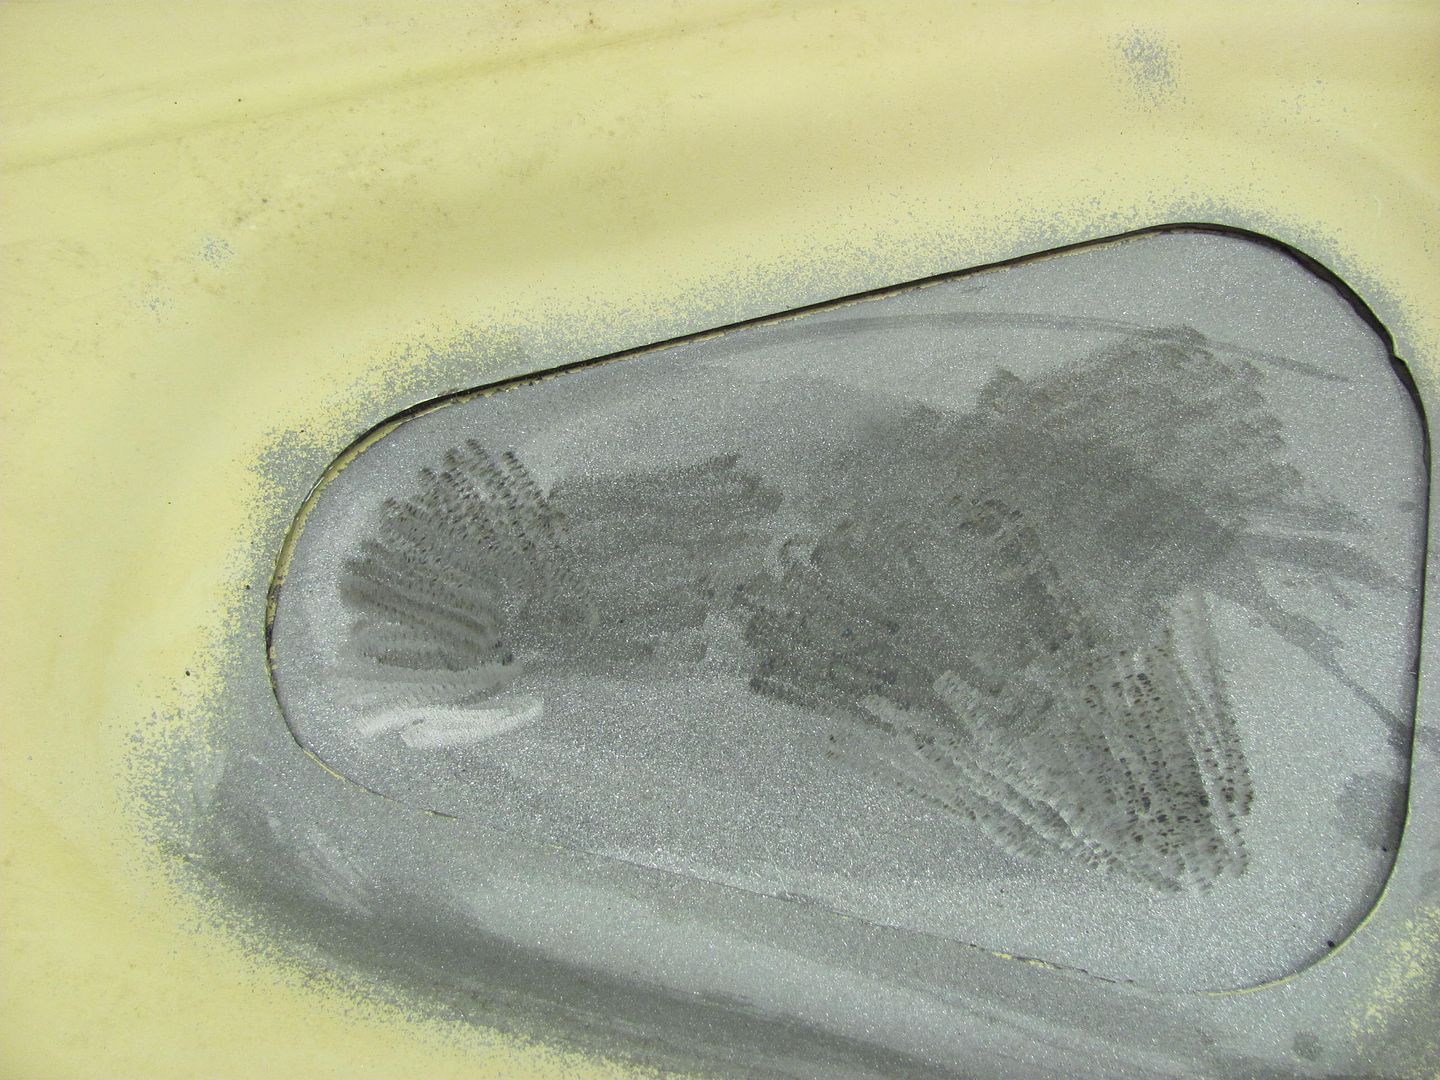
Lastly, here is the noticeable damage to the panel, measured along the datum lines as before....


Picture168-1.jpg


Picture169-1.jpg


Picture170-1.jpg


Picture171.jpg


Just to show a comparison before and after........


Picture149-2.jpg


Picture168-1.jpg


Picture148-2.jpg


Picture169-1.jpg


Next phase of the test will be to sandblast one of the damaged areas from the outside to attempt to relieve the compression/stresses of that side of the panel and see how the panel reacts... I'll use our driver's side as that one showed a decrease in length, and well monitor what happens.....
 
Last edited:
To avoid these ads, REGISTER NOW!

CARS

Well-known member
Joined
Jan 19, 2011
Messages
535
Location
New Ulm, MN
:rocker:

Woo Hoo!! Wrecking perfectly good panels for the sake of scientific knowledge.

(you should have applied for a Government grant)
 
OP
M

MP&C

Well-known member
Joined
Oct 21, 2009
Messages
4,405
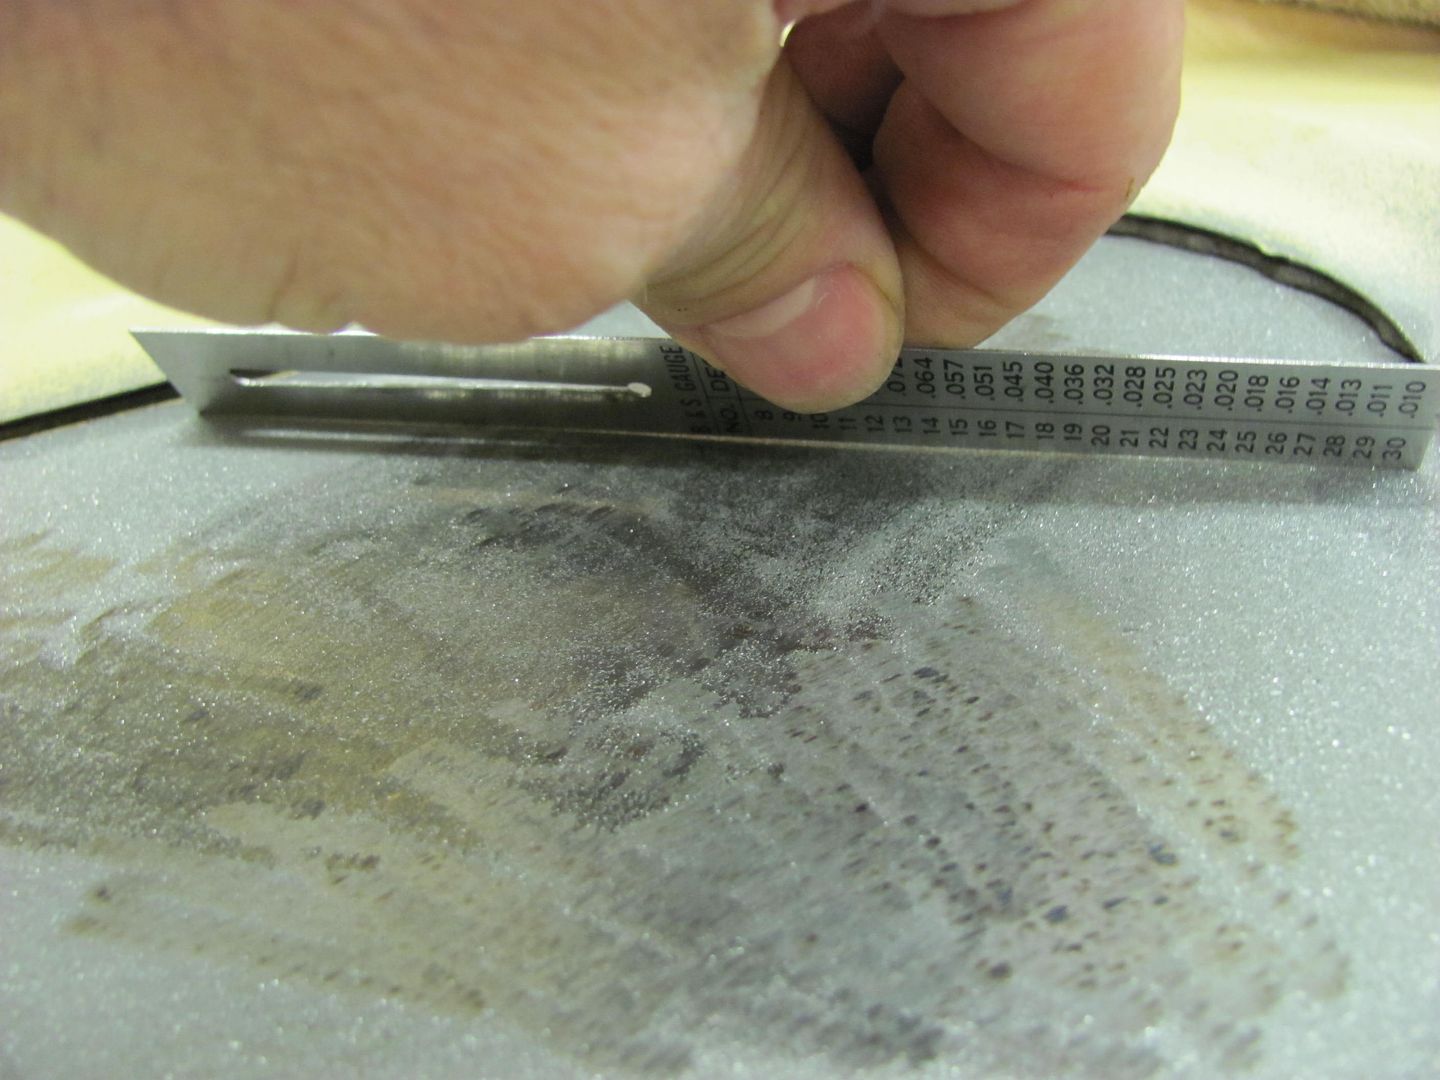
Location
Leonardtown, MD
On to some "repairs" ?

To preface, both test holes were bulged toward the inside. When I tried to push either out, they would oilcan out, but the stresses in the metal would bring them right back in once released. This is an indicator of what I call a tight oil can, or one that has resulted from a stretch.


Picture172-1.jpg


The driver's side test hole was sandblasted, and I stayed within the perimeter as marked so as not to stretch anything that was behind the inner panel and thus would be less accessible for any repairs. Once complete, you could tell the sandblasting had indeed relieved the stresses, as it would now oilcan in and out freely, and would stay where you put it.

Pushed in, it does appear that the panel is about where it was before......


Picture173-1.jpg


Pushed out, it shows some stretch as the panel assumes a sinusoid wave of sorts......


Picture175-1.jpg


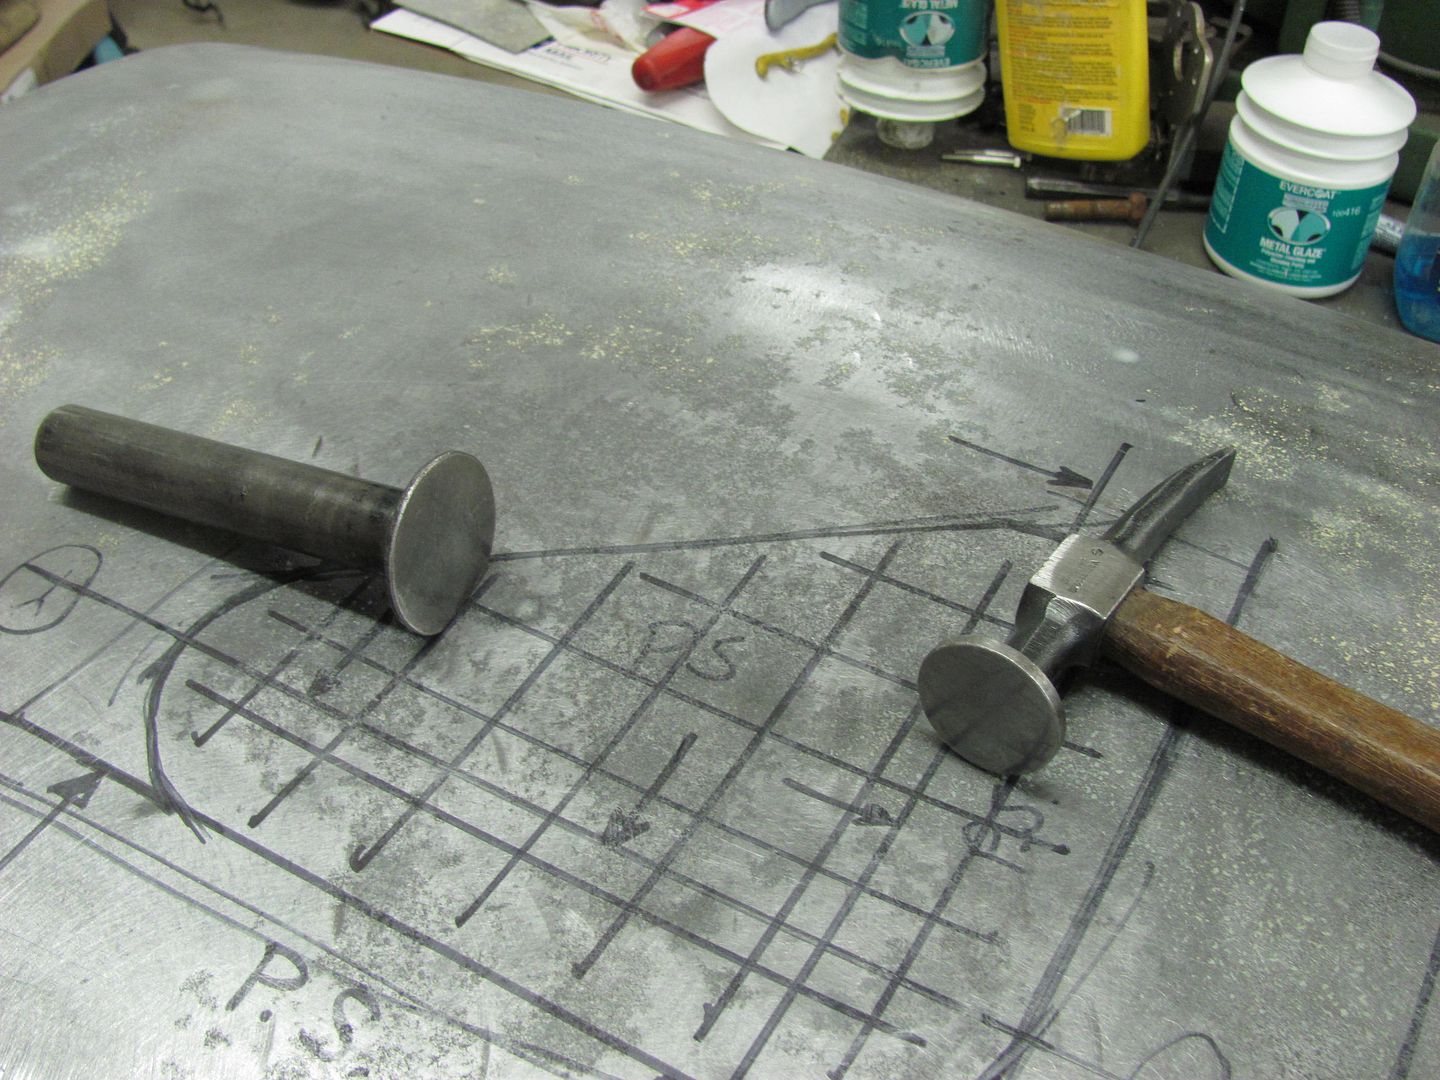
On to the passenger side test hole, this one is going to be addressed using the official Donut Dolly (produced by Daniel Gunderson). These have a concave feature on one end and convex on the other.


Picture177-1.jpg


Picture178-1.jpg


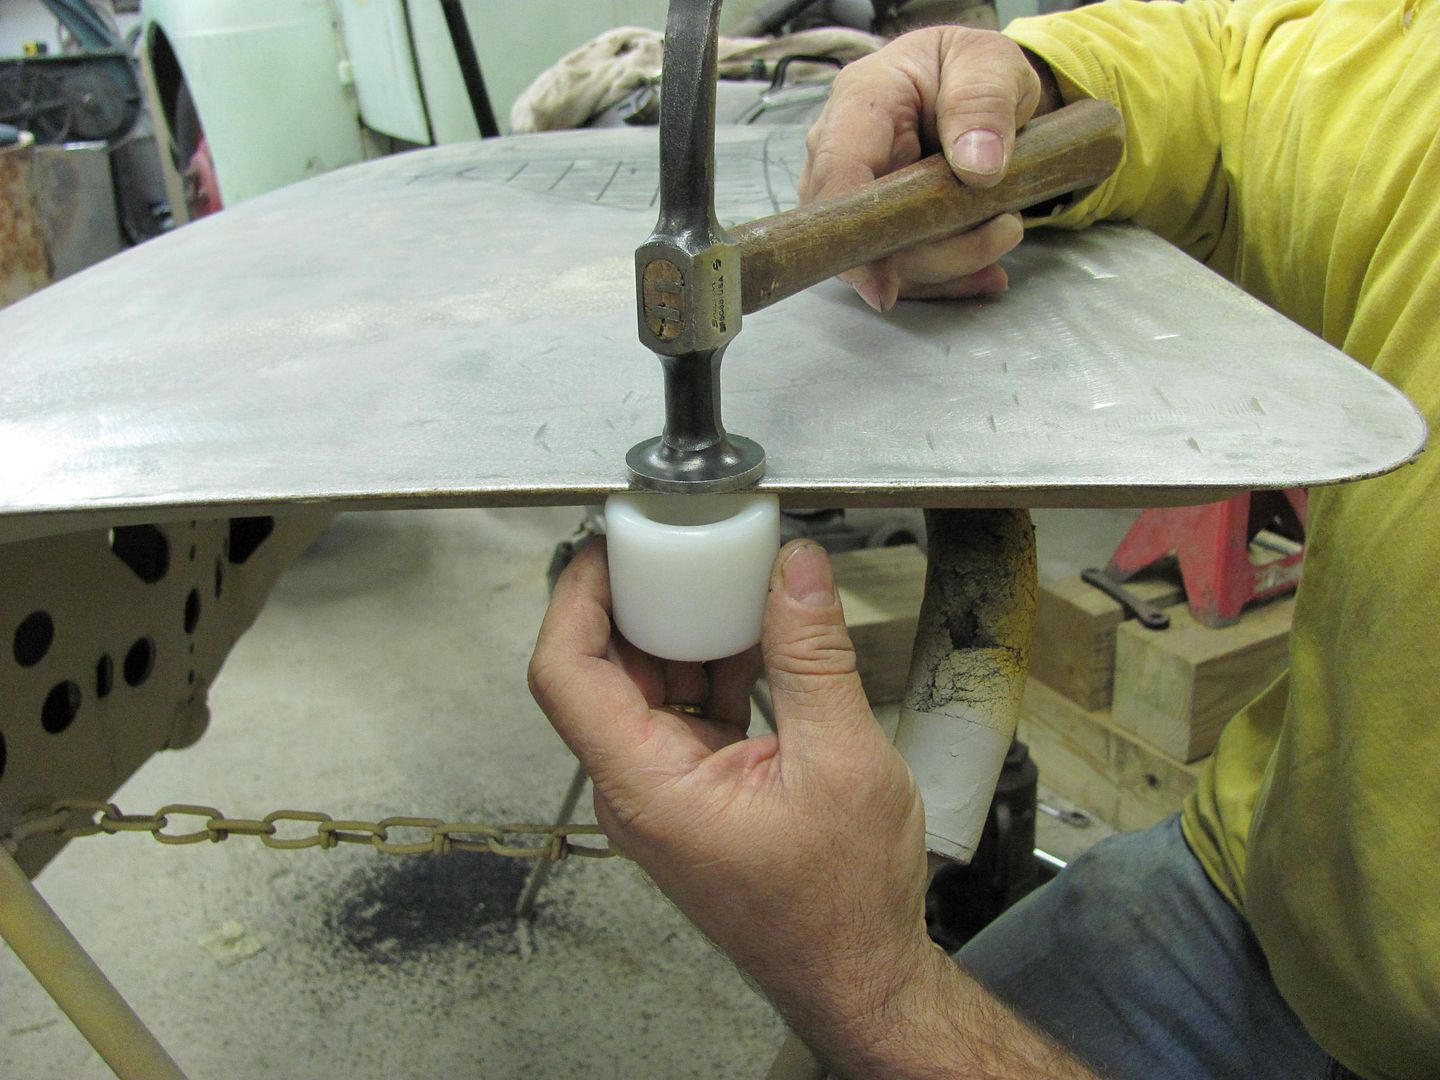
The basic principle is that the body hammer is used on the high or convex side, and the dolly is placed against the low or concave side. The dolly, as opposed to typical off dolly work, provides support completely around the hammer strike, instead of just to one side.


Picture182-1.jpg


In order to keep track of things, I've found it best to lay out identical grids on either side of the panel. Align the dolly on two crossing lines on the bottom, align the hammer strike to the corresponding one above, and slowly move both across the panel as you use moderate hammer strikes, stopping every so often to verify alignment top and bottom......


Picture180-1.jpg


Picture181-1.jpg


Picture184-1.jpg


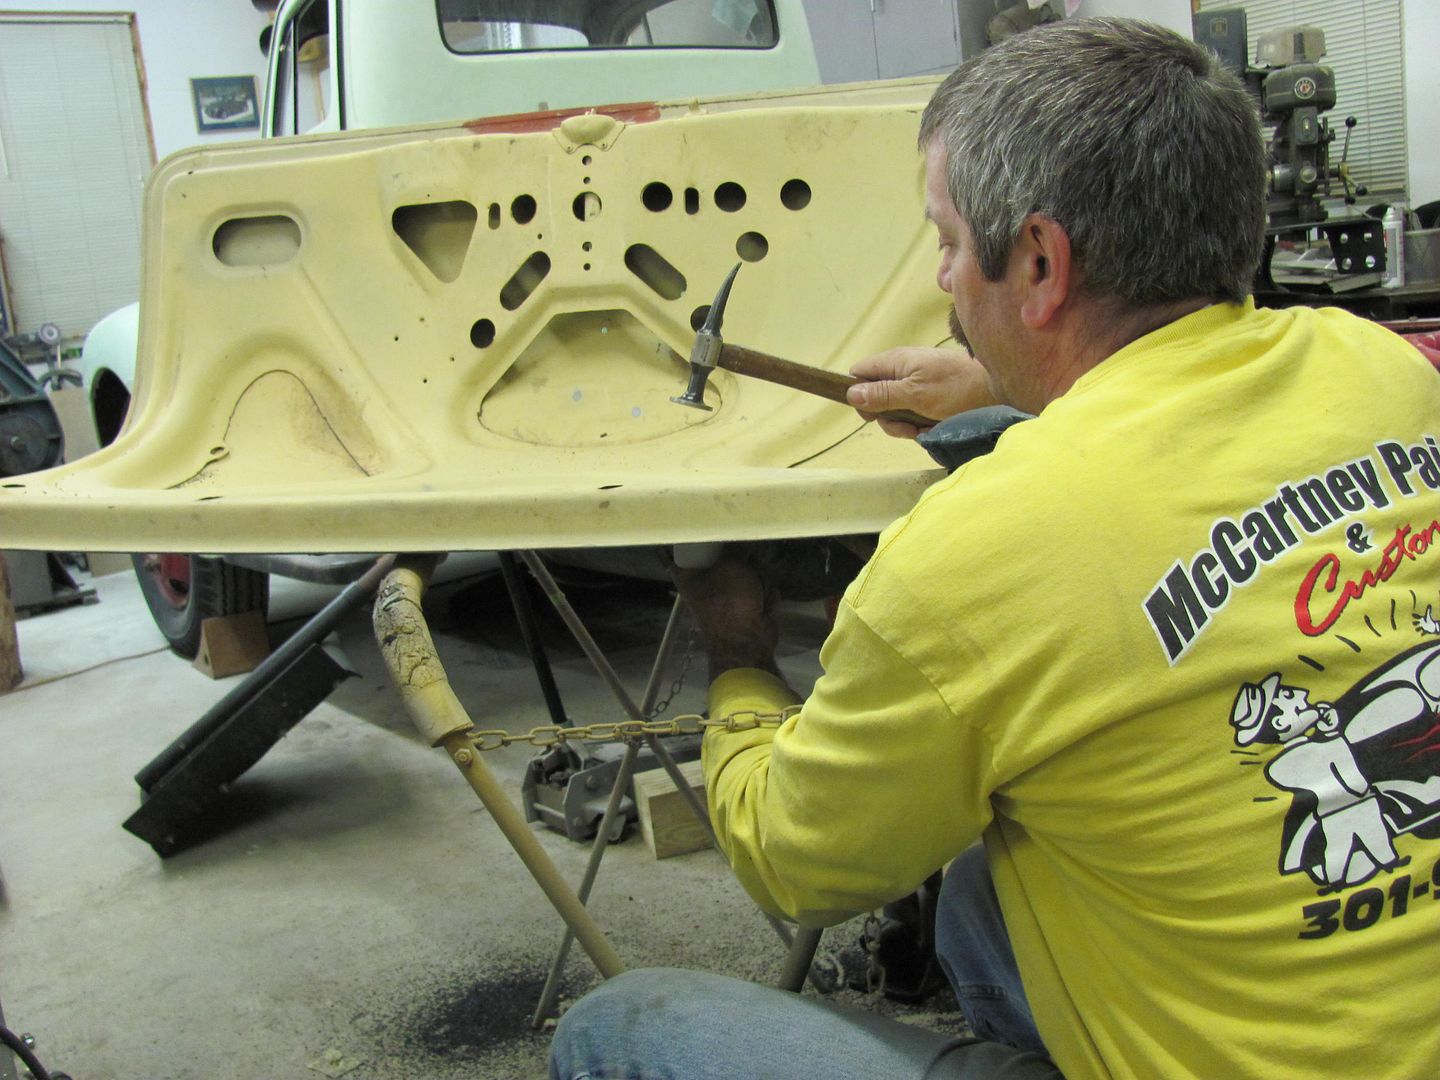
After about 5 minutes of shrinking, using a uniform pattern within the test hole, the panel now appeared to be relieved of its stresses as the panel would easily oil can back and forth. It appeared well shrunk, as it was a loose oilcan. At this point, I used my fancy hitch pin dolly and switched between the flat faced body hammer and a ******* to stretch things back and restore the crown...


Picture189-1.jpg


Picture190-1.jpg


After about a half hour or so of bumping things around, the panel had been restored fairly well to the original crown. It would oil can inward if pressed, but once pressure was released it popped back up again.


Picture191-1.jpg


Picture193-1.jpg


Picture197-1.jpg


A bit more work would have gotten things closer, but how close do you need for a test, right?

Here's the bottom side to show the hammer/dolly marks during stretching...


Picture198-1.jpg


We'll have to see if we can use a different shrinking method for finishing the driver's side and see how that reacts.....
 
Last edited:
OP
M

MP&C

Well-known member
Joined
Oct 21, 2009
Messages
4,405
Location
Leonardtown, MD
Interesting thread ! Where can I get those donut dollies ?


Daniel Gunderson, he has them in 1-1/2" and 2" diameter, the one I used on this thread was the 2". His email is ultratools AT sbcglobal DOT net

He's also got some youtube videos showing their use....
 
Last edited:
OP
M

MP&C

Well-known member
Joined
Oct 21, 2009
Messages
4,405
Location
Leonardtown, MD
In using the donut dolly, given the nice loose oil can that resulted, it appears the process of forcing the expanded/sandblasted area into the hollow of the dolly compresses the length back similar to where it was, relieving the stresses.

While using the hammer and dolly to planish the passenger side test hole, I did notice an ever so slight bulge around the outer perimeter of the test hole on the outside in much the same way as the force from a dent causes a bit of springback and resulting bulge around that dent, toward the opposite side. So part of the repair process was to use the hitch pin dolly on the underside, just inside the edge of the hole opening, and to use the ******* on the topside in an off-dolly to help bump this back down. As with many dent repairs, there will be shrinking done from both sides of the panel.
 
OP
M

MP&C

Well-known member
Joined
Oct 21, 2009
Messages
4,405
Location
Leonardtown, MD
I was just reading through the different comments this morning from the original post to see what if anything we may have missed, or anything that may need further clarification. I did find a few things to bring up for discussion...

I think the stretching caused by sandblasting is unique, and not like that caused by using a hammer and dolly. The metal isn't affected all the way through the panel, only one side. So if you could shrink that one side somehow, I can see how shrinking would work. But IMO you need to get the entire area of the panel stress-free or uniformly stressed and ready to shrink.

I read that part and then, in reading the part highlighted in blue, I was wondering why the donut dolly seemed to work, both in shrinking the panel, and in relieving stresses, as seen by the loose panel oil can. I glanced back at my drawing I did of somewhat exaggerated damage resulting from the sandblasting, and thought of this:

DocHarleyTrunk3.jpg


As a result of the damage to one side only, the inside has stretched, and the outside, unchanged, would be in compression by comparison. (likely until there is so much stretch involved, if the blasting had continued, that it would return to a relaxed/it's original state. This may explain the driver's test side showing a decrease in length, where the passenger side remained the same length) Moving on to shrinking, as the donut is placed against the concave part of the arc, it supports along the perimeter of the dolly and helps to "trap" the metal where is sits. As the hammer strikes from above, you are forcing the sheet into that hollow. Where the inside of the skin is stretched, and the outside is not, by forcing more length of the inside of the skin into the same distance of the outside (i.e.: into the hollow of the donut) are we not in essence equalizing the differing forces that exist on opposite sides of the panel?

How about sandblasting it on the outside to stretch the metal evenly on both sides? It will probably oilcan and need shrinking after that, but at least it wouldn't be stretched on only one side and you could use the shrinking disc to bring it back down. I still think a hammer and dolly would work too...that's what I would try anyhow.

The sandblasting of both sides has shown to relieve some of the stresses of the differing forces, as we did show the oilcan is now more equalized in force, it will stay where you push it to without popping back to the original position.
Keep in mind that the shrinking disc works best when you lay the disc on the center of a high spot. I have not found it to be very useful when using the edge on a low spot.
Where the driver's side test area does still show a stretch in the sinusoid wave, I don't think the stretch in this type of surface feature can be effectively removed using the shrinking disc, as the highs (in reference to the side the disc is working) that the disc is looking for alternate from one side to the other, where the inner structure may get in the way of effective work from that side. Perhaps that side could be pushed and held somehow toward the outside of the trunk lid to promote better access for the disc. As I've had limited exposure to this tool, I'll defer those thoughts to someone else with more experience to answer....

How about sandblasting it on the outside to stretch the metal evenly on both sides? It will probably oilcan and need shrinking after that, but at least it wouldn't be stretched on only one side and you could use the shrinking disc to bring it back down. I still think a hammer and dolly would work too...that's what I would try anyhow..............I believe the right thing to do is to stretch the outside of the sheet while pushing up on the dolly, which is held on the inside. I think that action will tend to compress the inside (or stretch it less) and stretch the outside, resulting in a more evenly stretched area. Then you can shrink the whole area back to where it belongs with a shrinking disc. That's my thinking anyhow.........

While we did not attempt the hammer and dolly to relieve stresses as part of our experiment, I think the repaired passenger side could serve to investigate this theory, to see how the panel reacts. Still have media left, so I'll proceed with this so we can see how the differing stresses will react, if the hammer and dolly will help to equalize them..


if I hold the panel and use the propane tourch method how long should I apply heat? Also should I heat just the center or the complete warped area?
Not long at all, very short, you can see the metal move. Too little is better than too much.
I moved the torch around in a circular pattern over the area for just a few seconds.
I did enough just so the panel would stay in the out position on it's own. Then I used the shrinking disc from there. Used the ******* and dolly if I got too much shrinkage.

Having shrunk the one side to a loose panel oilcan, it did planish back out fairly easily to restore the crown. I think as long as your heated torch spots stayed well away from the edge of the hole opening, where you don't risk shrinking under the inner structure with no access for planishing, then you should be fine using a torch. As with all processes, consistency should be a focus..

You can get lucky on a few small pieces but when a large panel is damaged that bad you can chase an oil can all day.

Very true, the progress needs to be closely monitored to better know when to stop or move elsewhere.. And don't let tunnel vision keep your focus on the damaged area, monitor all the surrounding panel for any changes/damage..

I've got a shrinking disc on the way, to use on one of the remaining stretched areas. Once I re-damage the passenger side for the hammer and dolly "equalization", that would even give me one sample to use with the disc, one with a torch.

Comments, interpretations, etc welcome......
 

bad_idea

Well-known member
Joined
Jun 11, 2011
Messages
4,335
Location
Pasquotank, NC
Having absolutely no knowledge in body work probably tints my comments, but here goes.... Wouldn't it be cheaper to buy another trunk lid? Seems like a lot of man hours into R&D to save a trunk lid that can't cost more than $500 to replace. Sorry to be a downer, but I am honestly curious as to the motivation into this project. Is it purely curiosity or will you profit from this?
 
OP
M

MP&C

Well-known member
Joined
Oct 21, 2009
Messages
4,405
Location
Leonardtown, MD
Responses in blue

Having absolutely no knowledge in body work probably tints my comments, but here goes.... Wouldn't it be cheaper to buy another trunk lid? Seems like a lot of man hours into R&D to save a trunk lid that can't cost more than $500 to replace.

If accurate replacement parts are available for said vehicle, then it is a viable consideration for the owner. If the parts are inaccurate, as is many times the case, many man hours will be expended to use those parts but make them and/or the adjoining panels suitable (think gap joints, etc). If someone is tackling sand blast damage repairs themselves, then it would be their time and effort. If parts are not available, then you either need to reproduce that part or fix what you have. If you have read this from the beginning, I am conducting this test in hopes of finding the most effective method(s) of repair so that the owner of the car in FL can determine if this is a repair he can do on his own, whether it is one he should farm out, or as you suggest, buy a replacement.


Sorry to be a downer, but I am honestly curious as to the motivation into this project. Is it purely curiosity or will you profit from this?

Some of my passions include rust repair and metal shaping. I have never met the gentleman who owns the car that was damaged, save for online forums, just as you and I are conversing now. The motivation is to research a definitive answer for a repair that seems to be all the more frequent, and just as with the other numerous tech threads I have written on this and other web sites, if someone else can benefit from it, then so be it. Perhaps karma will shine brightly on me one day. As for profit, to date, in conducting this experiment, I have purchased a slightly used 55 Chevy trunk lid, a bag of sandblast media, donut dolly's, and before it is done, my blast cabinet will need a replacement plexiglas viewing screen. I have not accepted nor will I any funds from the car owner in FL. As a part time venture, I will likely not finish the present restoration project in my shop until later this summer, and I have others lined up afterwards that will last into the next few years, so I hardly consider this an advertisement to lure someone in the door. But if the test results may help you or anyone else out in the future, then this post has served its purpose.
 
Last edited:

240sxguy

Well-known member
Joined
Jan 6, 2009
Messages
1,158
Location
Madison, wi
Robert, I am enjoying watching this thread. I had no idea how badly you could damage something with a blaster.
 

bad_idea

Well-known member
Joined
Jun 11, 2011
Messages
4,335
Location
Pasquotank, NC
Interesting. We all have our hobbies I guess. It is fairly noble that yours is helping others on theirs. Anywho, carry on.
 
OP
M

MP&C

Well-known member
Joined
Oct 21, 2009
Messages
4,405
Location
Leonardtown, MD
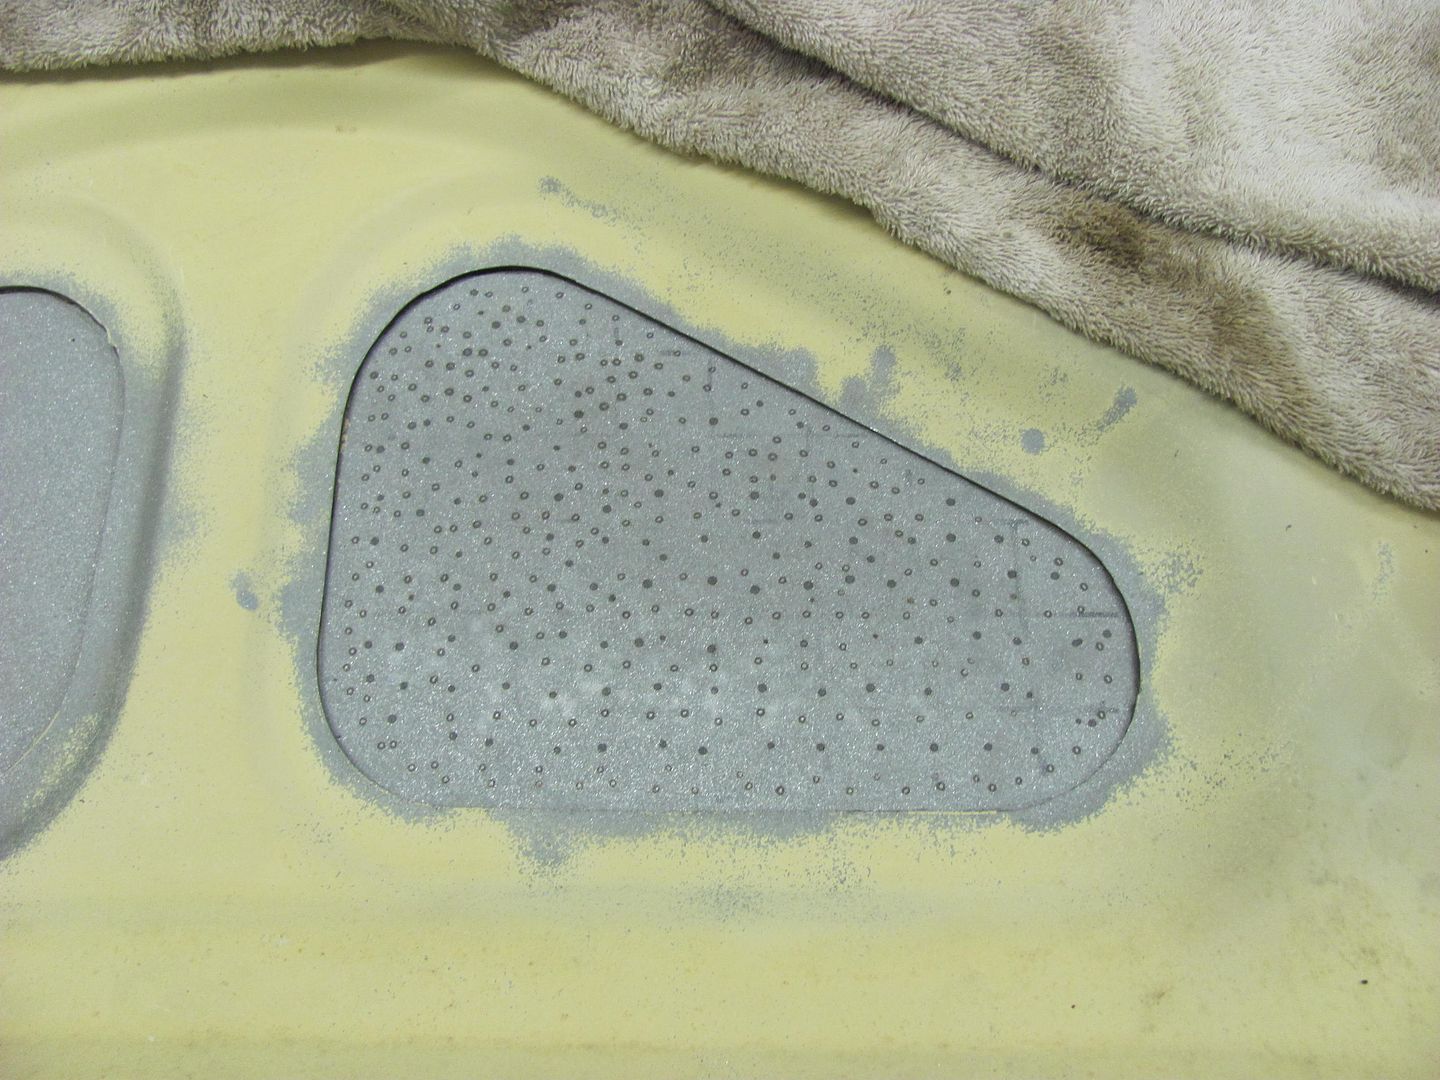
Time for the next phase of the test. With the passenger side repaired with the use of the donut dolly, we sandblasted the inside once more to use for another test.


Picture201-1.jpg


Sandblasted, the panel once again showed a bulge to the inside.... A test of the oil can effect showed it would pop toward the inside once released.


Picture202-1.jpg


Picture203-1.jpg


Now we'll use a hammer and hitch pin dolly to attempt to stretch the outside skin to equalize some of the stresses. The hitch pin was pressed against the inside to raise the panel as the hammer was used from the outside..

Picture204-1.jpg


Once complete, the oil can effect seemed more equalized in that it would stay to which side you pushed it. The panel also shows the sinusoid wave... indicating a stretch within the opening on both sides...


Picture205-1.jpg


to attempt the repair to this side (again), we'll use heat in the form of the heating tip on the dent puller.


Picture206-1.jpg


Picture207-1.jpg


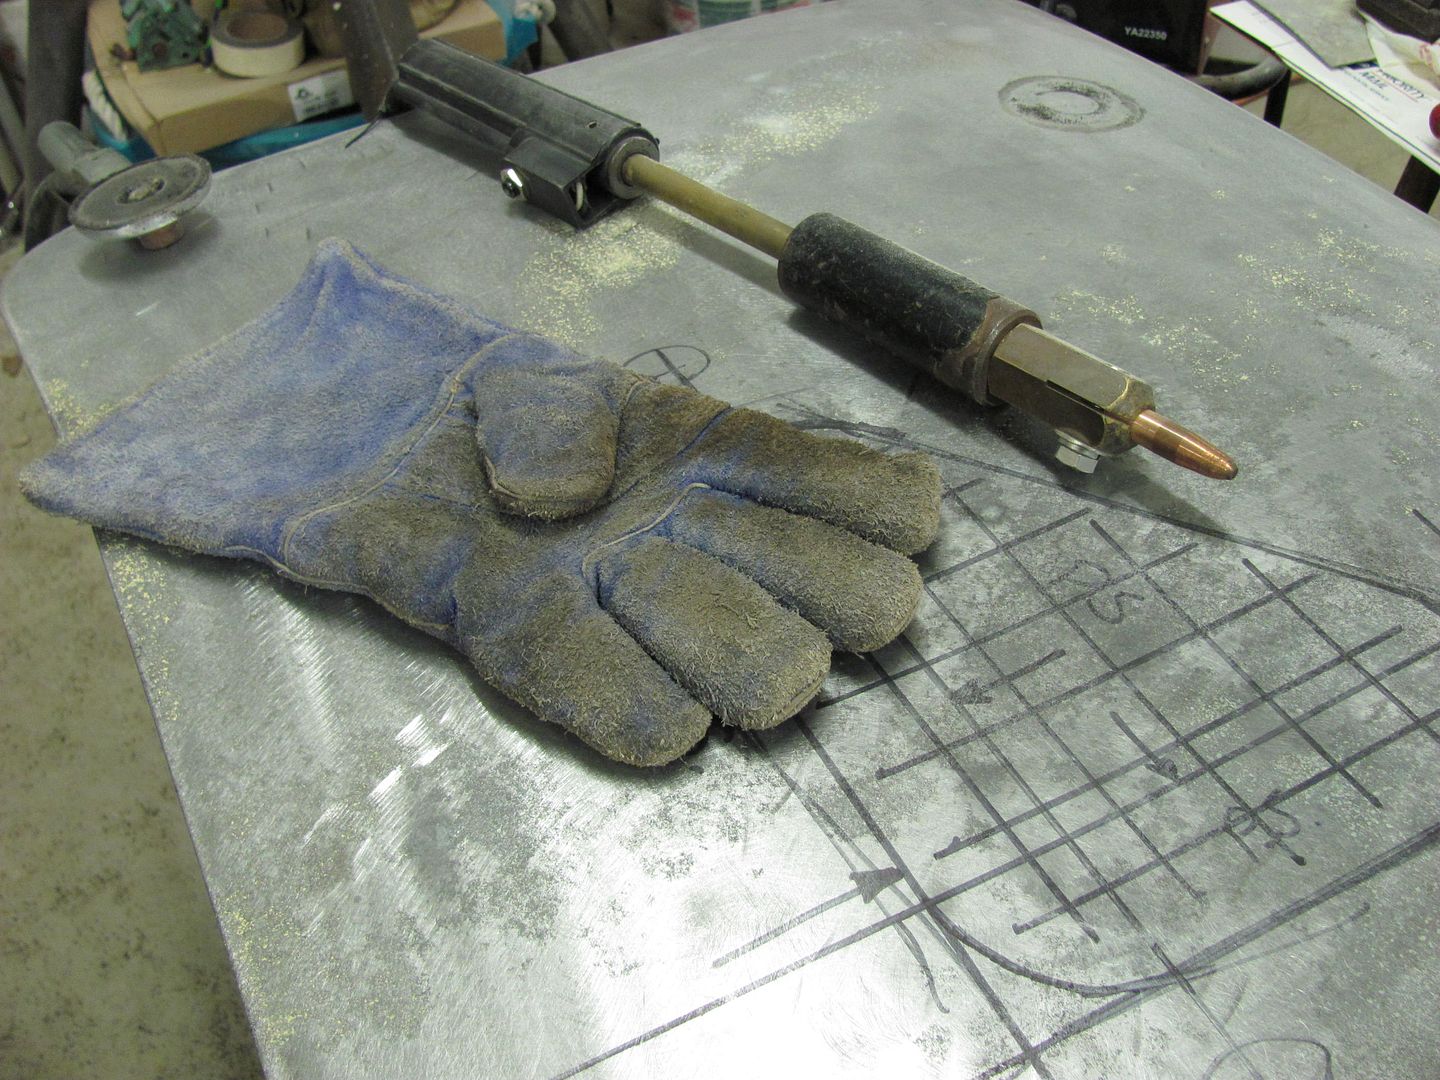
I used the glove to push the panel outward while shrinking with the heat tip from the outside, and the panel just didn't seem to be responding. Then it hit me, the damage was caused by stretching from the inside, so let's shrink from that side.....


Picture208-1.jpg


This appeared to do the trick, shrinking from the inside. Likely in addition to the weight of the dent puller pushing the direction we want to go, you could see the panel moving slightly outward around the perimeter of the tip as the panel was heated.


Picture209-1.jpg


Picture210-1.jpg


This process, with the majority of the heat now concentrated on the inside, was moving the panel outward as it was shrinking. Kept going until the panel seemed to stop responding to the heat shrinks, and then thought we'd planish to bring the crown up the little bit that was needed. Started again with the hammer and dolly, but it did not appear to work as well as it had after using the donut dolly. Keeping in line with the thoughts of the shrinking was more concentrated on the inside, what could we use to keep any stretch concentrated on the outside? Thought I'd give this small shot bag a try as the dolly....


Picture213-1.jpg


Picture211-1.jpg


The panel once again seemed to respond well to the tool selection, again bumping the panel the direction we needed.


Picture214-1.jpg


Not perfect, but looks like we're doing the right thing. A bit more work and it would be to a high build primer fix state.

The care package also showed up this week, so we will try the shrinking disc for its results tomorrow on the drivers side test area...


Picture216-1.jpg
 
Last edited:

Ghostrider

Well-known member
Joined
Jun 6, 2010
Messages
298
Location
North of Dallas, Texas
Wow I have never in my life been so interested in body work. I really had no idea there was that much "science" involved with it. Is there any books that anyone could recommend so myself and others could learn more?
 
OP
M

MP&C

Well-known member
Joined
Oct 21, 2009
Messages
4,405
Location
Leonardtown, MD
Ghostrider, metalmeet and allmetalshaping are some good online forums as a resource.


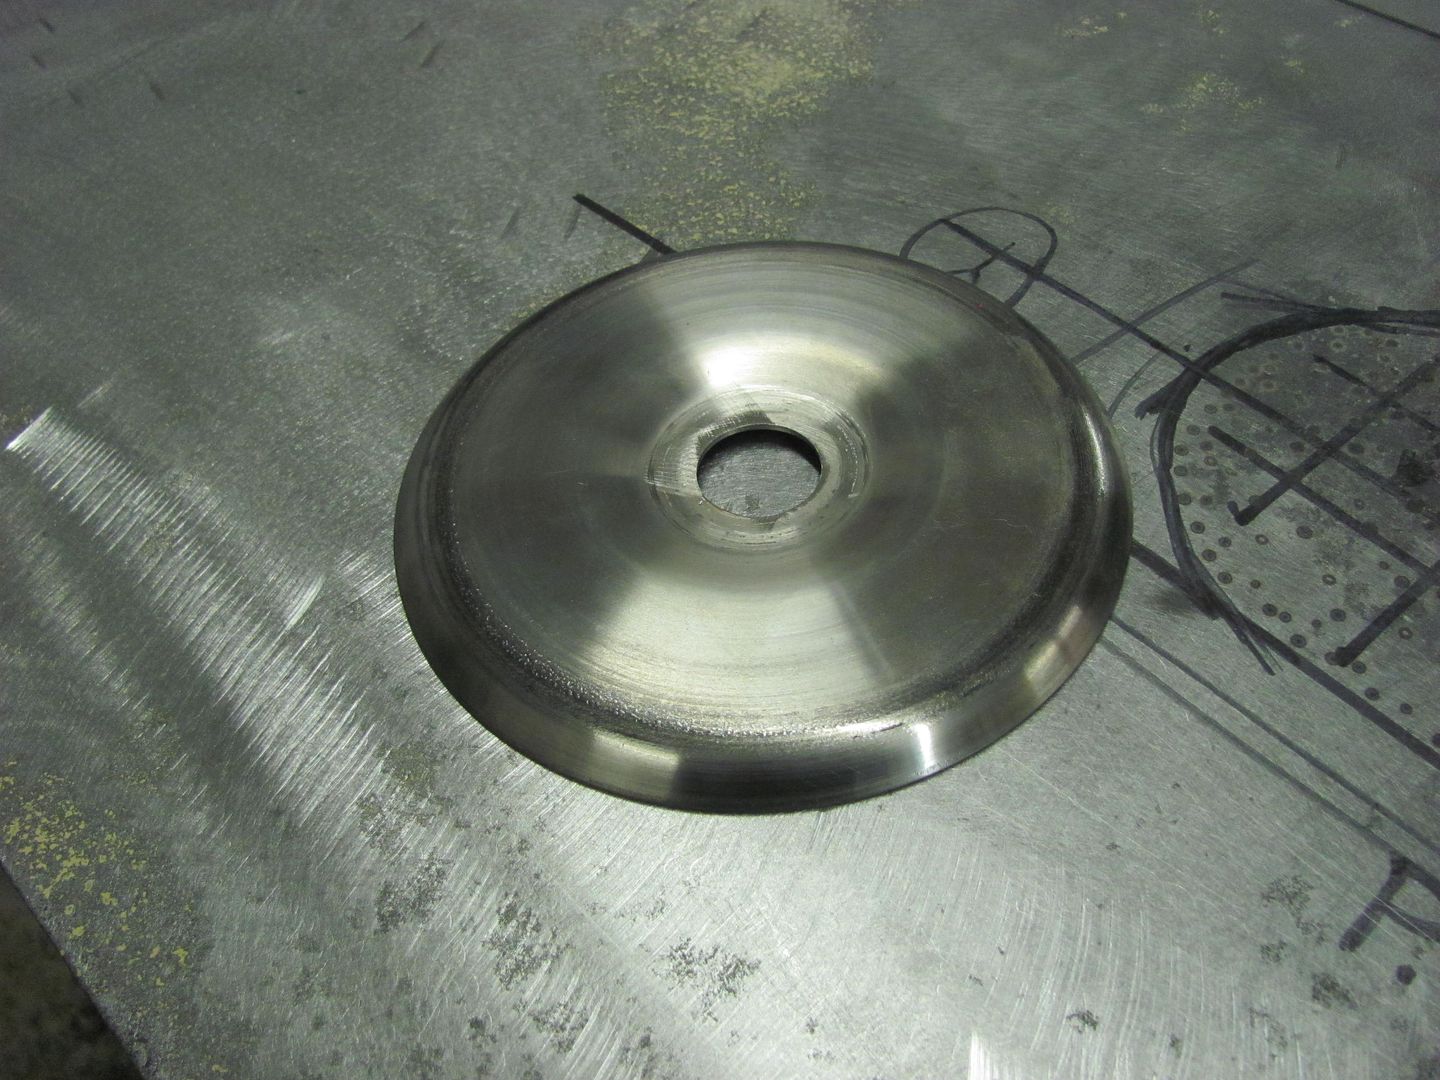
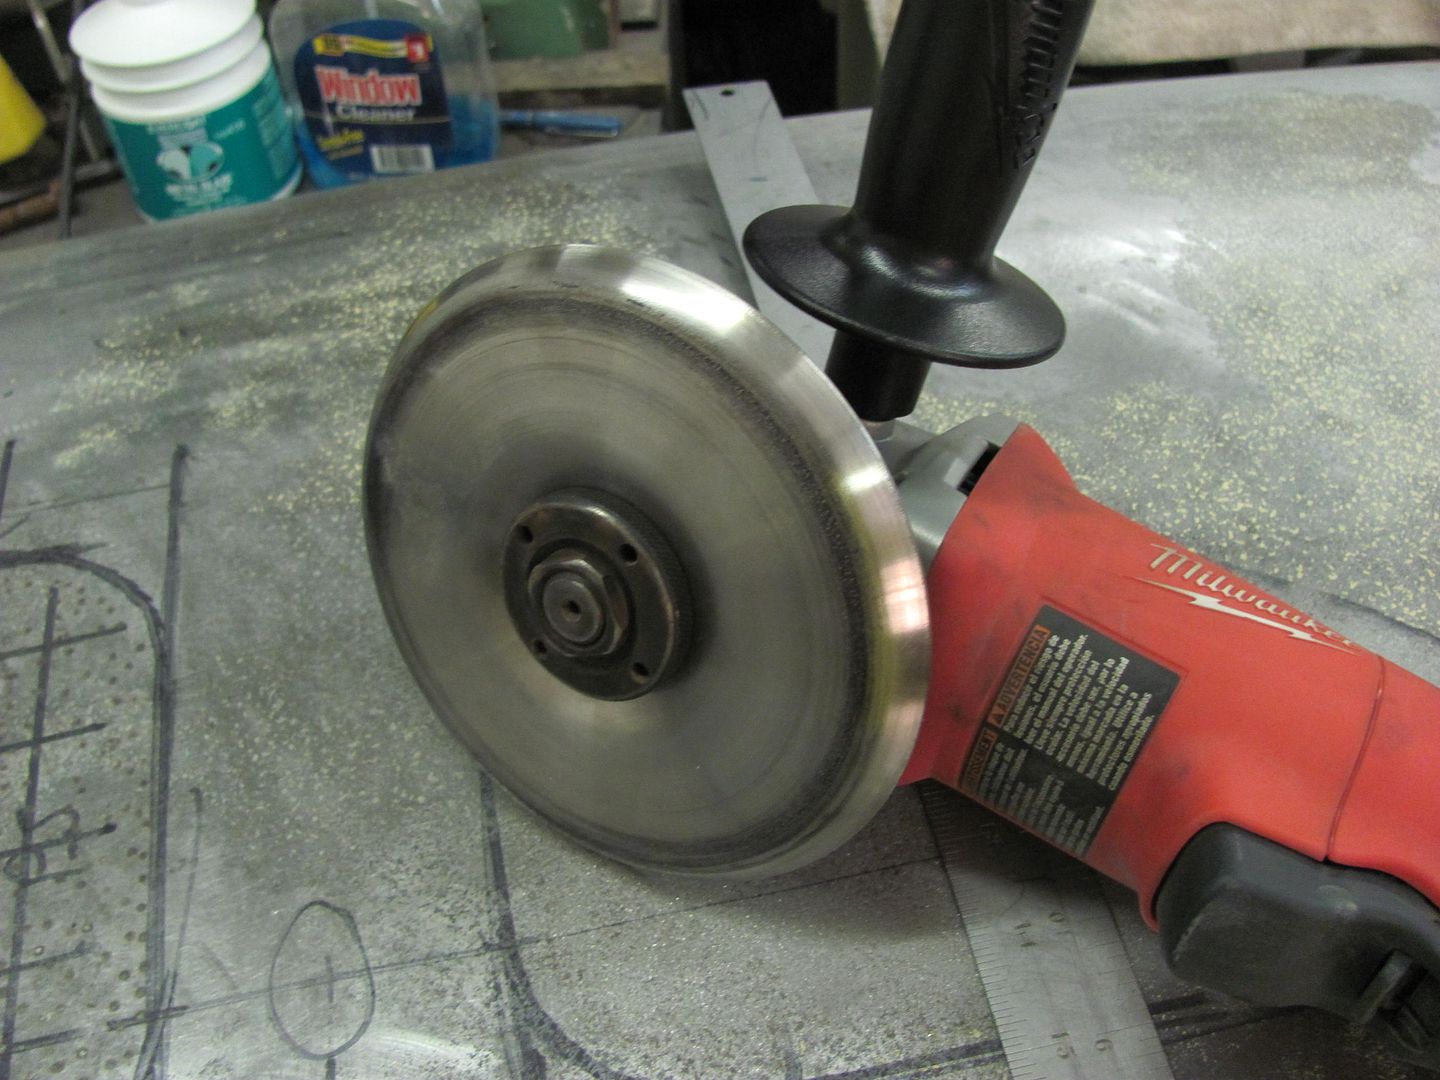
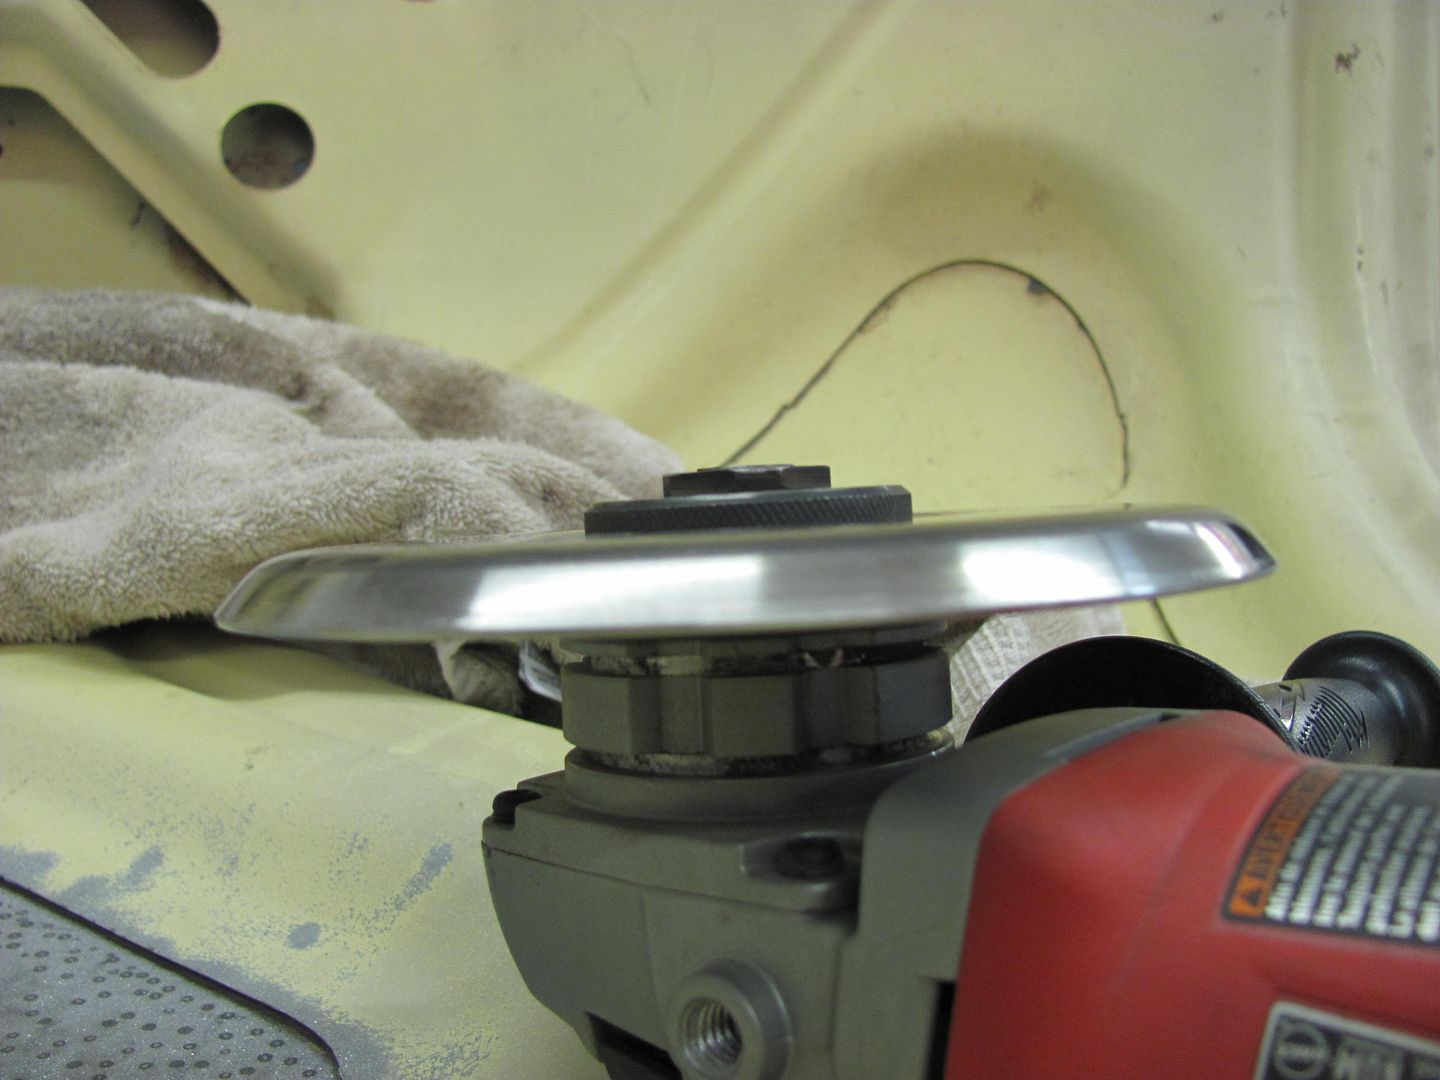
Moving on to the next phase of the test, the shrinking disc. The disc Mark sent me was a 5" diameter, and kinda gets in the way of using the 4-1/2" guard. To promote the retention of digits, I did install the side handle...


Picture217-1.jpg


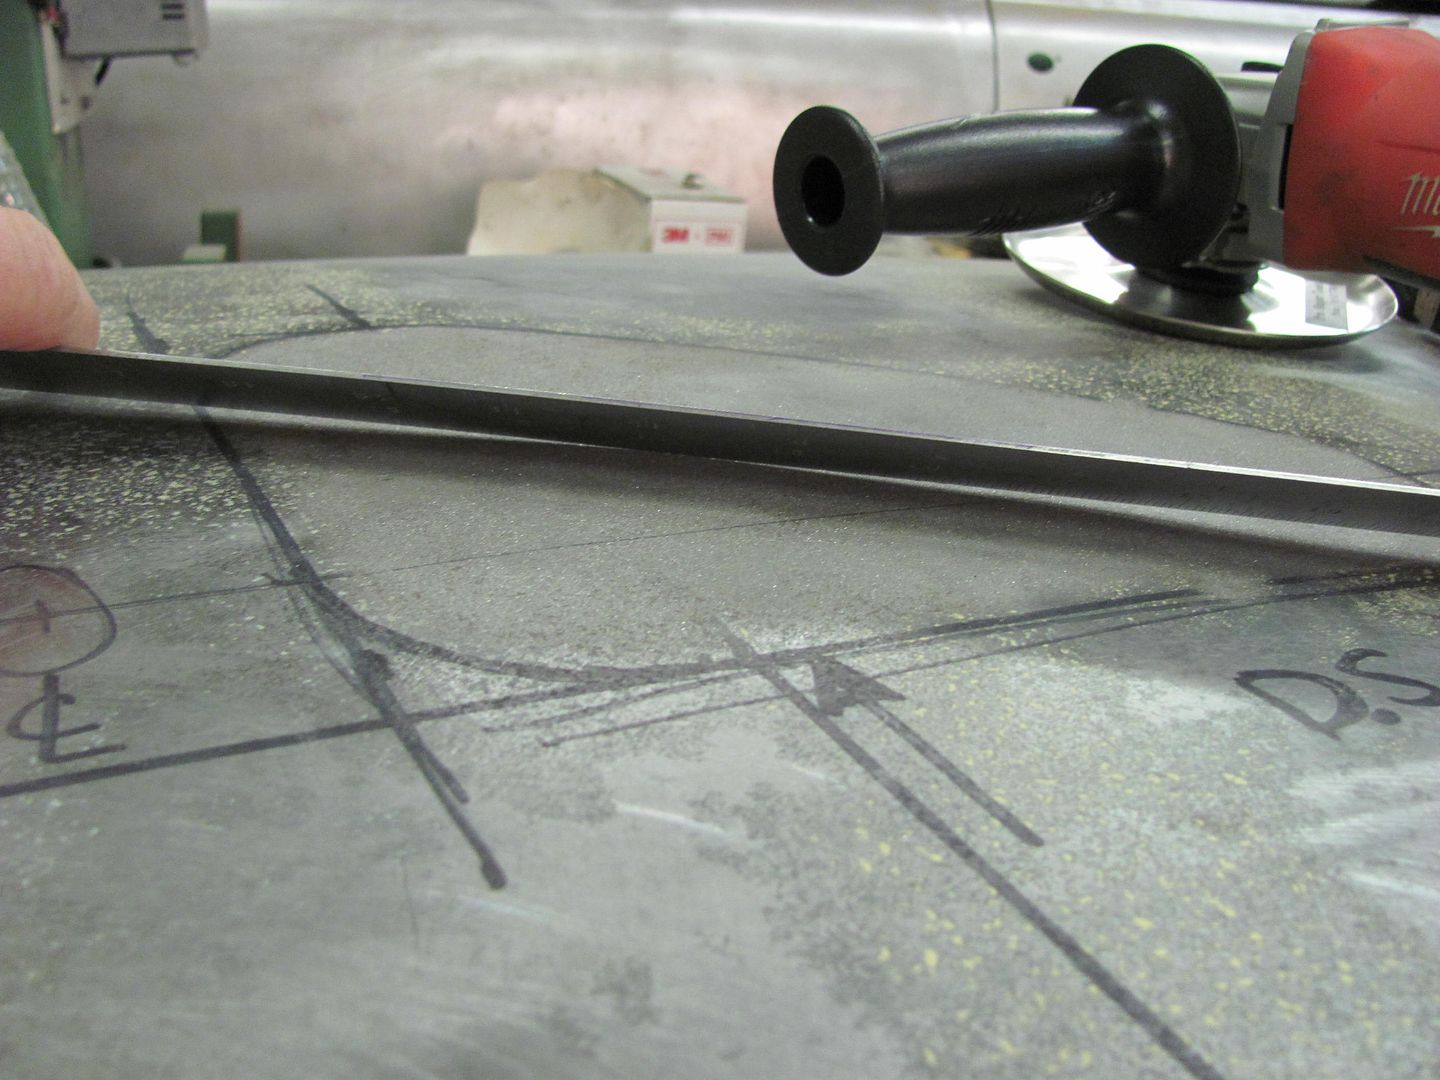
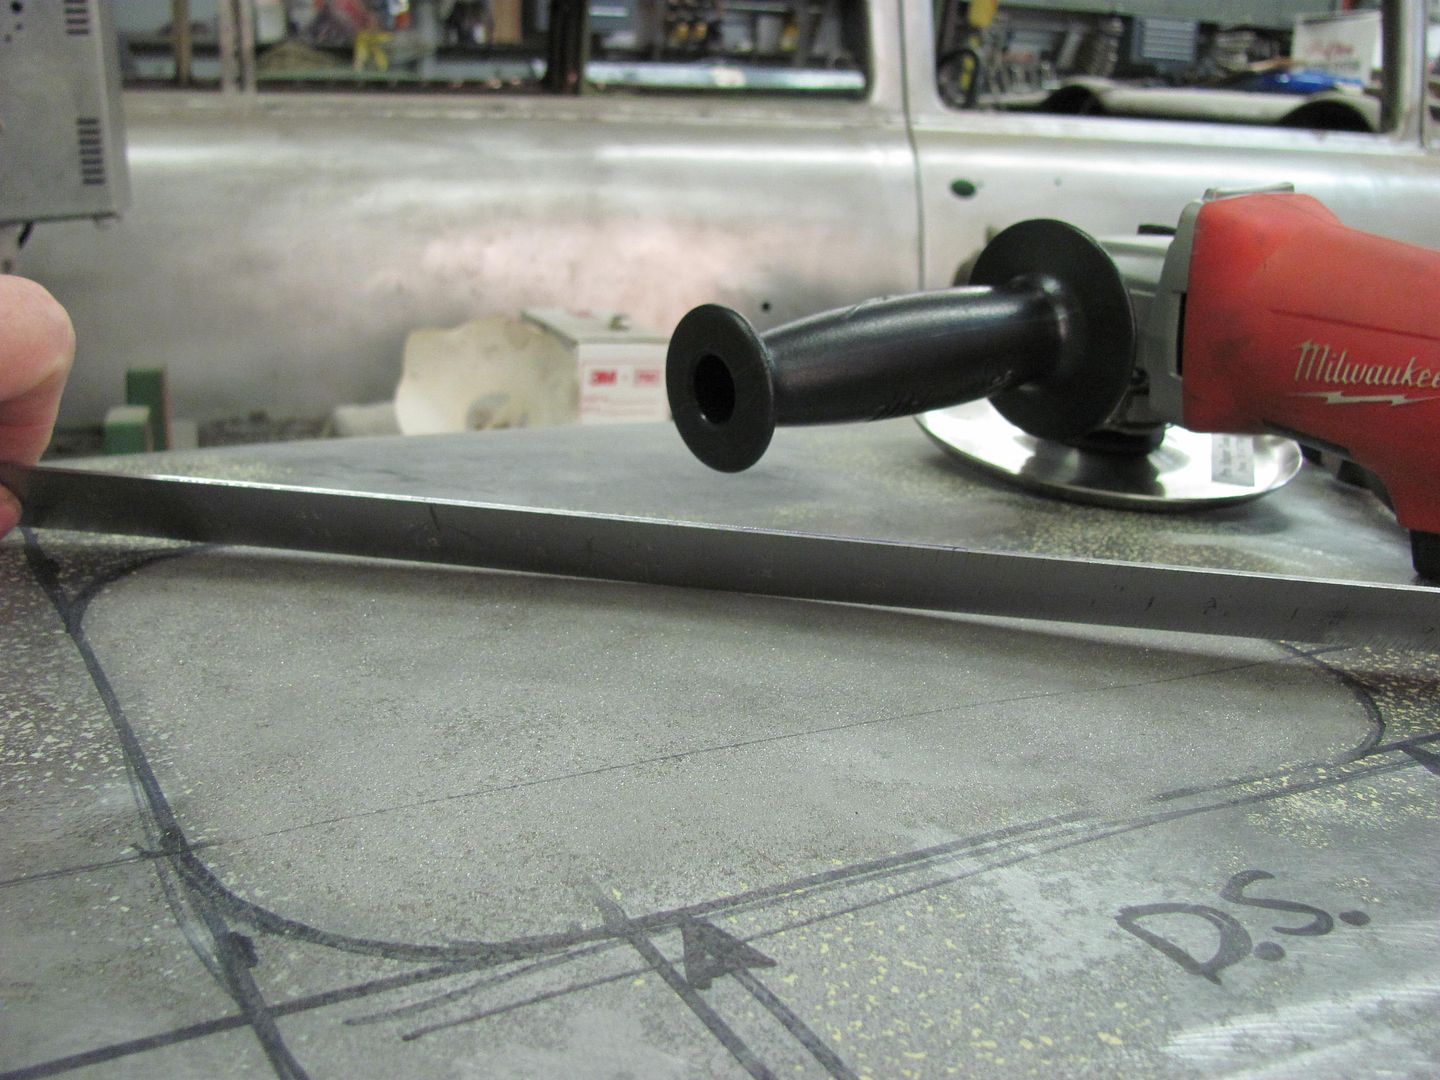
A quick check of our panel to find the high spot...
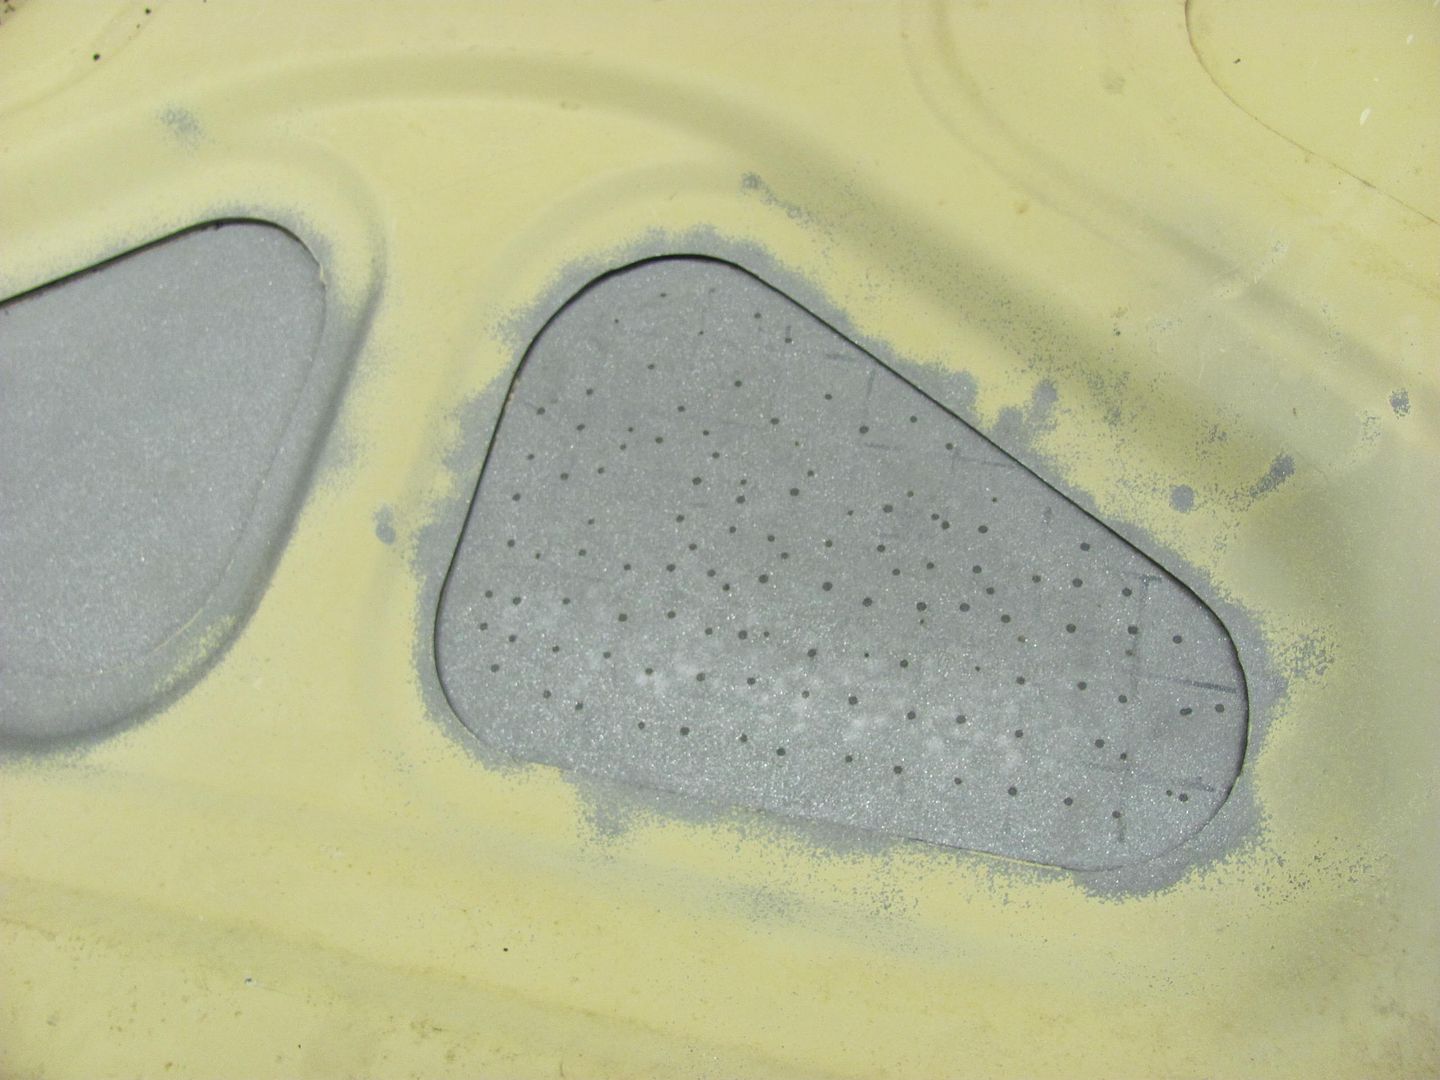

Picture218-1.jpg


Picture219-1.jpg


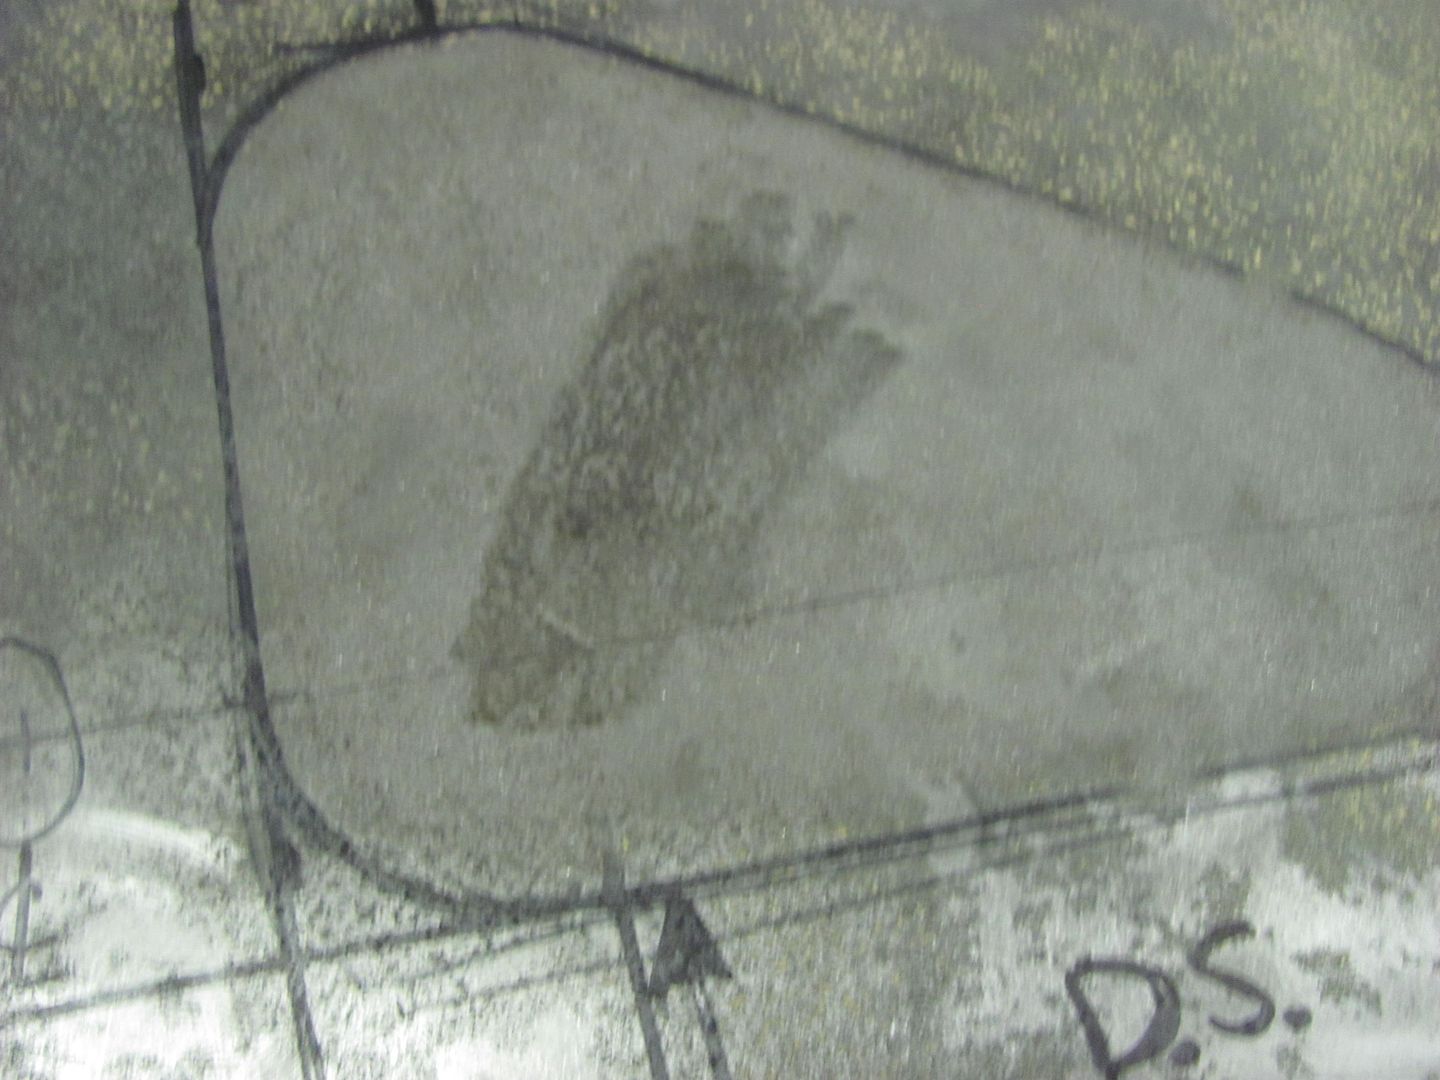
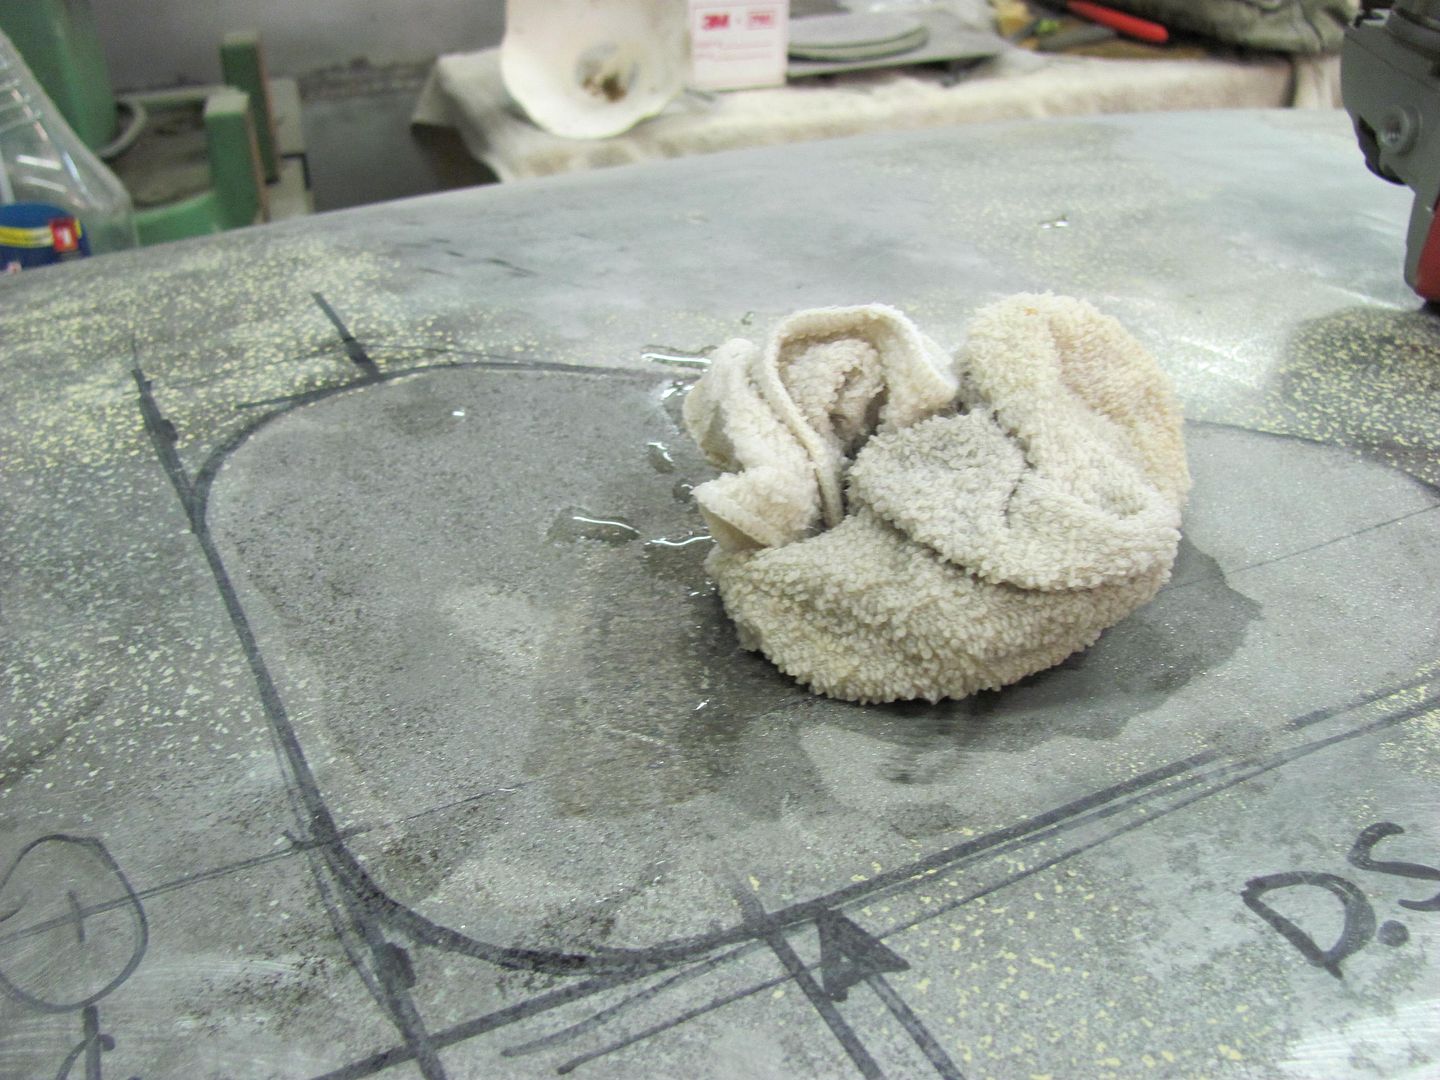
The panel was heated to a light brown color and cooled with a damp rag.


Picture220-1.jpg


....and quickly found that the stud/nut of the grinder hangs too far down to use the disc flat to the panel.


Picture227-1.jpg


So because the grinder is held to an angle to the panel to clear the stud/nut, the panel has a tendency to assume the rounded shape of the leading edge of the disc...
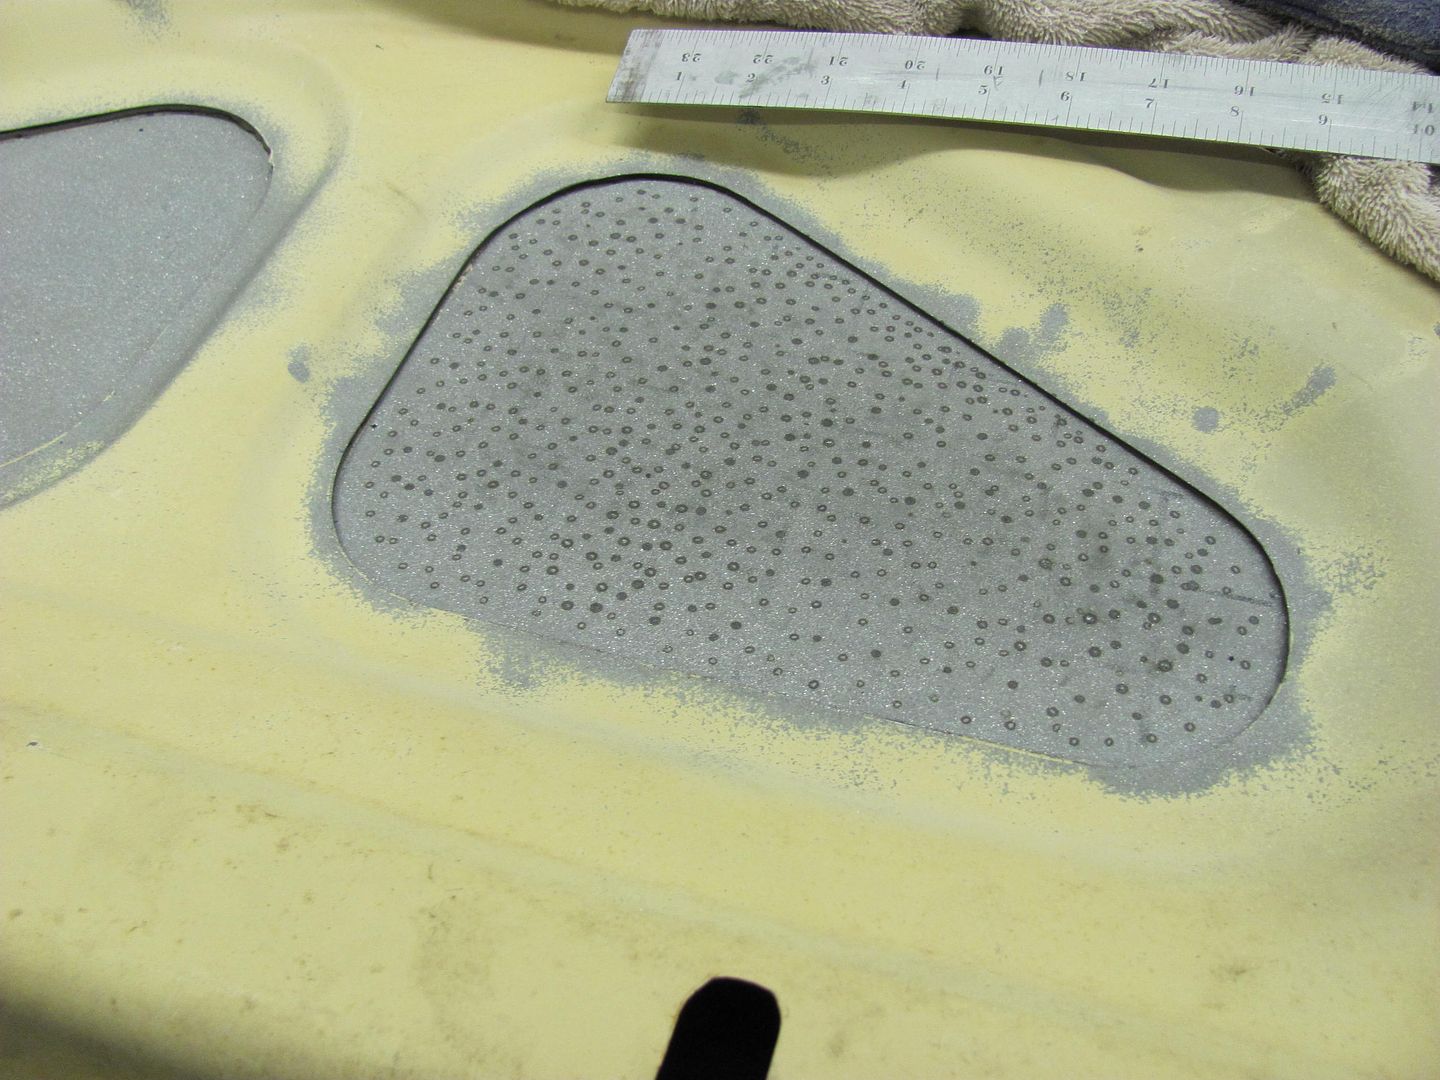

Picture221-1.jpg


So right off the bat, my results will likely not be optimal, than if the spindle area of the disc were better offset to accommodate the spindle nut and permit the use of the flat area. Here is the next high area...
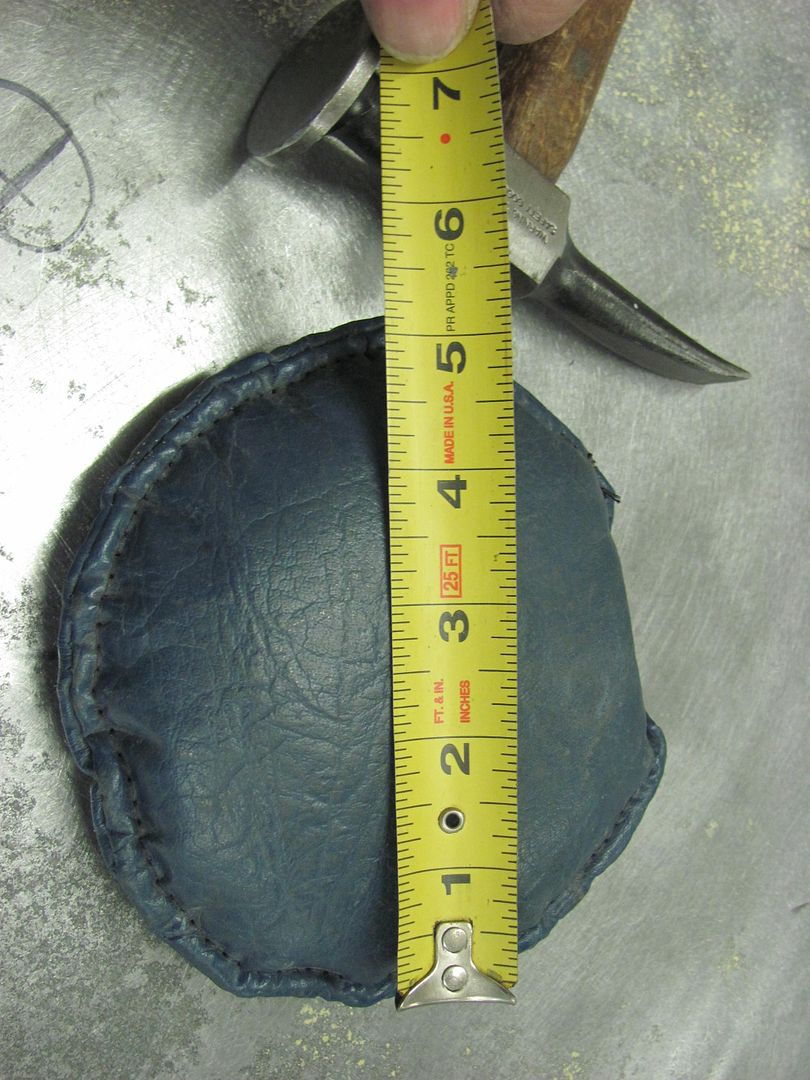

Picture223-1.jpg


...and our cooling device..
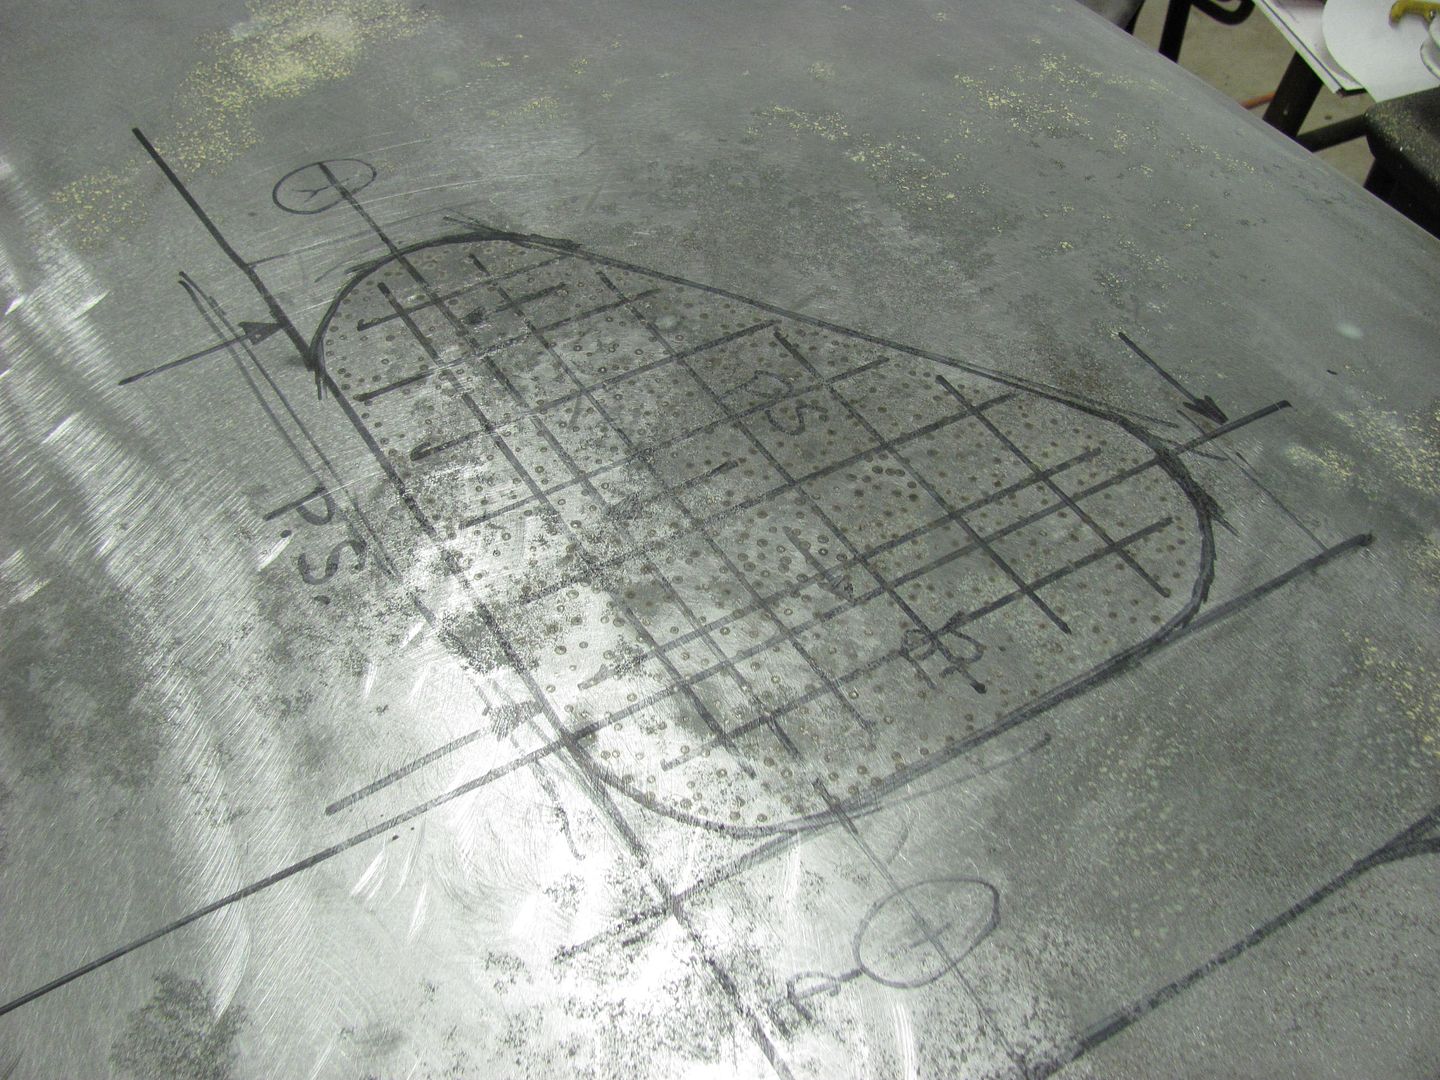

Picture224-1.jpg


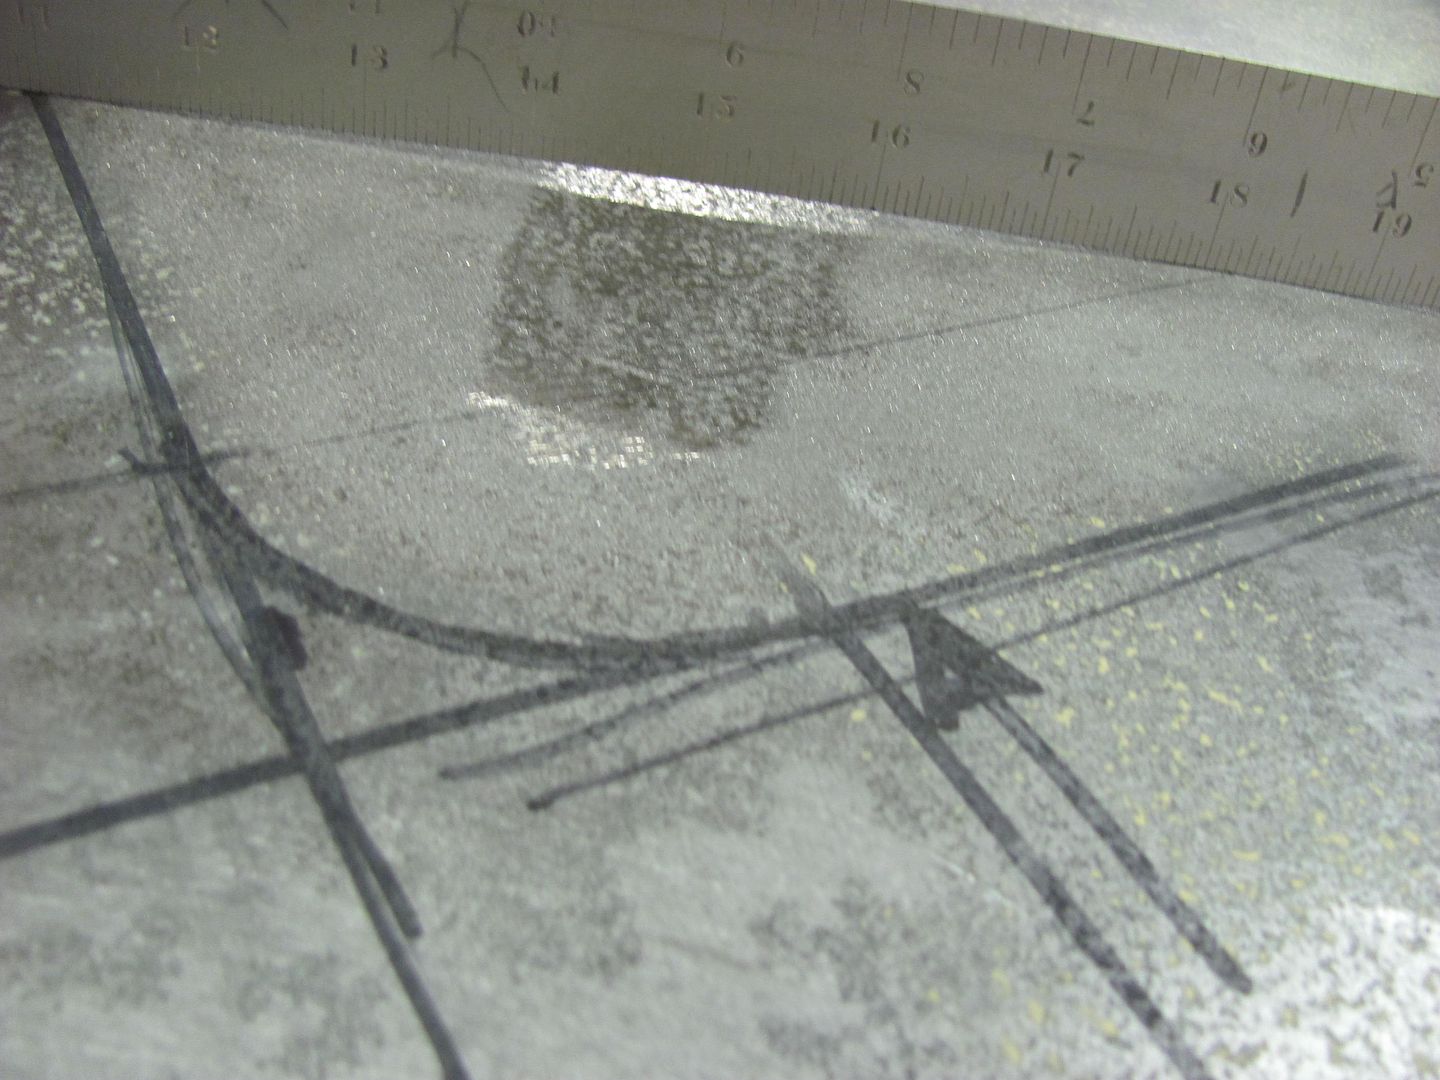
Looking at the results of the shrinking disc, the use of the disc at an angle appears to have gotten rid of the high spots, but created other issues....


Picture226-1.jpg


It's as if, in much the same fashion as the shrinks from the dent puller's heating tip, we would be better served by working this issue from the back side to better shrink the side that was damaged initially. Flipping the trunk lid over, here is what we see from the back side...


Picture228-1.jpg


Picture229-1.jpg


Since our tool has to be used at an angle due to the spindle, we should have clearance around the inner trunk lid structure. I'm not sure that a larger shrinking disc would permit this ability, but using the tool in the flat configuration would likely not cause the concave issue either. After using the disc from the inside of the trunk, here are the results....


Picture230-1.jpg


Picture231-1.jpg


Picture232-1.jpg


Picture236-1.jpg


The initial check on the outside shows some minor concave issues where we used the disc from that side...


Picture234-1.jpg


Following the success I had with the hammer and shot bag on the other test area, I thought I'd use it here as well


Picture241.jpg


Picture237-1.jpg


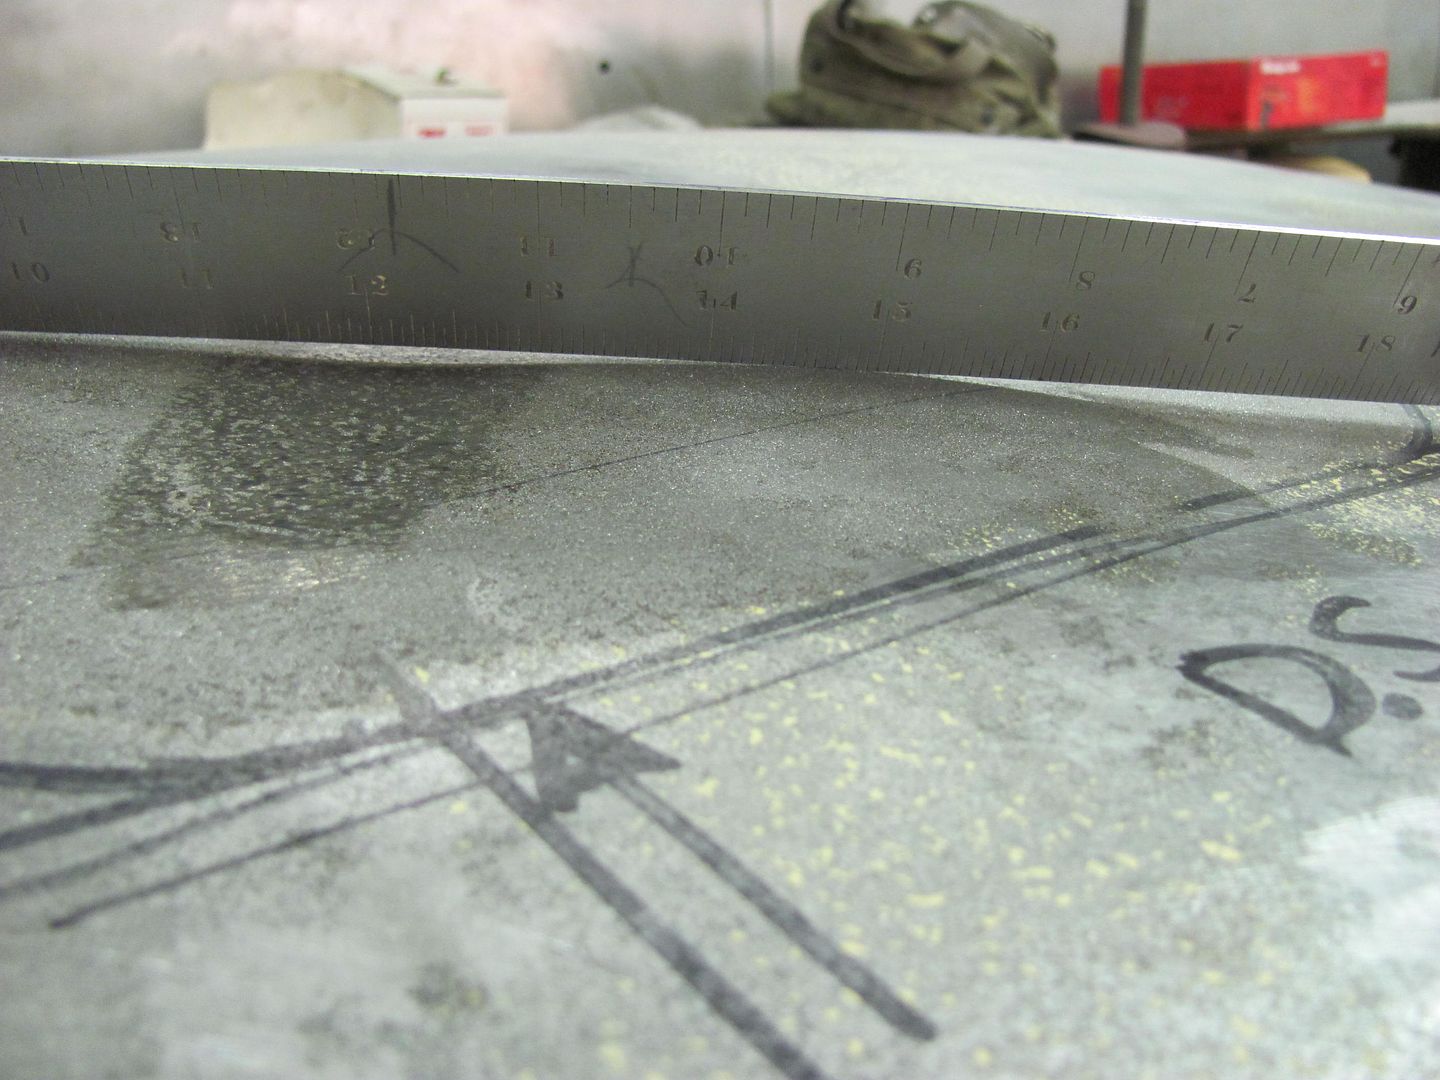
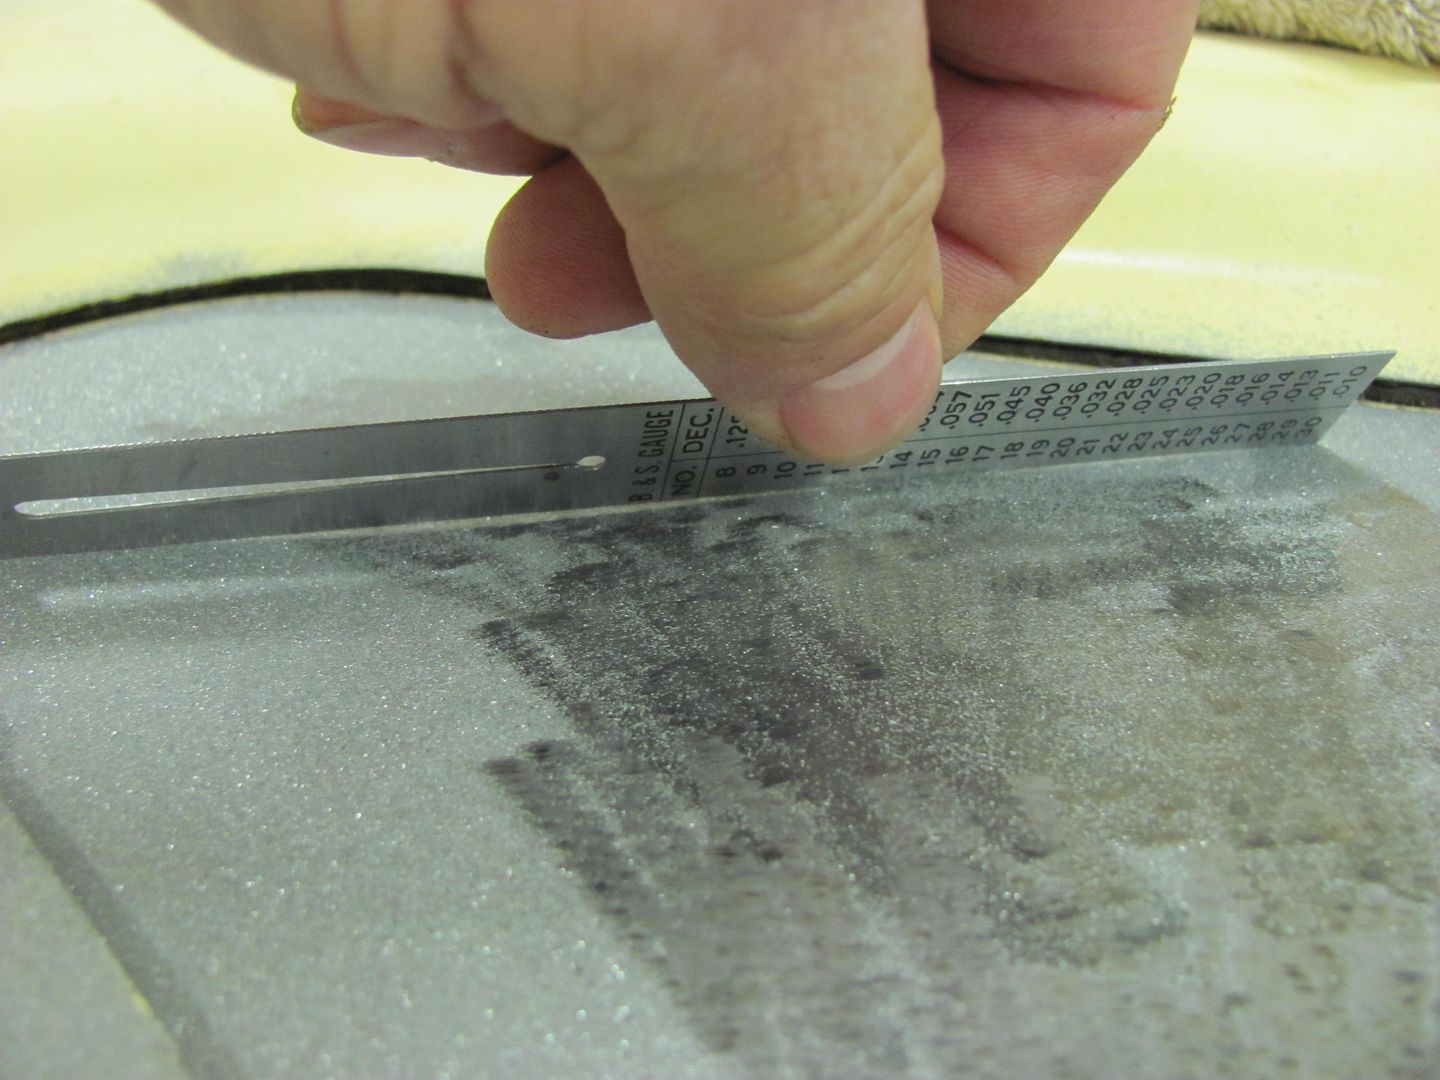
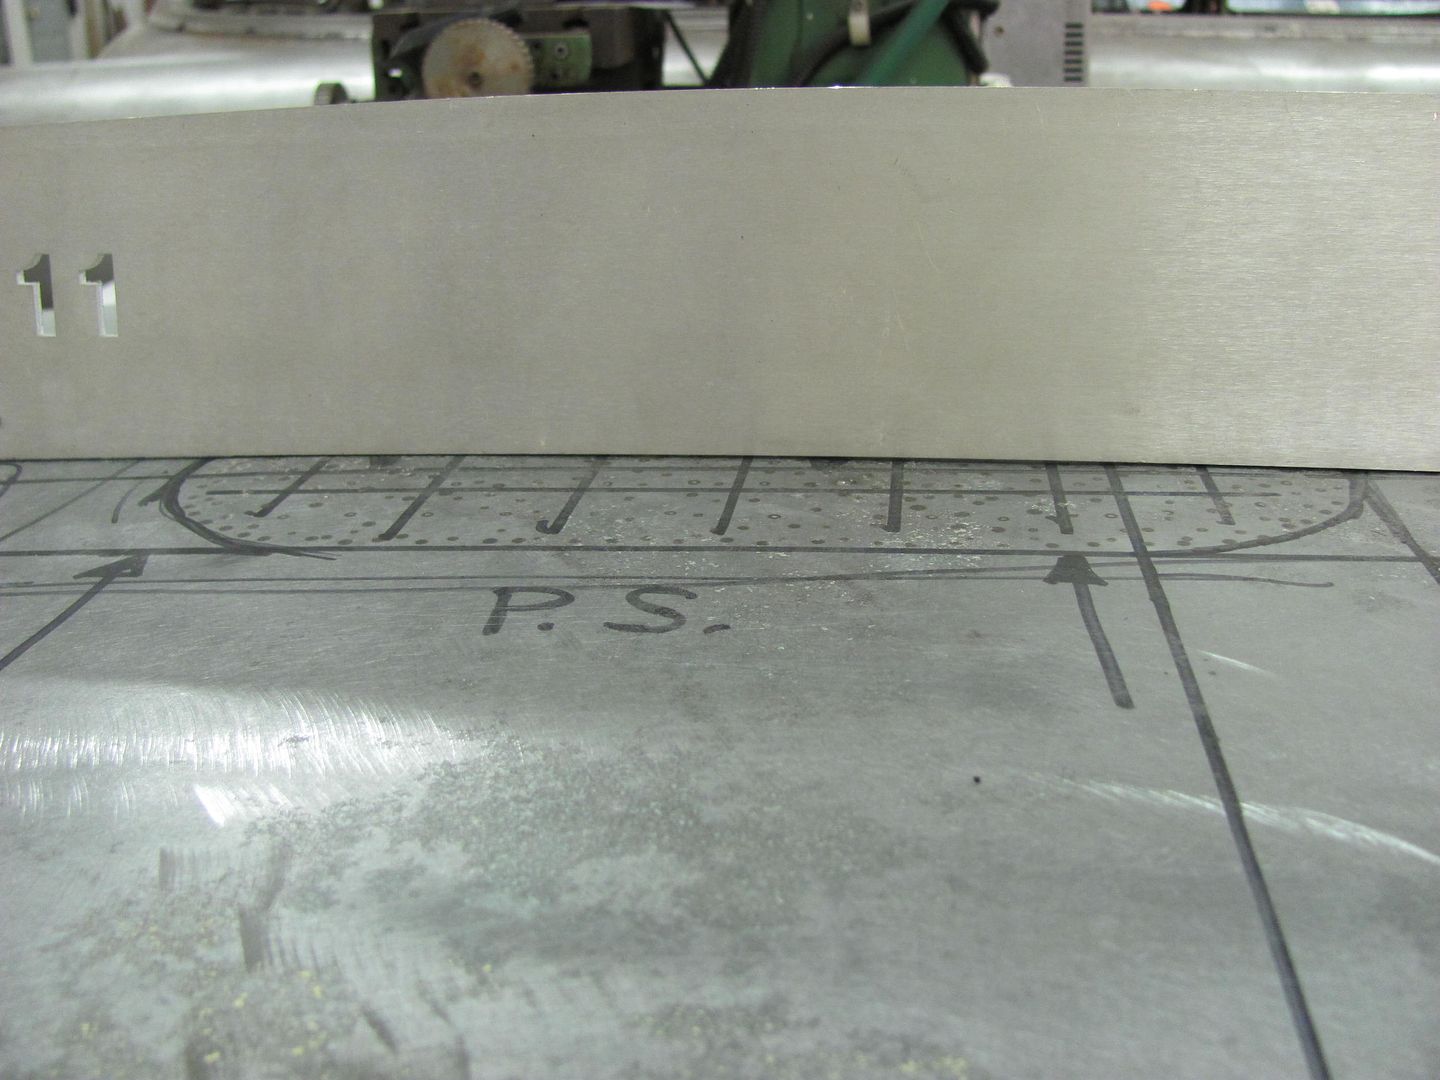
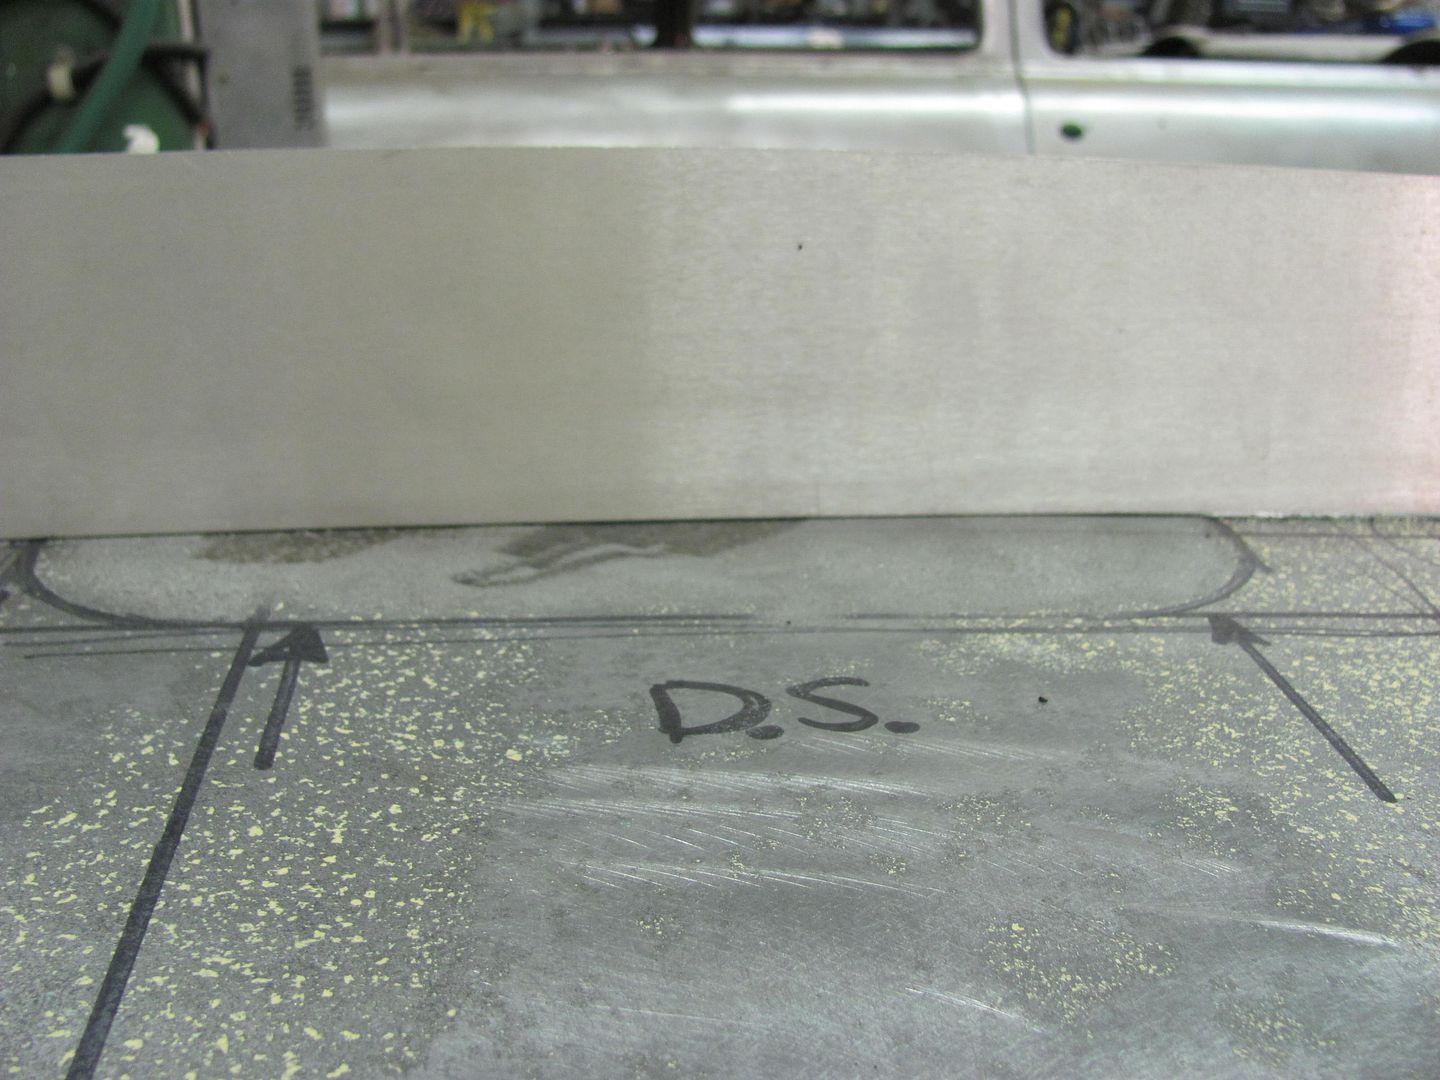
In checking the area towards the forward edge of the trunk lid, a number 11 sweep seemed to match it pretty well, so we'll use that to check across the entire area...


Picture238-1.jpg


Picture239.jpg


Picture240.jpg


Where it's certainly not perfect, it wouldn't take much more to get it to that "high build fix" stage.


Having used the three different methods, I think the shrinking disc was the quickest at showing results, but due to the fact we couldn't use it flat, it did cause other issues to address. But, this also allowed us to use it from the back side, where a flat only disc (or one of the larger ones) may have been a challenge. One of the larger discs used flat, may have been more suitable if you could hold the oil can in the outward position.


Using the heating tip on the dent puller from the damaged side, IMO was very effective at returning the damage area to the original crown, with a small shot bag coming in handy for some of the "fine tuning". With as many shrinks as were needed, it is a slow, controlled process, and thus a bit easier than the shrinking disc in monitoring the progress. One would need a quality tool for as many shrinks as were used, or be sure to let it cool off once it gets good and warm. Where this process did show more promising results when used on the damaged side, you can also fix this type of damage with a torch. But if you have access enough to the backside with a sandblaster to damage something, then it should also leave plenty of room for the dent puller's heating tip for repair.


The donut dolly works well in that the nature of the operation is moving the panel back in the direction the panel belongs. This also is a slow, controlled process as compared to the disc, so it makes it easy to monitor the progress. This does require access to both sides of the panel, and is most effective with accurate alignment of the hammer strikes centered on the dolly. So if you see yourself having difficulty in this alignment, perhaps one of the other "one sided" repair apllications would work best for you. The only thing I think may have helped more in using this tool would have been to use the small shot bag instead of the hard dolly when I was attempting to planish remaining low spots.
 
Last edited:

rwhite692

Well-known member
Joined
Mar 4, 2008
Messages
1,850
Location
Central Valley, CA
There are so many other good ways to clean parts such as sheet metal, such as soda blasting, why do people persist in attempting to sandblast stuff such as this?

Charles

^^^^Exactly. Ignorance I guess. Maybe contracting Silicosis is the goal?

When I had my 69 Camaro media blasted, The shop that did it used Aluminum Oxide. The operator, who had the experience and the common sense to keep the gun moving briskly and to not concentrate it in one spot, induced no panel damage, whatsoever. Zip, zero, nada, none.

If folks are highly concerned about the potential (note: potenial) for panel damage to occur when the operator is a ham-fisted idiot, then they should pony up the extra $$$ for "foolproof" media such as soda or plastic media, and Aluminum Oxide can be used in any rusty, difficult areas.
 
To avoid these ads, REGISTER NOW!
Top Bottom