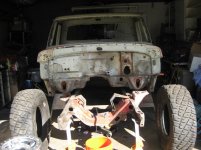
Well other than welding up an exhaust system, I think this may be the only "tubular" project I have done. During the "restoration" of a
'65 Fairlane, while re-assembling the car I came up with a door installation fixture as the doors were quite heavy and we didn't need any paint chips....
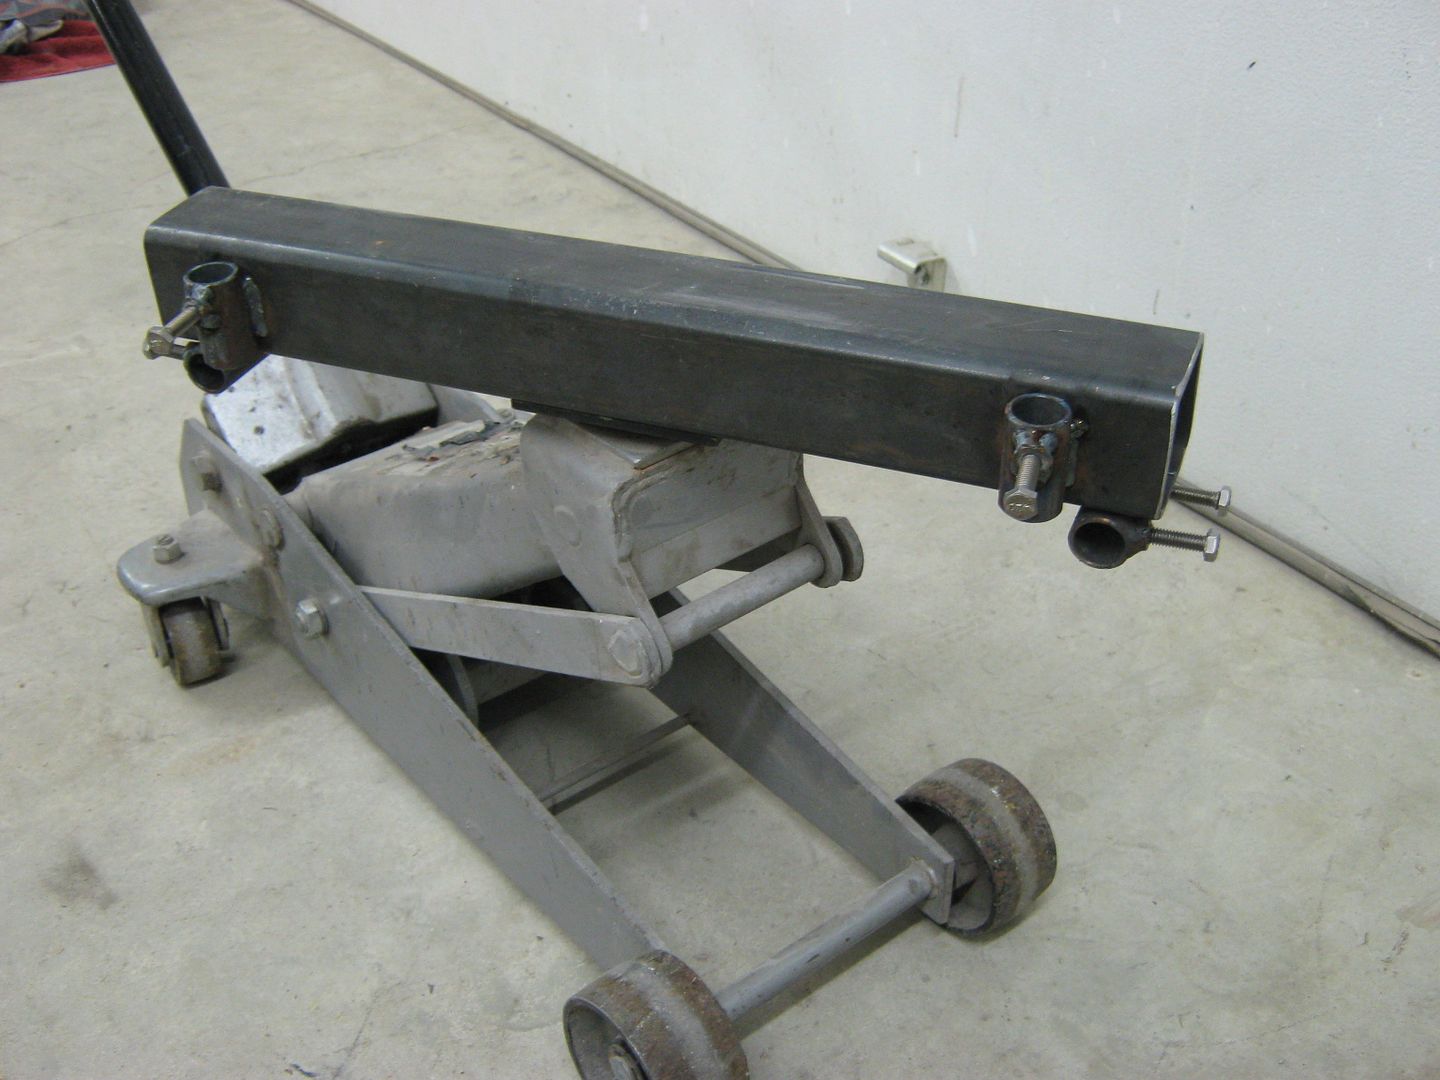
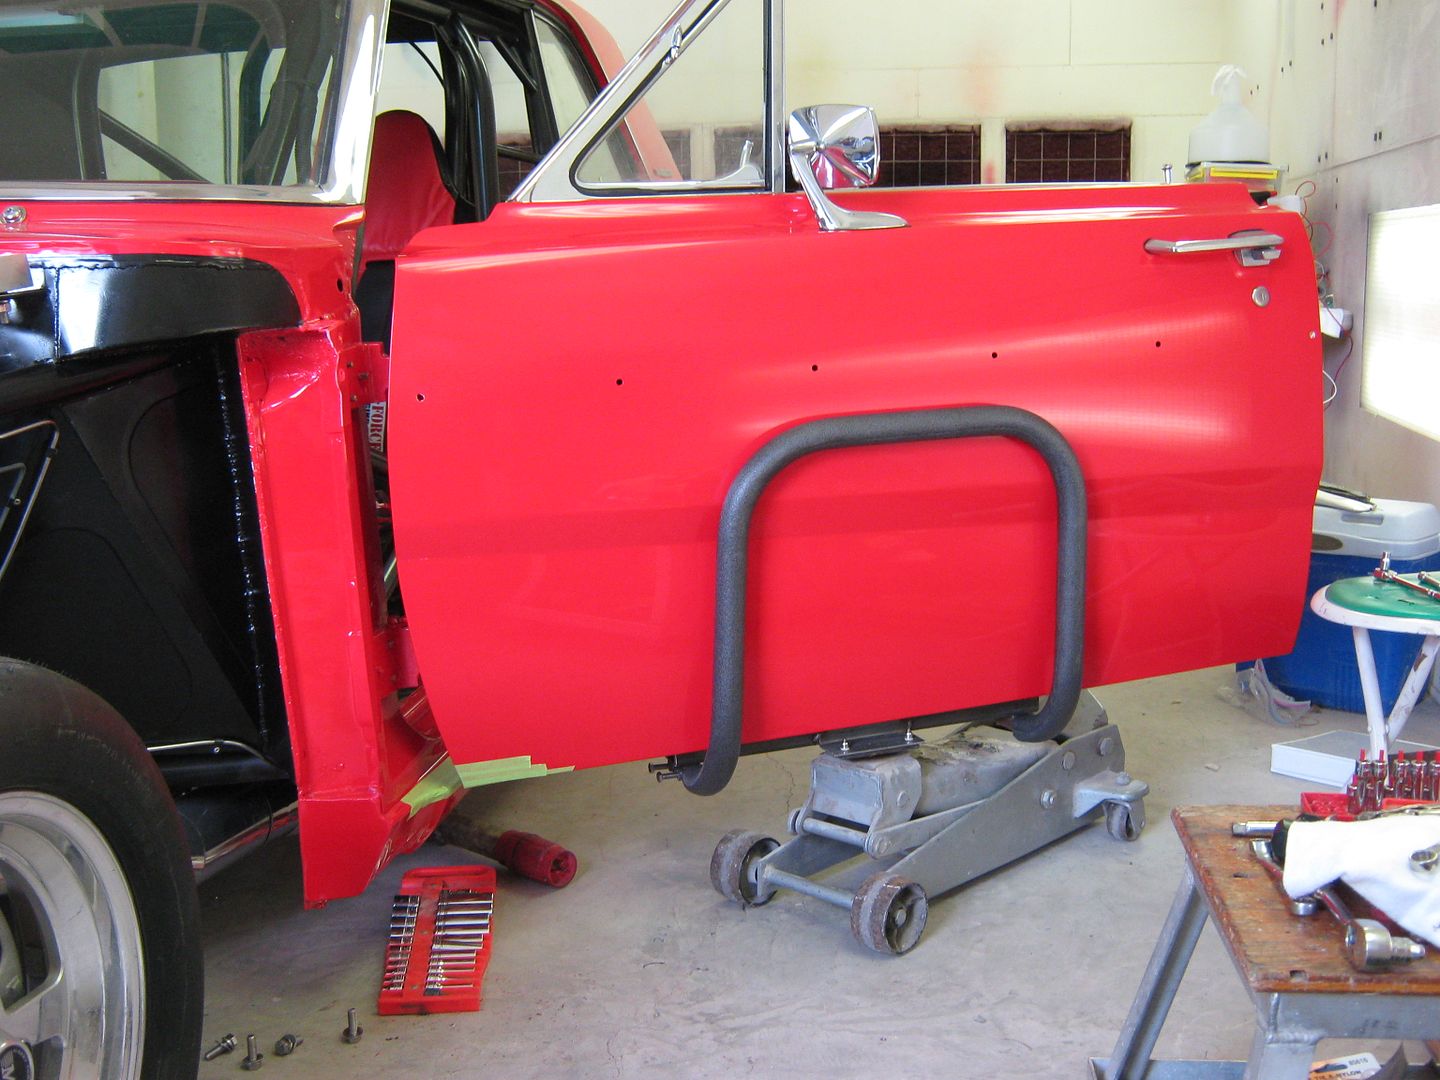
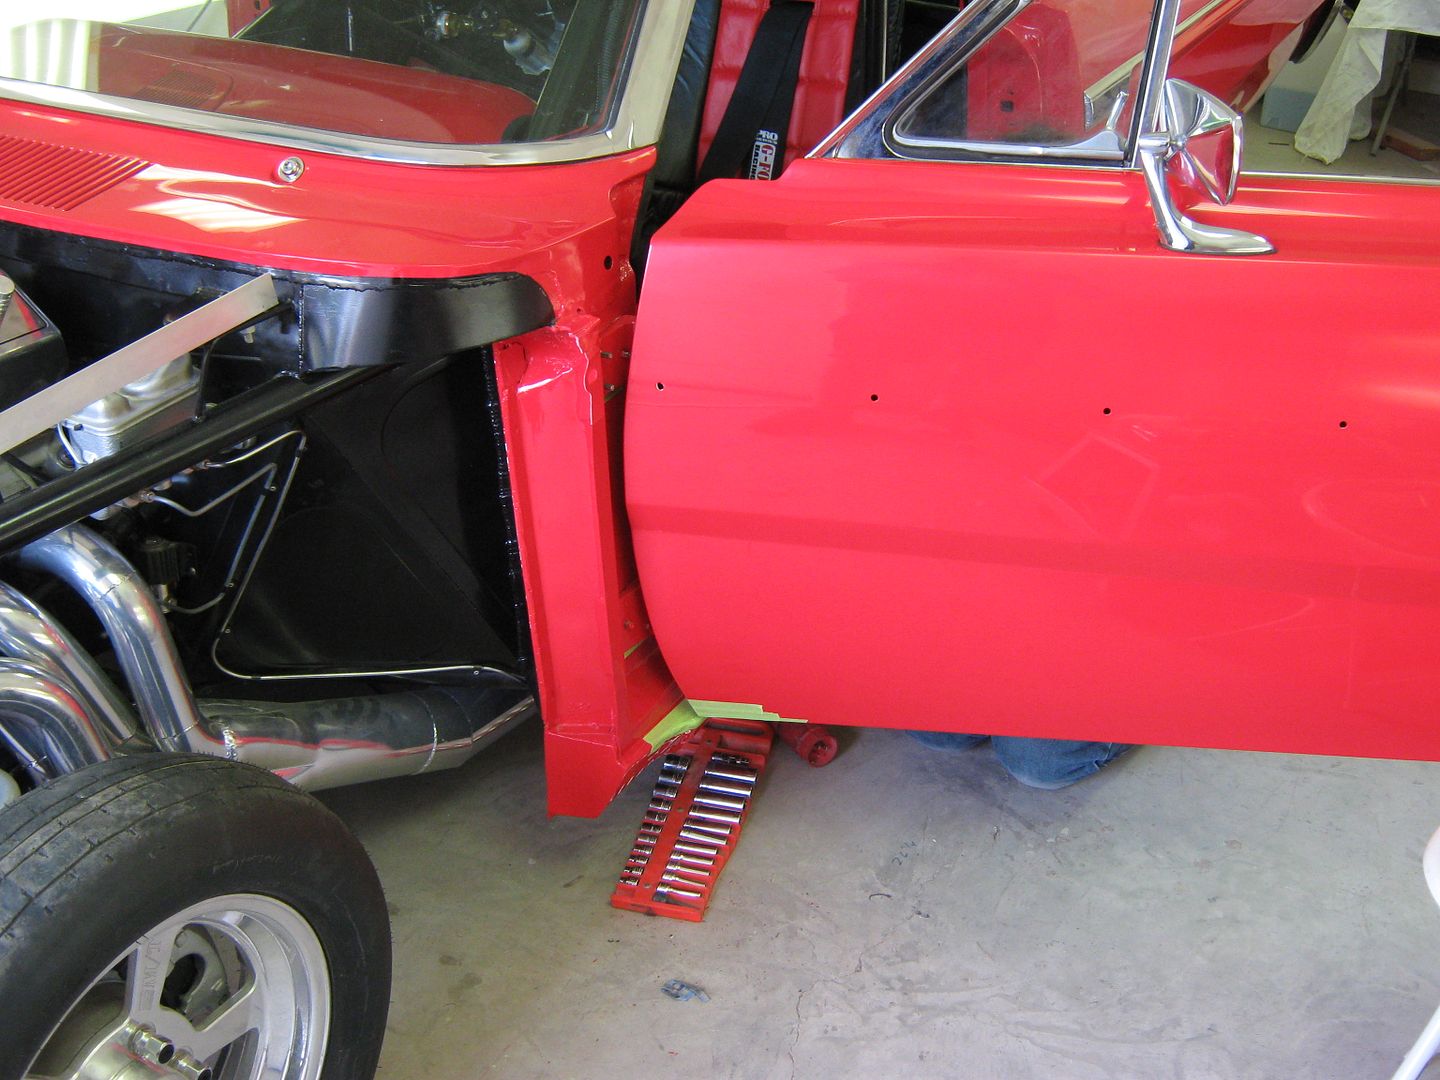
I had seen some of the cradle style door lifts that you could add to your floor jack, but I have a problem how the cradle supports the complete weight of the door across the lower edge of a door skin. Too much risk of paint damage in my view. So I came up with another version that would support the weight across a wider area on the
inner door, for less risk of damage to any
visible area.
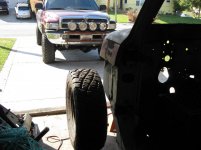
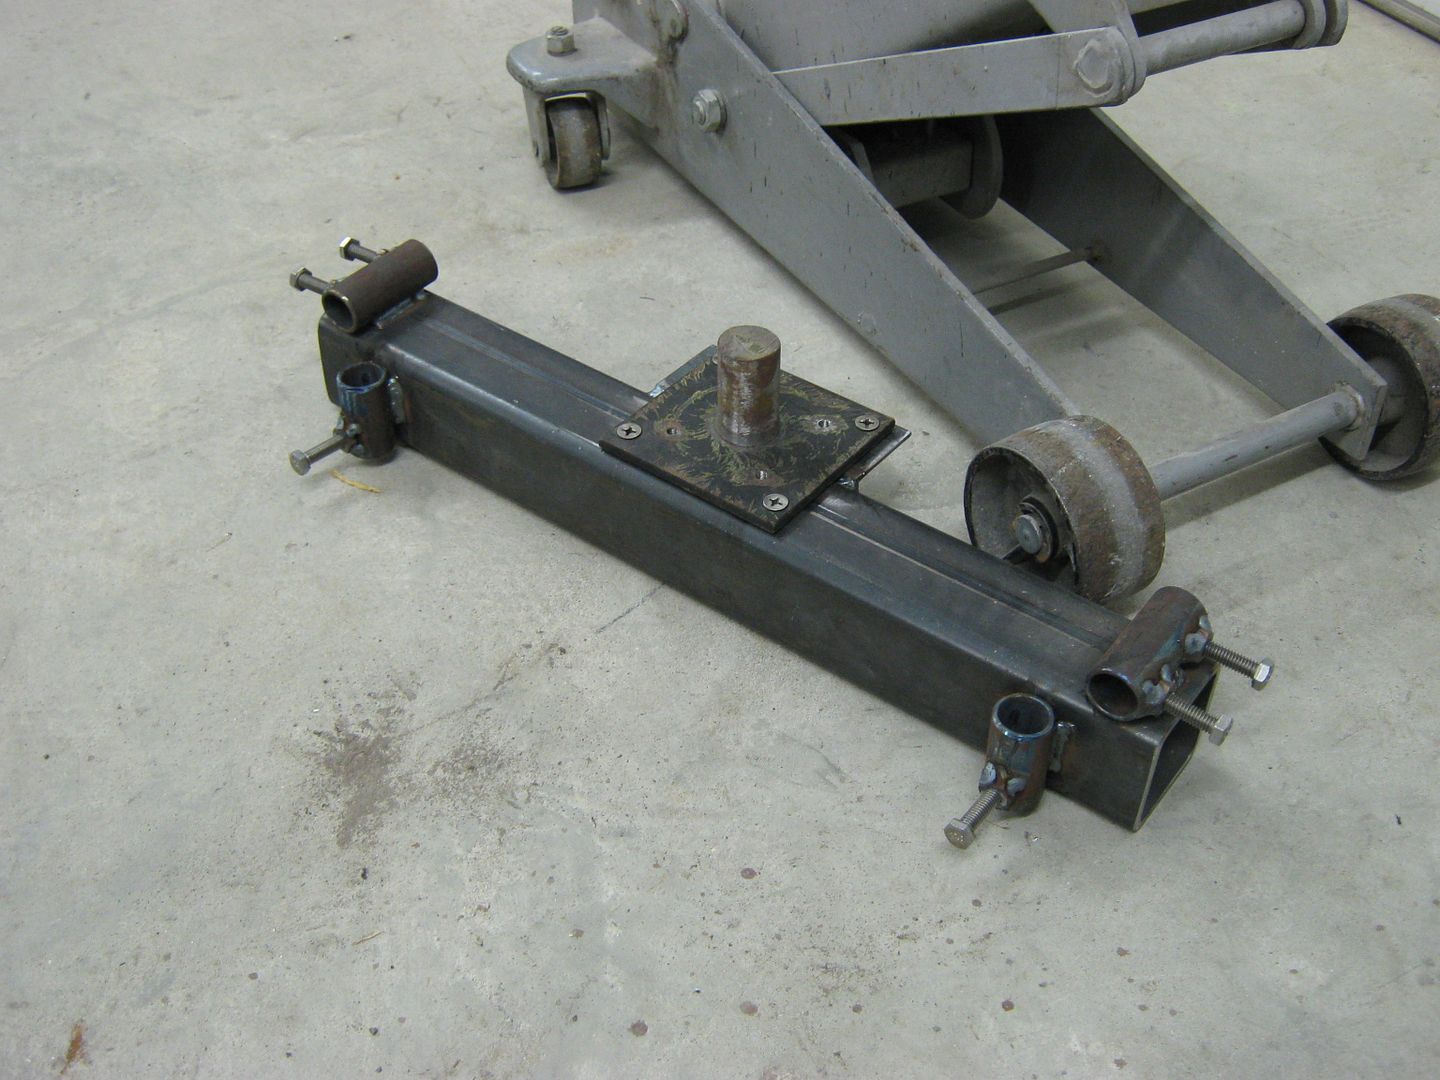
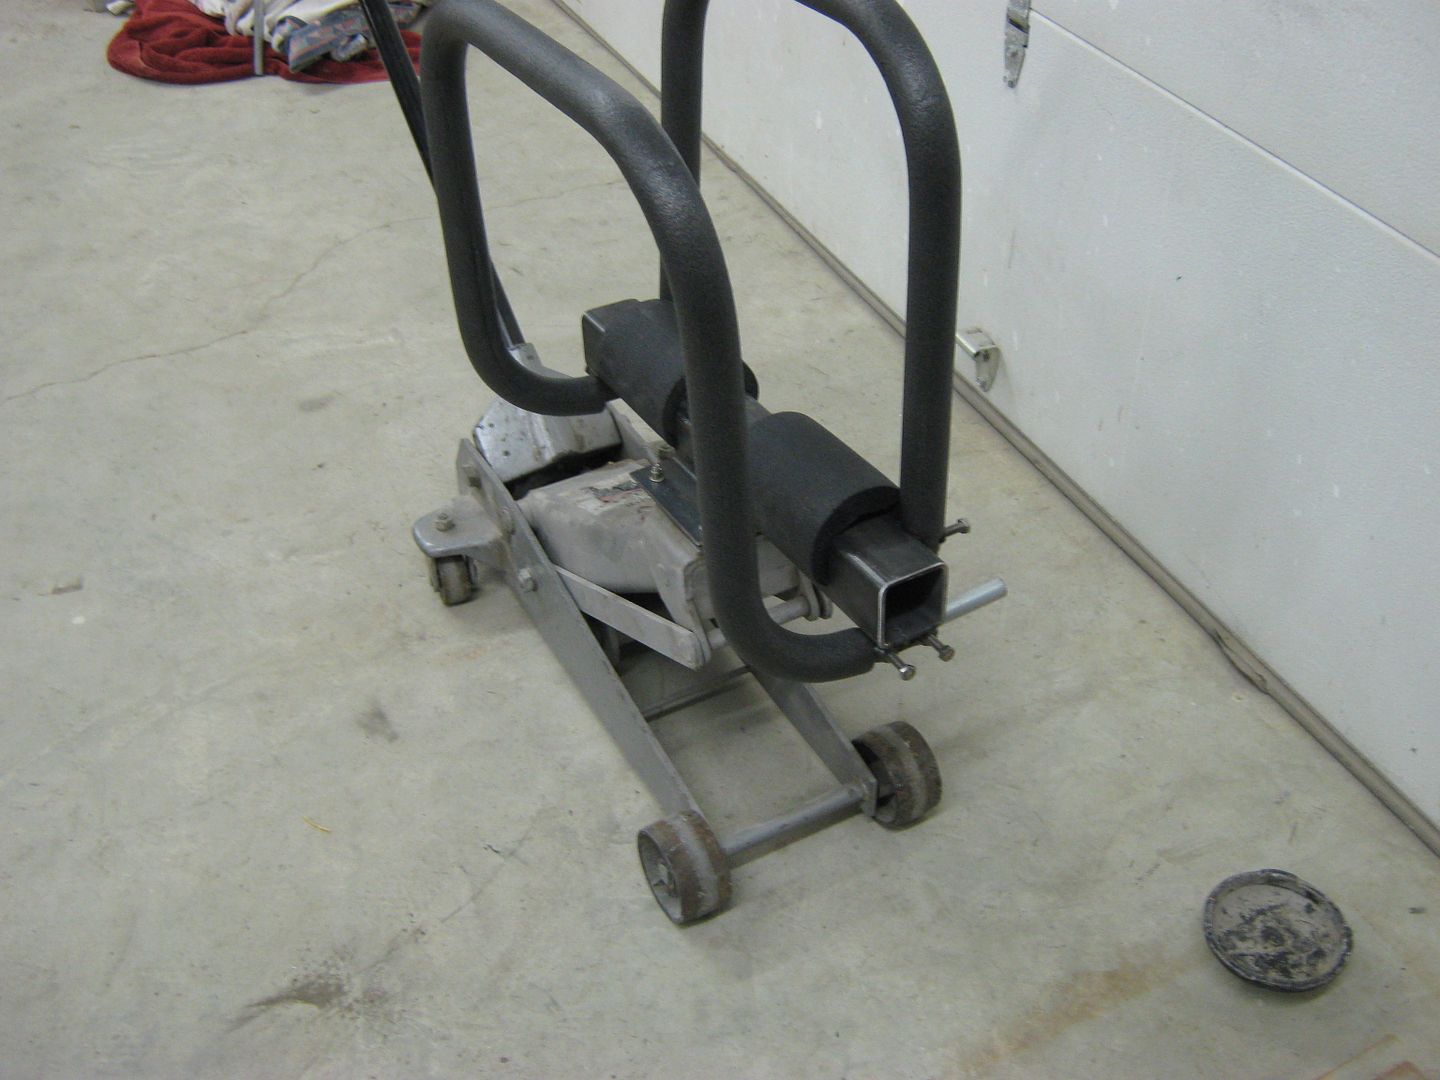
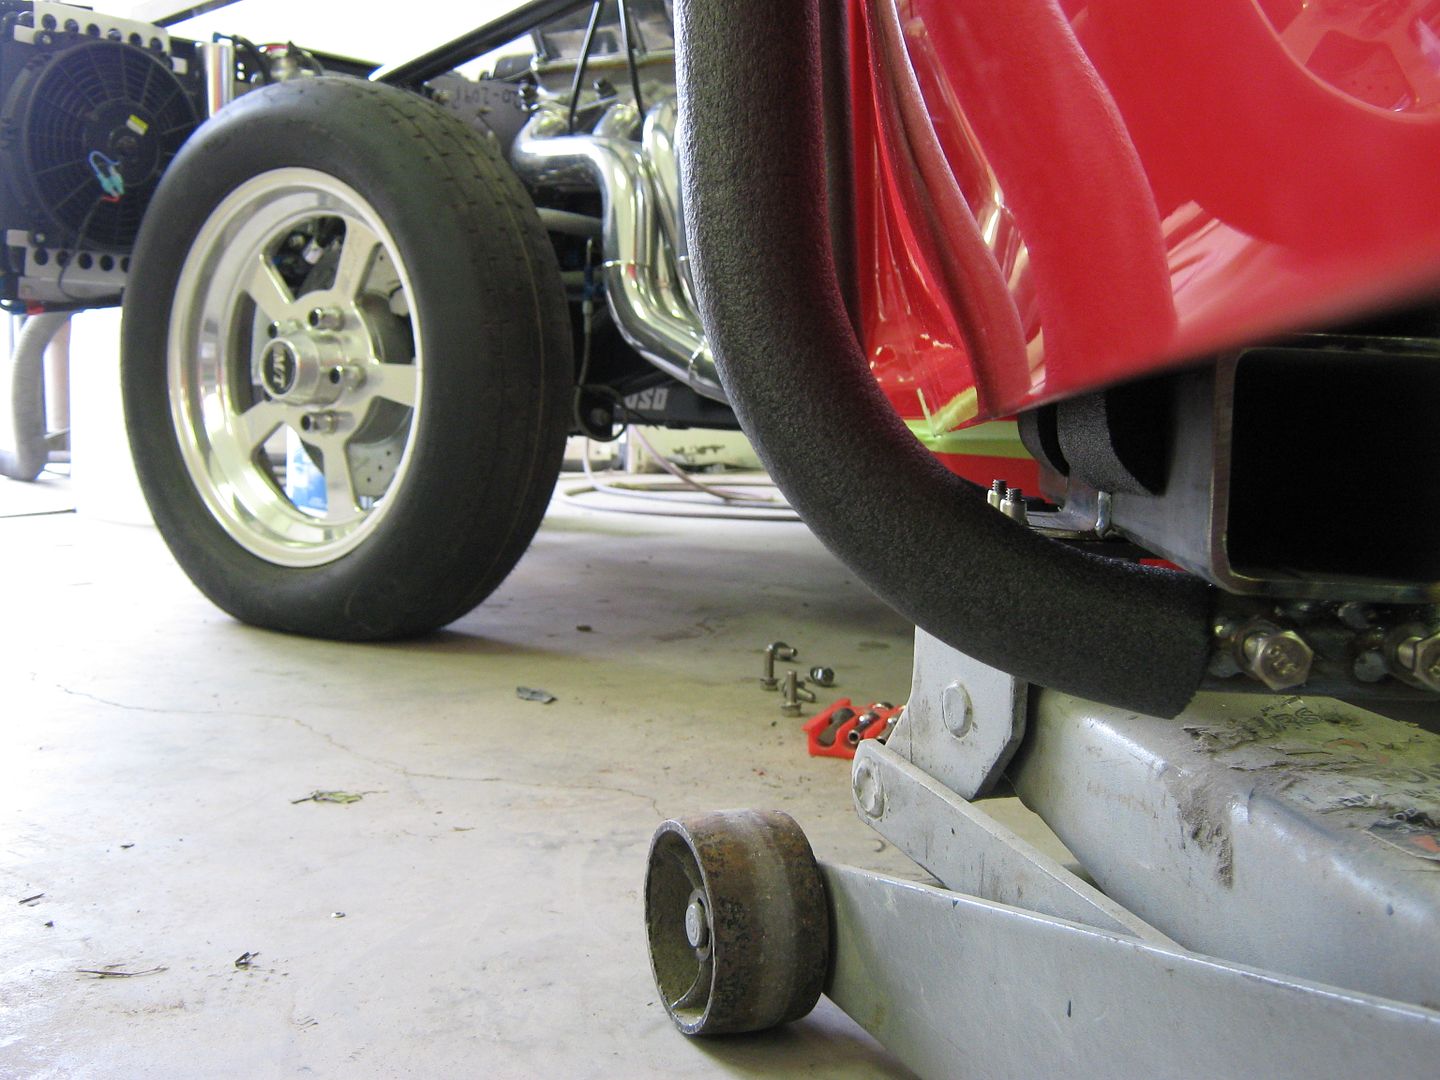
Here's the basic form, with some pipe receivers using set screws. The support braces are bent from electrical EMT and covered in pipe insulation to protect the door's finish, and roll bar padding (we had some left over

) on the bottom support.....
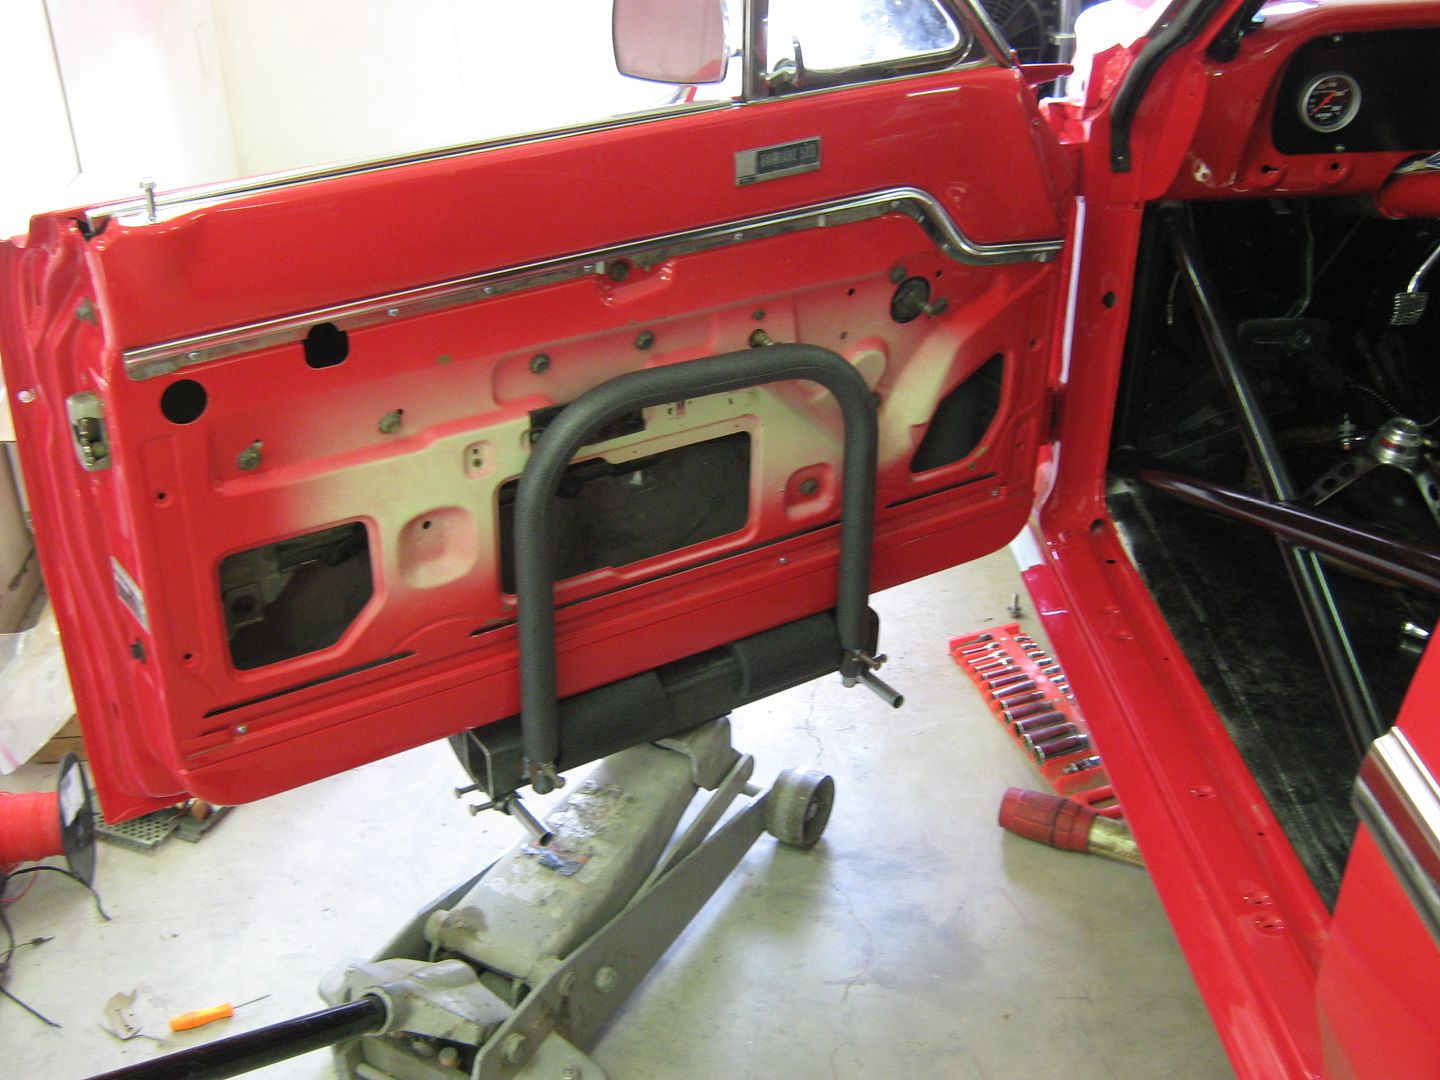
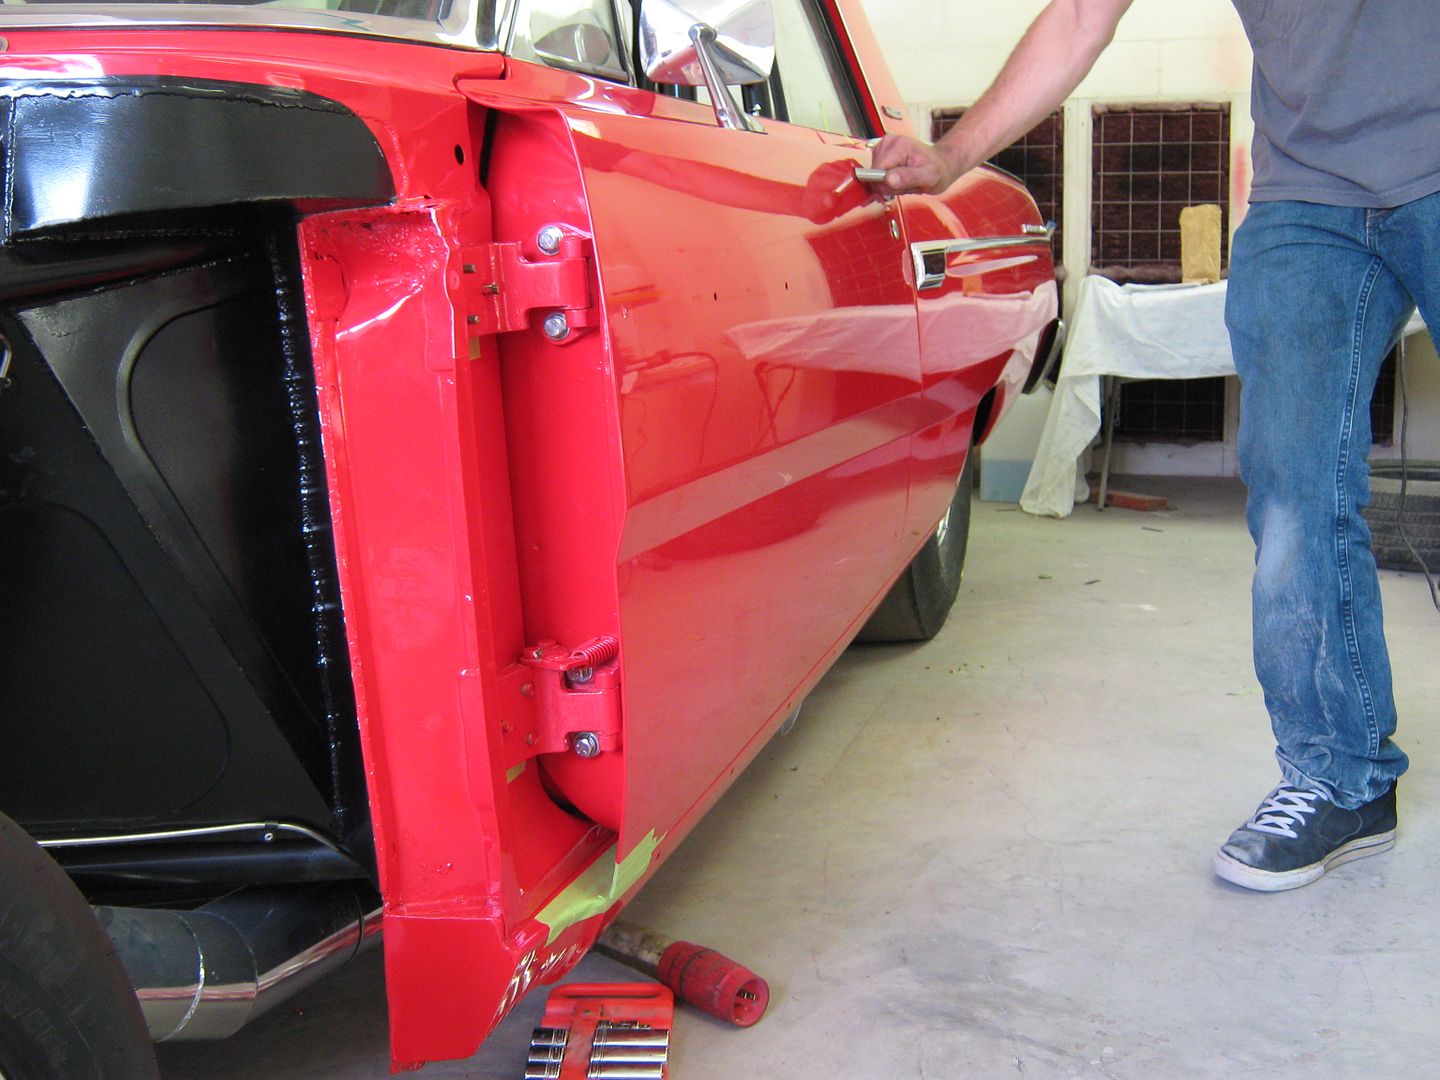
The support braces also help to keep the door oriented in a vertical position, to keep the door from flopping back and forth (as you may experience with the cradle style). This will help prevent paint damage/chips from excessive door movement during the install.
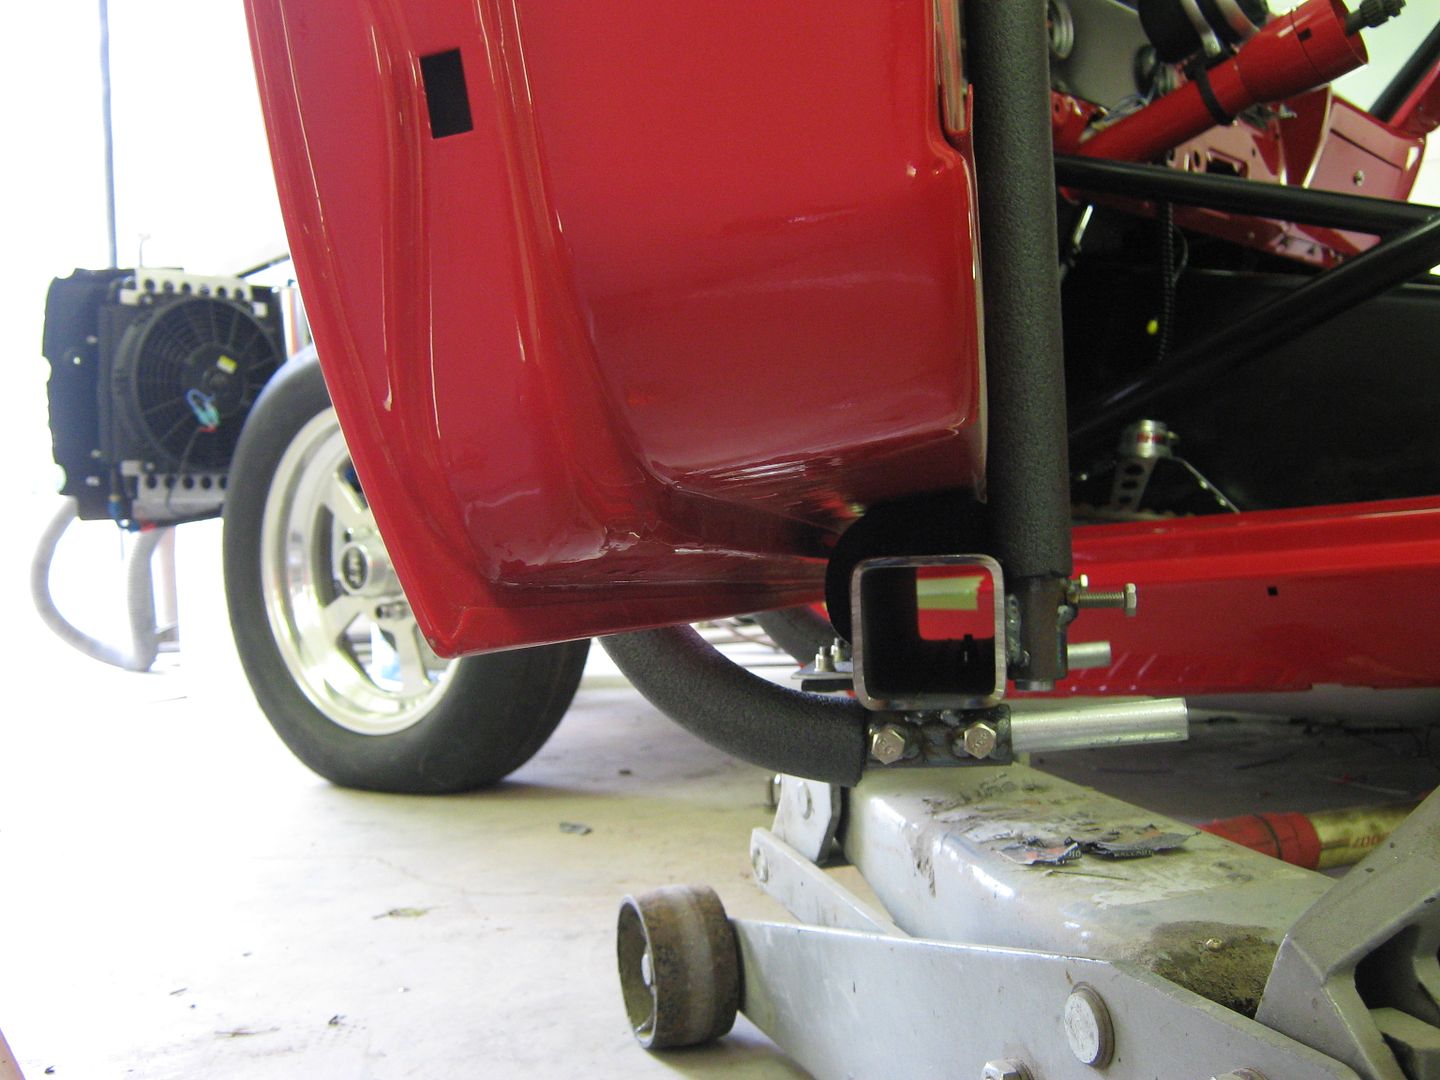
Notice nothing touches the edge of the door skin....
Once hinges are snug, loosen set screws for outer support brace, lower a couple inches, remove outer support brace, and simply pull jack toward rear of car to clear door.


")