Zeke
Well-known member
build the box for the smaller tube to fit out of 2 pcs of angle.
Buy thick walled 2" and the 1 1/2" fits nicely.

build the box for the smaller tube to fit out of 2 pcs of angle.
Hello all,
Here's a project I completed recently.
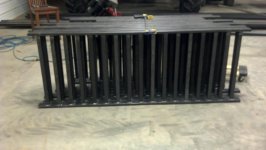
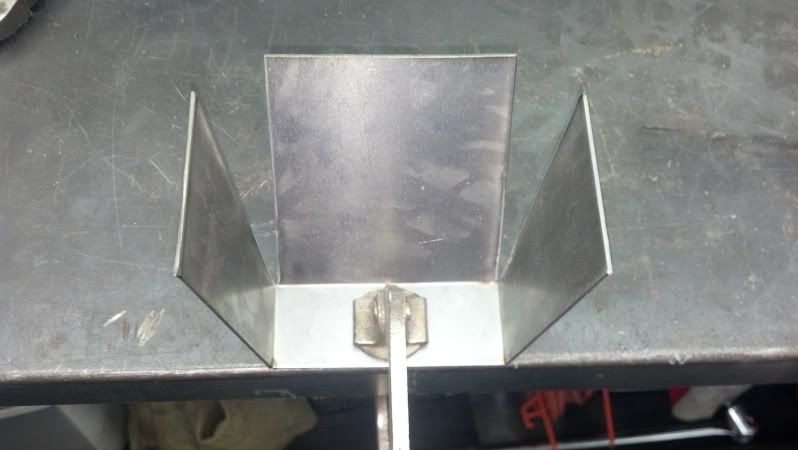
I have a lot of books and wanted to weld up a bookshelf for them. I wanted the shelves to look like they were floating, so I planned to top mount the brackets. To complete the floating look, I made the brackets one inch shorter than the depth of the shelf so when books were on the shelf, you wouldn't be able to see the bracket. The bottom shelf is 12" deep, and each shelf above steps back one inch, and gets one inch closer to the shelf below it. It all started with a 5x10 sheet of 1/8 plate...
Thanks for looking, Brett
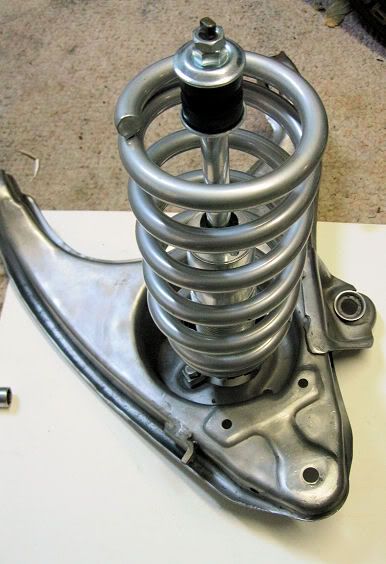
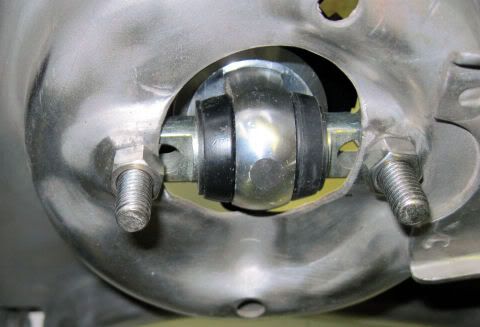
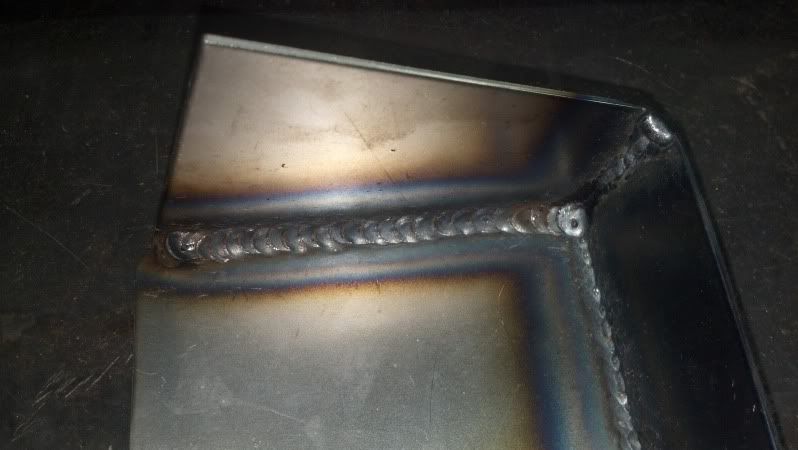
It will fit, but you usually have to grind or wash the weld out of the inside of the receiver. If you make the receiver you do have 2 welds to do, but you can make a very close fit up. Which will leave little play when connected.Buy thick walled 2" and the 1 1/2" fits nicely.


")

....(not sure what tool I would need to get the inner weld seem? Maybe really long file?)
MP&C has a post on that. Search his threads.
@HotChopShop
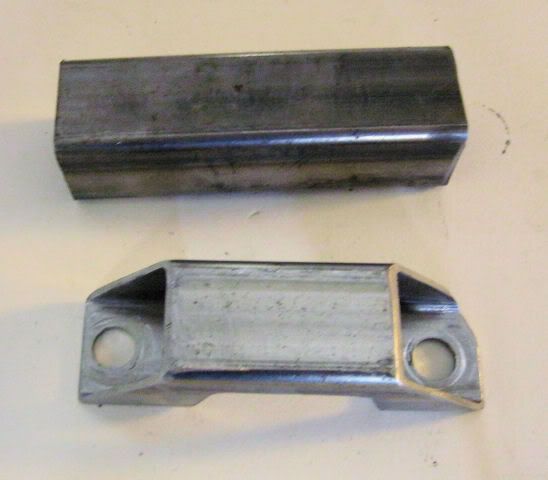
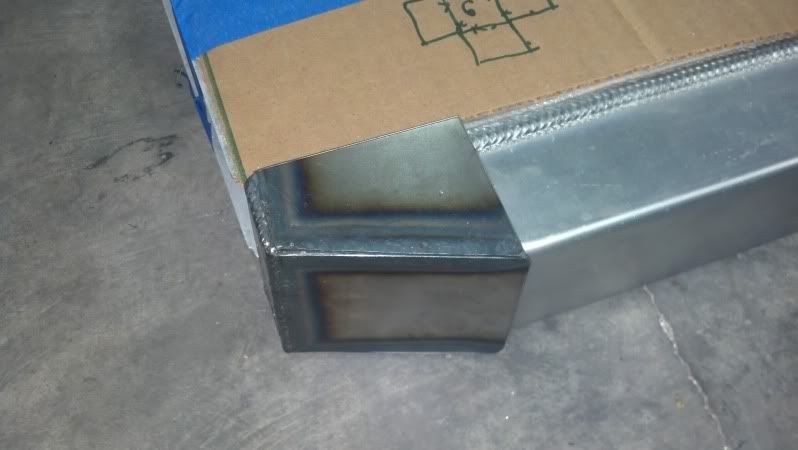
You can find 2" receiver tube at the metal suppliers / yards if you mention that's what you're looking for. It's meant for telescoping applications and doesn't have that weld seam inside that you're fighting.
I picked up a 36" piece of it that I've been chopping off in 6" sections for projects. I like being able to fab up a mounting plate for this or that tool that can then slip into the welding table for use.


Motorcycle chain? I suppose the could be bicycle chains if those were miniature jack stands.Shelf for my jack stands with some discarded chain (I think it was discarded)
Great idea!Shelf for my jack stands with some discarded chain (I think it was discarded)

Shelf for my jack stands with some discarded chain (I think it was discarded)


I liked this idea so much I copied it.Here's a few of my projects. I've always enjoyed building practical stuff that would make life easier in the shop. And just about everything is better with casters!
Torch bottle rack and grease gun rack:


I mounted it on my bodywork and painting cart but it could also go on the wall.
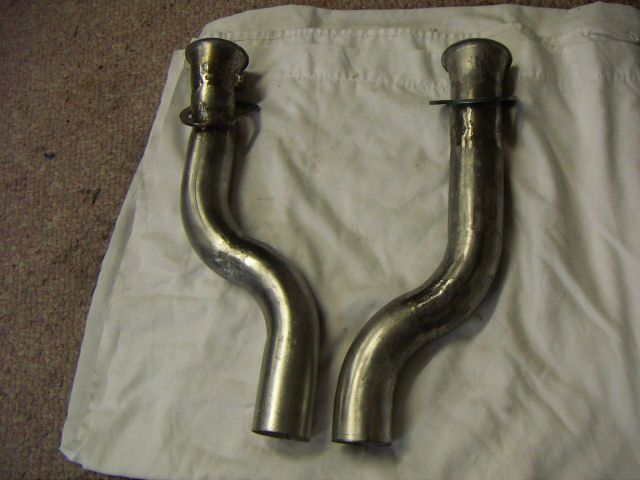
Made a rack for the bottles from some 2.25” exhaust pipe and a couple of pieces of flat stock. A can of red primer/paint covers up most of the ugly.
exhaust pipe is galvanized isn't it? I don't see any grinding marks, hope you're ok
I like this idea.
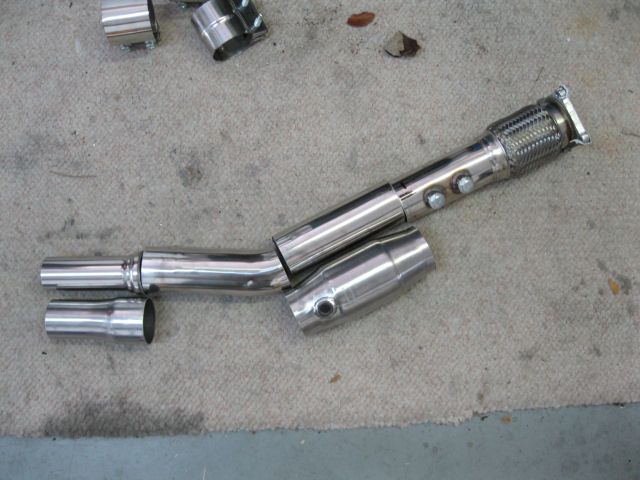
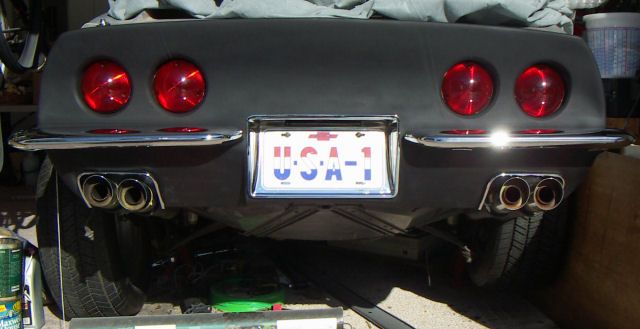
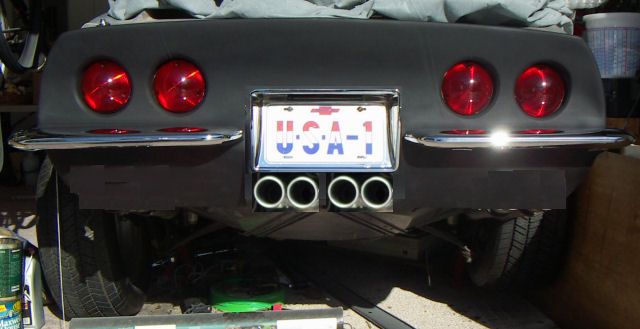
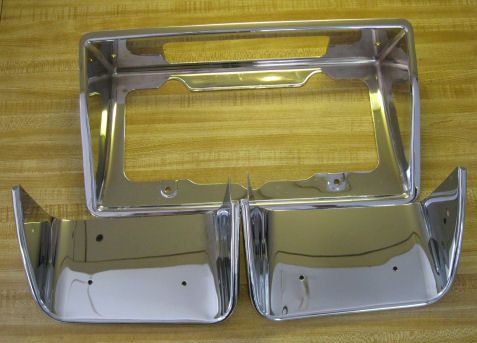
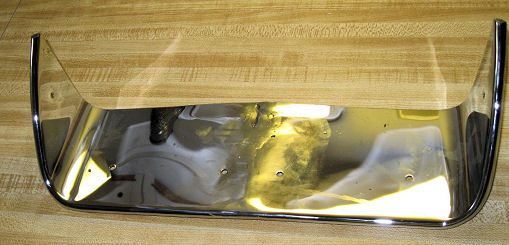
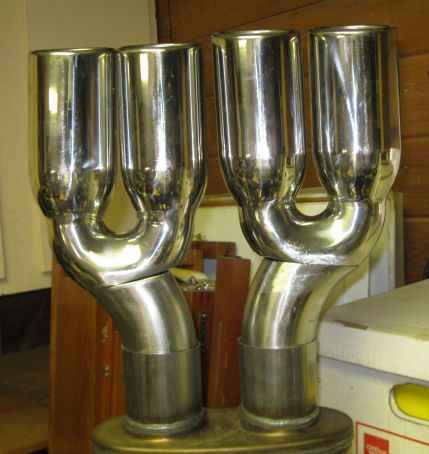
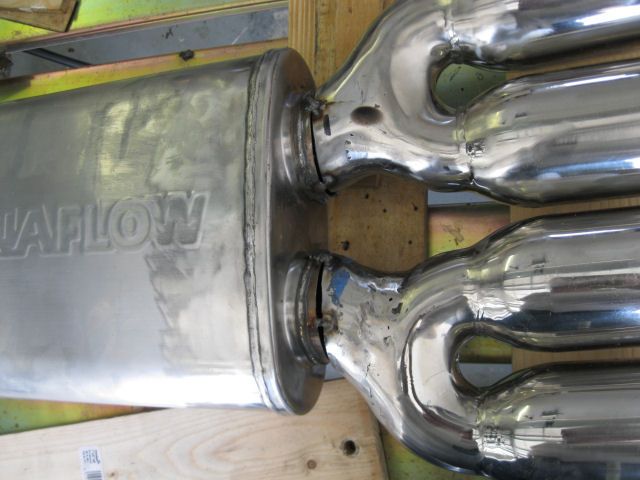
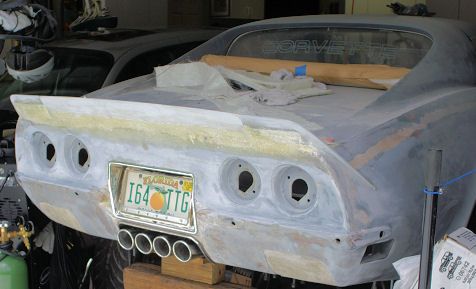
Earlier exhaust stuff looked real good too!


Took the wheels from the smaller HF wooden dolly and made a rolling frame for a car seat that's been kicking around my garage for a while with this intention in mind.

Wow, I haven't added anything to this thread in a while so I'm glad to finally get to do it again.
Took the wheels from the smaller HF wooden dolly and made a rolling frame for a car seat that's been kicking around my garage for a while with this intention in mind.