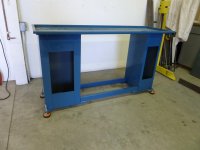
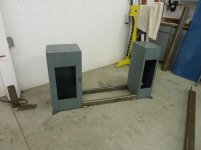
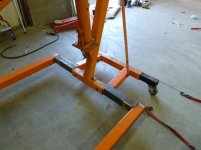
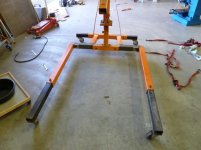
To avoid these ads, REGISTER NOW!

Show us your welding projects

NASTYZEN

Well-known member
Joined
Jun 11, 2010
Messages
2,823
Location
St-Colomban,Que. Canada
ZT,

I know I am asking a lot as you have already been generous in posting your projects and answering questions, but for us rookie and wannabe welders and fabricators it would be huge help in our learning curve.

Again, thanks for posting the projects and for the help you have already given to many of us.

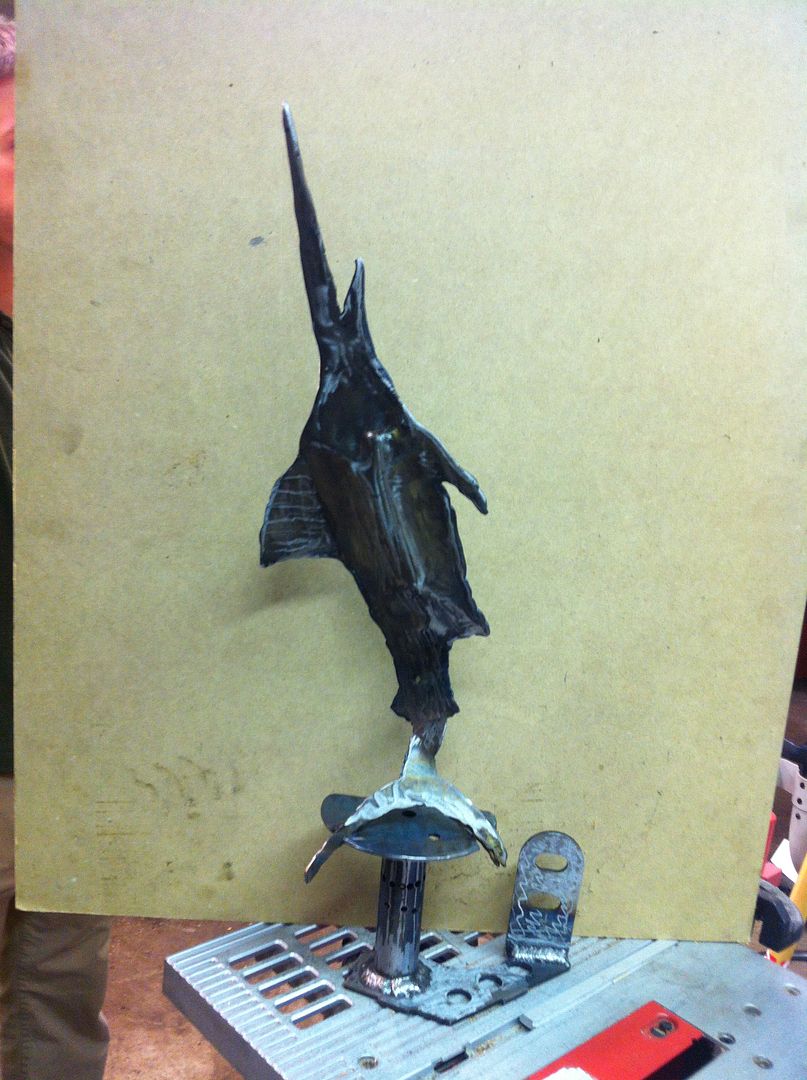
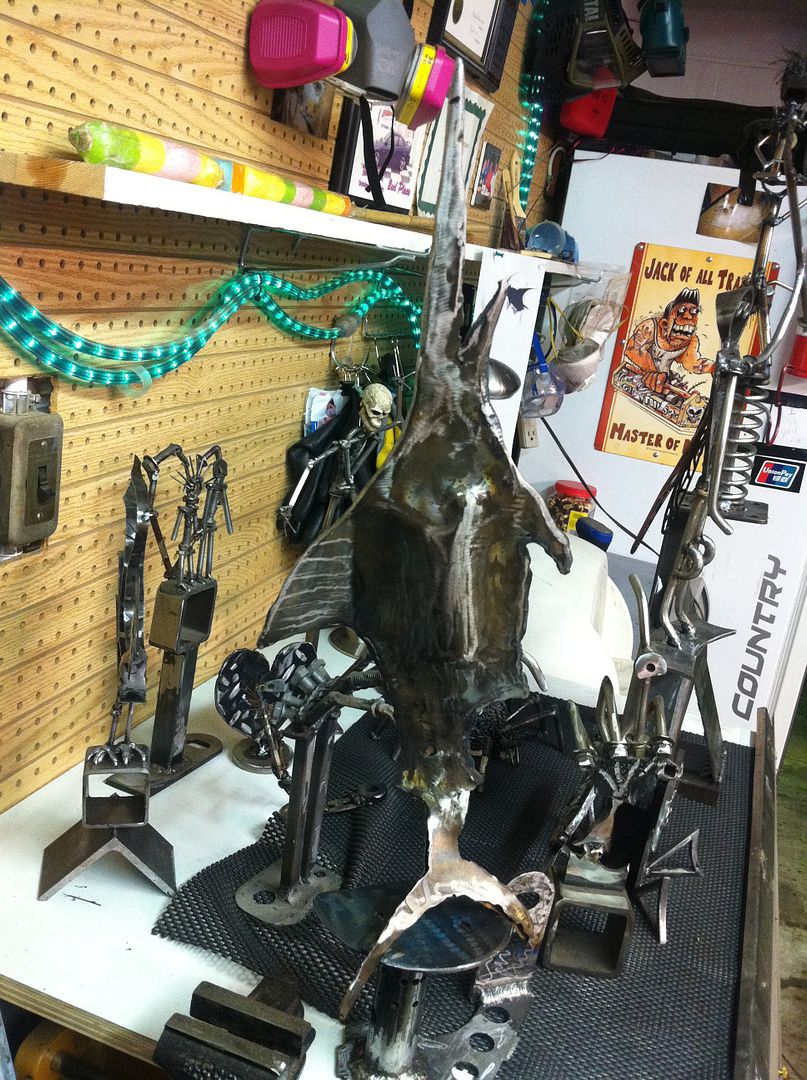
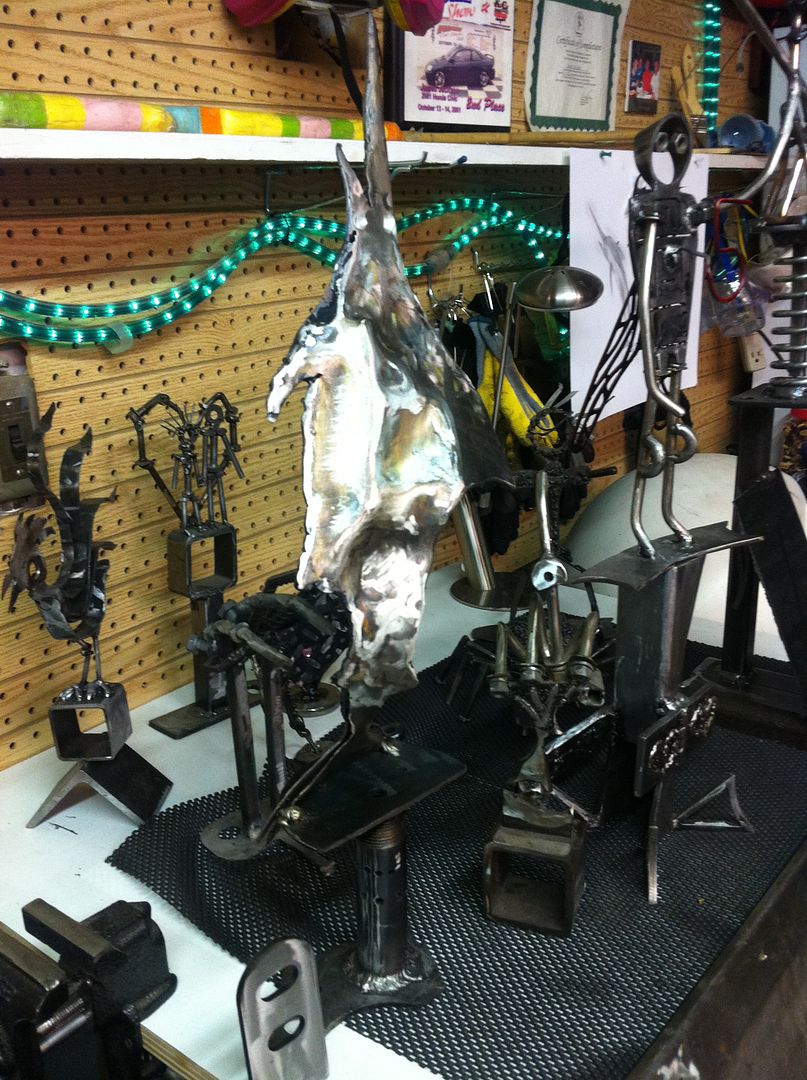
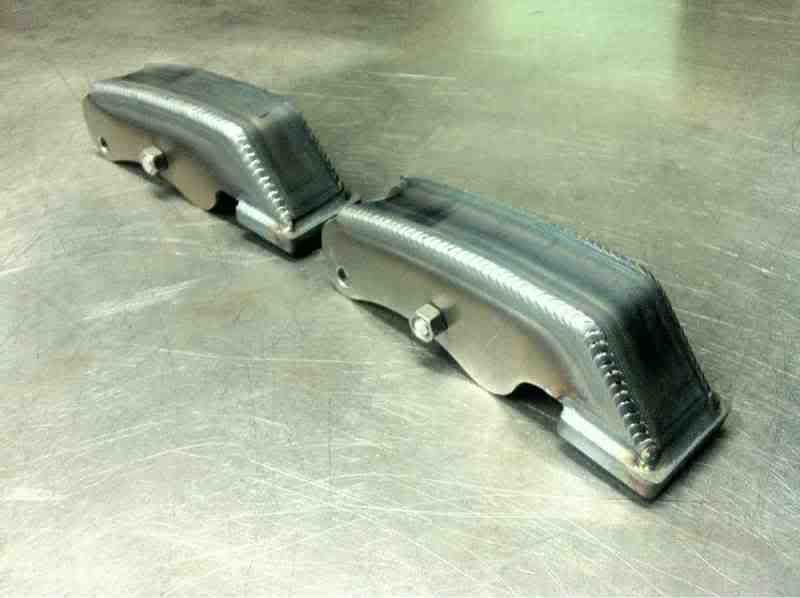
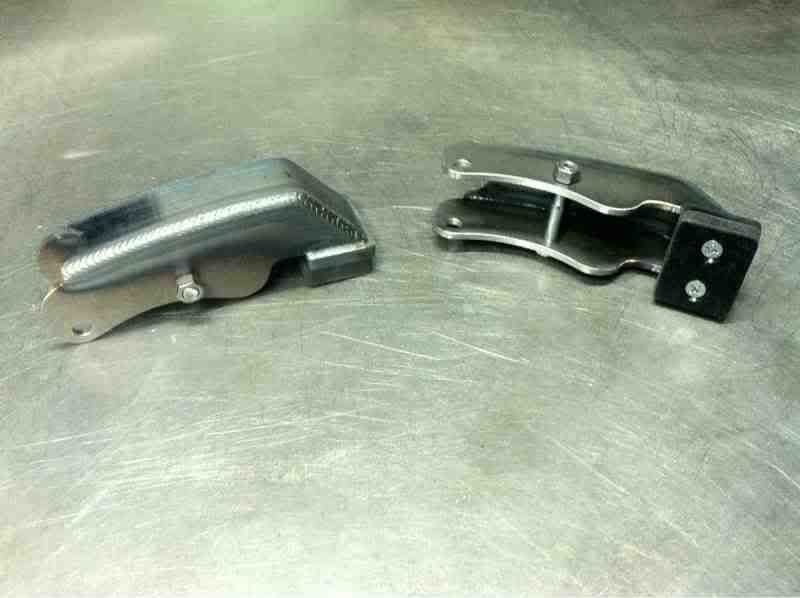
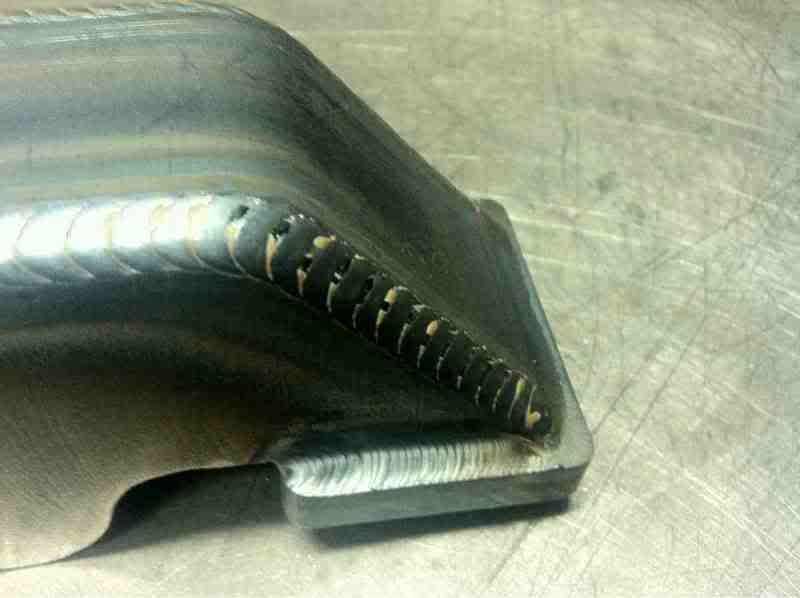
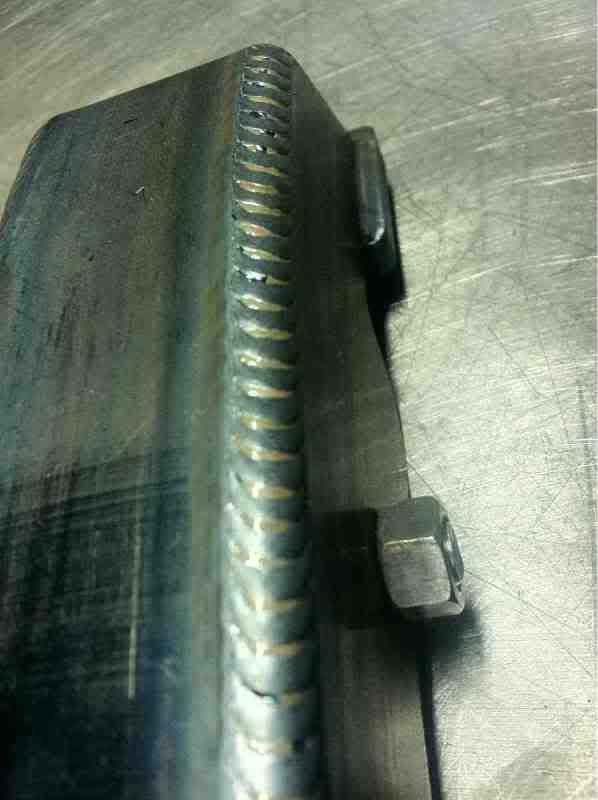
I've been welding 28 years and still can't weld that nice! ZT really is the exeption, don't be to hard on yourself.....
 
To avoid these ads, REGISTER NOW!

NASTYZEN

Well-known member
Joined
Jun 11, 2010
Messages
2,823
Location
St-Colomban,Que. Canada
Hello,

I mostly linger because I am on so many forums that I get lost. Anyway, I am finishing up my buggy project. This was my first attempt so the welds aren't perfect.
The first pic is the first go around with the buggy. It was assembled and then sat while I remodeled the house for 2 years. Then the black and gray version is recent with the frame powder-coated and the pan sprayed with bedliner. I then painted the body flat black a-la cheap rustoleum from HD. One coat and done.

Michael, that turned out great,specially for a first time. Amazing what you can do when you put your mind to it.
 

ZTFab

Well-known member
Joined
Jan 6, 2008
Messages
397
Location
Upland, CA
ZT, (and others as well), when you post up a project onto the site of that beautiful handiwork could we impose upon you to maybe tell us the type of machine and perhaps the gauge/type metal and the settings you used to create those welds?

I know I am asking a lot as you have already been generous in posting your projects and answering questions, but for us rookie and wannabe welders and fabricators it would be huge help in our learning curve.

I can only dream of laying a bead down like the welds you have shown us but if I can at least get in the ball park through some expert knowledge... to me that is a home run! :bowdown:

Again, thanks for posting the projects and for the help you have already given to many of us.


Hey Duker...I have no problem posting parameters and details. The only issue I see with it is that me telling you that I run tap "C" and 300 ipm on my Lincoln 200 doesn't really give enough info for it to be translated for use on other machines. I don't know the correlation between the tap setting and actual voltage to be able to give you a realistic number. Heck, I've even run the same type of machine and had to use different settings...there are just too many variables. :eyecrazy:

Either way, if you think it will help you than I'll try to remember to post the details...if I forget or you see a previous post that you want the parameters for then just ask.

:beer:
 

Duker

Well-known member
Joined
Sep 25, 2010
Messages
10,861
Location
Livingston, TX
Hey Duker...I have no problem posting parameters and details. The only issue I see with it is that me telling you that I run tap "C" and 300 ipm on my Lincoln 200 doesn't really give enough info for it to be translated for use on other machines. I don't know the correlation between the tap setting and actual voltage to be able to give you a realistic number. Heck, I've even run the same type of machine and had to use different settings...there are just too many variables. :eyecrazy:

Either way, if you think it will help you than I'll try to remember to post the details...if I forget or you see a previous post that you want the parameters for then just ask.

:beer:

ZT, First, thank you for helping us "rookies!" I agree the variables can be numerous and maybe not practical in every case but where I think it would help is in situations where someone else is beginning to work on a similar project and we see you chose MIG over TIG and "X" gauge thickness material etc..

For example, you built a rolling base for your band saw (I think) and I was getting ready to do something similar. I was planning on much thicker material (tend to overkill everything) and after seeing your project I re-thought my concept and design which saved me time and money. The contributions of that post may not have been obvious to you but they were very helpful to me and others like me. Again, I appreciate all of the contributions from you and Nastyzen and everyone else and I don't want to impose any more work. Those little details however can be a huge help and if you think about it we would love to see you post them. :)
 

Rezarf

Well-known member
Joined
Jul 16, 2011
Messages
211
Zt, I'm sure you have answered this somewhere already, but are you using plasma, laser or water jet for those larger parts?
 

Jamesbbh

Well-known member
Joined
Jun 16, 2011
Messages
211
Location
Pensacola, FL
Little project last couple weeks.


Drew this
Picture040-1.jpg


Cut it out of stainless

Picture043-1.jpg


Made a base and welded/bent it up

Picture044-1.jpg


Picture059.jpg


Finished and clear coated

Picture060.jpg


Picture061.jpg

Picture062.jpg


Picture063.jpg
 

glsmaverick

Well-known member
Joined
Dec 22, 2009
Messages
141
Location
Mid Michigan
Nothing spectacular but I picked up a Millermatic 180 for christmas and built my welding table a couple weeks ago.

The caster set up did not come out as planned and is temporary and I didn't get a finished shot with the top on but it is 3/8" steel. Other than that the table is very sturdy and I am happy with the results.

29407acc.jpg


1bfd8de2.jpg


bcc32623.jpg


e26ba4af.jpg


26a803e4.jpg


Best weld of the day

45a500c5.jpg
 

roberts56

Member
Joined
Feb 26, 2012
Messages
15
Location
Metro Manila, PHILIPPINES
WOW ! I'm new in this site and really loving it and reading page 1 to 25 of this thread blew me away, so much cool welding project to learn from, maybe I'll post some pics too of my welding projects in the coming days. I am also into metalworking aside from being an artist (visual artist).

Such great thread, AWESOME !!!!!
 

W650Mike

Well-known member
Joined
Dec 17, 2010
Messages
1,093
Location
North Central Texas
A small project over the weekend - replacing my flag poles damaged in the Presidnt's Day winds.

I picked up some scrap door knob blanks from the melt scrap pile at work - not knowing when or if I'd need them but they were just too cool to not grab a few. Well...as all hoarding eventually pays off, I needed some pole finials!

The pics of the base of the poles didn't turn out, but there is a round to square transition welded on to convert to my previously fabricated mounts.

The product:

Picture010.jpg


The tools:

Picture009.jpg
 

Rezarf

Well-known member
Joined
Jul 16, 2011
Messages
211
Time for a power strip on that sucker W650Mike. ;) Looks like a handy workstation man!

Picture009.jpg
 

Deltarat

Well-known member
Joined
Nov 29, 2006
Messages
341
A small project over the weekend - replacing my flag poles damaged in the Presidnt's Day winds.

I picked up some scrap door knob blanks from the melt scrap pile at work - not knowing when or if I'd need them but they were just too cool to not grab a few. Well...as all hoarding eventually pays off, I needed some pole finials!

The pics of the base of the poles didn't turn out, but there is a round to square transition welded on to convert to my previously fabricated mounts.

The product:

Picture010.jpg


The tools:

Picture009.jpg

What HP is the motor on the disk sander?
 

jack stand

Well-known member
Joined
Feb 29, 2012
Messages
3,300
Location
Lakes Region Maine
I made this last year to keep my roads in order. It can be pulled by a tractor or as shown, with a skid steer.
 

Attachments

  • Copy of April snow& graderblade 032.jpg
    Copy of April snow& graderblade 032.jpg
    94.3 KB · Views: 515
  • April snow& graderblade 184.jpg
    April snow& graderblade 184.jpg
    90.3 KB · Views: 451
  • April snow& graderblade 162.jpg
    April snow& graderblade 162.jpg
    86.2 KB · Views: 407

bggrnchvy

Well-known member
Joined
Nov 14, 2011
Messages
579
Location
Pleasant Hill, CA
Anymore details (pics) of this???...Very nice setup. :thumbup:

Cart01002.jpg

HydraulicBender0305.jpg

HydraulicParts03003.jpg


It needs much bigger casters to work well. I've had them to put on for a couple of years now, but the pain is in cutting off the current ones some guy welded to the bottom:mad:

The bender also needs to be reoriented so the ram has more advantage on the draw die. The inline gives me the most bend range without having to repin, but it struggles on starting a bend with more than a 1-3/4 .120 peice of HREW. I have to exert about 30lbs of energy into a 12" pry bar to start a bend from zero with 1-3/4" .120 DOM. It is nice going to over 90* without a repin though.
 
To avoid these ads, REGISTER NOW!

Case IH

Well-known member
Joined
Dec 31, 2010
Messages
904
Location
Green Bay WI
I built these today for an older style VW sand car that needed bump stops.

3/16" cold rolled steel cut on my bandsaw with a 3/8" cold rolled bump stop pad and 1/2" UHMW bump stop.

I TIG welded the pad to the 3/16" and MIG welded the rest.

Photos_5-6.jpg


Photos_6-4.jpg


Photos_9-3.jpg


Photos_7-4.jpg


Photos_1-7.jpg

nope nope nope, those tig welds are way to concave!!! would never pass QC!!!...................


LOL just kidding, they look great:rocker:
 

Duker

Well-known member
Joined
Sep 25, 2010
Messages
10,861
Location
Livingston, TX
Made this for my Brother when I used to have time.

miscprojects186.jpg

Nastyzen, Is that a copper lampshade? If so what did you do to get the patina? I love the look of that... I need to makes some copper panels for a set of cabinet doors and that would be a great finish.
 

NASTYZEN

Well-known member
Joined
Jun 11, 2010
Messages
2,823
Location
St-Colomban,Que. Canada
Nastyzen, Is that a copper lampshade? If so what did you do to get the patina? I love the look of that... I need to makes some copper panels for a set of cabinet doors and that would be a great finish.

Copper it is. I used an oxy ace torch to warm it up all over and then paste good ol floor wax on it with a brush. Helps if you melt the wax first in a can. Look out ,it's flammable!
Once it cools off, just rub it down with a rag for a nice shine.The cool part is that when it gets dusty or dull with time. Again just rub it down and it's all shiny again.
 

sanddan

Well-known member
Joined
Jul 7, 2005
Messages
708
Location
Oregon
I just bought a ENCO lathe and the stand that came with it was pretty flimsy. I added a base made of 1/2" plate and tubing to stiffen it up and spread out the leveling feet.
 

Attachments

  • Modified engine hoist to clear the pallet and mill stand.jpg
    Modified engine hoist to clear the pallet and mill stand.jpg
    67.1 KB · Views: 480
  • foot detail.jpg
    foot detail.jpg
    39.3 KB · Views: 256
  • Completed stand.jpg
    Completed stand.jpg
    130.4 KB · Views: 268
  • Painted stand to match lathe.jpg
    Painted stand to match lathe.jpg
    47.7 KB · Views: 272
  • stand closeup.jpg
    stand closeup.jpg
    42.2 KB · Views: 254
  • Frame to add stiffness to stand.jpg
    Frame to add stiffness to stand.jpg
    63.2 KB · Views: 292

sanddan

Well-known member
Joined
Jul 7, 2005
Messages
708
Location
Oregon
I had to widen my engine hoist as the legs were too narrow to clear my new mill stand. I sectioned the 2 main legs and added extensions using 3x3x.25" tubing. The cuts were made with a plasma cutter and welded with mig.
 

Attachments

  • finished2.jpg
    finished2.jpg
    51.5 KB · Views: 317
  • finished hoist.jpg
    finished hoist.jpg
    56.8 KB · Views: 335
  • extension2.jpg
    extension2.jpg
    60.5 KB · Views: 293
  • extensions added.jpg
    extensions added.jpg
    53.3 KB · Views: 280
  • leg cutoff to add extensions.jpg
    leg cutoff to add extensions.jpg
    53.3 KB · Views: 286
  • hoist at start.jpg
    hoist at start.jpg
    63.8 KB · Views: 320

rmckee

Well-known member
Joined
Jan 2, 2012
Messages
457
Location
Wake Forest, NC
Built this A-frame spare tire carrier for my Jeep Wrangler last fall. It was my first real welding project after being taught by the owner of a FAA welding shop in Orlando a year or two ago. Great guy, taught me a lot. Bought a Hobart 140 last summer and started on this - Flux core, haven't secured a MIG set up yet.

It's been problem free with a 35" spare tire for almost 6 months now, so I guess I did well!


file-108.jpg


file-139.jpg


file-912.jpg


file-538.jpg


file-520.jpg
 

swampymarsh

Active member
Joined
Dec 11, 2007
Messages
26
Needed a back hoe for some around the home projects and I'm too lazy to use a shovel. Also built a front end loader (not shown on these pic) for it because it also required shovel work to fill back in the hole that I dug.
 

swampymarsh

Active member
Joined
Dec 11, 2007
Messages
26
Hum....wonder why my pic did not post? Lets try it again!!!
 

Attachments

  • DSC02012.JPG
    DSC02012.JPG
    145.8 KB · Views: 795
  • DSC02014.jpg
    DSC02014.jpg
    63.5 KB · Views: 625

lametec

Well-known member
Joined
May 5, 2008
Messages
2,099
Location
Michigan
I had to widen my engine hoist as the legs were too narrow to clear my new mill stand. I sectioned the 2 main legs and added extensions using 3x3x.25" tubing. The cuts were made with a plasma cutter and welded with mig.

Have you actually used that to lift heavy since the modification? It seems to be it is now considerably less strong, since the leg extensions are now being twisted with a lot of leverage.
 

roberts56

Member
Joined
Feb 26, 2012
Messages
15
Location
Metro Manila, PHILIPPINES
Here's my initial sketchup design of my heavy duty welding table which I am currently working on now. As I go along this project, new ideas keeps popping up so I guess I'll be adding or changing some features here and there and hopefully what I have in mind will come to reality.

WeldingTableThreefourthsviewFront.jpg


What I have are panels of 1/2" X 21" x 41" armored steel plates which will be placed on top of the main angle iron bar frame measuring 3ft X 7ft. Every part of this project will be coming from a nearby scrap yard but of course with the exception of the iron caster wheels. Legs will be made of 4" X 4" X 29" of I- Beam or H-Beam if that is how it is called.


390.jpg


392.jpg


391.jpg


398.jpg


397.jpg


Ones I have the panels, I started working on them trimming and grinding edges and squaring off all corners and the sides plus did some wire brushing to dislodge rust from both sides since these panels have been stocked up in the scrap yard exposed to the elements.
 

GarageEnvy

Well-known member
Joined
Nov 17, 2009
Messages
1,282
Location
Fresno
Needed a back hoe for some around the home projects and I'm too lazy to use a shovel. .

You might want to look up the word lazy. That's awesome! And the fact that nobody here is questioning the wisdom of building a back hoe or a front loader to avoid using a shovel is why I love this place. :beer:
 

roberts56

Member
Joined
Feb 26, 2012
Messages
15
Location
Metro Manila, PHILIPPINES
Ok, when done working with the armored table top panels, I started working on the angle iron bars using a flap sanding disc to remove the rust. And then applied or brushed it with metal rust converter.


GEDC0011.jpg


GEDC0008.jpg


GEDC00122.jpg


GEDC00212.jpg


Then cut some pieces of triangular 1/4" thick iron to be welded in the inside part of the angle iron bars as gazettes.


GEDC0037.jpg


GEDC0017.jpg


GEDC0016-1.jpg


GEDC0047.jpg


GEDC0044-2.jpg


GEDC0034.jpg


GEDC0059-1.jpg


On the last two images shown, I have sprayed the angle iron bars with epoxy metal primer to prevent rust from building up again
 

roberts56

Member
Joined
Feb 26, 2012
Messages
15
Location
Metro Manila, PHILIPPINES
Next step now is the assembly of the main frame or the receiver of the plate panels. For starters, tacked welded all corner joints, insides, top and the corners.


GEDC0068.jpg


GEDC0084.jpg


GEDC0080.jpg


GEDC0082.jpg


And after tacking each corner joints, started applying the welds :

GEDC0086.jpg


GEDC0087.jpg


GEDC0083.jpg


GEDC0084.jpg
 
Last edited:

sanddan

Well-known member
Joined
Jul 7, 2005
Messages
708
Location
Oregon
Have you actually used that to lift heavy since the modification? It seems to be it is now considerably less strong, since the leg extensions are now being twisted with a lot of leverage.

The last picture of the lathe stand shows the lathe lifted into position on the stand. the lathe weighs over 1000 lbs. Also moving the lathe when hanging from the hoist was much more stable with the wider footprint. The extensions are 1/4" wall tubing, double the thickness of the rest of the tubing, with plenty of weld tying it in.
 

XSKEETERX

Member
Joined
Jan 26, 2012
Messages
14
Hey rmckee

Love the spare tire holder. Been looking to build one.

I run 35x14.5's on my K5. What did you use for the pivot point?

By the way. I have the same Hobart Handler 140 as well. I love it.
 

waggie

Well-known member
Joined
Aug 3, 2010
Messages
305
Location
Upland, ca
made a new gate for my house. Looks kinda sparse because it's made of scraps. It's a side gate that we almost never use.
But, without it, my dogs would run out. My dogs are 20 and 33lbs. This should be plenty "over-built" to keep them in.
Once you get over how ridiculous the handle looks, it actually works very nicely.

posts are 2x2x1/8
door frame is 2x1x3/32
expanded sheet metal is 1/16
all tigged. I did try to use my mig welder to tack on the expanded metal, but the tack ended up with a ****** and
very porous tack, so i gave up and just tigged the expanded metal on.

powder coated glossy.

IMG_2476.jpg


IMG_2473.jpg


IMG_2470.jpg


IMG_2469.jpg


IMG_2472.jpg


lines up quite nicely

IMG_2471.jpg
 
To avoid these ads, REGISTER NOW!
Top Bottom