idahochevy
Active member
- Joined
- Nov 18, 2013
- Messages
- 37
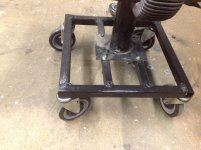
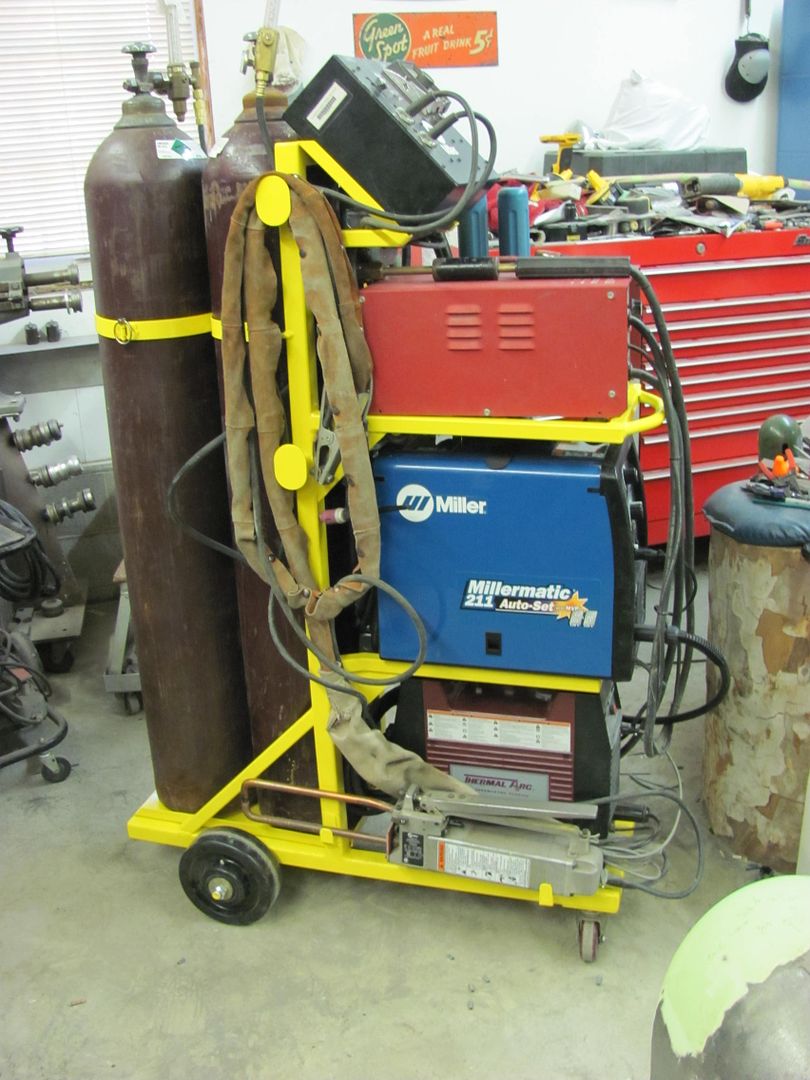
Well I finally broke down and bought a new welder, so of course I had to build a new welding cart for it.


Looks good.Well I finally broke down and bought a new welder, so of course I had to build a new welding cart for it.
http://i255.photobucket.com/albums/hh154/pyro_maniac1987/IMG_0308.jpg
Looks good.
Just curious, this is to everyone I guess, are you not able to put the bottles horizontally? Never do I see any of the bottles mounted sideways and wondered why. Out of curiosity of course.

They take up far less space oriented vertically, especially once you get up to 110 and larger size tanks.Looks good.
Just curious, this is to everyone I guess, are you not able to put the bottles horizontally? Never do I see any of the bottles mounted sideways and wondered why. Out of curiosity of course.
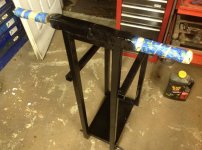
Only my second post, but this thread caught my eye. Absolute armature welder. This is a smoker I built, and my brewing stand.
The new 211's are tiny compared to the last model.
I'm a fan of breaking bad as well. haha kidding. Looks good! Planning on Powder coating it when its done or spraying it down?
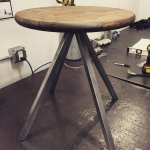
Doesn't hold a candle to some of the other projects on this thread but I needed to solve a problem.


Not only is it a space saver but if you lay one down you get liquid co2 and freeze your machine up.I appreciate the answers. Was just curious. I use to have a mig and a small bottle which I thought about putting horizontally but since I never see anyone do that, I bought a welding cart instead and kept it vertical. Larger ones I definitely understand. Thanks all
Not only is it a space saver but if you lay one down you get liquid co2 and freeze your machine up.
We get our co2 from the local feed store, one time we got a co2 bottle with a stem in it.I think this is the real reason.
My problem is that when it's not going well, I don't know what am I doing wrong.
Am I too hot,
wire to slow,
Hand moving to fast,
marginal ground connection,
Material not clean enough
wrong type of wire, (with gas-no gas)
wrong diameter of wire,
to close, not close enough to material
Does having a fan blowing on me and the project have a effect in the weld cooling to fast?
I know I have trouble seeing what I am welding, even with the sensitivity turned down
...Am I too hot,
wire to slow,
Hand moving to fast,
marginal ground connection,
Material not clean enough
wrong type of wire, (with gas-no gas)
wrong diameter of wire,
to close, not close enough to material
Does having a fan blowing on me and the project have a effect in the weld cooling to fast?..
tig?not a project but something trivial i've been trying, just to get the feel of different settings!
I built a cool bench for my fire pit. Gotta love Craigs list for used boards.


Steering spindle gussets for a Toyota Tacoma.

I really like those gussets with the round holes--very racy!

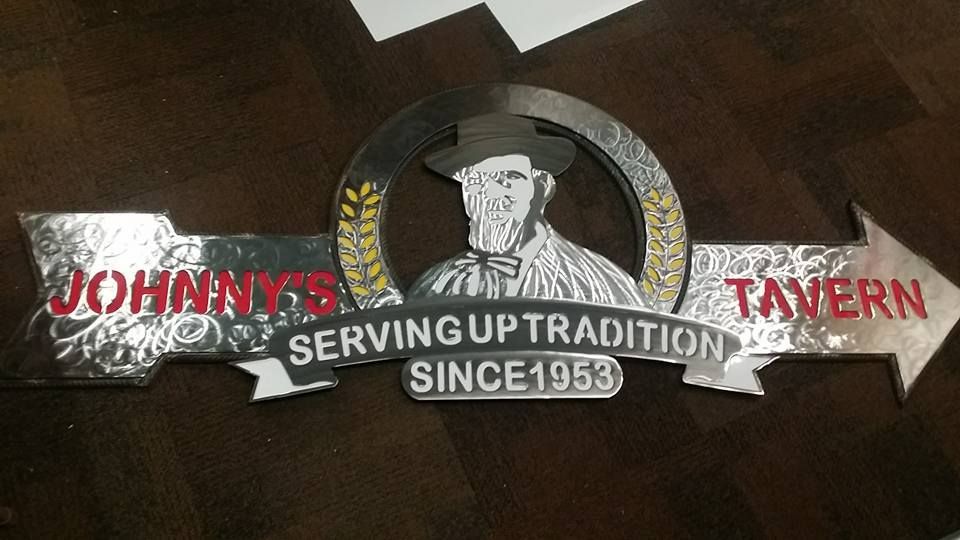
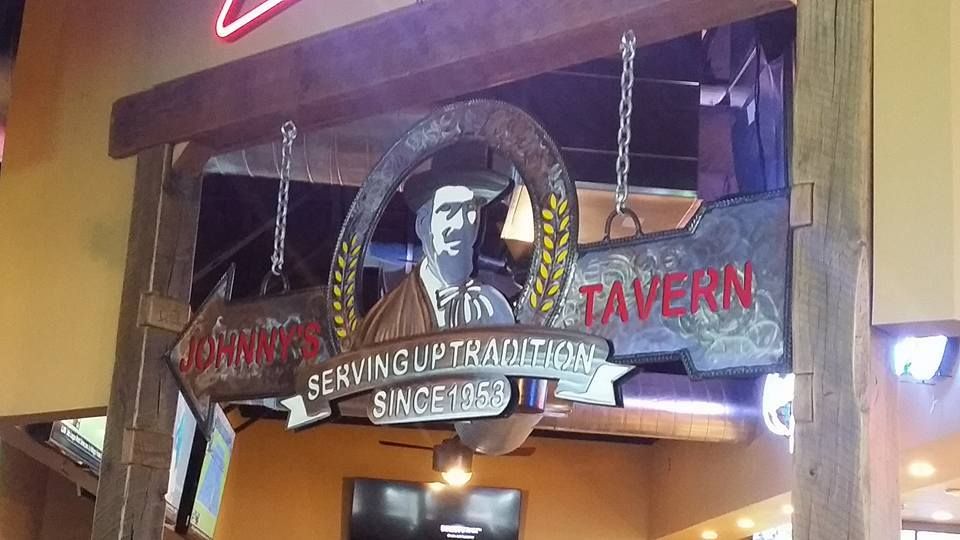
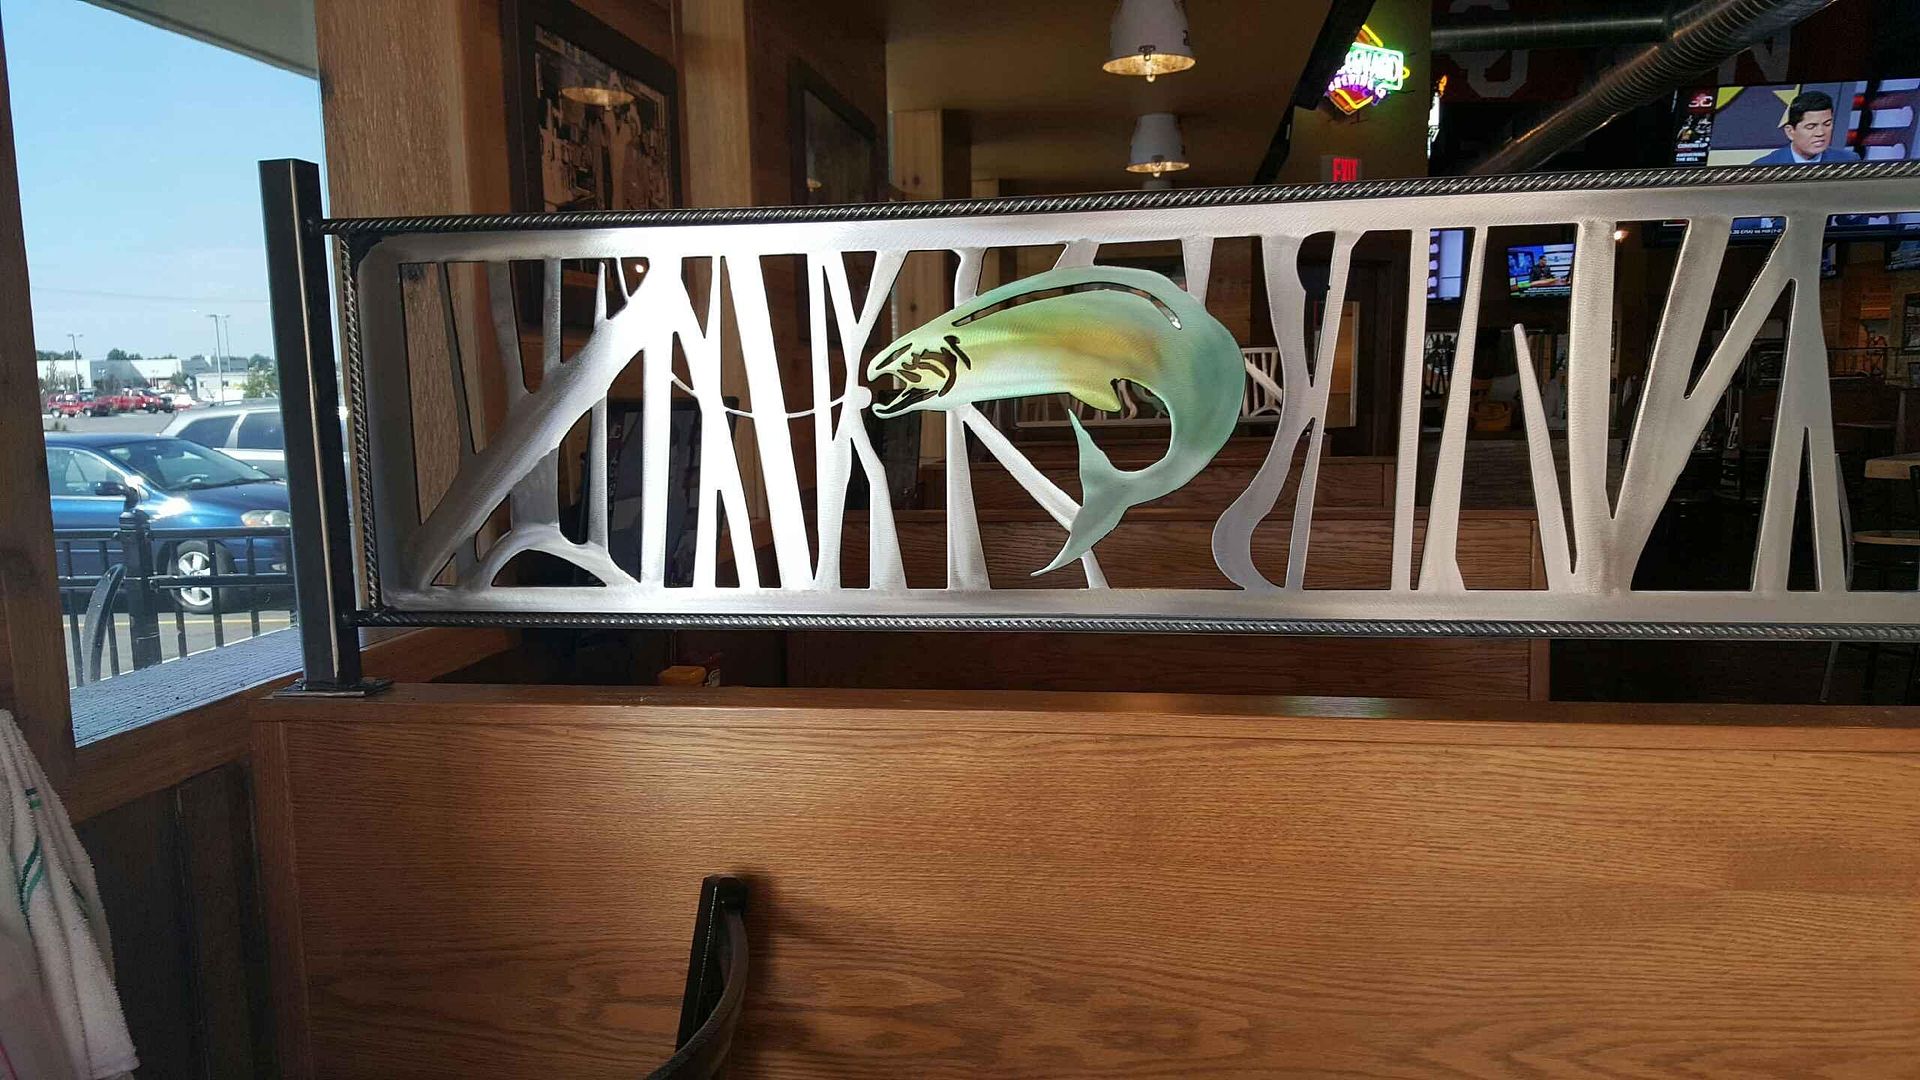
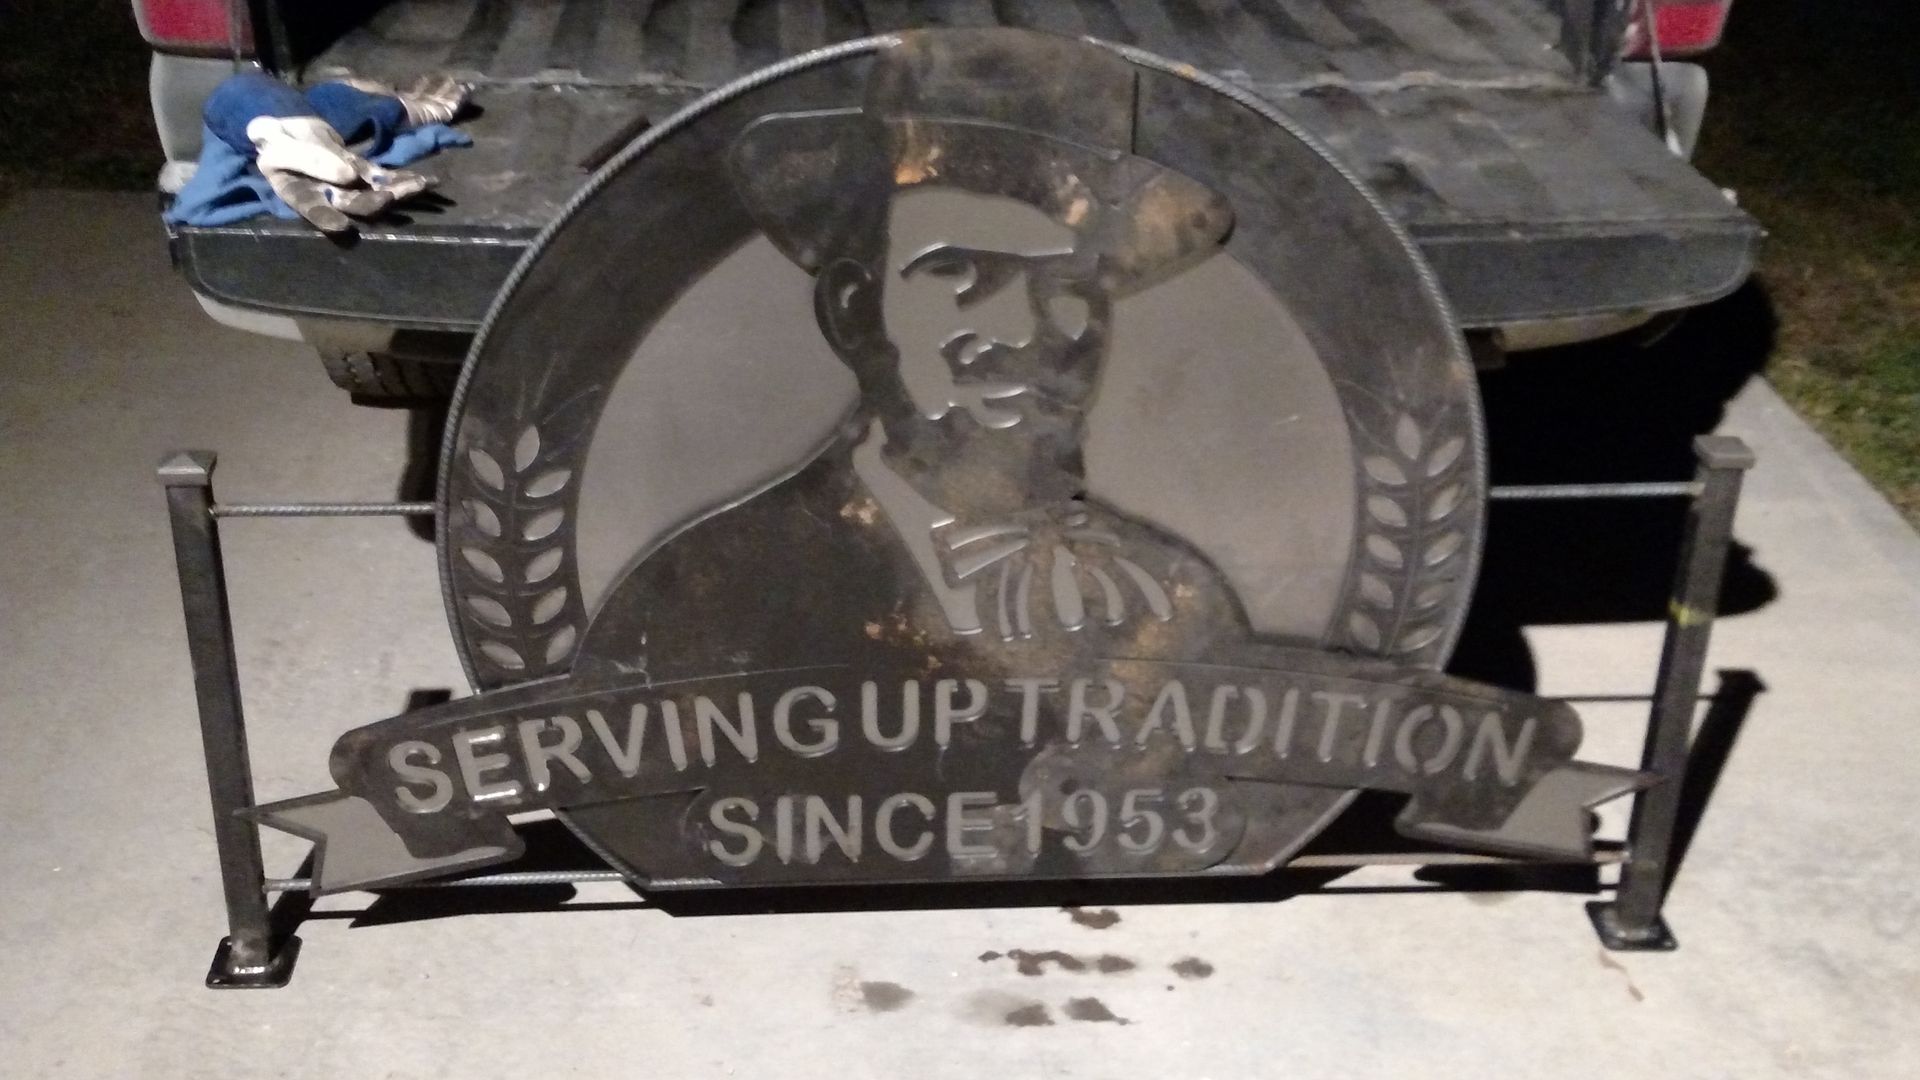
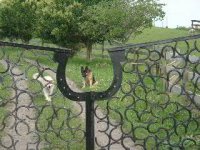
Been doing these things for a local bar chain "Johnny's Tavern" we did a new location and after they saw the work contracted 9 additional existing locations... There are other designs besides the Trout on the dividers but they are licensed images and I can't share those...
Anyway I cut the designs on the plasma table then weld them together, get them to my business partner and he does the finishing...
Are you located in KC? Is the pic with the trout divider the Johnny's on Shawnee Mission Parkway?
No that one is Lee's Summit the other "Big Johnny" is for the Antioch Location along with an arrow....
Are you in the metro? Do you offer CNC Plasma services?
Yes! Had mAchine set at 60 amps used nowhere near full peddletig?

.jpg")
.jpg")
.jpg")