Finished up a repair on a bellhousing today.
I was putting a engine in a GMC C6500 chipper truck when I found the top of the bellhousing had broken off.
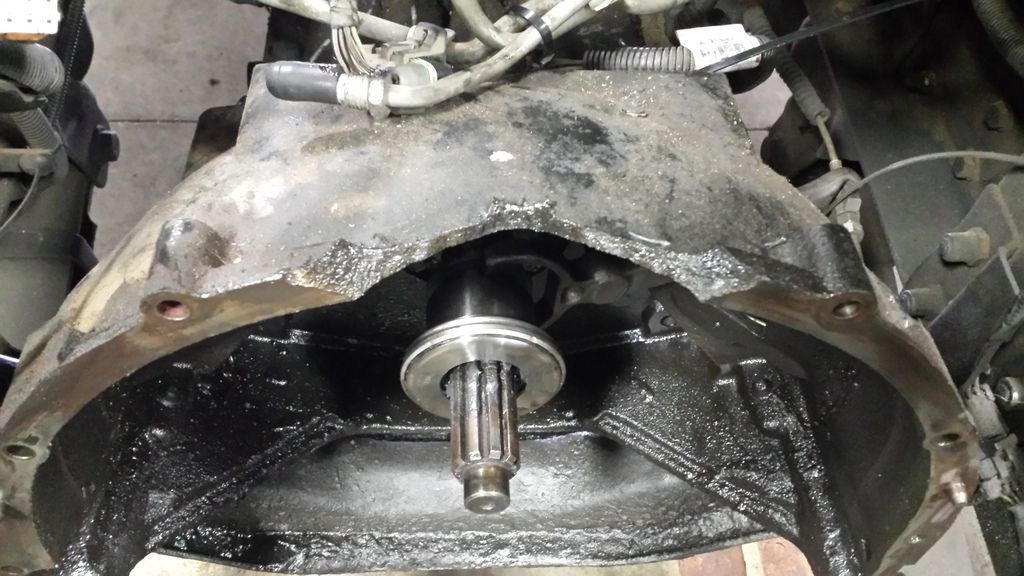
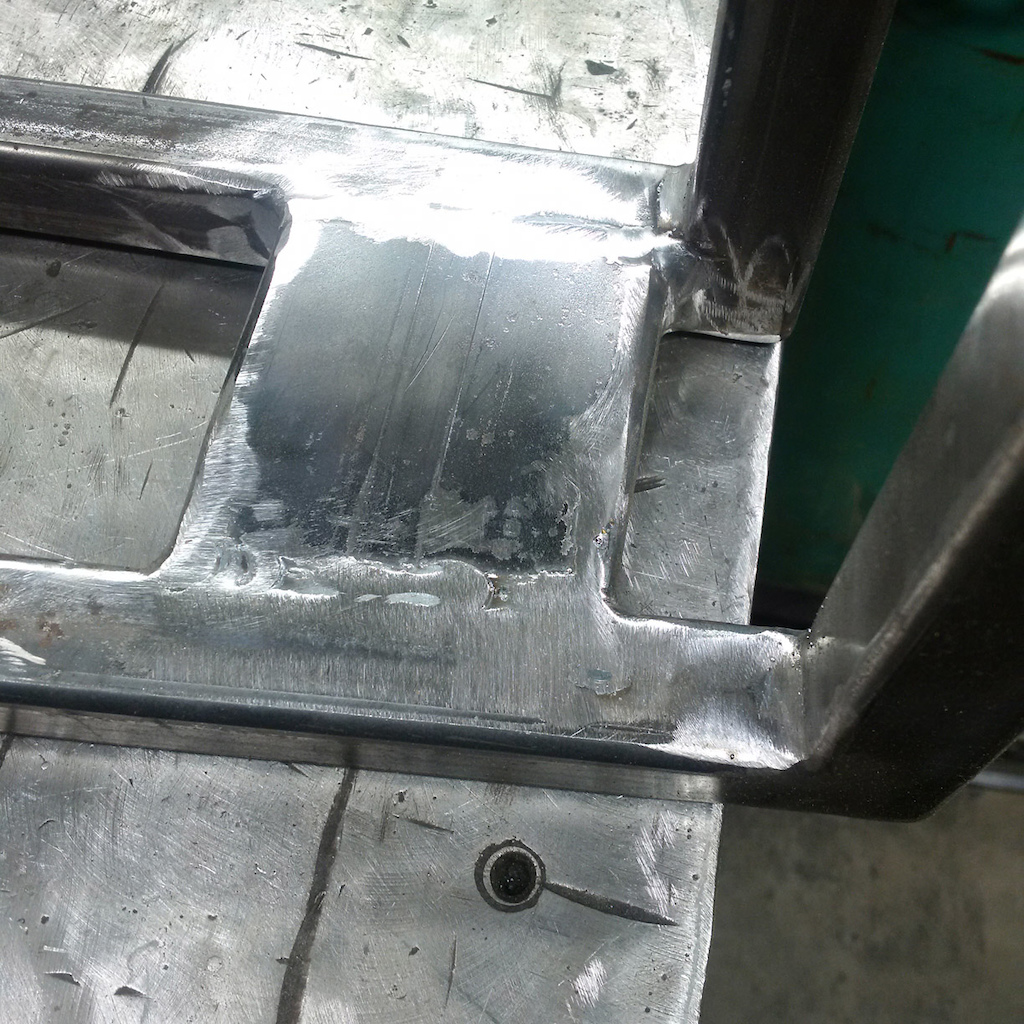
Thankfully the piece was held on the back of the block with a bolt. We cleaned up everything and brazed the piece back on using Si Bronze filler with a tig welder.
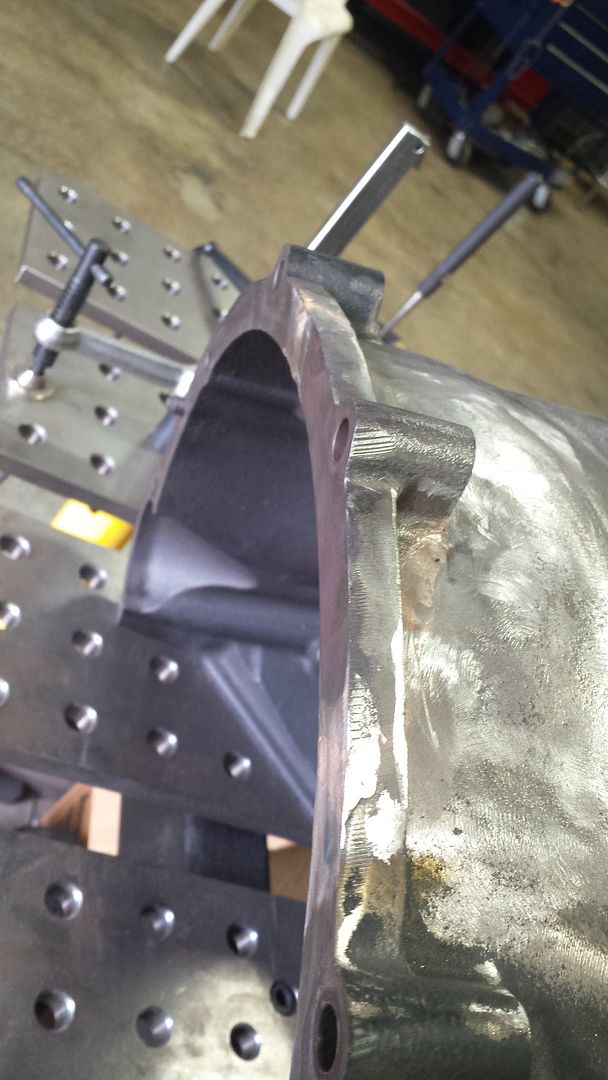
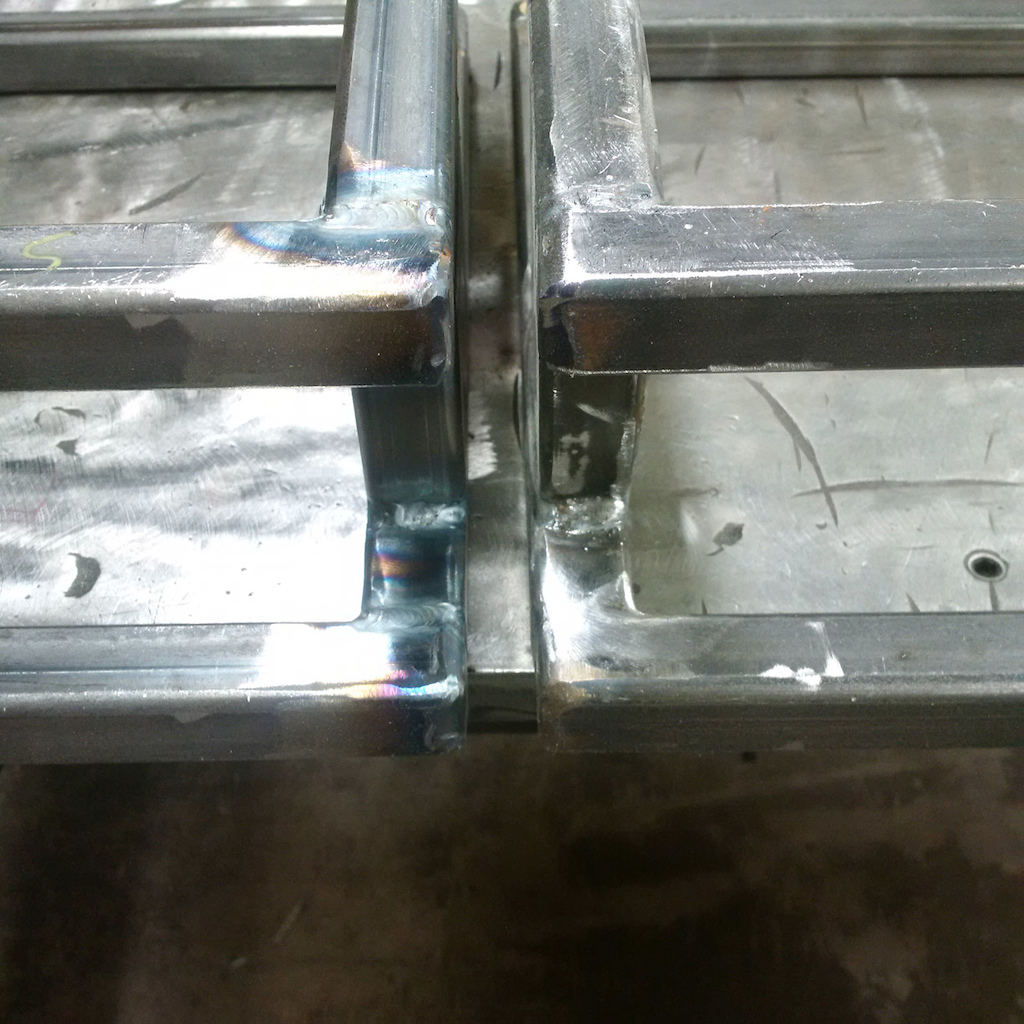
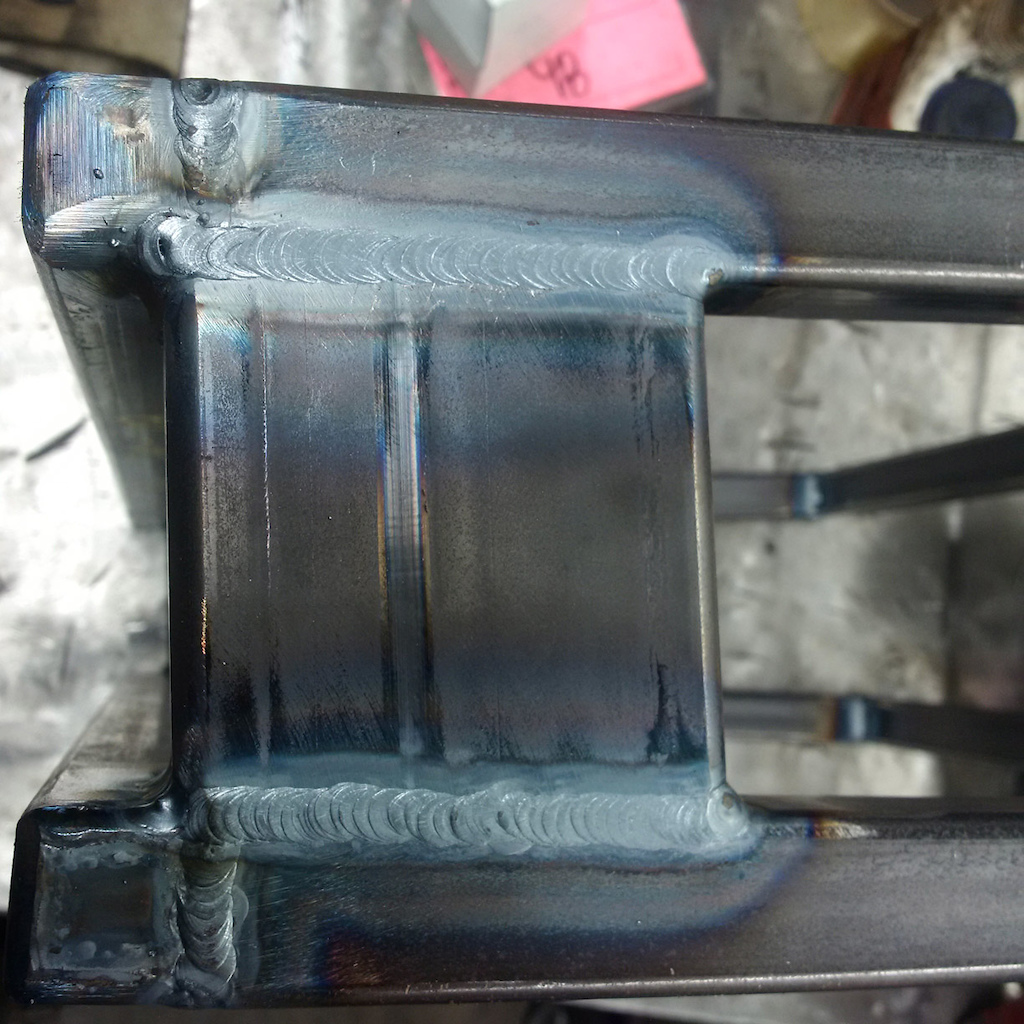
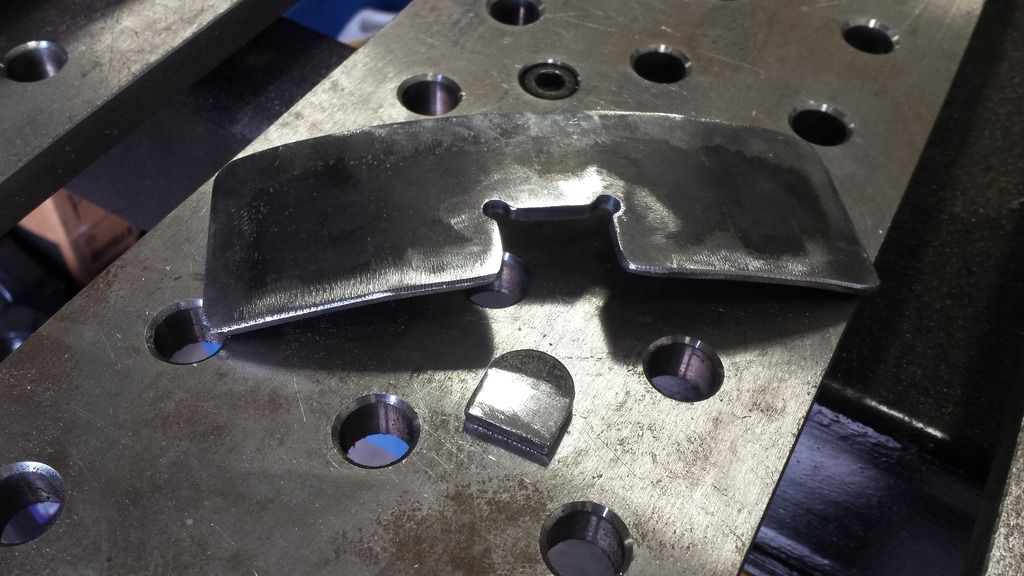
The whole transmission hangs off the back of the bellhousing in this truck. There's no rear trans mount at all. I wanted to put a reinforcement on the repaired area as I didn't want it to crack later on. I drew it up in CAD and cut out it on our CNC plasma table. After I cleaned it up, I bent it to fit the curve of the bellhousing in our press brake.
I brazed it all up. I think it will be stronger than the original casting now as I've almost doubled the material thickness where the stress is.
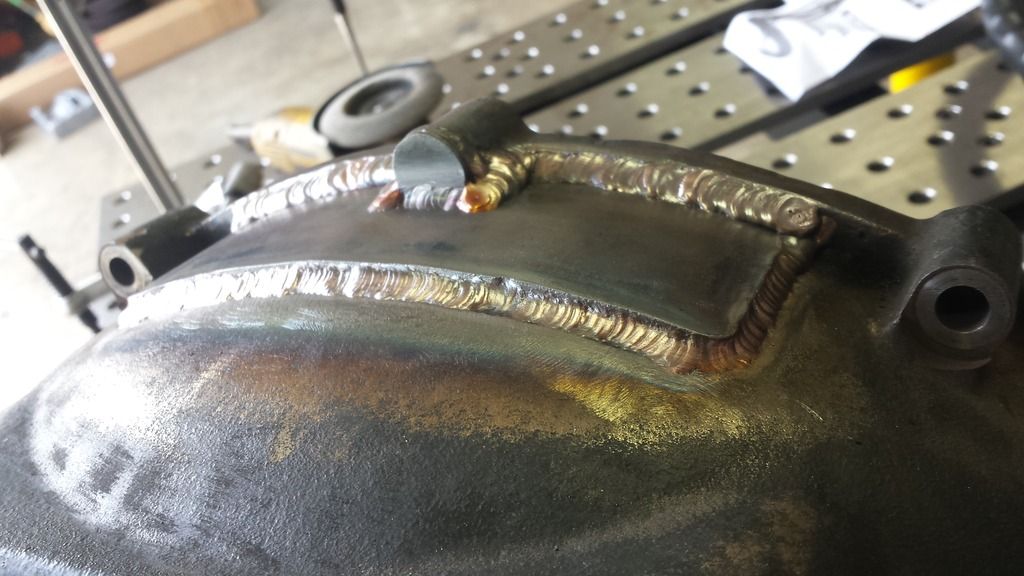
I think I got a pretty good bead of filler material but some places I had a hard time getting it to wet into the casting at the edges really well. I think the casting was outgasing where this was happening near the corner. It got real black and sooty right there. I was running on AC with 90% penetration.