4 FN 27
ALLIANCE MEMBER
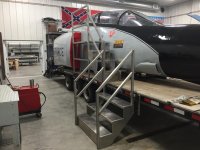
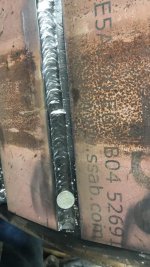
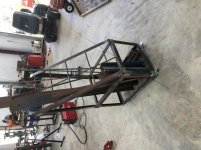
Finished up the F-4D Staircase this weekend (a week later than planned).
Had the Nephew over to run the Saw while I welded and a few Beer Drinking buddies.
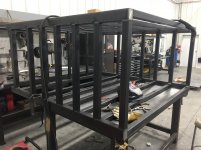
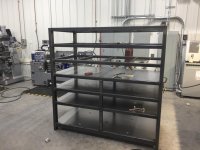
Next project: A rack to hold Press Brake Rails for the guys at the Plant. Welded as much as I could yesterday, need to Laser the Shelves out before I can go any further.
Had the Nephew over to run the Saw while I welded and a few Beer Drinking buddies.
Next project: A rack to hold Press Brake Rails for the guys at the Plant. Welded as much as I could yesterday, need to Laser the Shelves out before I can go any further.