f150skidoo
Well-known member
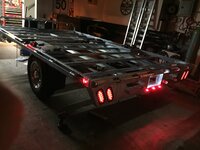
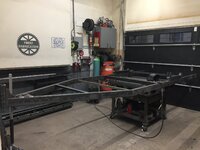
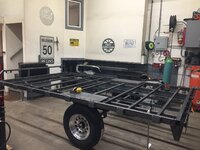
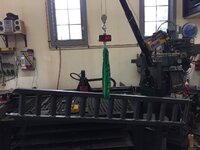
Well, I'm back to post another trailer build thread. This time it's much simpler than my previous dump & roll off trailer builds. I'm building a 7.3' x 12' deck over flatbed with a single 6000 lb axle, I will also be sending the trailer out for hot dipped galvanizing. Since I'm tight on shop space I try to pre build all the small and detailed parts. The first part I built was the rear bumper/light housing. I had to make the 11 gauge part in 2 pieces since it would be to wide for my 4 foot press brake. Once formed I welded the parts to a 2"x3" tube, The bumper has two small doors for access for ramp storage, the center recessed area is the license plate mount.
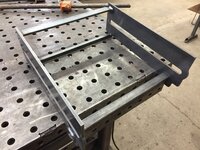
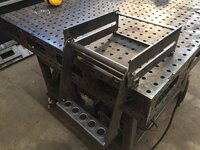
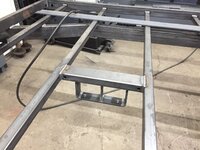
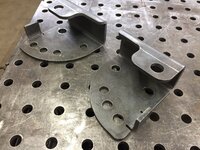
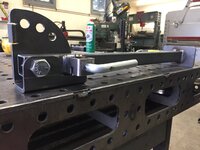
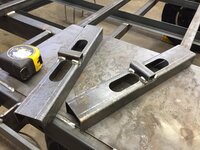
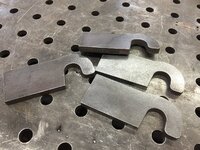
Next I made a retractable step which is made from 1/4" side plates and a dimple died rung. The fixed part of the step is also made from 1/4" plate with a 1" square tube cross tube which supports the step when extended and also locks step in when retracted.
Next I made a retractable step which is made from 1/4" side plates and a dimple died rung. The fixed part of the step is also made from 1/4" plate with a 1" square tube cross tube which supports the step when extended and also locks step in when retracted.


")