
Dan in Pasadena
Well-known member
...I just can't nail down what I want there. But I think it needs to have an older/metal feel to it. Does that make sense?
Bring on the ideas guys!
ABSOLUTELY makes sense. I don't know what you're into, but whatever it is THAT'S what should be reflected in your choice of art. Motorcycles, a particular style of car - street rods, exotics, a boat maker, trains, dogs. You want it to please you and only you every time you walk into your garage.
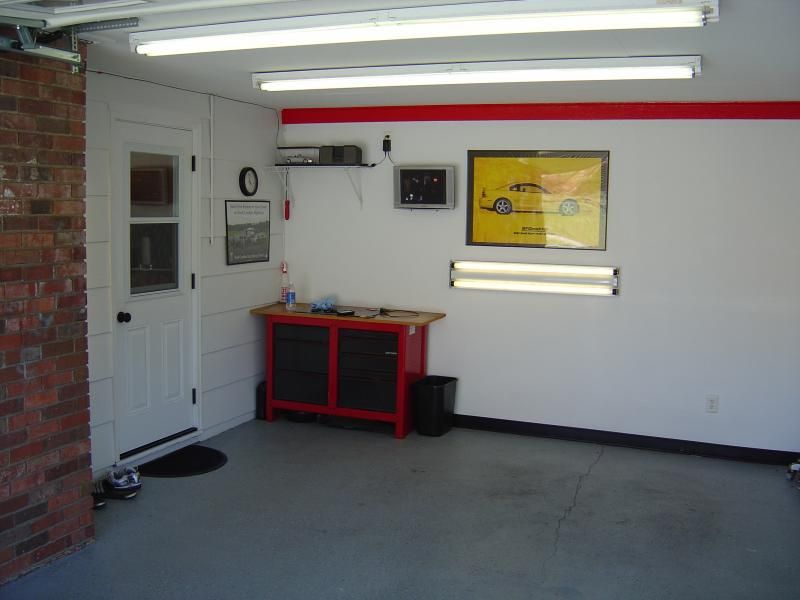
Hi 93TOY,
I'm another one car garager, hey we "1r's" need to stick together!...
Brings a whole new meaning to "single guy"

 Its obvious most people will disagree with that but whatever works best in your space is the way to go!
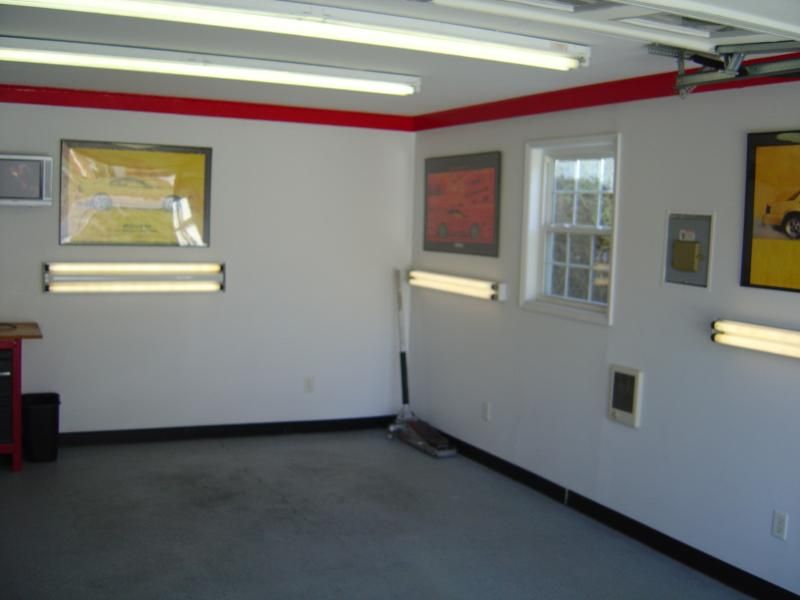


") Can you tell i need some immediate gratification?
Can you tell i need some immediate gratification?


