To avoid these ads, REGISTER NOW!

Solace - My Detached Double

TheRoteEngineer

Active member
Joined
Sep 23, 2016
Messages
30
Location
Welsh Borders
Evening chaps and chappeses :)

My name is James, and I have a new garage! (to me :D)

After years of scratching around working with cars on driveways, then with a small workshop, then a small detached double, we have finally moved to a house with a substantial garage!

I am lucky in that my wife is....tolerant, to my garage and car fetish. When we saw this house, the garage was a big selling point. We are now a month into living at the new place and we could not be happier.

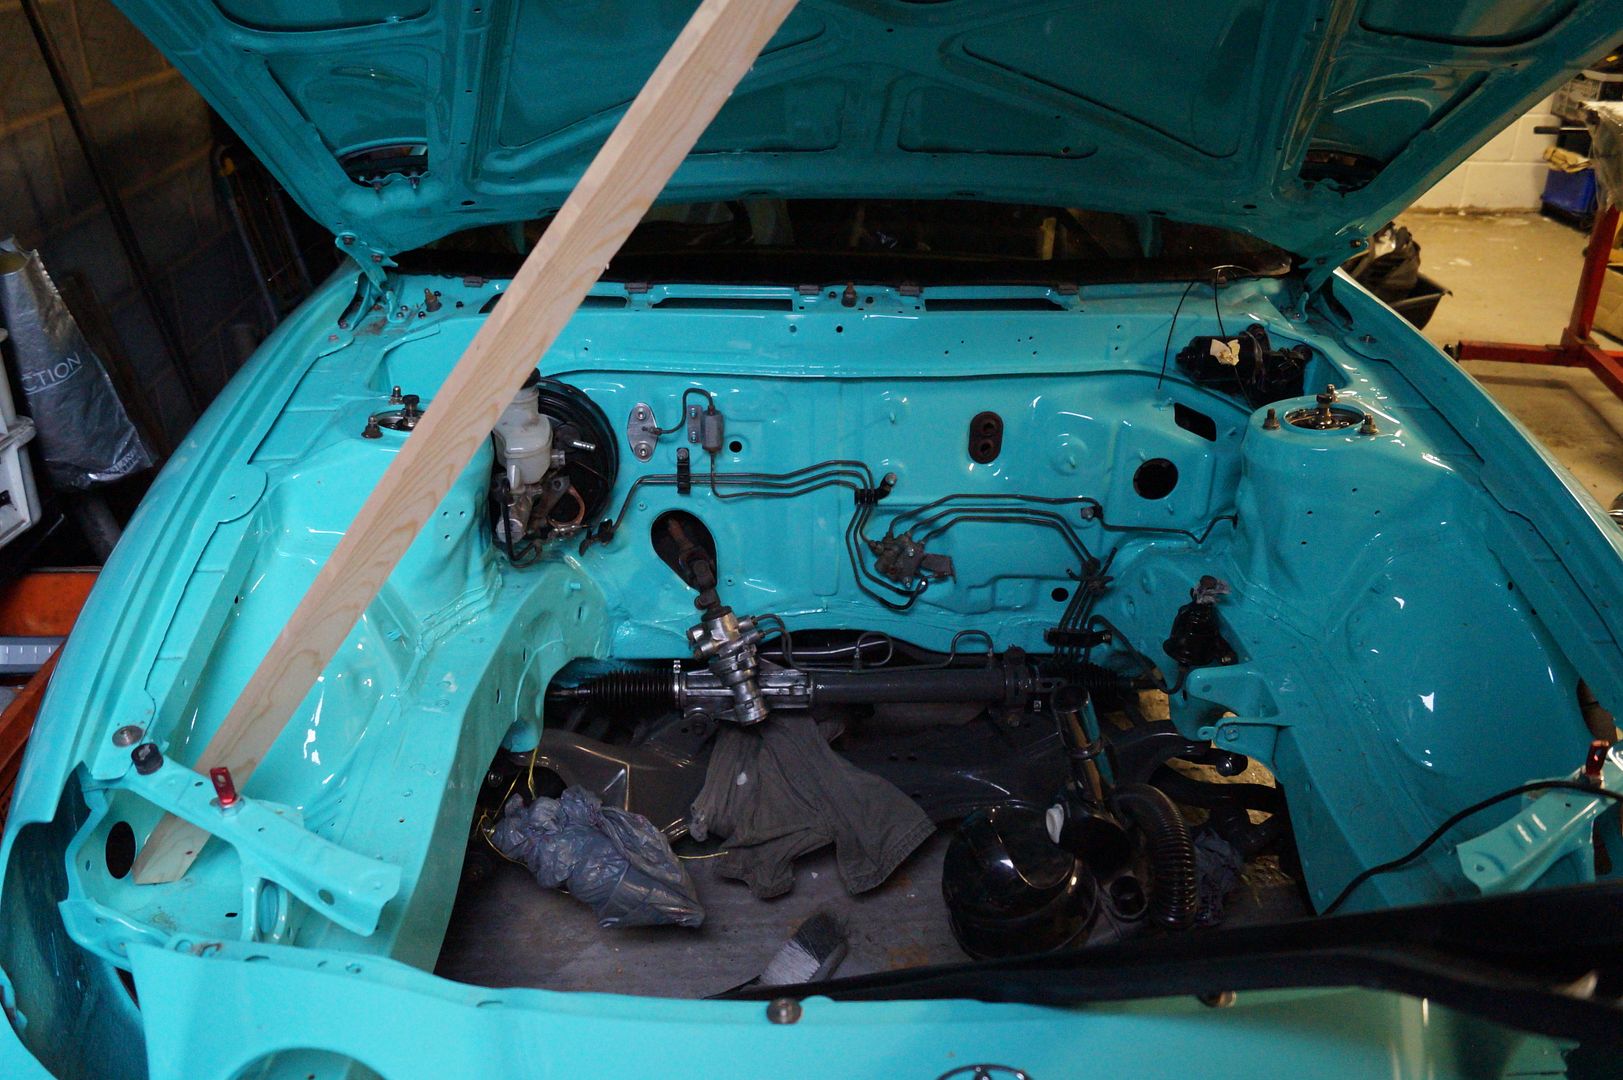
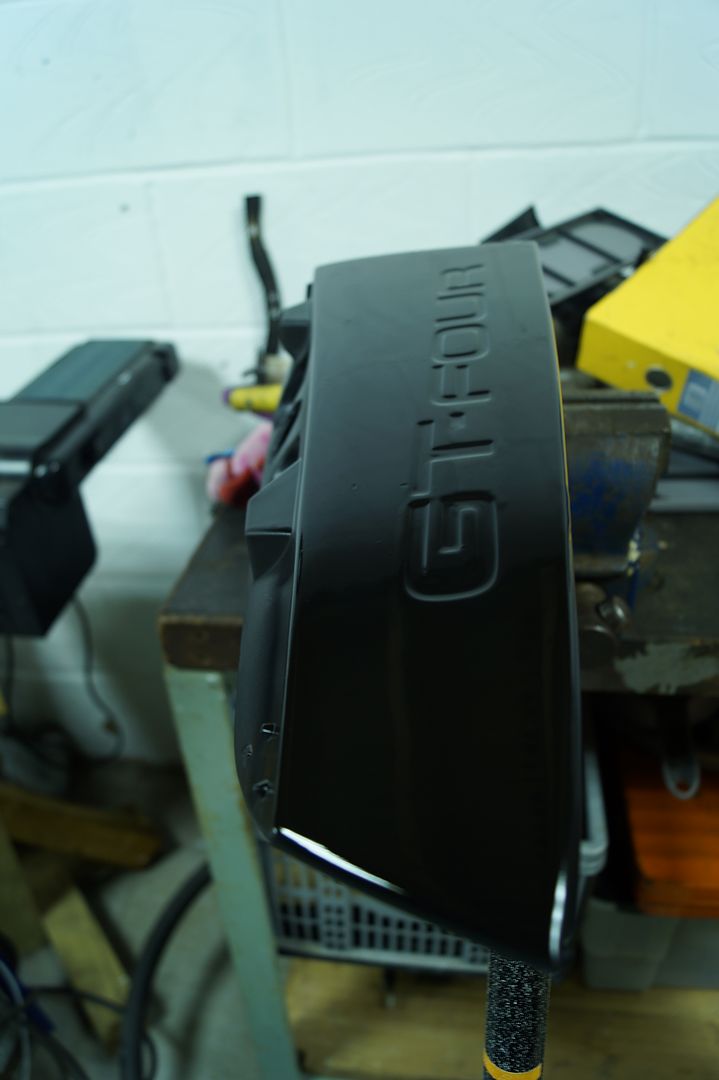
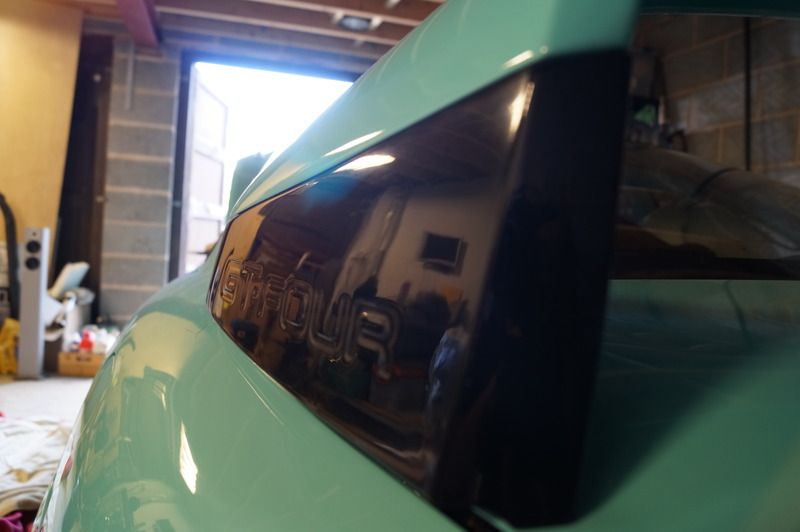
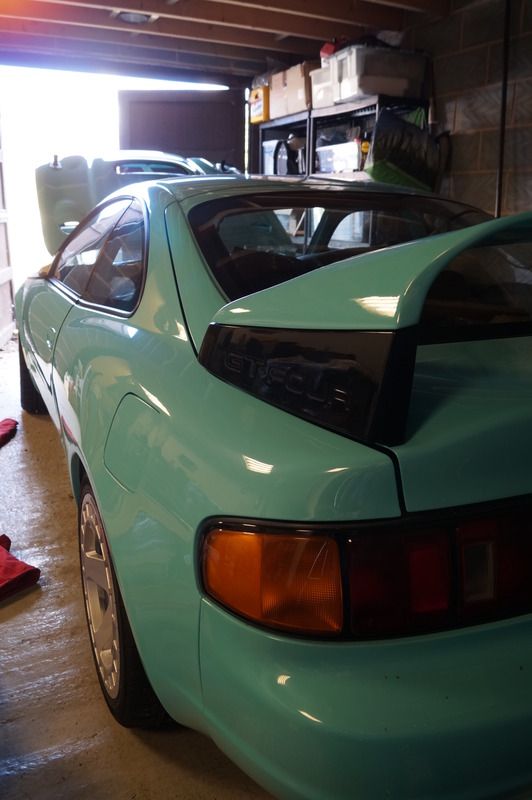
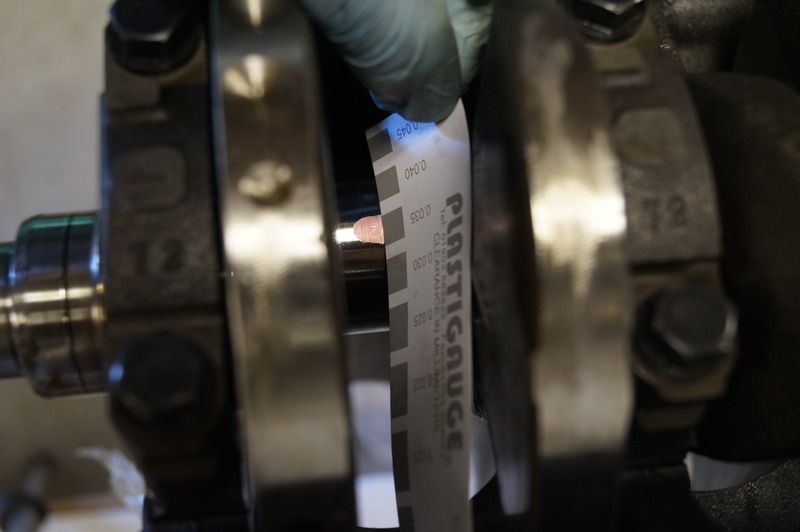
My project car was delivered yesterday after a stint outside (not done it any favours!), and I am slowly unpacking and organising the garage.
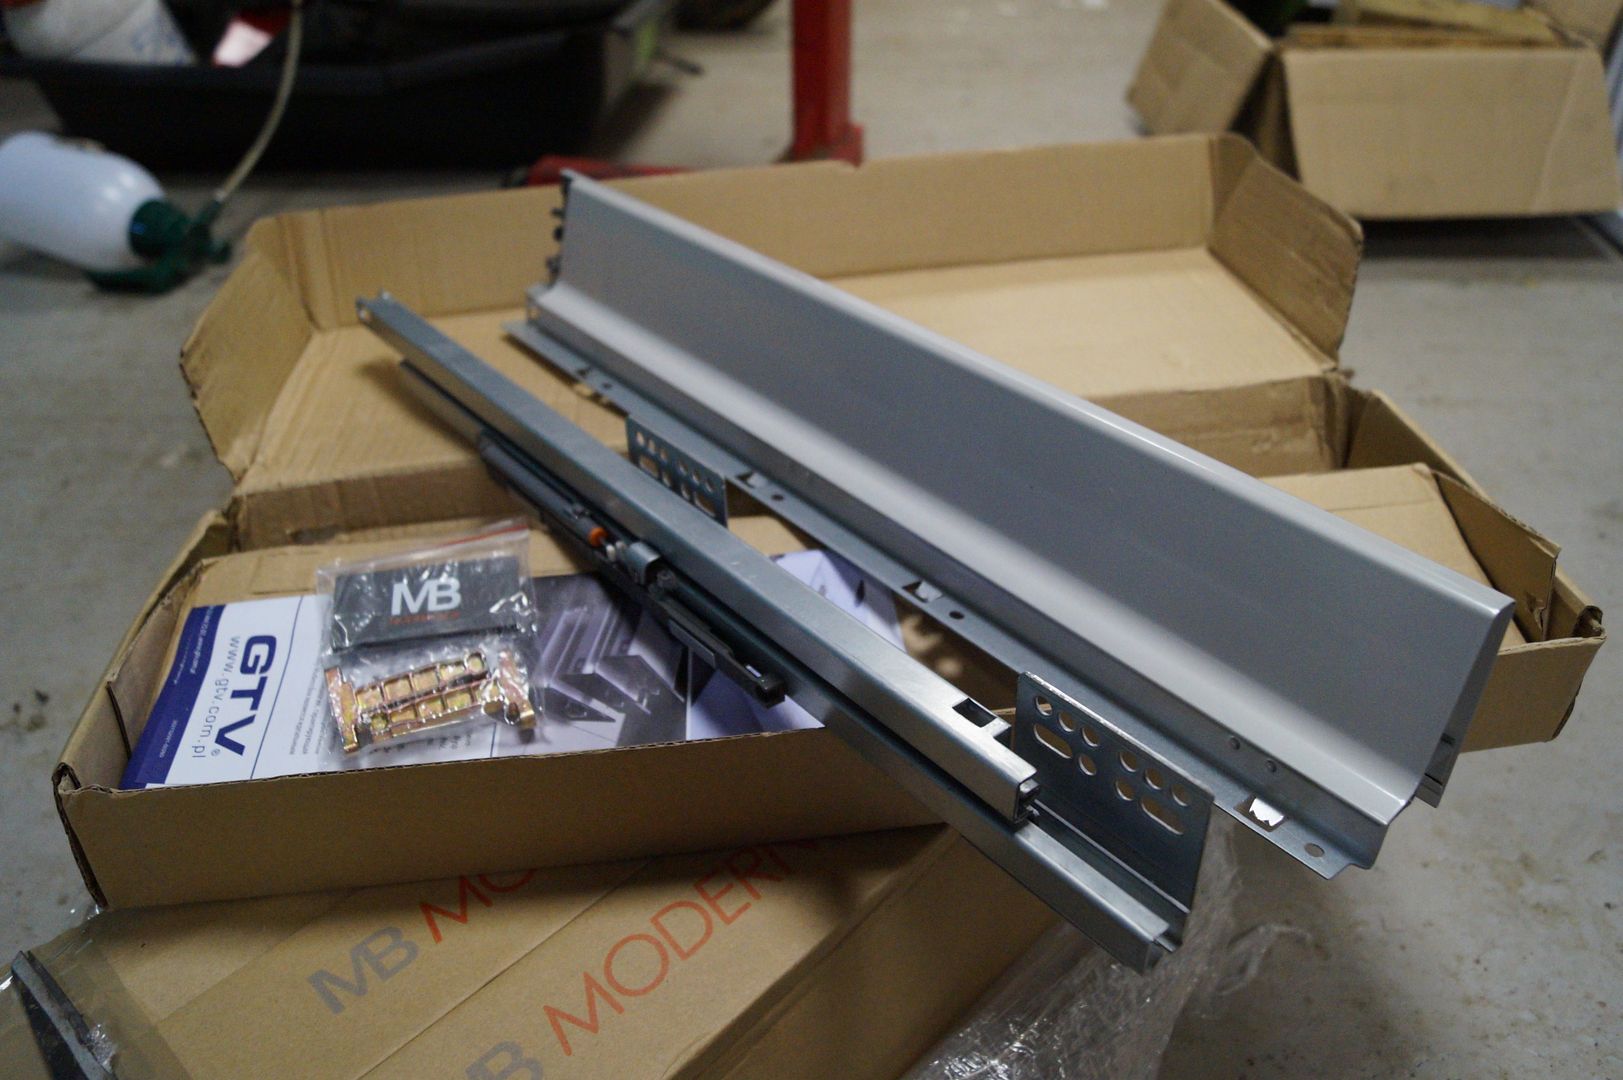
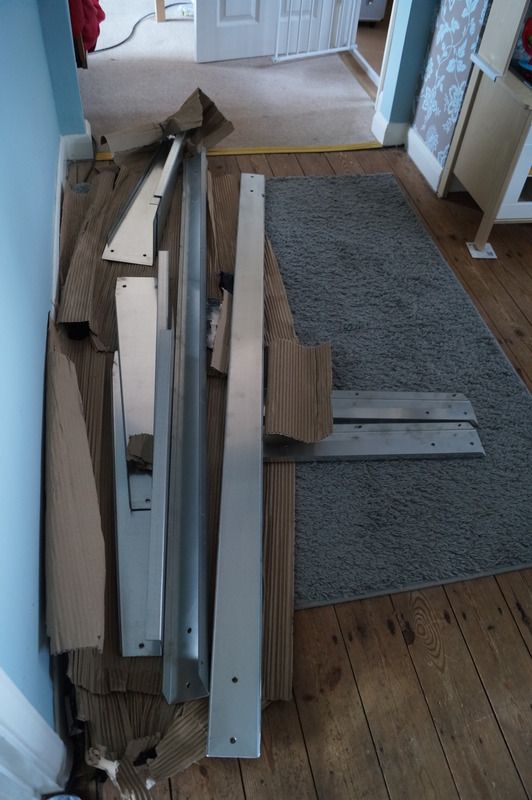
I have purchased some rolling element drawer sides that we had in our last kitchen, you make a base, back and front, and they can be as wide as you like. The only limiting factor is a 40kg weight limit, plenty for me.
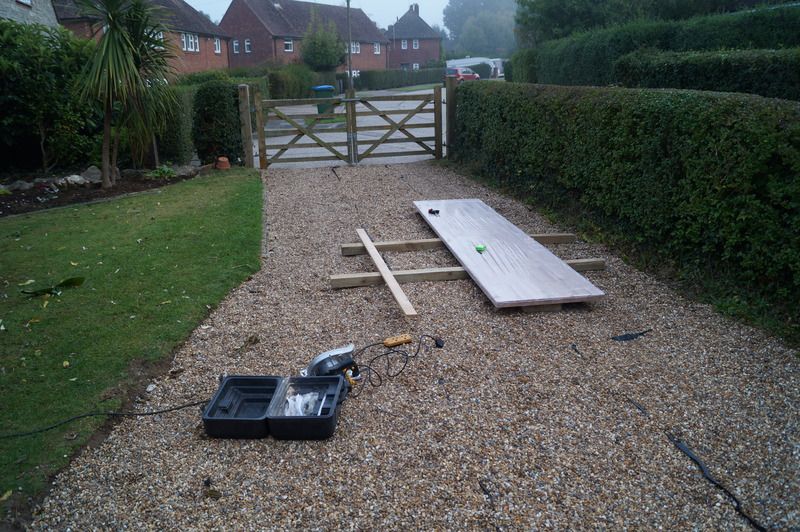
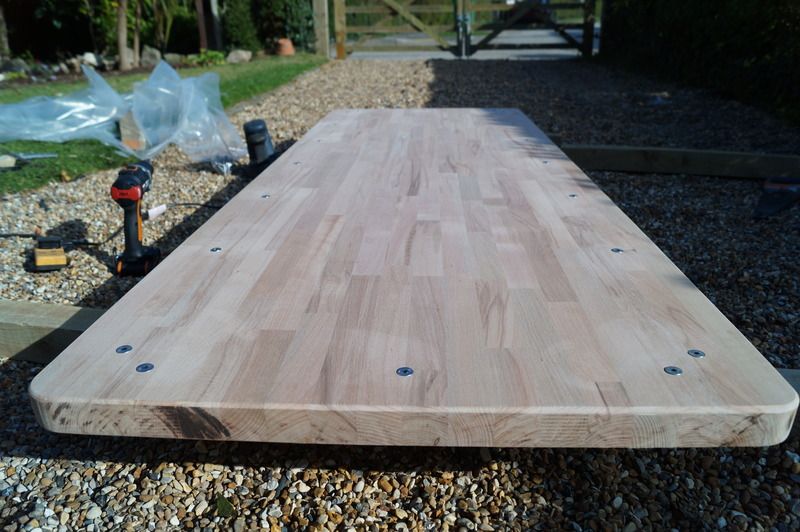
They will be built into a rolling cabinet, 75mm square planed frame and 18mm infill panels, 36mm ply top.

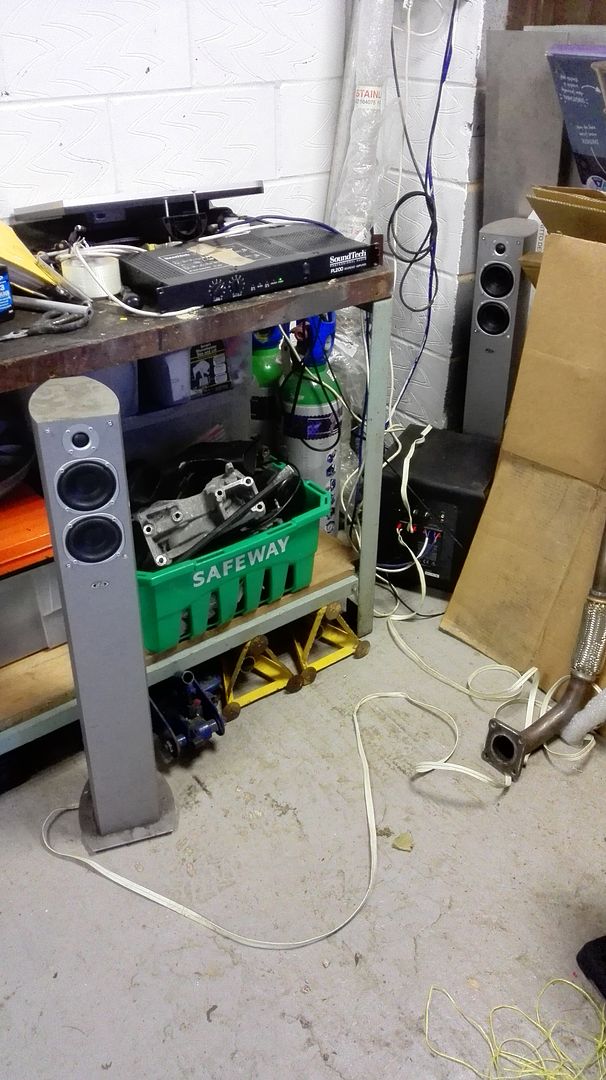
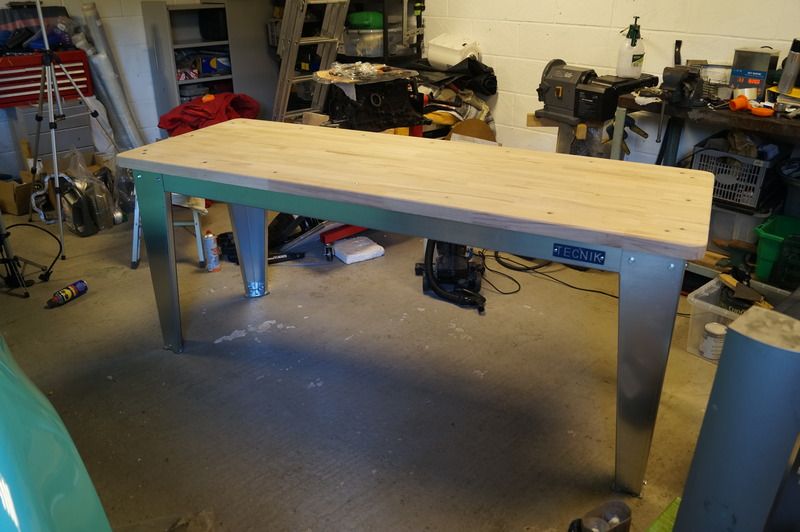
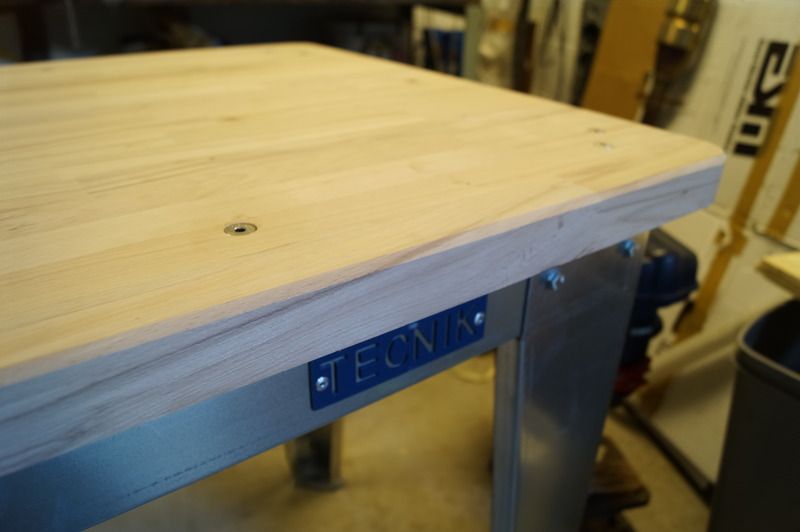
I have my grandads work bench from when he worked at IBM, a sturdy steel fame with a 50mm HEAVY top.
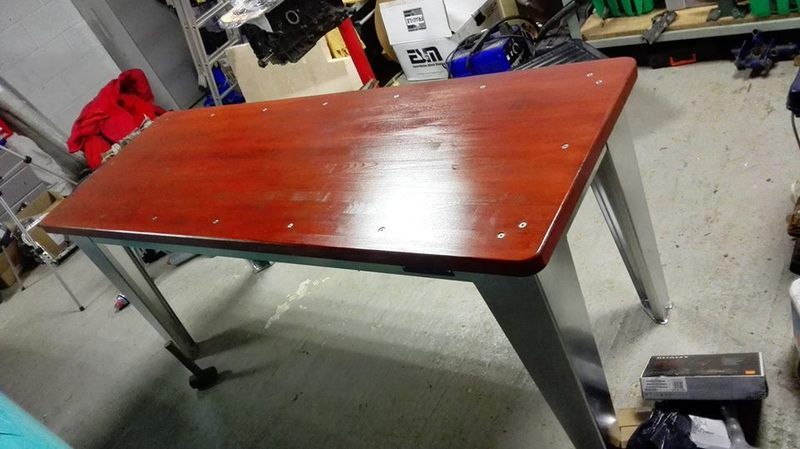
This will be backed up with another bench, folded steel construction with again a 36mm plywood top.

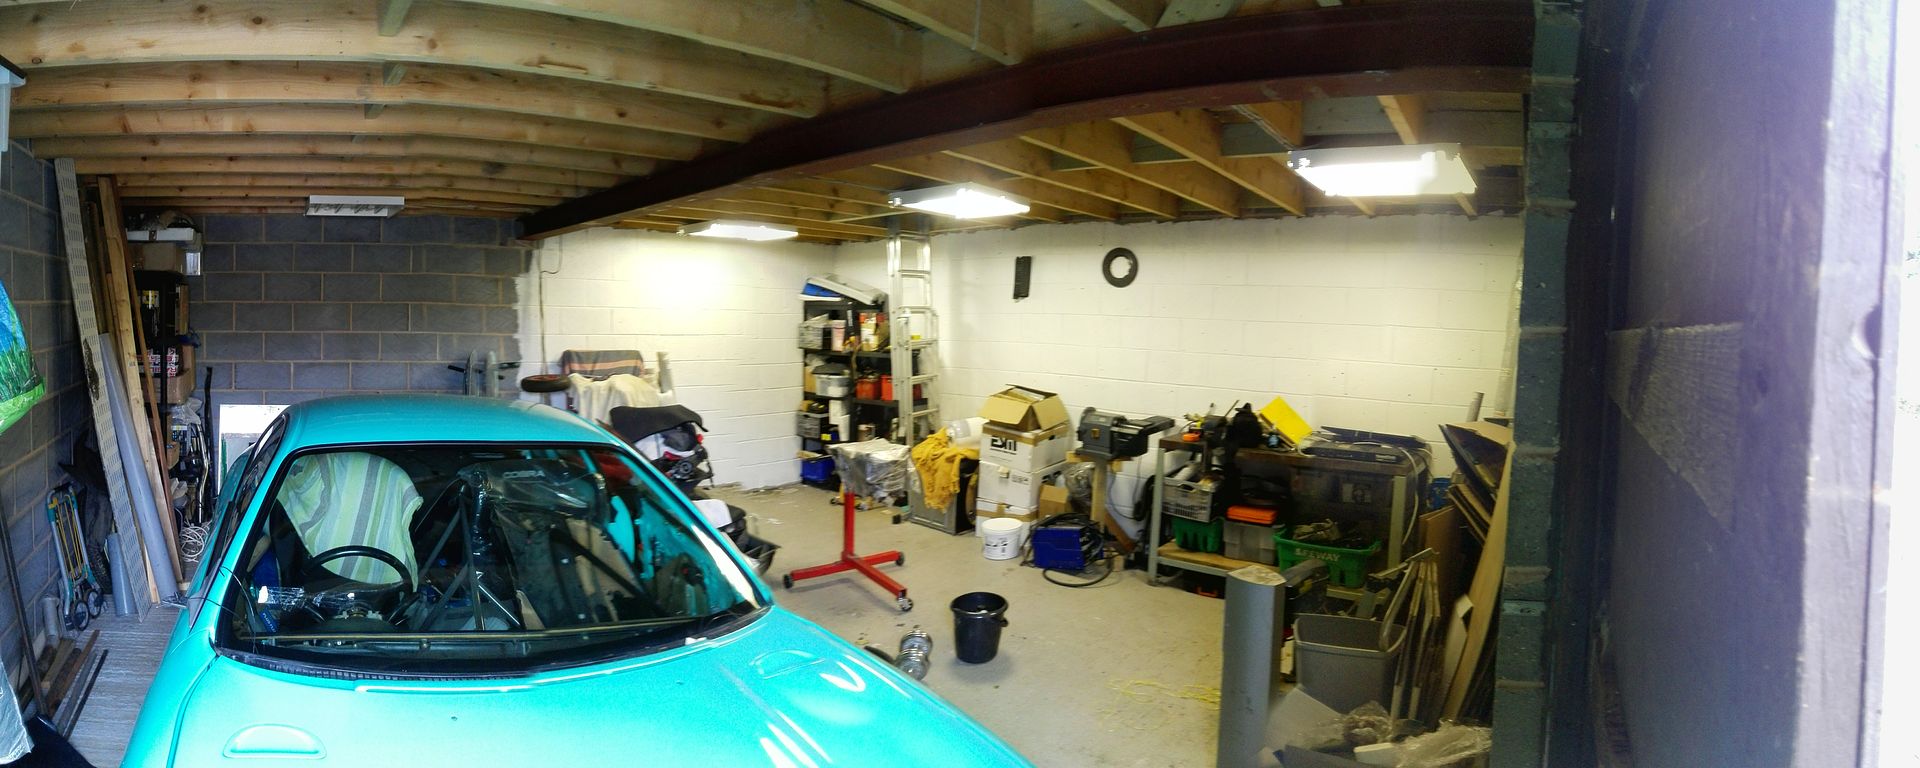
The roof space is stunning, the garage was clearly built to take a first storey, 8x2" beams and a totally clear roof space means an ideal sanctuary :D This will eventually be a cinema room, but that is a few years off yet.

So, enough of the chitter chatter, time for some photos :)

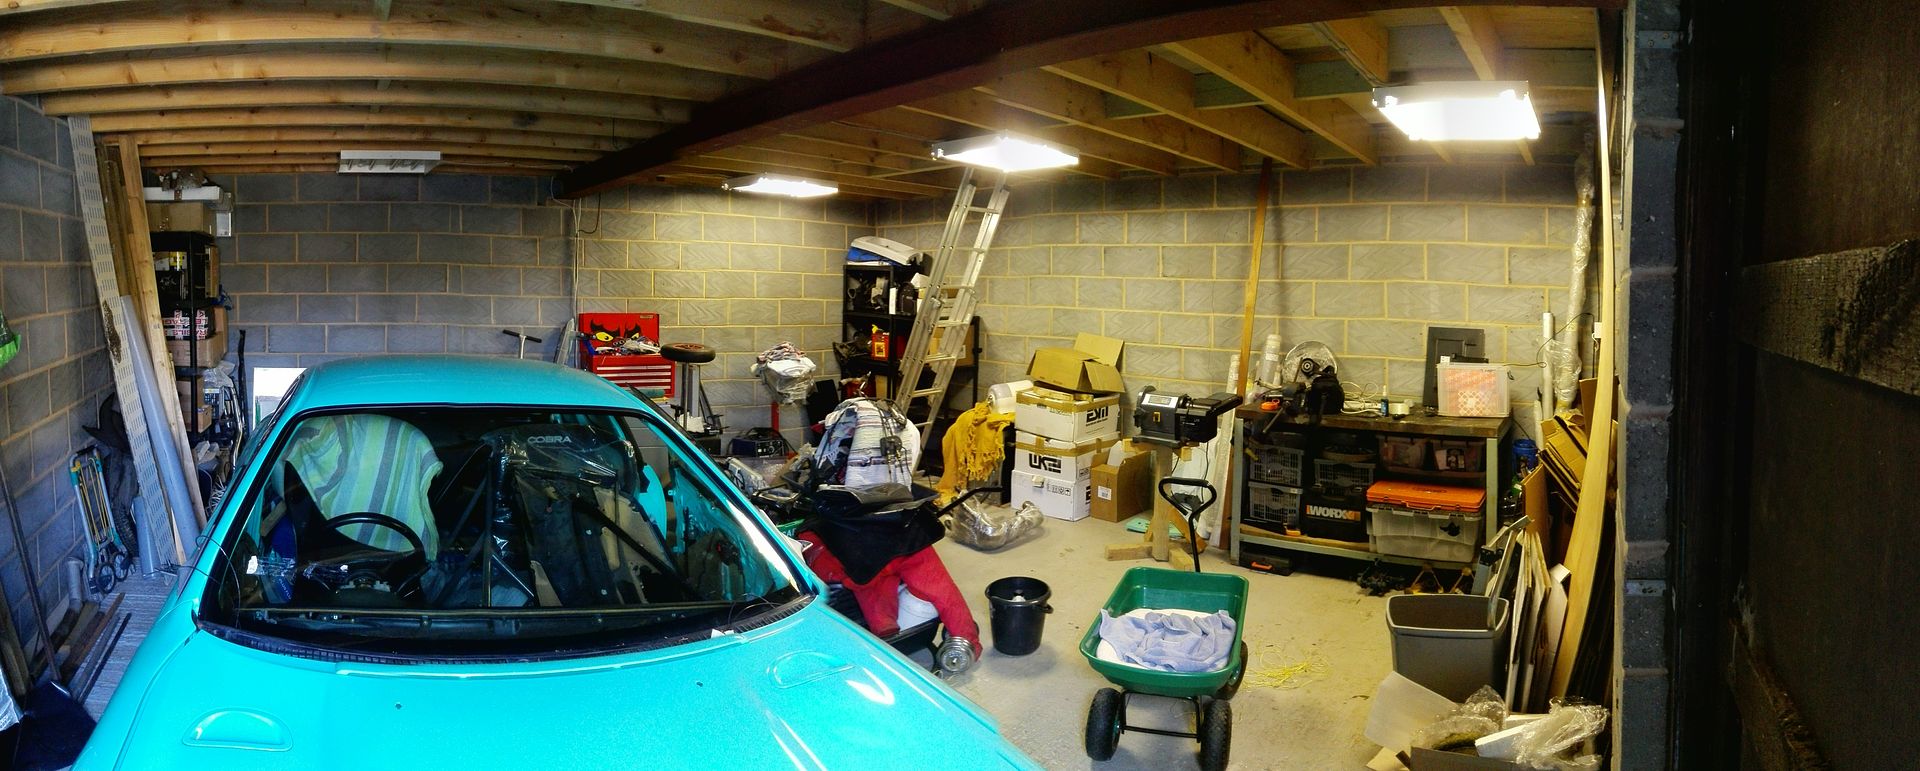
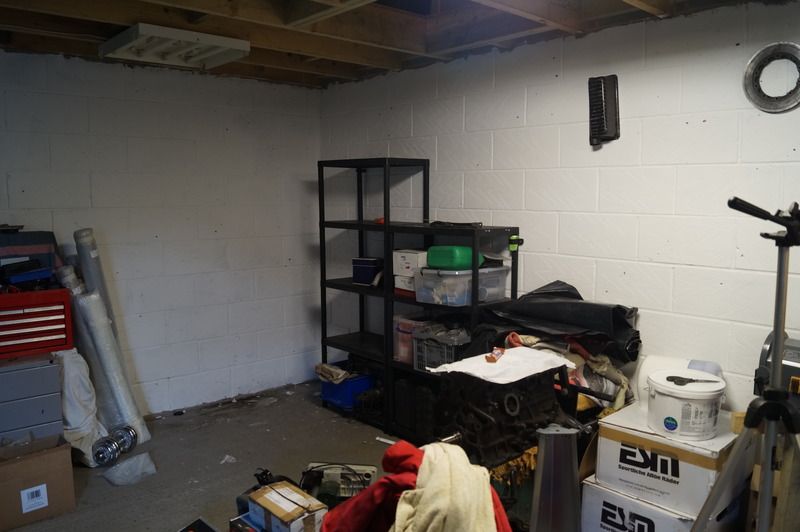
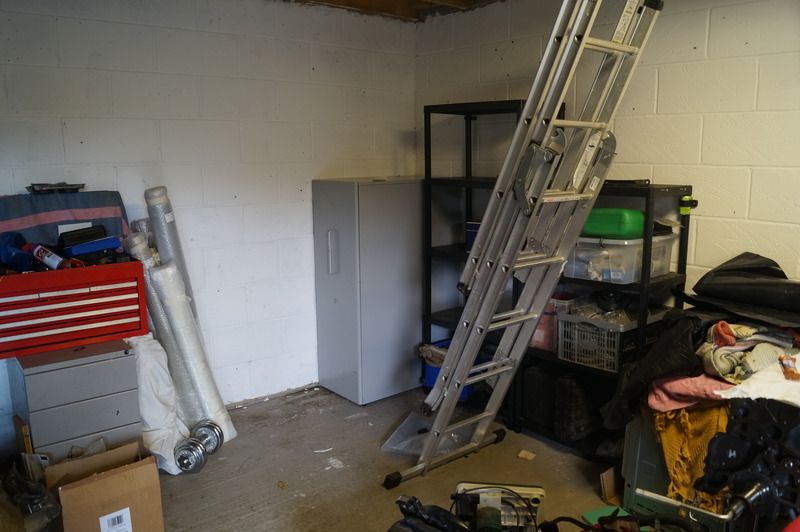
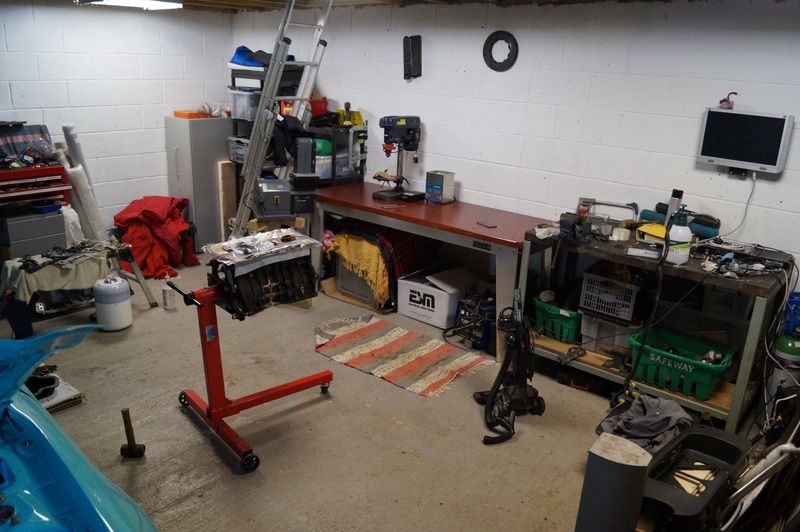
So, here she is, about 6m x 8m internal space, block built interior walls with stone and brick exterior.

9ee7eed6-00b8-4e3e-8dd6-94fca077533b_zpsudqqzror.jpg

DSC03729_zpsh7ryxko5.jpg

Some racking is already up, this needs to be tidied with new boxes, at the moment we have a lot of cardboard storage!

DSC03730_zpsj2xeo6rv.jpg

This is grandad's bench, it will be supplemented with another bench of the same depth and 2.2m width.

DSC03733_zpshmmbdtm2.jpg

The loft space is incredible, I have never had anything like this! I am attempting to keep it clear so that I can slowly convert it to a liveable space.

DSC03735_zps8hvusijb.jpg

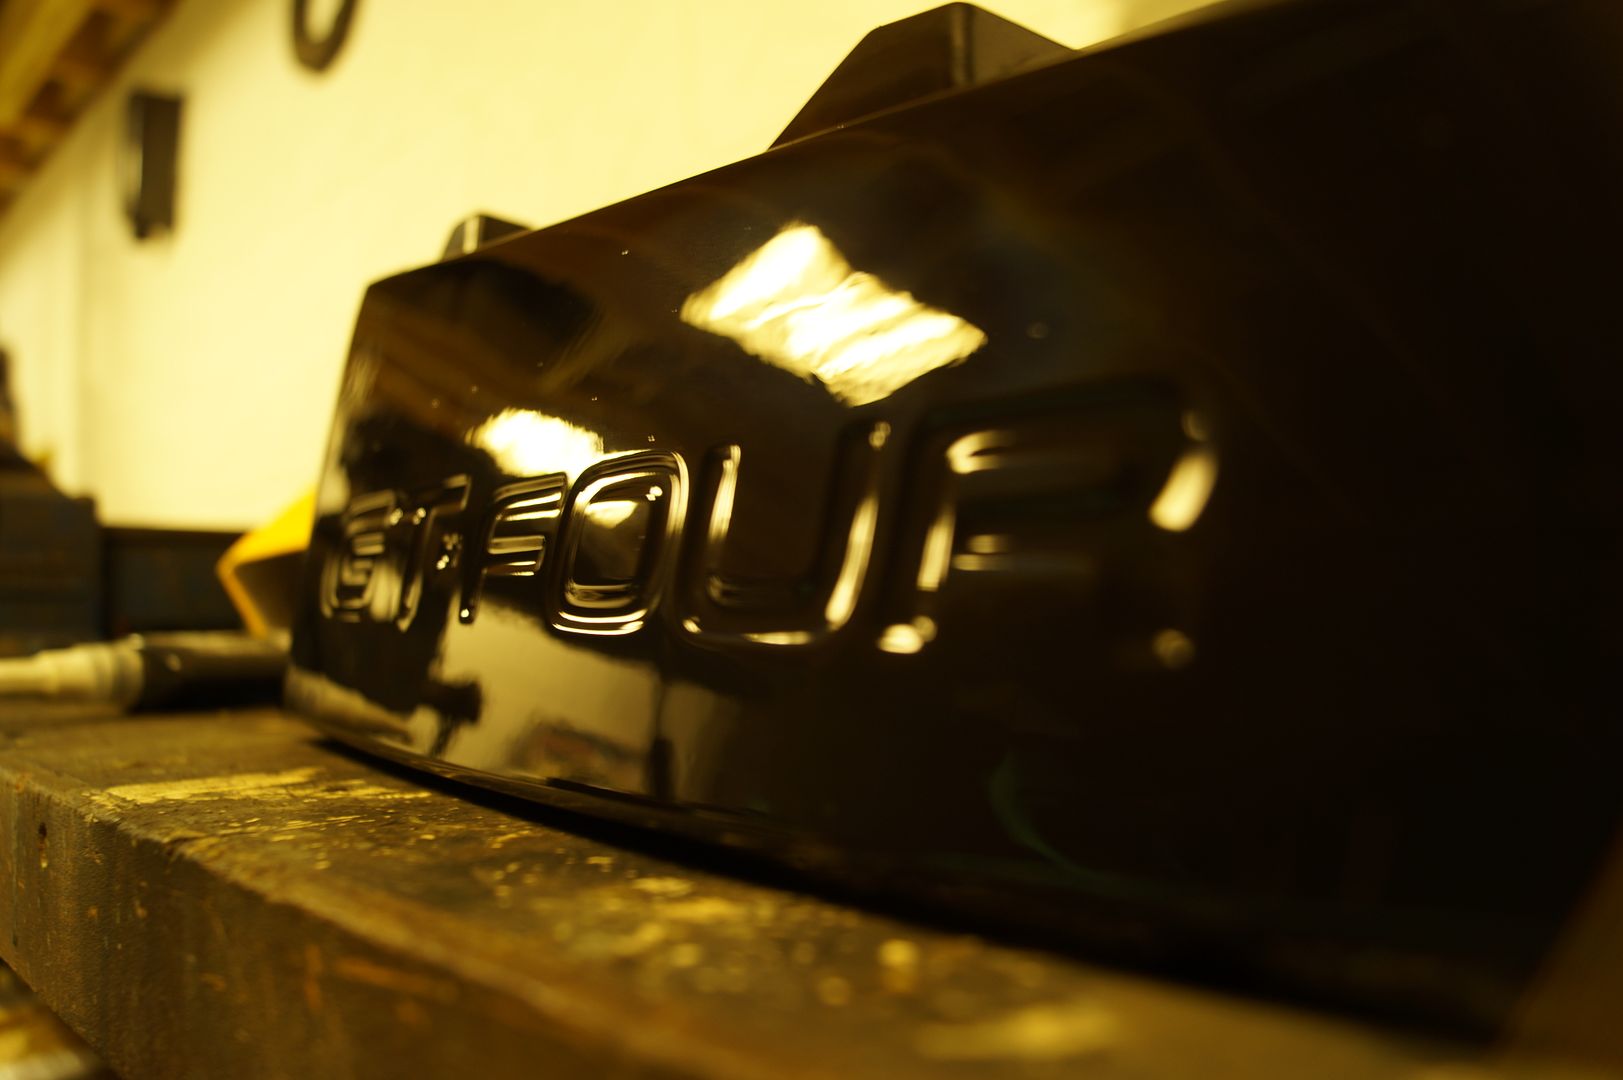
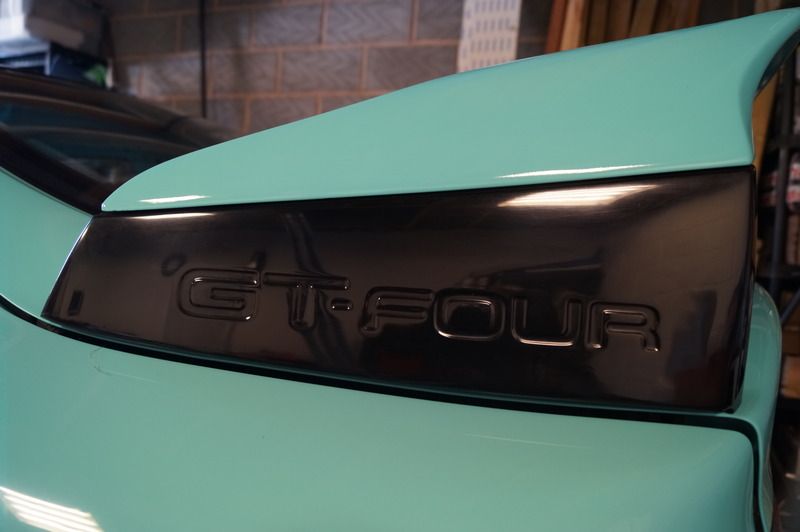
And a couple of moody shots :)

DSC03747_zpsnlgneyie.jpg

DSC03749_zpssiarg2jq.jpg

It also needs electifying properly, when we arrived it was running off of a really shady extension lead! I have since been using a monster static caravan cable so that I can run a few tools and put the lights on without worrying.
It will get an armoured cable and a new consumer unit, so that I can run four rings, one lighting, two sockets (upstairs and down) and single high power line for the welders.

Thanks for looking, I will keep it updated as progress is made.

If anyone is interested, take a look at my project car thread here -

http://retrorides.proboards.com/thread/123485/96-toyota-celica-st205-update
 
Last edited:
To avoid these ads, REGISTER NOW!
OP
T

TheRoteEngineer

Active member
Joined
Sep 23, 2016
Messages
30
Location
Welsh Borders
Thank you Sean :) I am feeling quite smug about it :D

At the moment, there is a hatch and a ladder (can be seen in one of the photos). I will be enlarging the hatch and putting in a space saving staircase I think. It will comply with local building regs as it will only be accessing a single room and there will be another escape route (velux type window).
 

bstardchild

New member
Joined
Sep 23, 2016
Messages
1
Location
Norfolk (original and best)
oooh - it's quite nice in here

Thanks for the hook up James - I'll have a look around and possibly start a "garage thread" need to dig thro my archive pictures to start from the beginning 25 years ago........
 
OP
T

TheRoteEngineer

Active member
Joined
Sep 23, 2016
Messages
30
Location
Welsh Borders
Hi Brian! I for one would love to see 25 years of garage evolution, especially one that hides an LC bahnstormer :)

Thank you 1/2 cup, it will get better as time goes on, I have plans for white paint on the walls, and a plasterboard ceiling.

Tools wise, a new pillar drill and a mini lathe are on the books :)
 

-Brent-

Well-known member
Joined
Dec 23, 2009
Messages
4,709
Location
Utah
Character is right! I'm looking forward to seeing how it's outfitted.
 

y'sguy

Well-known member
Joined
May 1, 2010
Messages
1,307
Location
Tulsa, Oklahoma
Very Nice! Do the two garage stalls have a doorway between? If not it would be nice to install a double? Sorry I'm spending Your money!
 
OP
T

TheRoteEngineer

Active member
Joined
Sep 23, 2016
Messages
30
Location
Welsh Borders
I will struggle to resist working on the Celica whilst trying to outfit the garage. I need to focus on storage though, it is hard to fabricate when surrounded by mess :)

Y'sguy, the garage has two doors that lead into an open space. It needs the pillar at the front to hold the I-beam for the upstairs floor joists. Being 200x50's at 400 centers, it is quite a heavy floor!
 
OP
T

TheRoteEngineer

Active member
Joined
Sep 23, 2016
Messages
30
Location
Welsh Borders
Little update :)

Went out to homebase, our version of Lowes I guess? I was going to get wood for the rolling drawer set, but the selection was rubbish :( I will go to Travis Perkins next week (TP's is a builders merchants), they will do all the bits I need and also rip the sheets accurately to size.

I did manage to get 20L of white emulsion and a brick roller :)

Soooooo, boring update of the day? Half the garage walls are now white :D

I took the opportunity to quickly set up some sounds, these will be integrated properly at some point, for now I have treble, mid and some good bass :)

IMG_20160924_155126_zpss9ibsini.jpg


This is before, about noon

IMG_20160924_114640_zpsd0h47ysj.jpg


And at 4pm, including a lunch, we have this

IMG_20160924_154929_zpswxxcobei.jpg


Much better :)

I also managed to get the grass cut, both cars washed, dried, glass cleaned and the interiors wiped over with some trim cleaner. Then made lasagna, and bathed the kids before bed. Good day all in all.

Michelle my wife did lots of painting inside and walked the dog :)

As some of you may have read in my intro post, Ruby is in remission from cancer. Part of the tumor removal also took out a load of nerves, so her legs are not as steady as we would like. She also gets tired quickly, so Michelle takes her on dogs walks in this :D

IMG_20160924_173221_zpsc6htcwos.jpg


Check out that hair!! Love them so much :)

Thanks guys, more soon :)
 

2jz4me

Well-known member
Joined
Nov 25, 2011
Messages
114
Location
se indiana
Really? You're going to make a post about the garage in which a celica gt4 resides?! Dont get me wrong, I love your shop but I am going to need more specs on the gt4 pronto!
 
OP
T

TheRoteEngineer

Active member
Joined
Sep 23, 2016
Messages
30
Location
Welsh Borders
Morning chaps :) I am very proud of the space indeed!

The Celica is a '96 JDM GT-Four, started as a rolling restoration and then progressed in to a bareshell respray and build. Lots of custom features, driver and passenger are 12" further back with controls modified to suit, 500hp Blacktop BEAMS engine, subtle wide front arches too :)

There is a link to my build thread at the bottom of the first post :)
 
Last edited:
OP
T

TheRoteEngineer

Active member
Joined
Sep 23, 2016
Messages
30
Location
Welsh Borders
Solace - My Detached Double - Little Update 27/09

Got to spend a little time in the garage after work today :)

The bumper for the Celica was brought over by my dad at the weekend, so that was fitted and then I had a bit of a cleanup in the engine bay. It was full of tree seeds and dirt after its time outside. Brushed and vacuumed it, looks a little better now :)

DSC03782_zps6plc2yr6.jpg


I did a little prep and put some paint on the rear wing risers too. The GT-four was a homologation special, and so it came with a load of extras that wouldn't normally be available with. It has all the components for anti-lag, intercooler spray bar, water injection and a loopy suspension system called 'super strut'.

It also came with a set of blocks to raise the rear wing up into the airflow, adding an appreciable reduction in lift at speed.

DSC03784_zpsffbk8uqg.jpg


DSC03783_zpstlvirxhp.jpg


To be honest, I am not happy with the finish, I will see how it wet sands once hard, if it is no good then I will flat it back and have another go at spraying it :)

Parts for my drawer set have been arriving too, the sides and runners are here, as are the castors.
The drawer sides are lovely quality and have an ace mechanism, so much better than buying a rollcab.
I have two slim drawers around 100mm tall, one medium at around 165mm and a tall one at around 225mm. At £20 each, they are great value too :)

DSC03780_zpsxsfz3e04.jpg


Check out the self soft close!


I did also get a quote for having the sheet timber ripped by the local builders merchants, last time I asked it was about 50p a cut. This time......£3 :O they also decided that it would take nearly 40 cuts! £90 for having the timber cut is just silly, so my dad and I will be using his table saw and ripping it ourselves.

More soon :)
 

jgschroeder99

Well-known member
Joined
Aug 12, 2012
Messages
92
Location
NW Ohio
The color choice on your Celica is excellent. Ford currently offers a similar color on the Mustang called Grabber Blue. I love it!

In the USA, we would describe your building as being "built like a brick shi*thouse." Don't worry, that's a complement.

It's amazing how much some white paint brightens things up.

That is all.
 
OP
T

TheRoteEngineer

Active member
Joined
Sep 23, 2016
Messages
30
Location
Welsh Borders
wow that paint made a huge difference ... looking forward to more GT4 ;)

The engine is pretty much the next thing to be built for the Celica, I am waiting on a correct size g-clamp to butcher and make into a rod bolt stretch gauge, then I can plastigauge the big ends, and build the bottom end of the engine. The crank is in but I need to strip and re-clean it all, to make sure I am happy that it is spotless before the sump goes on and it is closed up 

The color choice on your Celica is excellent. Ford currently offers a similar color on the Mustang called Grabber Blue. I love it!

In the USA, we would describe your building as being "built like a brick shi*thouse." Don't worry, that's a complement.

The colour on the GT-four was a very hard decision to make, I do everything myself if I can, weld, fabricate, composites, spanner, build looms, calibrate ECU’s, build engines, the lot. But painting is an art that requires decent equipment to get right and a lot of skill to do a good job. It is the one thing I decided to farm out and after much searching I found a place on the door step of our old house, they do paint on race cars and Scott the main man became a friend in the process.
Because I paid another to do the work, the colour choice became an expensive decision that took ages to tie down. I thought about blues, too Subaru. Dark green….bit too staid for a hooligan of a car. In the end I went with a very 90’s colour for a very 90’s car, somewhere between mint green and turquoise, it is a pantone shade. I also decided on 2-pack straight to gloss with no lacquer, much easier to repair in future and really hard wearing. I just love the way it came out 

The garage does look a lot better for paint on the walls, I can’t wait to get the rest done (need a cover for the car!) and fit some proper lighting in there. Although that will require me to also get a new consumer unit and dig a 10m trench for some SWA :/ Ah well, it can be done :)

As for the build quality, yes, it is jolly strong! Built like a small house rather than a big garage, I cannot wait to get into the loft space with some home cinema equipment :)

I found this MaxCut V2 software free online yesterday, great bit of kit for planning cuts on sheet. I input the material types, and then the panels required, hit go and voila, cut plans 
I have input all my panels required and I only need two 2440x1220 sheets to make my cabinet and drawers, happy days 

maxcut1_zpsp4kdsn4l.jpg


maxcut2_zpsv3lnnlfo.jpg


maxcut3_zpsozjhbzuj.jpg


It even does a BOM that you can give to a contractor if required! Powerful bit of software for something free 
 
Last edited:
OP
T

TheRoteEngineer

Active member
Joined
Sep 23, 2016
Messages
30
Location
Welsh Borders
Solace - My Detached Double - Update 02/10

Managed to get some garage time this weekend :)

The painted riser blocks were lacquered with acrylic, I did three coats and on the last it started to rain, I don't have a compressor so it is all rattle cans :( the rain ruined the finish. I did what I could and waited for today, when it would have hardened off enough to wet sand, my only hope at this point.

Well.... it worked! The finish is like glass now, really happy with it :) I mounted them up, bolts dabbed with loctite.

It has been so long since they were last on the car, I had forgotten how they look, that high level wing really suits the shape.

DSC03799_zpsgjqvr69l.jpg


DSC03798_zpssvux6t4y.jpg


DSC03797_zpsagjaiabz.jpg


I also pieced together a bolt stretch gauge with bits from around the garage, a dial gauge, some bolts (M5 / M6) and a small light duty G-clamp.

DSC03789_zpslqtvpz7c.jpg


After some cutting, filing and drilling, I could tap a lock bolt in

[imghttp://i27.photobucket.com/albums/c186/twin_charged/Celica/DSC03790_zpskjcqbl0y.jpg[/img]

And here is it in all it's beauty! The centers are not aligned for clearance, the fixed end is very close to the rod, so it needs to cant away. It works well though :)

DSC03793_zpsb6kgqdid.jpg


A new set of jolly long metric ring spanners arrived in the post too, these things are lovely to use. I thought I would make my life a bit easier when bolting up the rods by increasing my advantage!

DSC03792_zps4kktfg72.jpg


Soft jaws into the freshly bolted down vice, rod in, and time for a first test


Works like a charm!

So, both of these jobs have opened up a list of other jobs. The black paint went well, so the rear valance and numberplate surround can be painted and put back on the car.
The rod bolt stretch gauge working means that I can build up the whole of the bottom of the engine now. Crank in, bearings in, rods / pistons in, pick up and sump on, and oil pump / water pump on. I can also paint the block in anticipation of fitting the head!!!

Hopefully more of this quite soon :)

Thanks for reading.

J
 
To avoid these ads, REGISTER NOW!
OP
T

TheRoteEngineer

Active member
Joined
Sep 23, 2016
Messages
30
Location
Welsh Borders
Great progress!

This weekend has been busy :)

As previously predicted, we have managed to get the bottom end of the engine assembled, not without hiccough, but together it is :)

So, crank out

DSC03804_zpskunwgrln.jpg


Bare block

DSC03805_zpspfri8edr.jpg


The bearings have a lovely surface finish / colouring, I guess that is the really thin protective coat? I have already plastigauged the mains, so they will just be thoroughly cleaned, re-lubed and assembled. I fitted the crank and up and then realised the oil squirters were not in place! Crank back out AGAIN, and squirters prepared.

Ultrasonic rig set up again

DSC03817_zps3ep4qnvn.jpg


SHINY!

DSC03811_zps8blqtni3.jpg


Plonked in (torqued to spec with my new 1/4 drive wrench and loctited too!)

DSC03812_zpshjfrgotr.jpg


Bearings lubed with my chosen engine build oil, Lucas oil stabiliser, it has the consistency of melted mozarella!

DSC03806_zpsq9p78cyk.jpg


DSC03810_zpsyi9zwqsg.jpg


I also cleaned all of the holes out with cotton buds (q-tips?), pleasing seeing a grubby pile of them, knowing that rubbish will not be inside my engine :)

DSC03808_zpsgowlawf6.jpg


Next up, rods out, bearings prepped, plastiguage at the ready

DSC03813_zpsypg3vyhx.jpg


All within spec, on the higher side, which for me is perfect, this engine is going to be revved and will be HOT, nice to have a little space for the hydrodynamic wedge :)

DSC03814_zpsehe2tvam.jpg


All numbered, back out and prepped with pistons, took a while to work out how to get the gudgeon pin circlips in. Careful positioning and a watchmakers screwdriver in the clip extraction groove gave me the purchase required :) They look flipping lovely all together, shame to hide it all really!

DSC03815_zpsxibmx5eq.jpg


Remember that stretch gauge I made? Turns out it works well and is very consistent.

I was struggling to get the stretch with a spanner whilst holding the gauge, it felt like they were going FAR too tight. So I thought I would just torque them to spec at 43ft/lb, this felt waaaay too little compared to the stretch.

This is where is gets interesting (for an engineer :D ), 43ft/lb only equates to 50 microns of stretch, thats 0.00197" in old money. ARP recommend a minimum of 0.0055", a country mile out. That is with the recommended ARP moly lube, bolt re-torqued 10 times to ensure no binding. I also used two separate torque wrenches, still no dice.

So I upped the torque on each fastener until I got to between 0.012 and 0.015mm. This came to no less and 60ft/lb! (on average).
So the only thing in question is my torque wrenches really, so I will get them calibrated tomorrow at work. Otherwise, looks like we need to be very careful when building up forged engines :/

I also struggled to get one of the pistons in, turns out the oil control ring spring was overlapping, it clipped a ring, but the surface was ok and it was not distorted, so i'm good with it :)

That was it pretty much, apart from some sump cleaning with oven cleaner!

DSC03818_zps2oae6fzk.jpg


I have also done some cutting for my rollcab, still plenty to do there, so photos next time :)

To finish up, some vids of the spinning assembly


OP
T

TheRoteEngineer

Active member
Joined
Sep 23, 2016
Messages
30
Location
Welsh Borders
Thanks 1/2 Cup :) We are getting there, just need to work out what I am doing with valves now. The stock ones are titanium and I am concerned about sealing and temperature for the exhaust side :/
 

PegLee

New member
Joined
Sep 22, 2016
Messages
2
Location
Las Vegas,Nevada,USA
Wowzer!! I,m just an old woman but saw the upstairs & thought MAN CAVE!! bwhahaha!! perfect for watching yur "Footie Games !! Love and Light sent to Ruby!!
 
OP
T

TheRoteEngineer

Active member
Joined
Sep 23, 2016
Messages
30
Location
Welsh Borders
They are eagle rods, nicely made for a budget forged rod :)

What valves are going in the 'k'?

Thank you PegLee, I don't do football, films and Motorsport however...
 
OP
T

TheRoteEngineer

Active member
Joined
Sep 23, 2016
Messages
30
Location
Welsh Borders
Why are you worried about the valves? They are top quality with plenty of temperature head room.

Is it going to be turbocharged? Are you running individual EGT's?
 

1/2 Cup

Member Emeritus
Joined
Apr 28, 2012
Messages
19,283
Location
Shepparton. Victoria. Australia
Why are you worried about the valves? They are top quality with plenty of temperature head room.

Is it going to be turbocharged? Are you running individual EGT's?

The valves are great quality and should do the job nicely, temperature is not so much of an issue, its more clearance related as these valves are the biggest that can be squeezed into the head..

No turbo and no separate EGT.

I looking forward to following your progress with the build...:thumbup:
 
OP
T

TheRoteEngineer

Active member
Joined
Sep 23, 2016
Messages
30
Location
Welsh Borders
Bust few weekends :)

Last week Ruby and I went on an adventure to collect a cabinet for the garage, eBay bargain at £20 and in perfect condition. It was being removed from some council offices and was the last one left, I would have had five if they had them!

She had great fun in the front of the car, first time she has ever ridden shot gun!

Cabinet%20pick%20up_zps5kkhmgum.jpg


It is a big old beast, but not too bad to handle, this is not 12 gauge stuff :D
I moved a few things about, shifted the shelves and restacked them, the put the cupboard in.

DSC03821_zps5gxhkdvv.jpg


DSC03822_zpsboow3vte.jpg


It is unusual in that it has one large rolling drawer, that contains five BIG shelves. You pull the handle and it rolls out on a wheel hidden at the front!

DSC03823_zpsq9jypy8p.jpg


Next up, my work bench arrived :) it was in pieces and *******, but looked ace all the same.

DSC03819_zpsfubq4fdn.jpg


I formulated a plan for the work top, after pricing up MDF, ply, kitchen laminate etc, they all came to around £70-£80. I found a supplier of SOLID wood worktops for pretty cheap, a 3m section of beech block top 720mm deep was £115 delivered! With 2m for the bench and 1m for my roll cab, it meant that it was about the same price as all the composite boards.

I was a little dubious of the quality until they arrived, turns out I could not be more wrong, beautiful finish and top quality :)

It arrived in the week and today I sorted myself out and prepared to get cutting on the driveway (keep the dust out of the garage!)

DSC03824_zpsx8ala8so.jpg


Measure, measure, measure, go to cut, measure again, then ZIIIING, to bits of board!

DSC03826_zpsxcnk0bmf.jpg


I then turned the now assembled table frame upside down on the board and marked out the holes. Drilled them to 5mm then opened out to 8mm.
I practiced putting a chamfer on the edge using my planer and also rounded the corners off.
Finally it was flipped over, the holes counter sunk and the edges chamfered.

DSC03828_zpsvv9lqu6h.jpg


DSC03827_zpsqc91xddo.jpg


The top was then popped back on the frame once the holes had been opened out.

I won't lie, I am MEGA proud of this, it looks top! I will be putting on a dark stain / varnish to protect it from all the oil and grime it will be seeing, but that will only enhance the stainless counter sunk bolts :)

DSC03829_zps4sxgcmuh.jpg


DSC03831_zpsjv92tnsq.jpg


DSC03830_zpsb8uza7d9.jpg


All in all, the bench cost £200, I think that is very good value considering the construction and that it will last a lifetime.

So next time, we will be putting stain on the work top and putting the bench into it home. Then some more engine build and cabinet making :)

Speak soon :)
 

Ruxpin

Well-known member
Joined
Mar 1, 2016
Messages
124
Location
England
You are doing some excellent work throughout.

GT-Four looks great.
Engine build looks great.
Workbench looks great.

Going off the quality of that lot, I'm looking forward to seeing what you do with the garage!

What size ultrasonic cleaner do you use?
I've toyed with the idea of getting one.

Please post some more photos of the GT-Four as and when progress is made.
 
OP
T

TheRoteEngineer

Active member
Joined
Sep 23, 2016
Messages
30
Location
Welsh Borders
Hi Ruxpin, thank you for the kinds words. I am trying to up my game, so used to making do that it is nice to take time and put a little more cash in to projects. Not throwing money at it, but finding value rather than low cost.

I will update with Celica info as and when it comes. Again, taking my time and enjoying the process :)
 
OP
T

TheRoteEngineer

Active member
Joined
Sep 23, 2016
Messages
30
Location
Welsh Borders
Life is a bit up and down, I guess I can talk reasonably freely on here becuase you guys are strangers and being honest will make no odds.
My wife and I have struggled ever since Ruby got ill, it pushed our relationship to the very edge, we very nearly split on a few occasions but kept it in check for Ruby. She needed us.
This is one of the legacy items that still affects us waaay after Ruby has been given remission, our communication is not great and at times this causes problems.

This is why the reports have been thin on the ground, a bit of conflict in the house and not much time for the garage :( oh well, I do have some news, so enough moaning and some more fabrication.

Starting from the oldest I put some stain on the bench, although I loathed to do it because the wood was stunning, it would have lasted about 5 minutes in the garage! So a dark stain in red mahogany has done the trick :)

14925514_10154107688660888_4095004411297367738_n_zpsvn5ltulw.jpg


14681656_10154107688665888_6917293934471792907_n_zpsg9ofdxuq.jpg


Lovely :)

I also hung up the amplifier and put up the towel dispenser, simple things to do but made a good difference by freeing up some space.

DSC03848_zpstgpowx9h.jpg


A bit of a tidy and the bench in place, it looks like this, I love it!

DSC03847_zps0sabjo4s.jpg


We were having a bit of a change around with daily drivers too, for the last couple of years I have been driving an ST220 Mondeo estate, great car but the build quality was shocking. A few big items on the horizon prompted it's sale and a replacement sought.
I have had lots of BMW's and the build quality has always astounded me, great to drive, great to work on and not too expensive. My weekly mileage has dropped significantly too now, so I can have another big engine.
After a bit of hunting my uncle contacted me and told me he was selling is 7 series....mmmmmm
Not just any 7, it is a 760li :O

14910506_10154133161835888_4412954190599121924_n_zpsbxtnfaxs.jpg


It has EVERYTHING, 440hp, heated massage seats front and rear, and a ride that is incomparable, I love it :)

Back to the Celica, the gear change has been troubling me since I moved the seats back, how would be best to move the linkage back by 12" and up by 10"??
Eventually I decided to keep the stock tower and modify, rather than build a new one or make up a second linkage to the old one.
I started cutting! Split the stock tower into two, the front holds the cables in the original place, and the back holds the lever and linkage.

DSC03851_zpsb91povu8.jpg


To raise it up I started to make up a frame from 3mm ally sheet.

DSC03853_zpskqsl71fz.jpg


DSC03886_zps1nd8of0v.jpg


DSC03889_zpss5u6aqjn.jpg


After a bit of love, a lot of drilling, bending and rivets we have this

DSC03891_zpsf675cu74.jpg


15045821_10154149312605888_839335480_n_zpsqavkset9.jpg


I then moved onto the cables, cutting them in two and threading the ends to M6x1, it took some creative clamping at times :D

DSC03896_zpsvphfokbh.jpg


DSC03895_zpsz6dqn42j.jpg


I had ordered some 4mm bore seamless tube that was drilled and tapped to size, and here is the finished product :)

DSC03899_zpsw1rsfm46.jpg


Lovely :)

Finally I also dug out the cylinder head from it's packing box and got the last of the valves out ready to clean, it won't be long until this can start going back together.

DSC03905_zpslhugyxkl.jpg


This is two valves from the same cylinder, one cleaned one not, it takes AGES in the ultrasonic cleaner to get the hard combustion deposits off, but worth it, they are like new under all that carbon.

DSC03900_zpsckegdpaz.jpg


DSC03902_zpsdslnajjj.jpg


Next up is more cleaning of the cylinder head, some home soda blasting, and engine assembly and maybe some wiring :)

Thanks for reading, J
 
To avoid these ads, REGISTER NOW!
Top Bottom