Chopperpilotjeff
Member
Hello fellow Garage Journalists,
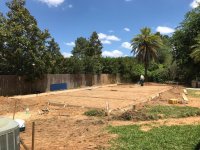
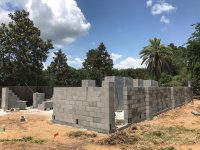
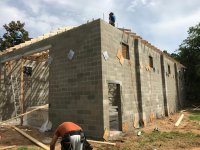
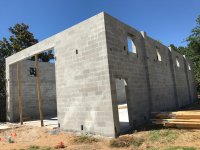
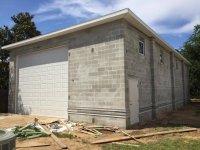
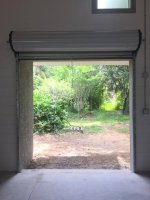
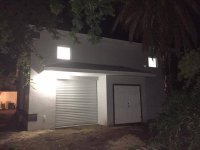
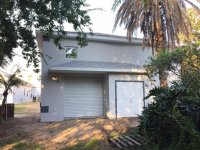
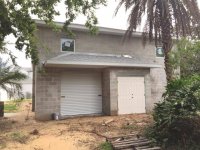
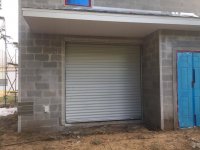
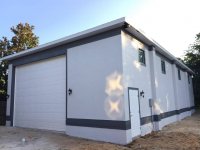
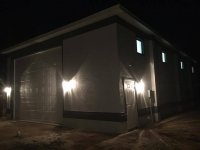
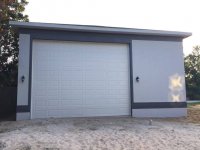
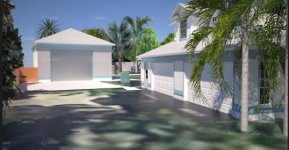
Newest Noob here - discovered the GJ while looking for tips for my Big Build. In less than two weeks, we will be sticking the shovel in the Florida sand to start building the detached garage. It's 30'W x 60'L x 16'H on the inside, concrete block, hip roof, 18'W x 14'H front panel door and 8' x 8' roll-up canister in the back. Billed as an RV garage for the HOA, I don't have an RV - just a lot of other rolling stock.
I'll build a full length 8' wide mezzanine later. Planning on a 10K Mohawk lift. Slab fortification is planned for the lift install.
Adding a couple of engineered trusses for 1 ton overhead chain lifts: 2 I-beams strapped underneath for two trolleys each. Their primary purpose is to lift or flip small boats, outboard motors, and load/unload ungainly things from the trailer or pickup.
The primary purpose of the garage is to store bikes, compact tractor, dump trailer, ATV, boats, vehicles, etc so that main house garage (1500 sq ft) can become a dedicated woodworking shop.
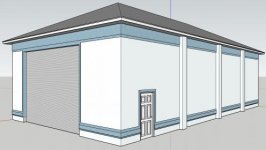
I'm posting a few Sketchup pics trolling for good ideas from all of you Good Idea Guys & Gals.
Cheers!
ChopperJeff
Newest Noob here - discovered the GJ while looking for tips for my Big Build. In less than two weeks, we will be sticking the shovel in the Florida sand to start building the detached garage. It's 30'W x 60'L x 16'H on the inside, concrete block, hip roof, 18'W x 14'H front panel door and 8' x 8' roll-up canister in the back. Billed as an RV garage for the HOA, I don't have an RV - just a lot of other rolling stock.
I'll build a full length 8' wide mezzanine later. Planning on a 10K Mohawk lift. Slab fortification is planned for the lift install.
Adding a couple of engineered trusses for 1 ton overhead chain lifts: 2 I-beams strapped underneath for two trolleys each. Their primary purpose is to lift or flip small boats, outboard motors, and load/unload ungainly things from the trailer or pickup.
The primary purpose of the garage is to store bikes, compact tractor, dump trailer, ATV, boats, vehicles, etc so that main house garage (1500 sq ft) can become a dedicated woodworking shop.
I'm posting a few Sketchup pics trolling for good ideas from all of you Good Idea Guys & Gals.
Cheers!
ChopperJeff
Attachments
-
 RV garage front corner.jpg18.5 KB · Views: 69
 -
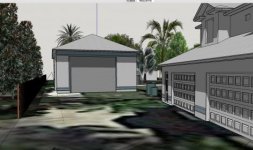 RV garage from driveway afternoon.jpg25 KB · Views: 70
 -
 back of RV garage with 8x8 open.jpg26.1 KB · Views: 65
 -
 Indigo RV garage q2.jpg27.5 KB · Views: 73
 -
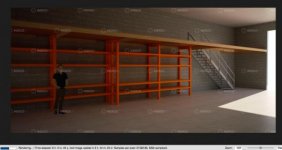 RV barn, inside shelves and stairs, indigo render.jpg17.2 KB · Views: 86
 -
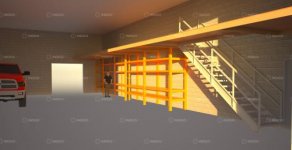 rv barn from front door - indigo render.jpg18.9 KB · Views: 87

") It will be a fun build to watch, be sure to post photos of the progress. Since you're in Florida, is air conditioning planned?
It will be a fun build to watch, be sure to post photos of the progress. Since you're in Florida, is air conditioning planned?