FOLDING TABLES ALONG WALL - Why not have the table top hanging down along the lower half of the wall instead of folding upward so you have to use some kind of latch or clip to hold it there? Is this so the hinges don't carry the load alone of whatever you put on the tabletop? Seems like if I used four ordinary interior door hinges it would be plenty strong and that way the flat work surface covers the legs...so you'd only see a flat table top. Am I missing another good reason why I should do it the other way?
Simplicity. As you lower the tables, the legs fall into place from gravity. Also when you raise it, they fold against the top from the same wonderful gravity.
Had the table folded down, it would require additional work to set up and take down the tables. You would have 4 choices. I will try to describe them.
1. Have no legs. Lift the table and have it secured to a cable or chain from the top to hold it up and level, but then you would have a cable or chain in the way.
2. Have the legs secured to the table with hinges. Requiring you to lift the table, fold the legs up and secure them and then lower the table. More steps, harder task. And top raise the table, you would lift the table, hold it up while you let the legs loose and then set up. Too much work.
3. Have the legs secured to the bottom of the wall, the come out to catch the edge of the table top. Still require the table to be lifted, legs secured, and then lowered. And vice versa.
4. Have the legs hinge vertically. Make 2 right angle triangles. Side A, the table height, piano hinged going up the wall. Side B, the depth of the table, and would be the support surface for the table. And Side C, the hypotenuse, from the tables outside edge to the bottom of the wall and Side A. Have both ends fold in and have the table fold down over them. Still requires more set up and take down.
And with the exception of option 4, you would have to make each leg 2 pieces because they are longer than the table is deep. Making them into 2 pieces each is just asking for them to fail. The current set up is the simplest and most practical. Plus the welding table hides a small sampling of his C-clamp compilation.
Also, he has mentioned a few times about his back hurting. Having to bend down to lift up a table would be more strain and work that folding a table from wait level up against the wall.
If that doesn't make sense, perhaps someone else can take a stab at explaining it.

")


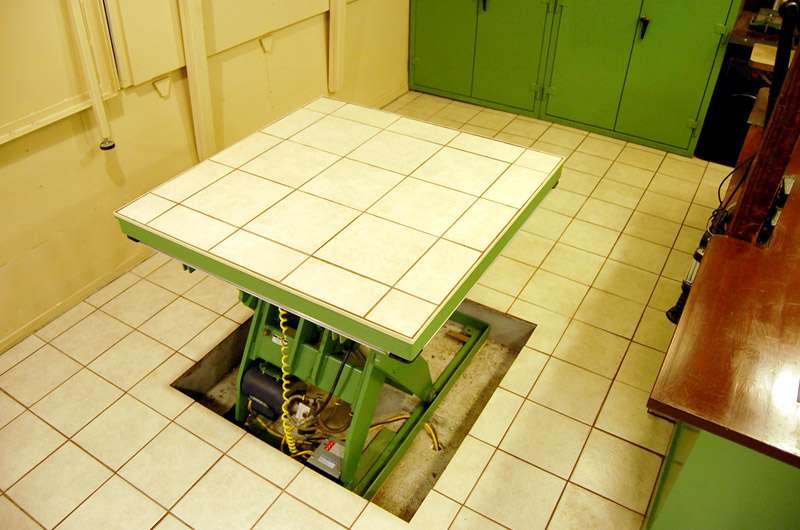
 Now it looks great! Ahh, the color of green