onemore
Well-known member
Jack, some project looks great! I do some sewing as well, I will have to show my wife I', not the only nut! Also kind of nice to see you're shop and side area a mess, you are human! How's the Jeep, still going?

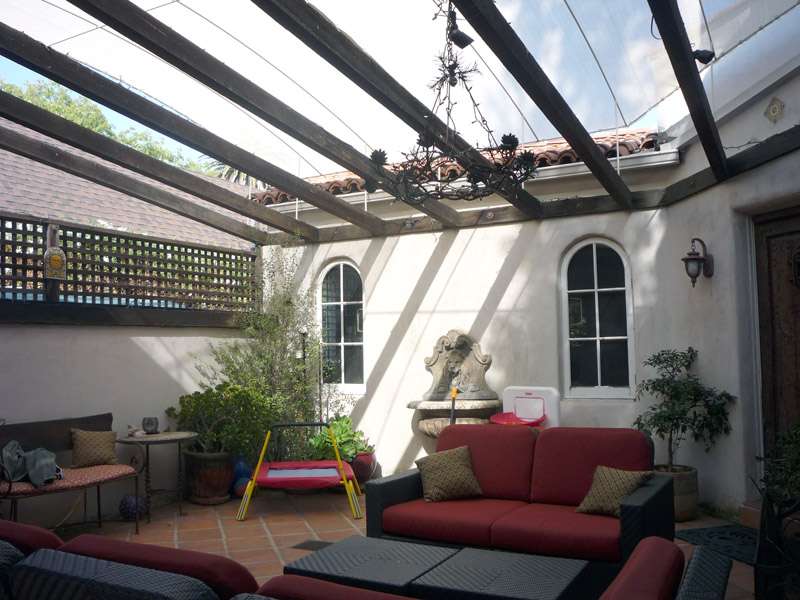
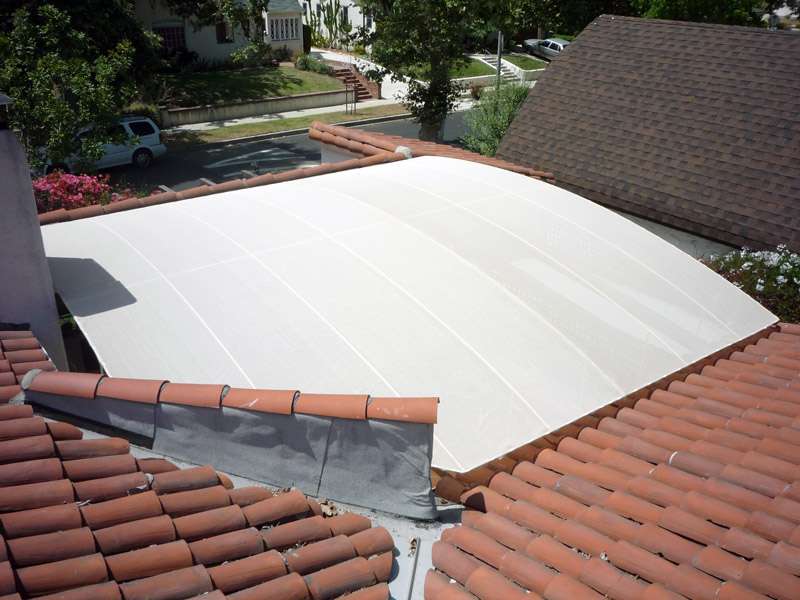
Doesnt it rain in LA?
How is this going to handle rain?
That is a really cool idea with the kids doing the wood project, I might steal that idea for the grandson if you don't mind!
Congratulations!Haha, I just realized that since I joined in 2009, I have finally made my 100th post and now have become a "senior member". How fitting it was to be made on your thread!
Doesnt it rain in LA?
How is this going to handle rain?
Basically, no. Not from now til October, possibly November. Seriously.
Not sure about LA, but the Lowcountry SC is finishing up one of the worst pollen years I've ever experienced.Does it also prevent dust/pollen from collecting on your furniture? Or maybe that's just a Kansas problem...
(also just commenting to turn the logo next to your thread green to make it easier to find)

V8 in a post '75 car in California?Uh...no. Not legally at least.
... It's rather difficult to make such things in Russia, but I try not to let down. I can post my garage, but it's not so cool.


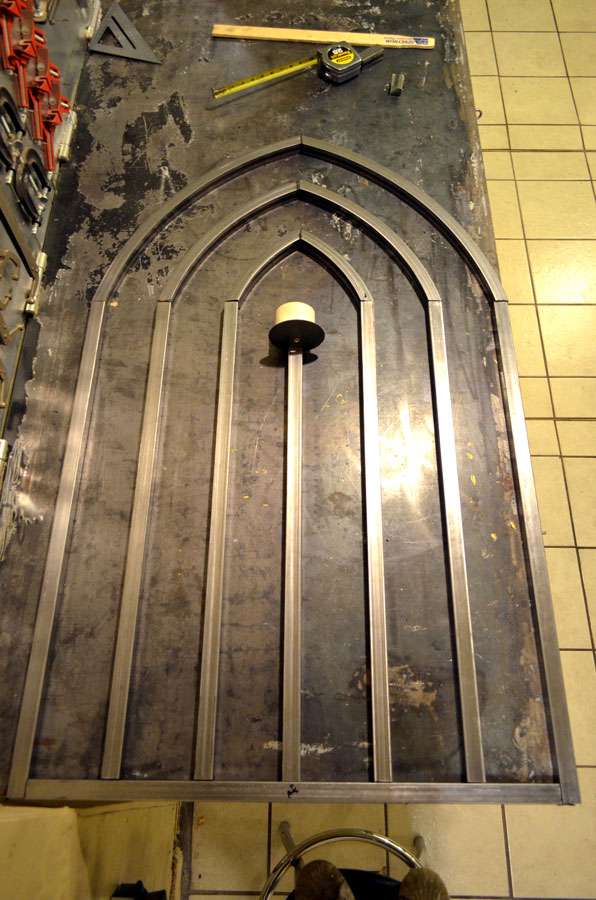


The wiring for the candle will run through the frame, but it will be 3V. I'd be a little leery about running 120V through a structure that opens and closes. Sooner or later, it seems like the wire would fray.
The wiring for the candle will run through the frame, but it will be 3V. I'd be a little leery about running 120V through a structure that opens and closes. Sooner or later, it seems like the wire would fray or break.
And the plan had been to use the timer-controlled 12V box to power them, wiring them in sets of four to give 3V to each one. But the thing I discovered is that the flicker circuit in each LED will go into sync with the other four in its series when you wire them that way.


