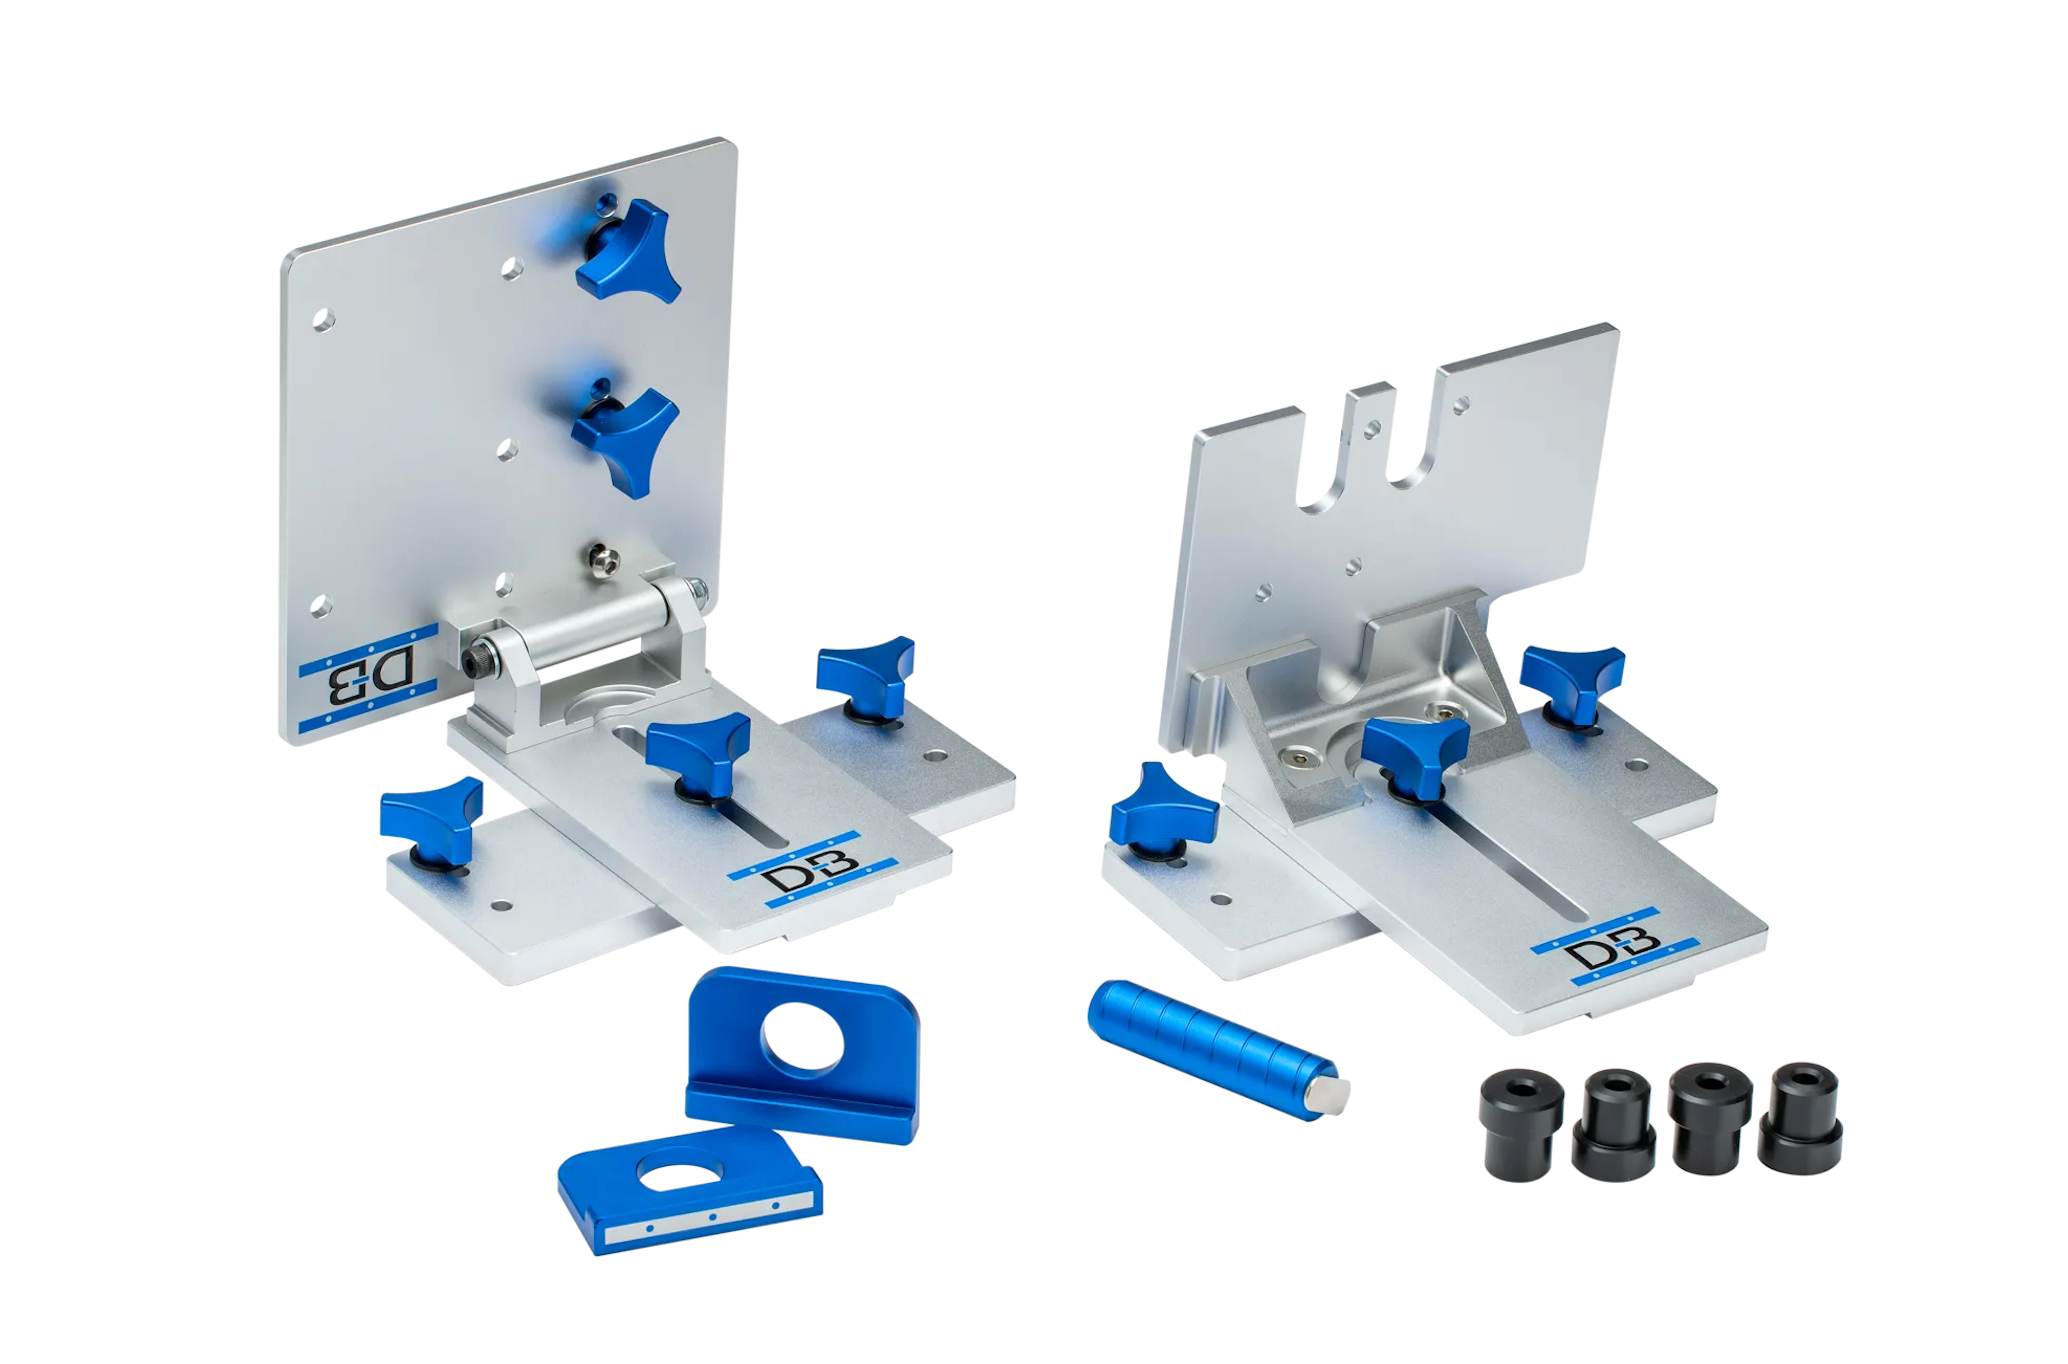
Thank you! The Festool FS 1400/2 Guide Rail is attached to the Dash Board Guide Rail Bracket:
Precision Tool for Your Workshop Refined. Accurate. Reliable. The Dash-Board Guide Rail Bracket Set is our world-renowned rail hinge accessory. It is designe...

dashboardpws.com
I keep the Dash Board Guide Rail Bracket on the workbench and remove the FS 1400/2 when not needed. The brackets are easy to install and set up, so I could remove them as well, but instead I lower them below the top surface of the Valchromat top so I can use the entire surface for assembly.
Here is another image of the hinge side of the guide rail and the fence.

Please let me know if this is not the part you described.


")