Legion Prime
Well-known member
I just got my Ender 3 V2 last week and it was very simple to set up and get printing. Watch the assembly guides from CHEP & Tomb of 3D Printed Horrors and you'll be GTG as the assembly guide it comes with will get you there, just not necessarily very well. My only hiccup was once everything was together and working it wouldn't print, turned out to be fixed by formatting and using another SD card. I don't know if it was the card or the formatting but it was the card that came with the printer with the manuals and all so I just snagged another I had laying around and problem solved.
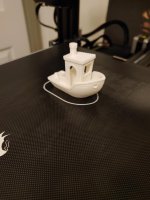
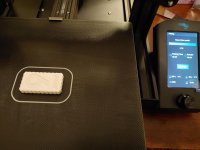
I was having some bed adhesion issues with the PLA so I tried an elmers glue stick which helped a little. Upping the bed temps let me finish the SS Benchy, next though I'm going to try it with the warmer bed and no glue as it is kind of a pain to keep cleaning off.
This is going to be great for winter between keeping me busy and keeping me active. My computer being downstairs at one end of the house and the printer setup upstairs at the other end of the house keeps me running.


")