REFLEXX
Well-known member
Hello all,
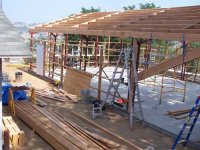
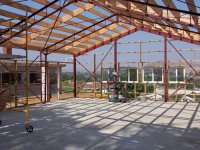
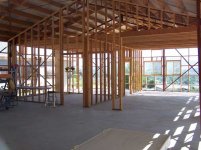
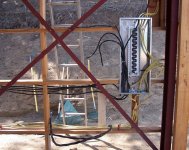
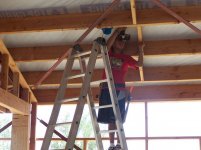
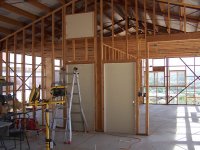
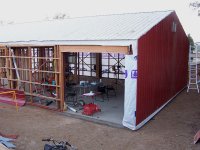
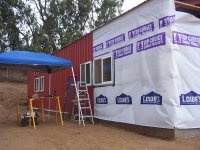
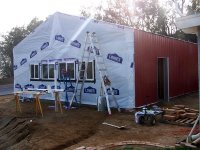
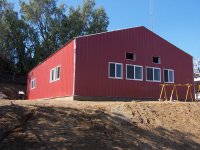
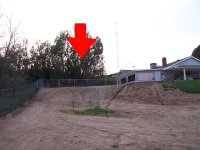
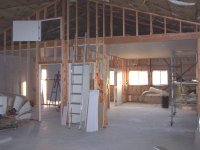
I've finally started to detail the entire process of building the "Garage Mahal". I figure that if anyone's foolish enough to try this, I'll pass along eveything I learned.
EDIT---> I've removed the link to my website that details the build until I finishin it!
The basics:
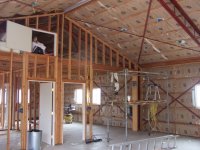
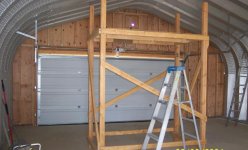
1,440 sq ft - Miracle Truss steel/wood building.
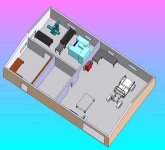
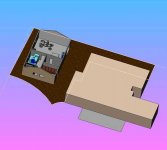
1 office, 1 storage room, 1 machining room, 1 fabrication room.
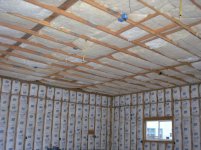
fully insulated, 3 air conditioners, drywalled & painted (someday soon!)
Later,
REFLEXX
I've finally started to detail the entire process of building the "Garage Mahal". I figure that if anyone's foolish enough to try this, I'll pass along eveything I learned.
EDIT---> I've removed the link to my website that details the build until I finishin it!
The basics:
1,440 sq ft - Miracle Truss steel/wood building.
1 office, 1 storage room, 1 machining room, 1 fabrication room.
fully insulated, 3 air conditioners, drywalled & painted (someday soon!)
Later,
REFLEXX