
Dan in Pasadena
Well-known member
I'm calling mine "The Gray Garage" for reasons that will become obvious.
(No, not because it's full of Gray brand tools, unfortunately).
BACKGROUND
My detached garage is 18'x18' built in 1930 on a very small lot. The prior owner added a storage area behind it by building right on top of the property's 42" block wall!
He knocked a 6 ft. wide opening in the back but didn't properly engineer it - I'll come back to that later.
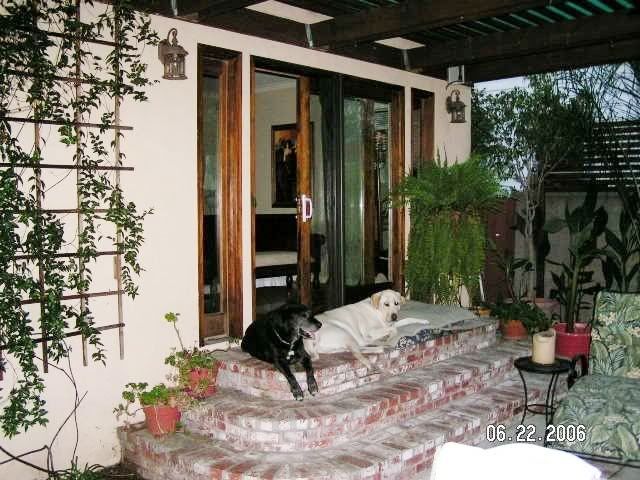
Sometime in the '70's he added the connected 13'x28' workshop you see below (lousy cell photo). When I moved in the shop quickly filled w/the belongings of 3 college aged kids who are now all 30 and only recently did we get EVERYONE'S **** out of there.
Here you can see my "new" workshop adjacent to the garage:

The PLAN
We own an 11-1/2' camper, 2 Jetskis w/trailer, & added a 22 ft. ski boat last summer. Storing toys is EXPENSIVE so a total garage/shop reset was in order.
For everything to fit behind our gate, the garage is becoming a (hopefully tidy) toy storage area - but I'm ok w/it because I get to remake the big junk area into a dedicated workshop.
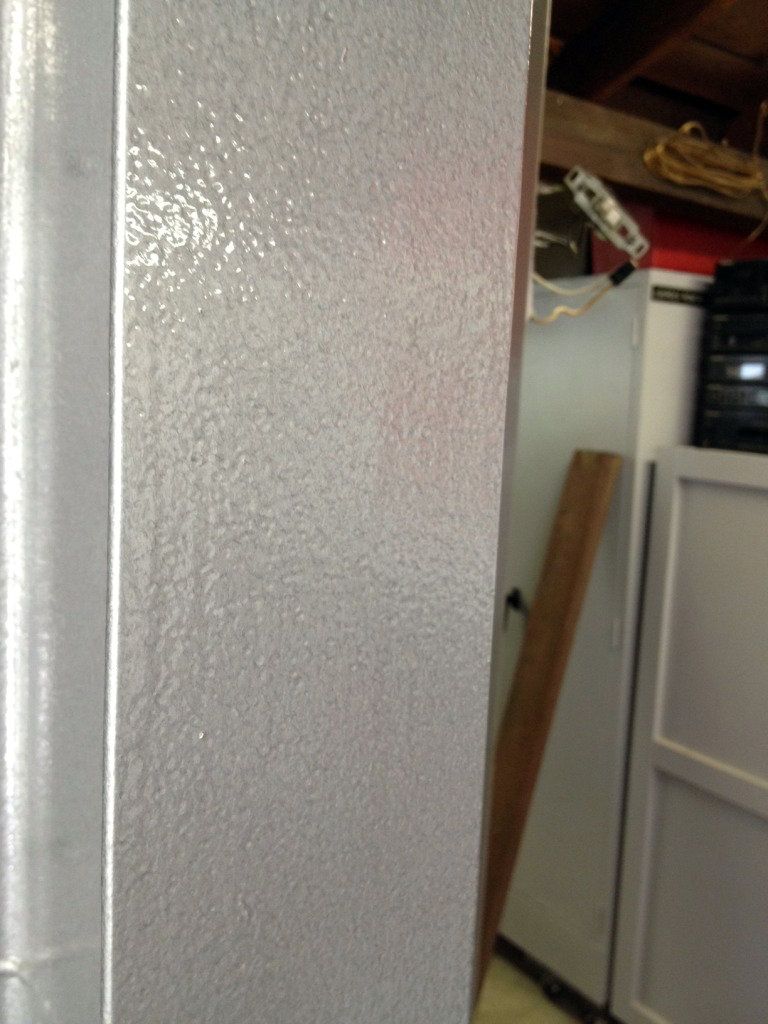
As part of this reset, I'll widen the 6 ft opening to 12 ft and install an engineeered structural steel frame. Still later I intend to put in a tile floor ala Jack Olsen.
...and so IT BEGINS...
First, **** removal (frankly) from the garage & small shop behind:


(Yeah embarassing to show this SO messy but others will need to see the "Before" later)
This allowed me to replace a termite ruined wood window w/ a Craigslist freebie & sheath one wall w/OSB leftover (again free!) from a temp fence put up to replace a masonry wall that was felled by the 12-01-11 Great Pasadena Windstorm :
:


PAINT & REORGANIZE
Here's where the "Gray" finally comes in. I'm cheap, so that 42" block wall I mentioned was painted it w/a $5 mismix gal from Home Depot awhile ago:

I wanted to match it but that would be pricey so I found a 5 gal can of gray on Craigslist for $20. It's a bit blue onscreen, but it's gray in person:

Here, I've split the two cabinets on either side of the newly sheathed wall & window. The lower wall is now painted gray but no photo for the moment:

Later I repainted the cabinets I'd painted yellow. Another CL search netted me...wait for it...MORE gray! (Getting my drift now?) So I decided gray is the theme with white above to maximize light bounce and my Craftsman & former Jack Olsen-owned HF box providing red highlights.
Before (when they were clean):

After:

We FINALLY put in a modern sectional garage door.
Before (ancient, cheap, damaged, filthy):

After (Yes, it's plain but considering what I've had this is a giant improvement) And it goes with the dark stained wood in our backyard

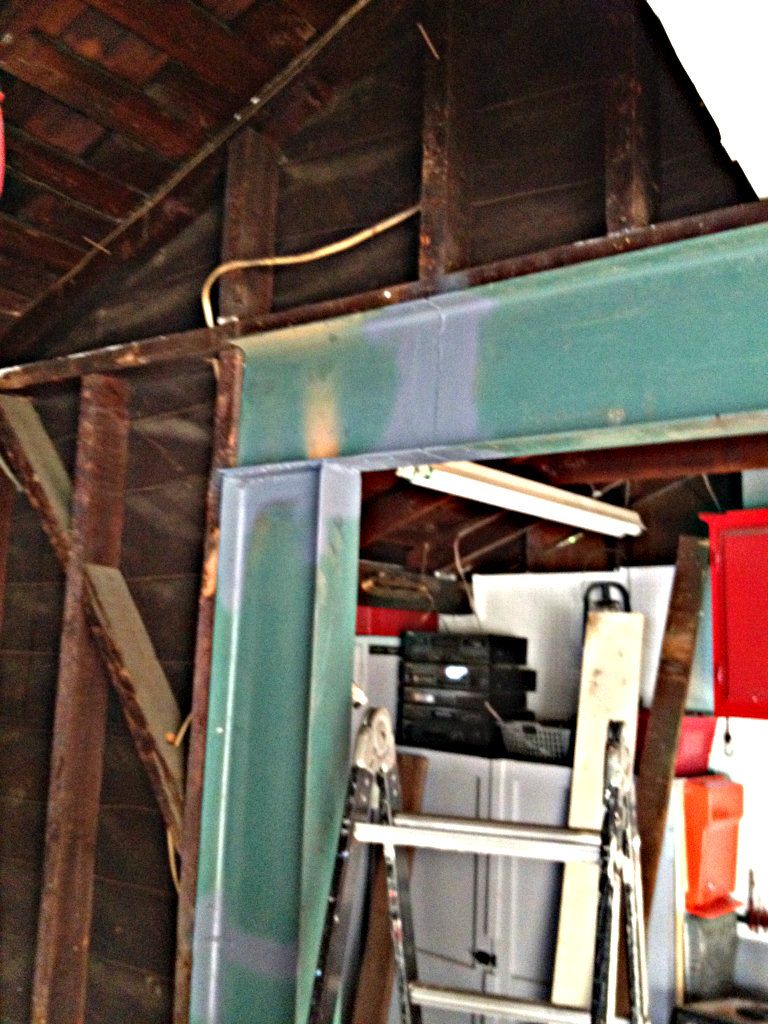
ALL this has been leading toward my widening of that 6' opening at the back of the garage using 10" deep beams. Here's how the opening looked before this weekend:

Here's the back wall today:

Apologies for so long a post - but at least I used a lot of pictures.
Feel free to offer any suggestions or criticism. I can use it!
PS: Those rectangular concrete shapes in the floor? The old man prior owner told me they were service pits! You KNOW I've gotta break through one of them to see if I could make them useable again.
(No, not because it's full of Gray brand tools, unfortunately).
BACKGROUND
My detached garage is 18'x18' built in 1930 on a very small lot. The prior owner added a storage area behind it by building right on top of the property's 42" block wall!
He knocked a 6 ft. wide opening in the back but didn't properly engineer it - I'll come back to that later.
Sometime in the '70's he added the connected 13'x28' workshop you see below (lousy cell photo). When I moved in the shop quickly filled w/the belongings of 3 college aged kids who are now all 30 and only recently did we get EVERYONE'S **** out of there.
Here you can see my "new" workshop adjacent to the garage:
The PLAN
We own an 11-1/2' camper, 2 Jetskis w/trailer, & added a 22 ft. ski boat last summer. Storing toys is EXPENSIVE so a total garage/shop reset was in order.
For everything to fit behind our gate, the garage is becoming a (hopefully tidy) toy storage area - but I'm ok w/it because I get to remake the big junk area into a dedicated workshop.
As part of this reset, I'll widen the 6 ft opening to 12 ft and install an engineeered structural steel frame. Still later I intend to put in a tile floor ala Jack Olsen.
...and so IT BEGINS...
First, **** removal (frankly) from the garage & small shop behind:
(Yeah embarassing to show this SO messy but others will need to see the "Before" later)
This allowed me to replace a termite ruined wood window w/ a Craigslist freebie & sheath one wall w/OSB leftover (again free!) from a temp fence put up to replace a masonry wall that was felled by the 12-01-11 Great Pasadena Windstorm
:
PAINT & REORGANIZE
Here's where the "Gray" finally comes in. I'm cheap, so that 42" block wall I mentioned was painted it w/a $5 mismix gal from Home Depot awhile ago:
I wanted to match it but that would be pricey so I found a 5 gal can of gray on Craigslist for $20. It's a bit blue onscreen, but it's gray in person:
Here, I've split the two cabinets on either side of the newly sheathed wall & window. The lower wall is now painted gray but no photo for the moment:
Later I repainted the cabinets I'd painted yellow. Another CL search netted me...wait for it...MORE gray! (Getting my drift now?) So I decided gray is the theme with white above to maximize light bounce and my Craftsman & former Jack Olsen-owned HF box providing red highlights.
Before (when they were clean):
After:
We FINALLY put in a modern sectional garage door.
Before (ancient, cheap, damaged, filthy):
After (Yes, it's plain but considering what I've had this is a giant improvement) And it goes with the dark stained wood in our backyard
ALL this has been leading toward my widening of that 6' opening at the back of the garage using 10" deep beams. Here's how the opening looked before this weekend:
Here's the back wall today:
Apologies for so long a post - but at least I used a lot of pictures.
Feel free to offer any suggestions or criticism. I can use it!
PS: Those rectangular concrete shapes in the floor? The old man prior owner told me they were service pits! You KNOW I've gotta break through one of them to see if I could make them useable again.
Last edited:


 ) here are the results. Just to remind you, the back wall BEFORE:
 One strong dude!
 , then basically muscled it APPROXIMATELY into final position with a dull mind and a not-especially-strong-back - think of it as one max effort curl. I do NOT recommend this to anyone else. Be smarter than me and do it right with lots of help from strong young guys!!
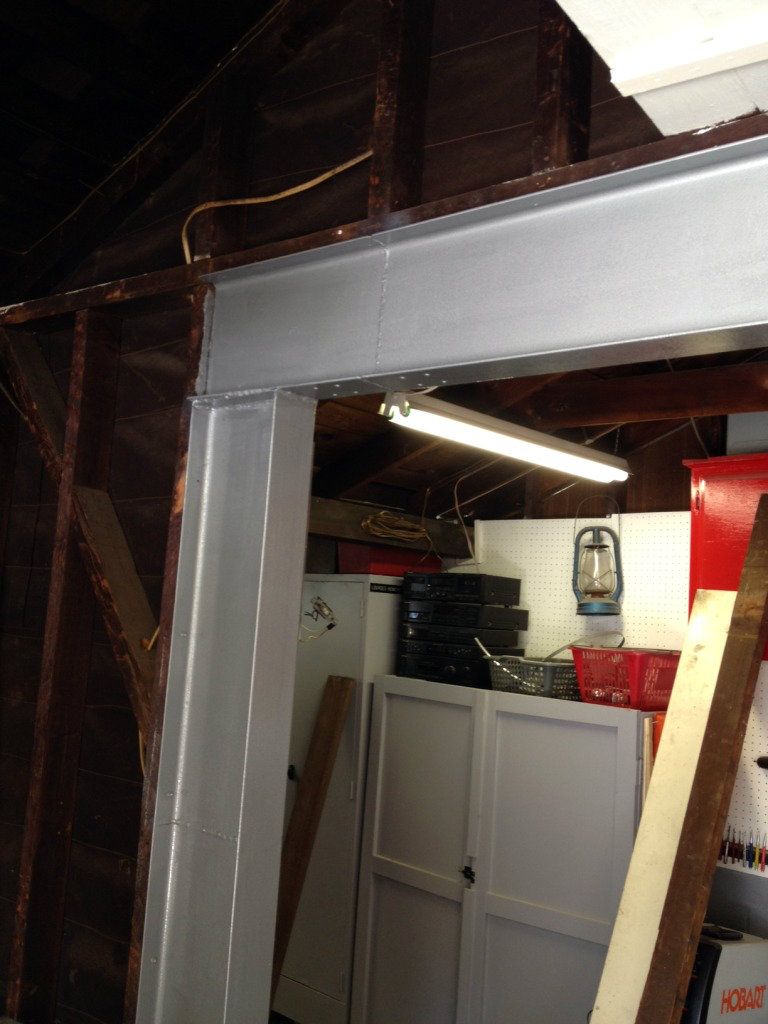
 ) 60lb bags of Quikcrete.


