To avoid these ads, REGISTER NOW!

The Lateral 'G' Garage

Shawn M

Member
Joined
Nov 6, 2011
Messages
16
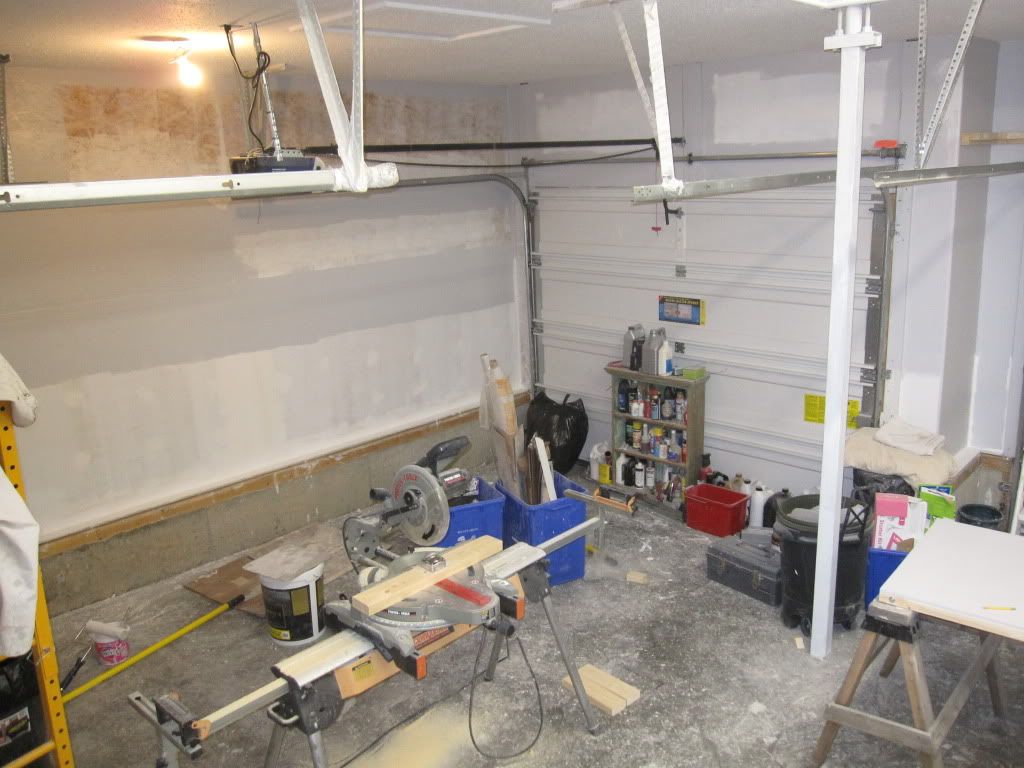
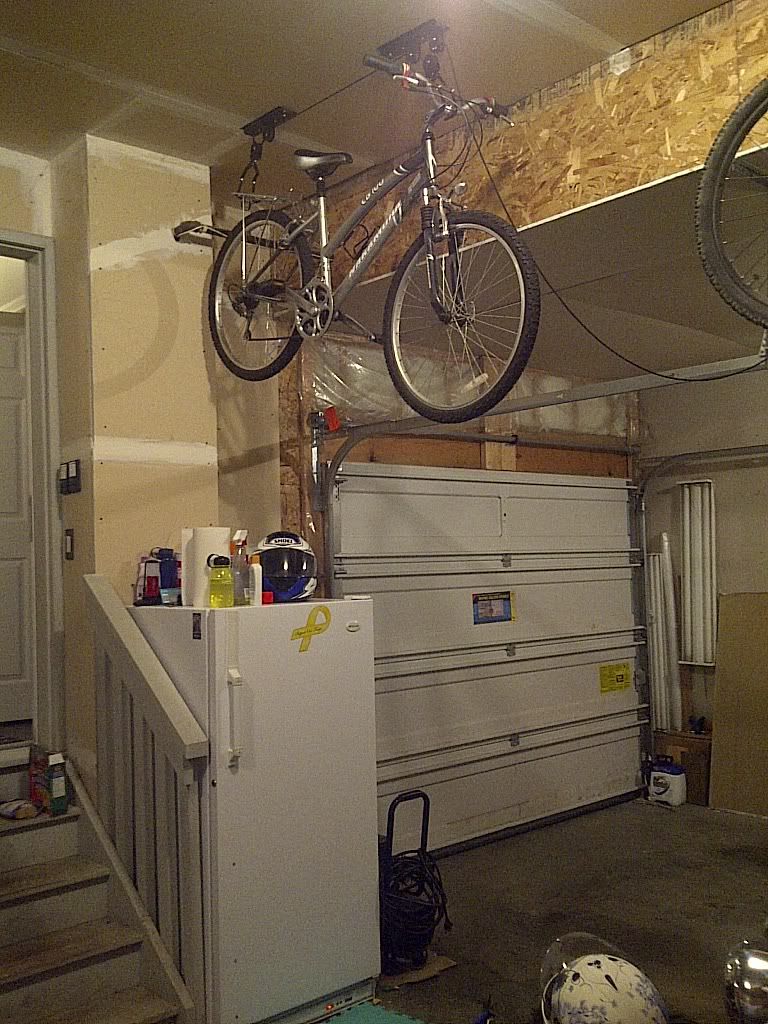
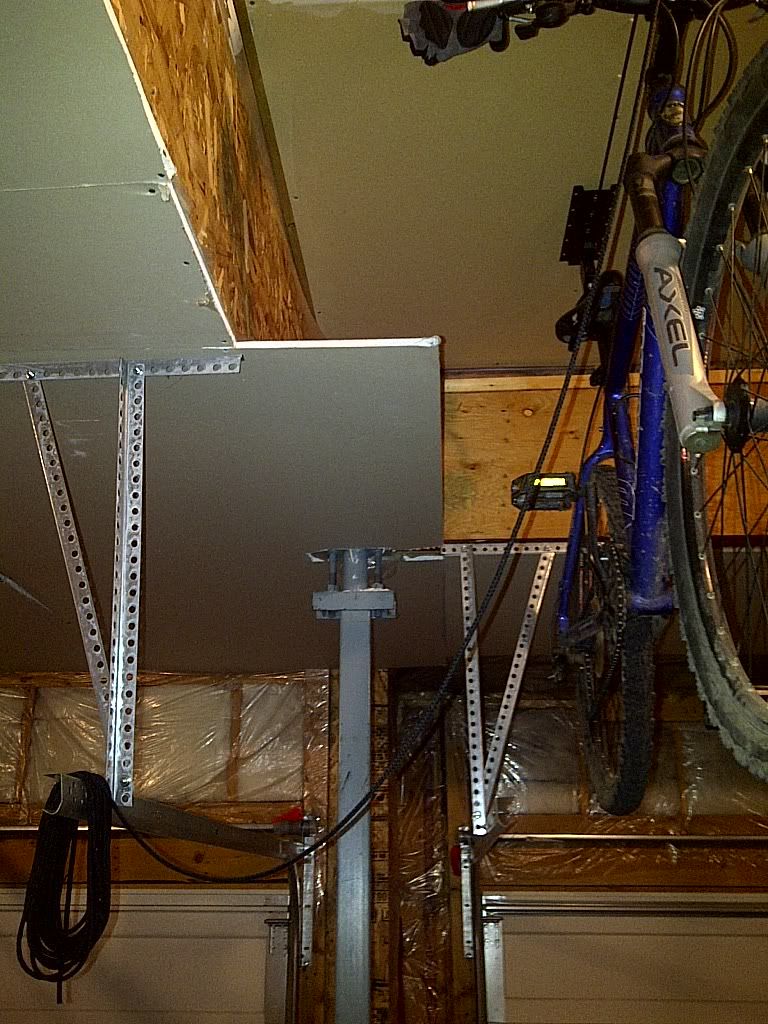
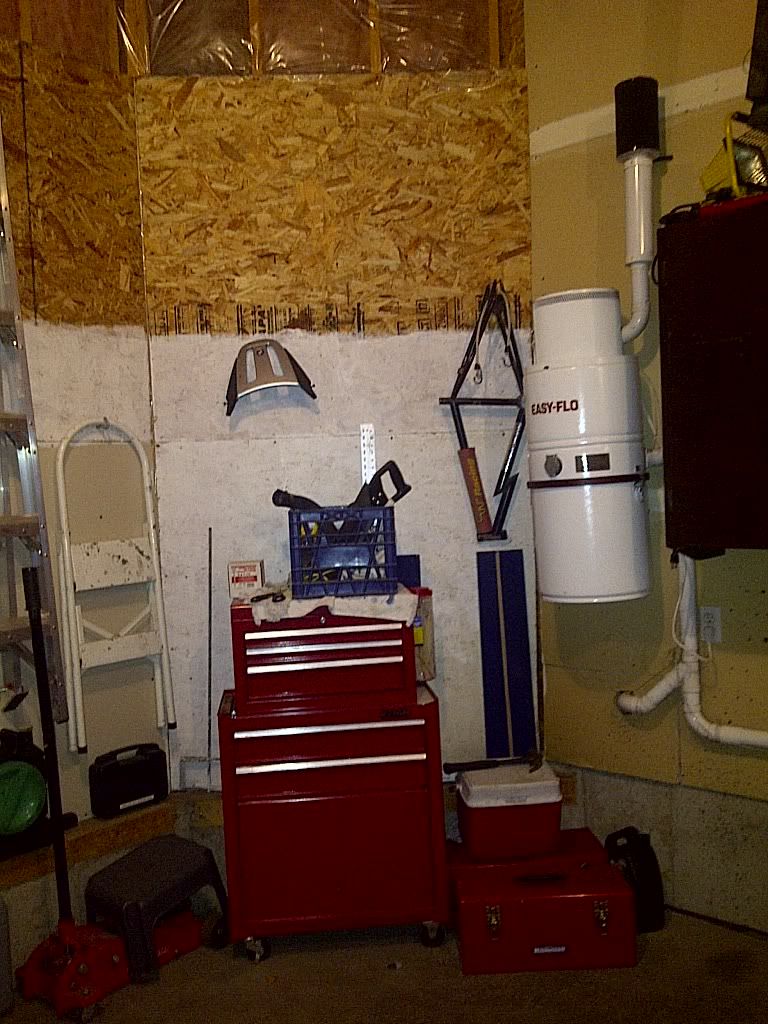
I found this site while looking for some ideas to fix up my attached 3 car garage and make it more useful with better storage. Like many have echoed here, I have been amazed by what people have done with determination, a lot of skill and a willingness to just get started. I'll be focused on the determination as my skills doesn't go to wood, drywall, or paint.

Speaking of getting started, I'm calling this thread The Lateral 'G' Garage because that is the aspect of motorsports that appeals to me most. Back in the late 80's a lot of my friends were modding muscle cars for straight line performance and wowing the girls at the senior high dance.

I gave it a shot with a '76 Firebird build. I bought an ex-race car shell with no motor, trans, radiator, driveshaft, fuel line, gauges or hood. I built up a 350 4 bolt, 350hp, rumpety-rump cam, w/ 3000 stall TH350, B&M Pro-Stick. Bought a Ventura as a donor car and over the course of a year built one complete car.
Had fun building, learned a lot and found that ultimately the thing was just too damned heavy to be fun to drive. I sold the Firebird and bought a VW GTi. WOW- I just couldn't get over how fun it was.

Fruitless trying to explain to my buddies in their American muscle but it just didn't hold my interest. Over the years (my oldest is in University!) I found I gravitated to cars (and motorcycles) that were engaging when driven around corners. Hence the Lateral 'G' Garage should be a place where these types of vehicles feel at home. Of course living 6 miles out of town means there is a pick-up truck but that can't be helped...
 
To avoid these ads, REGISTER NOW!
OP
S

Shawn M

Member
Joined
Nov 6, 2011
Messages
16
This is the garage as it was when we bought the house 2 years ago. I moved in a stand up freezer and just piled my stuff in. There is a 6x8 shed out back that has a lot of other seasonal stuff but here are a few pics of the starting point.

IMG-20111010-00103.jpg


IMG-20111010-00106.jpg


Partly insulated, badly boarded and OSB board with jagged edges everywhere.

IMG-20111010-00108.jpg


You gotta love my rockin' shelving solution too!

IMG-20111010-00101.jpg


IMG-20111010-00102.jpg


IMG-20111010-00105.jpg


Bring on the three 100W incandescent light bulbs to light the whole place too!

IMG-20111010-00104.jpg


Two plug ins in the whole garage- one for the vacuum, the other for the freezer.

IMG-20111010-00100.jpg


A plan was needed, and maybe some help.
 

Jack Olsen

Super Moderator
Staff member
Joined
Mar 22, 2009
Messages
6,678
Location
Los Angeles
Well, it looks like the previous owner also wasn't much for sheetrock work. :)

I'll say this, though: compared to tuning a suspension, basic carpentry and paint skills are very easy to pick up.

But if you have to farm it out, so be it. I designed my garage, but I left my race car's suspension details to a guy who's a genius at it.

In any case, welcome to the forum. I'm looking forward to this build -- partly because I like to go around corners, too.
 

flybefree

Well-known member
Joined
May 18, 2008
Messages
1,111
Location
Ohio/Kentucky
Hey, I love it...no where to go but up! We will of course need to see your car in order to fully engage the garagejournal muse.

Welcome!

Shaun
 
OP
S

Shawn M

Member
Joined
Nov 6, 2011
Messages
16
We will of course need to see your car in order to fully engage the garagejournal muse

Well, the constraints of family life have kept me from having a really interesting car so far, but these two keep me smiling through the corners for now.

Driveway.jpg
 
OP
S

Shawn M

Member
Joined
Nov 6, 2011
Messages
16
Being in Canada, it tends to get a mite chilly in the winter time. :shocking:

Last week we hit -38C with the wind chill (at -40, the Celcius and Fahrenheit temperature scales meet).

First order of business to do a garage project in January is heat. I did my homework, read a LOT of websites, and talked with people who have all types.

My findings (and biases):
1. Forced air electric- good for smaller spaces but not enough for 600sq/ft

2. In-floor heated fluid slab heating - several people I spoke with who have it turned it off as their utility bills went sky high in the winter. Perhaps their installation missed some key insulation steps? Regardless, my place doesn't have it and I wasn't going to jackhammer the floor.

3. Forced air natural gas - this is by far the most common 'serious' heating method. Mostly enthusiastic responses; some complaints about noise and blowing dust around, but I'm not doing woodwork or autobody so that is not a deal breaker. What did break the deal was being in a garage on a cold day and opening the door to move a car out. All the heat seemed to rush out and the furnace took a long while of continuous running to get it back to comfortable.

4. I then visited an install of infra-red natural gas radiant heat. That pretty much ruined me for anything else. The heater has no blower and does not move any air- but standing there just made me feel like the sun was at my back and warmed me right up from being outside.
I asked if we could open the door to let the heat out and see how long it took to come back up and I was sold. The heater warms the stuff in the garage- not the air. When the door came back down the bench, floor, chairs and tools were all still warm. I bought a 40,000btu 10 foot Calcana. :thumbup:

IMG_0477.jpg
 
OP
S

Shawn M

Member
Joined
Nov 6, 2011
Messages
16
The install was very straight forward, but I was glad to have my Dad there when we took the Sawzall to the roof for the chimney. Got a plumber in to tie in to the main gas line and we were in business.

Now we could Work! Note the lame 2x6 on the ceiling holding up the garage door opener. I've got a better idea in mind for that one.

IMG_0482.jpg


This drywall was hung when the house was built in 2003. Its very darkly discoloured and dry now- going to take some work to get this in shape.

In this picture you can also see the drive-through door at the back of the third bay. There is a packed gravel pad beside the house there for a boat or other toy. I've wondered how difficult it would be to enclose that to make it a 4 car, but that bears consideration only after this piece is complete!
 

machine_punk

Well-known member
Joined
May 14, 2011
Messages
2,540
Location
Napa Valley, California
That is my favorite kind of heat for larger spaces...probably won't ever have it here...my garage is still 56 degrees in January (we get down to freezing overnight, but usually up in the 50's during the day). So, it won't ever be worth the money for me.

Now, you will be able to work out there in the winter!
 

jimmie jam

Well-known member
Joined
Oct 16, 2005
Messages
490
Location
fort lauderdale, fl
You have a great space to work with. I'm amazed at the practice of building a beautiful home and not finishing the garage drywall. You see this everywhere - the builder goes through the effort to put DW up and then not finish it completely. :headscrat
 

Ole_Red

Well-known member
Joined
Aug 3, 2011
Messages
208
Location
The 2.0.6.
You have a great space to work with. I'm amazed at the practice of building a beautiful home and not finishing the garage drywall. You see this everywhere - the builder goes through the effort to put DW up and then not finish it completely. :headscrat

The house that we just house-sat at had this same situation except its from the early 80's. Beautiful house (3story. 5bdrm/3bth 3000+sqft) over looking the lake. 3 car garage with unfinished bush-league DW work. Looked like **** IMHO (no offense to OP since you are working to change and upgrade your workspace).

People dont give the garage the respect it rightfully deserves. :thumbup:
 

dittle fart around

Well-known member
Joined
Jan 9, 2011
Messages
2,455
Location
Vancouver, Washington, USA
Most garage code requirements are for fire protection. Most builder meet minimum building requirements any thing beyond that is considered an upgrade. When my house was built the upgrades I had done all seemed to cost 3000 bucks. Apparently the builder was too lazy to actually figure out the cost of upgrades hoping 3000 apiece would discourage any.
 
To avoid these ads, REGISTER NOW!

Red Leader

Well-known member
Joined
May 15, 2011
Messages
2,689
Location
Denver, CO
Wow...-38C???

That's about how cold it was during the Winter War of 1939! Too cold!!!

By the way, your progress looks great:thumbup:
 

widesheds

Member
Joined
Nov 14, 2011
Messages
22
I think there is some space to try out different things that would indeed make it to be a very good addition to the garage. Looking forward to more of such pics.
 
OP
S

Shawn M

Member
Joined
Nov 6, 2011
Messages
16
Progress made!

Ran some wiring to add four receptacles and finished the one at the top of the wall to power the heater. Sheetrocked the open spaces, framed and closed the attic access ,fixed up the existing sheetrock messes, taped, mudded, sanded and primed. I decided to cover the cross beams as well as I think this will tie the whole thing together.

IMG_0487.jpg


Once the ceilings were sanded I primed and painted them with flat ceiling white and rented a texture sprayer. Got the 'popcorn stiple' stuff and again with my Dad used that to hide any uneven bits in the ceiling. Let that dry and hung 3 8' double tube flourescent fixtures in the horseshoe pattern I first heard of here.

I'll hang another one in the single bay but this is more than enough to light up the double side. When I drove up to the house the other night the garage lights were on and there was so much light coming out of the side window it looked like we were having an alien visitation!

IMG_0489.jpg


Once that was done we started building shelving over the double garage door and I began painting the top part of the walls silver.

IMG_0492.jpg


You'll note that I kept the OSB board where it was and added/fixed up the sheetrock around it. I'm using paintable DAP in the seams to join them but it won't be perfect. If I wanted perfect I would have removed all the OSB but I liked the rougher look on parts of the walls. It's also a lot easier to put up small hangers and things that don't need a stud to hold them.
 
OP
S

Shawn M

Member
Joined
Nov 6, 2011
Messages
16
Here is my 'better' solution for hanging the garage door opener. I really hated that 2x6 screwed to the ceiling!

IMG_0501.jpg


And this is a detail of how I ran power to the lights.

IMG_0499.jpg


IMG_0500.jpg


IMG_0502.jpg
 
OP
S

Shawn M

Member
Joined
Nov 6, 2011
Messages
16
IMG_0494.jpg


Shelves are built, hung and painted. Used a 2x3 on the wall and put a 2x2 on the face of it to provide a good base. Ran the base around to the side walls with a break in the middle for the garage opener track. 2x3 frame for the shelf with 3/8" MDF decking. I'll go back once they're loaded and levelled and cut off the excess bolt threads. :) Primed and painted these will be good for the plastic storage bins we plan to keep here.

IMG_0491.jpg


IMG_0497.jpg
 
OP
S

Shawn M

Member
Joined
Nov 6, 2011
Messages
16
I just realized I forgot to mention the stairs. (Probably because I didn't do them) :bow:
We knew that the stairs that used to just come straight down into the garage were a hazard because two of us have tripped and fallen coming into the garage in the last 2 years. My Dad had an idea for a 3 foot square landing level with the door and a right turn coming down into the garage. He just came over, and using materials left over from pulling the old stairs apart, and adding some new he build the staircase.

I'll add a few pics when I take them. I'm on to painting the second colour on the walls now and painting the wall shelving.
 
OP
S

Shawn M

Member
Joined
Nov 6, 2011
Messages
16
Nice work! I may have missed it, but how deep and far from the ceiling are the shelves?

Thanks Charlie,

They're 35" deep and 18" high to the ceiling. They are built to hold a row of those Rubbermaid plastic storage boxes.
 
OP
S

Shawn M

Member
Joined
Nov 6, 2011
Messages
16
Wall taping and painting are complete, and I got some melamine primer with colour-matched paint to do a colour change on the cabinets.

IMG_0503.jpg

IMG_0504.jpg


Here is a shot of the back wall, including the rebuilt stairs I mentioned earlier.

IMG_0505.jpg


West wall with folding workbench build in progress. I went around and round on this one for weeks as I wanted it to fold down above the ledge below. I'm going to put folding legs 6" back from the front edge and overlap them as they will be more than 1/2 the width of the bench. (pics for this idea to come).
Any suggestions for leg retainers would be gladly received!
IMG_0507.jpg

IMG_0508.jpg


West wall, closer to the roll up door showing cabinet with melamine colour matched to the wall colour. I was quite impressed how close they got it.

IMG_0506.jpg


I'm also looking for ideas to cover up the raw concrete footing wall. I don't want to paint it but haven't landed on a solution I think is durable and decent looking. Ideas welcome!
 
To avoid these ads, REGISTER NOW!
Top Bottom