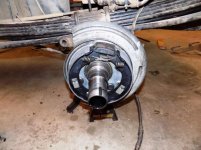
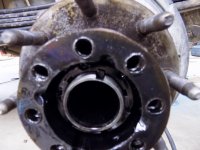
I rebuilt the front suspension on my '05 2500HD Dmax - I think I used every tool in my shop.
That was a long and dirty project!
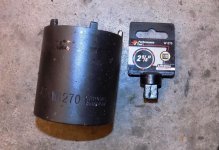
I agree, I have used what seems like half of the tools I own, wrenches, sockets, breaker bars, torque wrench, pry bars, punches, jacks, jack stands, impact gun, grinders, vises, wire brushes, clamps, drills, 18" (46 cm) crescent wrench, welder, little hammers, big hammers, big big hammers, and a recip. saw just to name a few. I've also had to buy a rear axle nut remover and a giant socket that I didn't end up using as it wouldn't fit the area I planned to use it. Then I rented a ball joint remover/installer which really helped with the ball joints (duh), and installing the control arm bushings. When I leave for work I pretty much have to take shower so I don't look and smell like I've been working all night. By the way welcome to my thread and thanks for commenting, I really like your old and new garages they are very clean and well laid out!
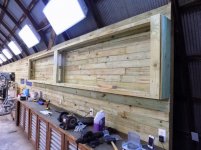
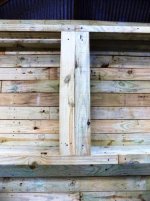
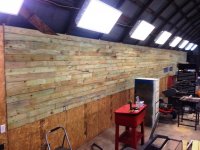
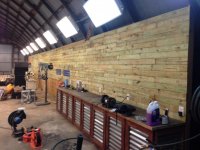
the wood on the Berline wall is gonna look sweet. with the tin on the doors below it will have a real rugged look to it. breaking all the panels down must of been fun. over here everyone is into pallets for projects but I don't think people relise how much work it is to break them into usable pieces.
and the plague wagon... very nice. that is a big old beast and it looks like your getting stuck right in. you can never have too many projects!
keep it up fella!
Slammed, I fixed a little typo for you.
") I'm excited to see how the T.B.W. turns out, I have a few things up my sleeve for finishing it so you'll have to stick around for a while to see how that goes. Sadly it'll have to wait until The Black Plague is back on the road. The fence panels were pretty easy for the most part just time consuming, I have a few pallets I've tried to disassemble without much luck, I tend to break more boards than I get that are usable.
I'm excited to see how the T.B.W. turns out, I have a few things up my sleeve for finishing it so you'll have to stick around for a while to see how that goes. Sadly it'll have to wait until The Black Plague is back on the road. The fence panels were pretty easy for the most part just time consuming, I have a few pallets I've tried to disassemble without much luck, I tend to break more boards than I get that are usable.Yes I meant BPS, guess I'm not very good at letters only... like you
Bugthug, No worries, I have to look up most of my acronyms prior to using them unless they are simple. I'm starting to get excited to take a look at your old car when I get things done, it'll be a fun addition to the the scenery while I try to get it back on the road.
JB
 (Still can't believe I messed that one up.)


 When I pick up some for torx screws today I'll replace all of those and put them away in a deep dark hole to never be used again.