No need for any Red Guard, even in wet areas there are way better ways to do it properly. To me, Red Guard is just one step above bare drywall.
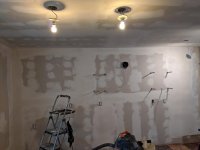
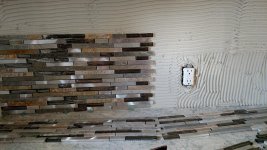
And no need for any type of backer other than drywall on a kitchen backslash. I've never had a single problem using either mastic or thinset on bare drywall. Painted surfaces too, just clean all dirt, oil or grease off. If it's glossy it will need to be scuffed and then cleaned.
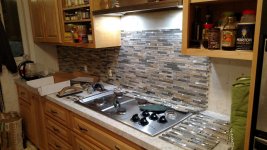
Be sure to also grout where it meets the counter top and any inside corners, then once cured, apply a thin layer of clear silicone over the grout. Not only does this seal the corner, but it also keeps the grout from cracking and flaking out, and it will over time. It also looks best because the grout color is more consistent. The only exception to clear is when white or bisque matches the grout or countertop. Don't be sold by the color matching caulks and silicon the manufacturer markets, there is a use for them but it's not here and the results will be best without them.
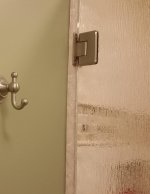
How do you plan to transition from the tile to painted walls, like anywhere the tiles does terminate into a wall cabinet, door/window casing or backslash? Burnoose is probably easiest but something like Schluter Edge can be used if no bullnose is available, or if you prefer the cleaner look.