autoclassicnut
Well-known member
just don't have enough hands for this... soooo...
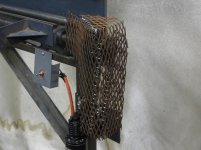
Took off original handle 1" bore size.
Found a slotted piece of scrap steel in my bin and got carriage bolts to fit the slots.
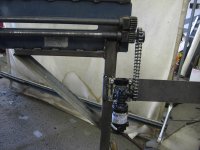
Cut chain to size...
Hung motor from it 1/2" bore size gear, then clamped using a carpenters square.
Then made sure it could be adjusted tighter or looser.
Weld 'er up.
Dinner bell ringing, will finish tomorrow.
Took off original handle 1" bore size.
Found a slotted piece of scrap steel in my bin and got carriage bolts to fit the slots.
Cut chain to size...
Hung motor from it 1/2" bore size gear, then clamped using a carpenters square.
Then made sure it could be adjusted tighter or looser.
Weld 'er up.
Dinner bell ringing, will finish tomorrow.
Attachments
-
 remove manual handle.jpg146.7 KB · Views: 217
 -
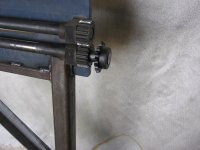 install new gear one inch bore.jpg147.3 KB · Views: 216
 -
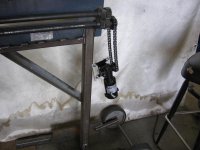 cut chain to size.jpg143.2 KB · Views: 239
 -
 make adjustable slots found in scrap bin mate to mount using square.jpg146 KB · Views: 240
 -
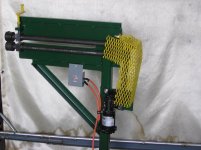
 there you have it... now to make a shroud.jpg139.8 KB · Views: 289