To avoid these ads, REGISTER NOW!

Tomb Stone Porto Power rebuild

don long

Well-known member
Joined
Mar 31, 2012
Messages
8,857
Location
southern california
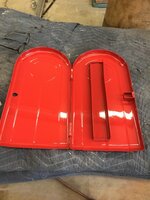
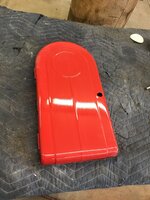
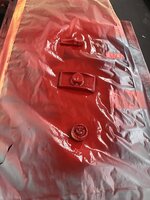
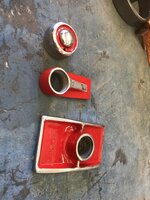
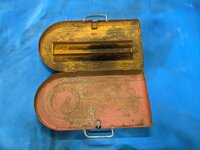
A couple months ago I was fortunate enough to receive an empty Tomb Stone porto power case in poor condition. I already had one with the original porto power in it. I thought it would display better if one could see the open case with the tools inside and the closed case next to it. I went ahead and restored the new case

1.jpg4.jpg20.JPG
23.JPG

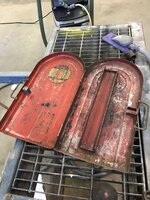
I recreated the decals inside and out. Chromed the handles and with a bit of assembly the case was finished.

25.JPG
 
To avoid these ads, REGISTER NOW!
OP
D

don long

Well-known member
Joined
Mar 31, 2012
Messages
8,857
Location
southern california
So after a few months I have found the time to start cleaning up the original porto power for the finished case

27.JPG

The work started yesterday by pulling everything out of the case and sorting through the parts to see what I would keep in the case and what would go into my stock pile.

4.jpg

With the parts all sorted I started by sand blasting all the pipe fittings

5.jpg

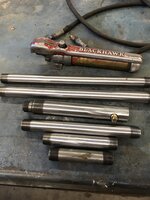
Next I took sand paper to the pipes and sanded out most of the nicks and gouges before using the wire wheel on my block grinder to clean up the threads. The hydraulic hose will have to be replaced and shortened to fit the case better.

6.jpg

That's where I left it last night
 
OP
D

don long

Well-known member
Joined
Mar 31, 2012
Messages
8,857
Location
southern california
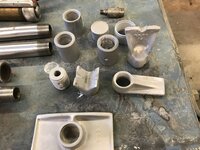
Today was a long tedious day. I took my 3" pistol grip grinder and with 80 grit sand paper I started cleaning and smoothing out the different feet for the porto power. At this point I've decided to pretty up the pieces for a prettier display. Looking at each piece individually I decided what areas to polish to a chrome finish and what areas to paint. Then started working over each piece. I smoothed each piece completely to a 220 grit finish before going any finer with the sand paper on the areas to be polished

9.JPG

This took up most of my day. Each piece will be masked off to cover the polished area before I paint them.
Next I turned back to the pipes and finished smoothing them out before masking off the threaded areas

8.JPG
 
OP
D

don long

Well-known member
Joined
Mar 31, 2012
Messages
8,857
Location
southern california
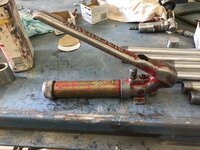
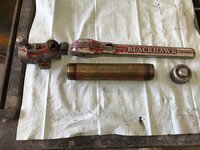
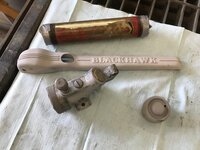
So the pump is next up. The ram is in with the pipes ready for primer. After looking over the pump and deciding how to proceed I went after removing the handle first. It was attached with a pin and a spring. I pulled the spring loose then punched out the pin and the handle was free. I unthreaded the barrel of the pump from the pump mechanism and discovered that it is a brass tube (That will polish up nicely) and now I have 3 parts to the pump. The 4th part is the end cap that went with the foot pieces to get polished.

11.JPG

14a.JPG

I went to work on the pump first, Taking the screws and knobs off and seeing what was inside. Then covered all the openings in the pump and took all 3 pieces over to the sand blast cabinet

25.JPG

I decided not to blast the brass pipe but to sand it with 220 paper and smoothed the handle and pump body after sand blasting

And that's how far this project has gotten

26.JPG
 
OP
D

don long

Well-known member
Joined
Mar 31, 2012
Messages
8,857
Location
southern california
To avoid these ads, REGISTER NOW!
OP
D

don long

Well-known member
Joined
Mar 31, 2012
Messages
8,857
Location
southern california
Thanks to all who have been following this project. I have really enjoyed the work.
Today I managed to complete this project. First I unmasked all the pieces and set them together to get an idea of how I wanted to put them in the case.

IMG_3552.JPG

Next I took the pump handle and polished the letters and lines to a high shine before assembling the pump.

IMG_3553.JPG
IMG_3554.JPG

After first look at the porto power in the case I thought it needed something more

IMG_3555.JPG

I had to go shopping for a new hydraulic hose so while I was out I picked up some liner for the case. I cut cork and the rubber liner to fit the case then loaded it up again

IMG_3559.JPG

After installing the new hose I've decided that it was a couple of inches too long so back to the hose shop for the adjustment.
With the shorter hose the pieces fit much better (just like the decal on the lid)

IMG_3563.JPG

Happy with the results I took the porto power back to the party garage and put it back in its place in the display cabinet

IMG_3565.JPG

This one is now in the books. Thank you for following along

Don
 
OP
D

don long

Well-known member
Joined
Mar 31, 2012
Messages
8,857
Location
southern california
Awesome. What method did you use to polish the raised letters and lines?
After painting the handle I let it dry for a couple of days. Then I masked off the top of the handle and with 220 grit sand paper and my small grinder I start sanding the raised letters and graduate the sand paper til I get to 1200 grit
 
To avoid these ads, REGISTER NOW!
Top Bottom