I swear, one of these days I need to make a video of the CORRECT way to install VCT. I will give you a quick and easy example of what to do. First off you do not have to start in the middle of the room. Second you only need 1 CHALK LINE
Example; lets say you have a 20'x20' garage. Now go to the back left or right wall (Pick one) and measure out 4'6", 5'6", 9'6" It doesn't matter the feet, as long as it is any foot +6" Now for simplicity let's say 9'6" or 10'6" since that is the closest to the center of the room. Let's use 9'6" Make a mark on the floor. Now come to the front of the room and measure across off of the same wall 9'6" and make another mark on the floor. Now snap a line from the 2 marks. You will now have a line that is parallel to the 2 side walls. and this will give equal cuts on both sides. Now measure from the back wall, on top of the chalk line to the front of the garage 19'6" and make a mark on the chalk line. This will be your starting point, and give you equal cuts around the garage.
Now glue the entire garage and put a fan on it and let the glue COMPLETELY DRY. Then when you start to lay, go to your starting point and start what we call laying the line. Start with a single row and lay about 4 tiles with edges along the chalk line. This is to make sure you are square on your line. Now that you know that you are lined up square with your line, make this row about 4 rows wide (2 tile on each side of chalk line) and lay a 4' wide row all of the way to the back wall. You should now have a 19'x4' row of tile laying down the center of the garage.
Now go to either side of this row out in the middle and start a pyramid off of that side, you know lay like 4 tiles off of the side then 3 tiles then 2 tiles. And continue too make this pyramid larger and larger until you reach the side wall with the tip of the pyramid. Then proceed to stair step in the rest of the 2 corners until that side of the room field is complete. Now repeat the same process on the other half of the garage.
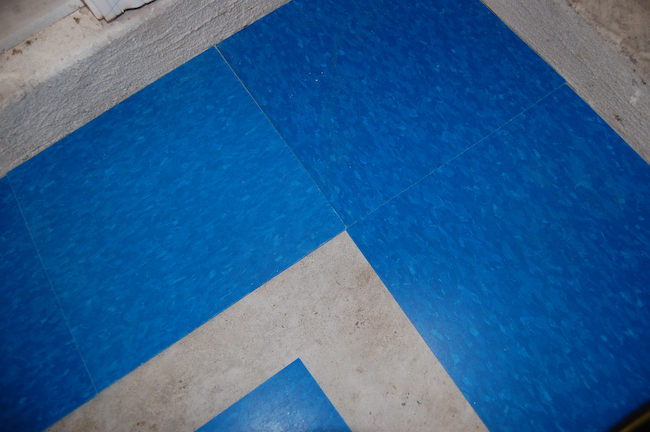
You should now have all of the field laid with 6" cut left around all of the walls. Now in your case, to cut in the uneven walls take a tile and set it exactly on top of the last full tile in front of the wall you are about to cut. Now take a full tile and you will use it for a scribe. Take the full tile and but it against the wall, you will now notice the back edge of the tile is about 6" over top of the tile you have laying exactly on top of the field tile. Now take a pencil and trace the back edge of the tile that is butted against the wall onto the tile that is laying on the floor. Now pick up the tile with the pencil line on it (You will notice the pencil line will be right about mid tile.) Now cut the tile right on the line and it will fit like a glove right in that spot where you just measured the wall with that other tile. Now continue to do this with every tile and you will have a nice tight fitting scribed wall all of the way around.
Don't worry about the glue if it takes you 2 days. It will still be fine as long as it doesn't get dusty or dirty. A room of this size would take me about 5 to 6 hours total with floor prep, gluing and install. So I imagined it would probably take a novice 1+ days. Good luck and I hope this helps you and others as well. In 26 years I would conserve ably say that I have installed over a million square feet of VCT


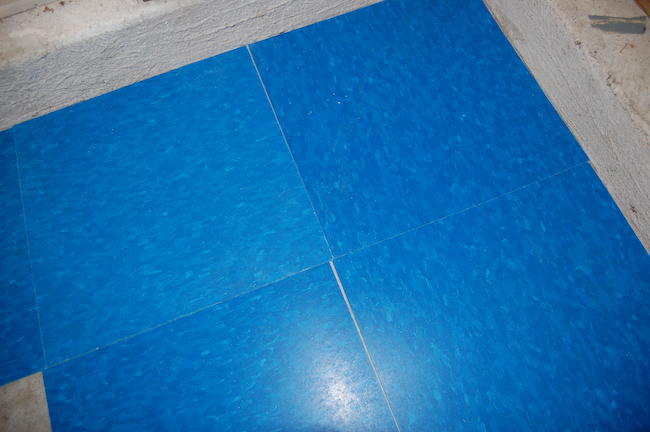


 Yes it is to control the squareness of the tiles. If you where to lay a row at a time you could get runs or what we call box cars. Which is square gaps where 4 tiles intersect. Because no floor is perfectly flat, so you have more control of keeping your tile square with the pyramid method.
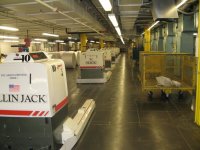
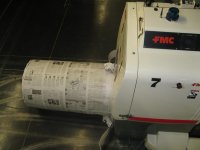
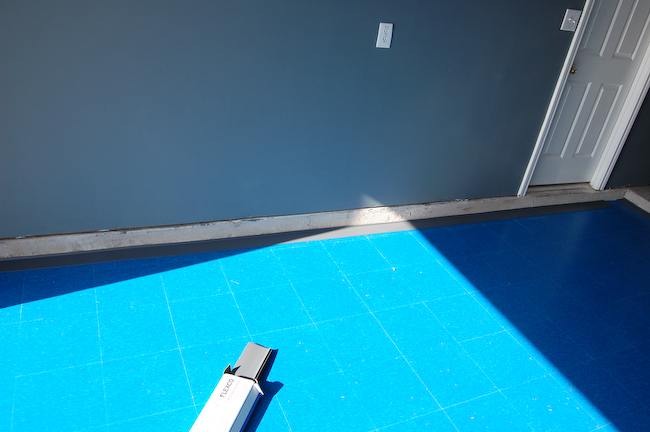
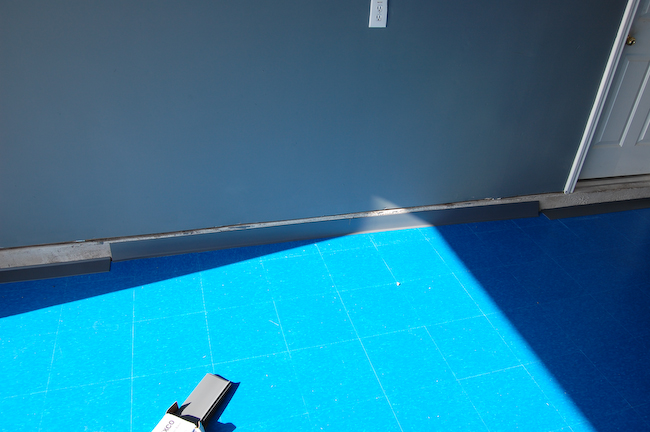
 They wanted VCT over it and to see if they could get automated robots to work on it. They had some kind of wire under the concrete that the robot would follow.