To avoid these ads, REGISTER NOW!

Vintage Craftsman Tool Restorations

Ecosta777

Well-known member
Joined
Apr 26, 2016
Messages
271
Location
MA
Hi everyone,
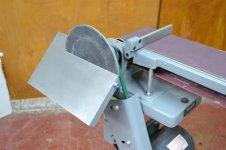
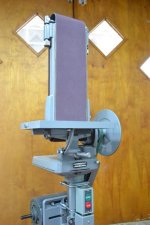
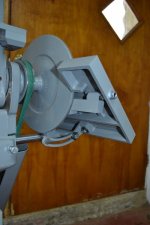
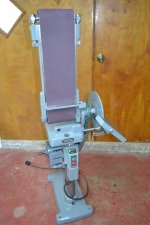
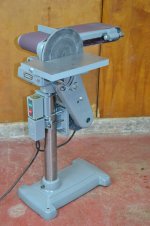
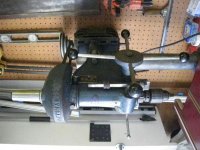
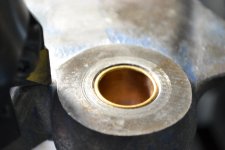
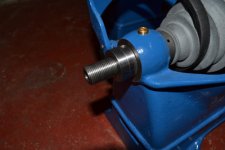
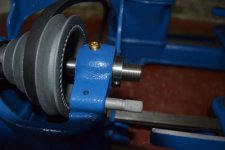
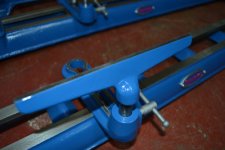
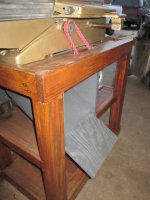
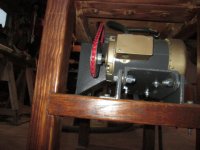
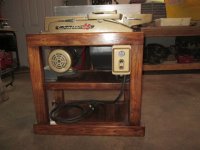
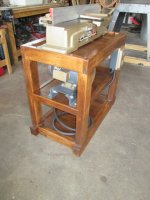
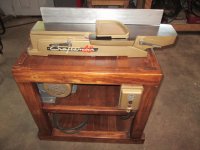
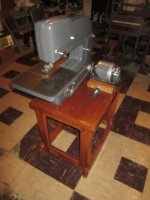
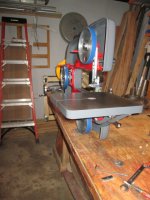
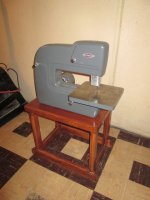
Fairly new here and finally decided to share some of what I mostly do in my shop. My big thing is restoring machines, and I've been doing a lot of Craftsman tools for a client recently. I have three more lathes to do for him, and I hope to keep adding to this thread in the future as I do more machines. First off is a belt / disc sander I restored for myself - this was my first Craftsman resto. I made the table and belt tool rest from scratch, replaced the bearings, cleaned and painted the whole thing, and got the motor mount hardware off of an old bandsaw stand. I also wired a nice new start / stop switch (with relay in the box below)

I have way more pictures / info on my website as well
http://ecmanufacturing.weebly.com/woodworking-machines.html
-Eric
 

Attachments

  • disc.jpg
    disc.jpg
    28.9 KB · Views: 112
  • disc1.jpg
    disc1.jpg
    14.5 KB · Views: 95
  • disc2.jpg
    disc2.jpg
    28.6 KB · Views: 87
  • web3.jpg
    web3.jpg
    24.4 KB · Views: 75
  • web4.jpg
    web4.jpg
    30.3 KB · Views: 80
  • web2.jpg
    web2.jpg
    80.1 KB · Views: 89
Last edited:
To avoid these ads, REGISTER NOW!
OP
E

Ecosta777

Well-known member
Joined
Apr 26, 2016
Messages
271
Location
MA
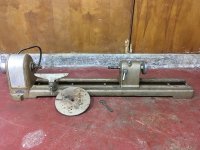
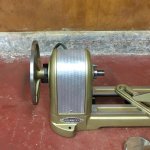
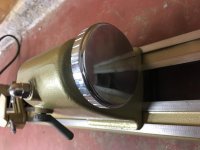
Secondly is a 103 lathe I picked up at a flea market. I remade both the headstock spindle, and tailstock quill. The chrome was in good shape so I left it, made a faceplate since it only had the outboard side one. I also made a new tailstock locking mechanism since the original one was missing. The badges were in good shape so I left those alone as well.
 

Attachments

  • lathe2.jpg
    lathe2.jpg
    28.1 KB · Views: 51
  • IMG_2152.jpg
    IMG_2152.jpg
    136.4 KB · Views: 55
  • IMG_2162.jpg
    IMG_2162.jpg
    135.8 KB · Views: 52
  • IMG_2149.jpg
    IMG_2149.jpg
    135.4 KB · Views: 60
  • IMG_2147.jpg
    IMG_2147.jpg
    134.3 KB · Views: 57
  • IMG_2141.jpg
    IMG_2141.jpg
    143.6 KB · Views: 60
  • lathe1.jpg
    lathe1.jpg
    37.2 KB · Views: 63
OP
E

Ecosta777

Well-known member
Joined
Apr 26, 2016
Messages
271
Location
MA
more of the lathe
 

Attachments

  • IMG_2151.jpg
    IMG_2151.jpg
    134.5 KB · Views: 43
  • IMG_2174.jpg
    IMG_2174.jpg
    136.3 KB · Views: 49
  • IMG_2144.jpg
    IMG_2144.jpg
    145.9 KB · Views: 55
  • IMG_2150.jpg
    IMG_2150.jpg
    132.2 KB · Views: 46
OP
E

Ecosta777

Well-known member
Joined
Apr 26, 2016
Messages
271
Location
MA
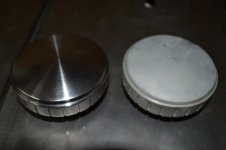
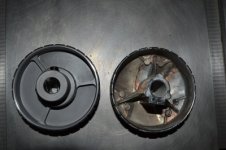
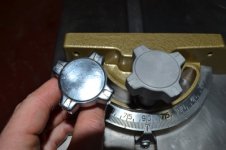
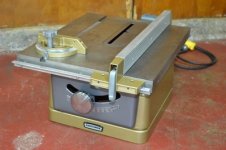
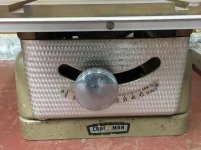
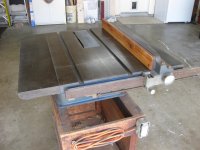
Next is a 103 table saw. I picked this up on CL, rebuilt the saw arbor, height / tilt knob, miter gauge lock knob, and replaced the bearings. I also made a new Craftsman badge since the old one was just a decal that had worn off. The engine finished plate had too many scratches and some oxidization to be salvageable, so I decided to paint it hammered grey. This machine was bought by the same gentleman who bought the previous lathe from me.
 

Attachments

  • t7.jpg
    t7.jpg
    30.6 KB · Views: 70
  • t5.jpg
    t5.jpg
    16.9 KB · Views: 57
  • t4.jpg
    t4.jpg
    30.7 KB · Views: 60
  • t3.jpg
    t3.jpg
    28.2 KB · Views: 62
  • t1.jpg
    t1.jpg
    33 KB · Views: 74
  • IMG_2101.jpg
    IMG_2101.jpg
    140.2 KB · Views: 70
  • IMG_2099.jpg
    IMG_2099.jpg
    142.4 KB · Views: 68
OP
E

Ecosta777

Well-known member
Joined
Apr 26, 2016
Messages
271
Location
MA
More of the table saw
 

Attachments

  • t6.jpg
    t6.jpg
    40.2 KB · Views: 40
  • t8.jpg
    t8.jpg
    50.6 KB · Views: 47
  • t2.jpg
    t2.jpg
    65.7 KB · Views: 35
OP
E

Ecosta777

Well-known member
Joined
Apr 26, 2016
Messages
271
Location
MA
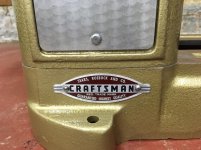
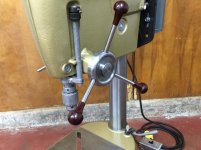
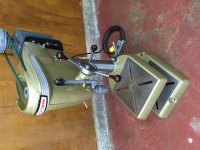
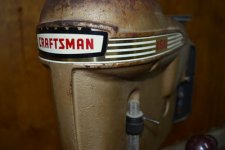
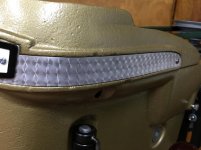
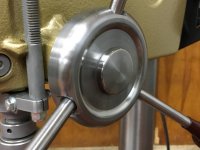
And the last one I finished was a 103 drill press. I remade all the chrome parts since they were found to be pitted when sandblasted. I also remade the Craftsman logo, since the original band on the head had been tarnished and couldn't be saved. I polished and engine turn finished it, and bolted the new badge over it. When I tried to remove the chrome with acid on the depth stop holder, i accidentally destroyed it, and also had to make that part new as well. This machine was also bought by the gentleman who purchased the other two 103 machines from me.
 

Attachments

  • IMG_2293.jpg
    IMG_2293.jpg
    134.1 KB · Views: 62
  • IMG_2292.jpg
    IMG_2292.jpg
    143.6 KB · Views: 62
  • IMG_2291.jpg
    IMG_2291.jpg
    140 KB · Views: 71
  • IMG_2290.jpg
    IMG_2290.jpg
    129.2 KB · Views: 86
  • IMG_2288.jpg
    IMG_2288.jpg
    139.8 KB · Views: 73
  • d2.jpg
    d2.jpg
    24 KB · Views: 77
  • d1.jpg
    d1.jpg
    69.3 KB · Views: 83
Last edited:
OP
E

Ecosta777

Well-known member
Joined
Apr 26, 2016
Messages
271
Location
MA
More of the drill press
 

Attachments

  • IMG_2303.jpg
    IMG_2303.jpg
    138.6 KB · Views: 45
  • IMG_2300.jpg
    IMG_2300.jpg
    133.1 KB · Views: 48
  • IMG_2296.jpg
    IMG_2296.jpg
    142.2 KB · Views: 49
  • IMG_2295.jpg
    IMG_2295.jpg
    134.7 KB · Views: 47
  • IMG_2294.jpg
    IMG_2294.jpg
    136.1 KB · Views: 43

jakemac

Well-known member
Joined
May 21, 2013
Messages
9,035
Location
New England
Fantastic work.

What paint did you use for the Craftsman Power Bronze, Rustoleum Hammered Gold, or something else ?
 
OP
E

Ecosta777

Well-known member
Joined
Apr 26, 2016
Messages
271
Location
MA
How did you machine the parts that that you made?

Your results look great.

Jay

The badges were done at work on a HAAS TM-1P, most of what I machine is done in my shop on an old Bridgeport and South Bend lathe, some of the more intricate things like the backsides of the handles / knobs I do either on the HAAS, or a Bridgeport retrofitted with accurite CNC controls, then for finishing work my way down to 1500 grit sandpaper and finish polish with Simichrome, to make it look like chrome plating.
 
OP
E

Ecosta777

Well-known member
Joined
Apr 26, 2016
Messages
271
Location
MA
Fantastic work.

What paint did you use for the Craftsman Power Bronze, Rustoleum Hammered Gold, or something else ?

I used the Rustoleum hammered gold. I like it because it keeps the original color but spruces it up a bit
 

SweetD

Well-known member
Joined
Feb 8, 2010
Messages
3,265
Location
Rhode Island
Beautiful work, love the old school Craftsman stuff coming back to life. Welcome to the forum from a fellow New Englander!

Dave
 
To avoid these ads, REGISTER NOW!

Sawdustmaker

Well-known member
Joined
Jan 15, 2017
Messages
928
Location
Placentia, Orange Co., California
Beautiful work. I have an old Craftsman Table Saw and Drill Press (circa 1940) that belonged to my dad. I don't have the resources or know how that you do, but hope to refurbish both in the near future. Wish you lived closer. I'm in CA (Don't laugh, not everyone here is crazy).:)
 

Attachments

  • IMG_1567.jpg
    IMG_1567.jpg
    140.2 KB · Views: 50
  • IMG_1778.jpg
    IMG_1778.jpg
    140 KB · Views: 45

Pldbryan

New member
Joined
Aug 14, 2012
Messages
2
Here is a drill press I just finished. Actually I still need to put the stop mechanism back on once it is polished and need to find a proper handle assembly
 

Attachments

  • IMG_0975.jpg
    IMG_0975.jpg
    137.6 KB · Views: 44
  • IMG_0978.jpg
    IMG_0978.jpg
    136.6 KB · Views: 45
OP
E

Ecosta777

Well-known member
Joined
Apr 26, 2016
Messages
271
Location
MA
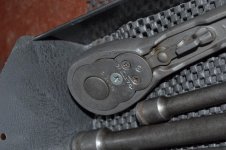
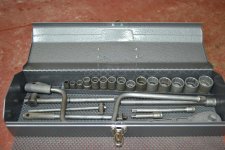
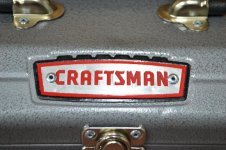
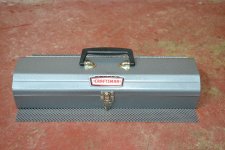
Thanks for all the comments everyone! heres another one I found some pictures of that I did a couple months ago. I got the toolbox full of whitworth tools when I bought my BSA a few years ago, and the set of sockets / wrench and handles came from a family member. The socket set had no home, and I put the whitworth wrenches in a larger toolbox, so I decided to restore both and put them together. Had to bang out some of the sheet metal on the box, stripped the old paint, and used grey hammertone paint. Touched up the badge by hand, and replaced all the hardware. Then tumbled the socket set, and sandblasted the wrenches.
 

Attachments

  • DSC_0023.jpg
    DSC_0023.jpg
    138.9 KB · Views: 50
  • DSC_0021.jpg
    DSC_0021.jpg
    143 KB · Views: 51
  • DSC_0018.jpg
    DSC_0018.jpg
    148.2 KB · Views: 62
  • DSC_0016.jpg
    DSC_0016.jpg
    142.2 KB · Views: 51
  • DSC_0014.jpg
    DSC_0014.jpg
    145.8 KB · Views: 56
  • DSC_0008.jpg
    DSC_0008.jpg
    143.8 KB · Views: 49
OP
E

Ecosta777

Well-known member
Joined
Apr 26, 2016
Messages
271
Location
MA
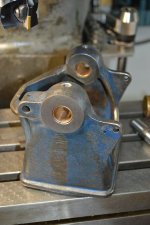
Just started working on the three 101 lathes this past weekend. Got them torn down, and cleaned up all the headstocks. New bushings installed and reamed, and wear from the spindles was faced off. next up is paint, then turning new spindles.
 

Attachments

  • 1014.jpg
    1014.jpg
    77.5 KB · Views: 37
  • 1013.jpg
    1013.jpg
    126.8 KB · Views: 33
  • 1012.jpg
    1012.jpg
    137.5 KB · Views: 34
  • 1011.jpg
    1011.jpg
    114.4 KB · Views: 38
OP
E

Ecosta777

Well-known member
Joined
Apr 26, 2016
Messages
271
Location
MA
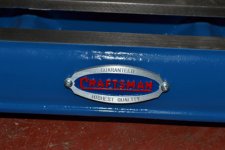
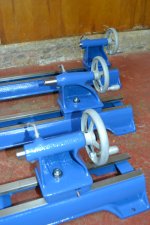
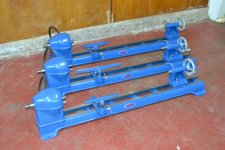
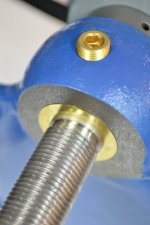
Finished the three 101 lathes before Christmas last year, and currently working on a Craftsman bandsaw and scroll saw. Here's a few photos of the lathes. New bushings and thrust washers, turned new spindles, faced off the heads and used brass washers to eliminate wear on the heads. Made up new spindle lock pins, tailstock lock handles, and replaced the quill handles. Also made a 12" tool rest. Brand new badges I made up and painted, sandblasted any bare metal parts, and of course fresh paint.
 

Attachments

  • lathe6.jpg
    lathe6.jpg
    25.7 KB · Views: 22
  • lathe5.jpg
    lathe5.jpg
    22.8 KB · Views: 21
  • lathe4.jpg
    lathe4.jpg
    29.6 KB · Views: 23
  • lathe3.jpg
    lathe3.jpg
    28.4 KB · Views: 38
  • lathe2.jpg
    lathe2.jpg
    77.5 KB · Views: 28
  • lathe1.jpg
    lathe1.jpg
    44.4 KB · Views: 31
OP
E

Ecosta777

Well-known member
Joined
Apr 26, 2016
Messages
271
Location
MA
....
 

Attachments

  • lathe7.jpg
    lathe7.jpg
    16.1 KB · Views: 26
  • lathe8.jpg
    lathe8.jpg
    49.7 KB · Views: 30
  • lathe9.jpg
    lathe9.jpg
    30.8 KB · Views: 27

Corndoggeh

Well-known member
Joined
Apr 2, 2016
Messages
1,198
Loving the work you do, do you sell the nameplates? I have a bunch of Craftsman restoration projects that need new nameplates.
 

dwall174

Well-known member
Joined
Jun 1, 2012
Messages
453
Location
Southeast Michigan
Here's my Craftsman "40" jointer (103.20680) I rebuilt it a little while back.
It's got a 1HP 3PH Dayton motor on it, A bit of over-kill but I already had the motor.

Doug
 

Attachments

  • IMG_3115.JPG
    IMG_3115.JPG
    107.4 KB · Views: 13
  • IMG_3112.JPG
    IMG_3112.JPG
    106.2 KB · Views: 16
  • IMG_3099.JPG
    IMG_3099.JPG
    102.4 KB · Views: 14
  • IMG_3093.JPG
    IMG_3093.JPG
    116.9 KB · Views: 16
  • IMG_3089.JPG
    IMG_3089.JPG
    118.6 KB · Views: 18
  • IMG_3102.JPG
    IMG_3102.JPG
    110.5 KB · Views: 18

dwall174

Well-known member
Joined
Jun 1, 2012
Messages
453
Location
Southeast Michigan
Here is a Craftsman (103.24300) 3-wheel band saw I recently finished.

Doug
 

Attachments

  • IMG_3866.JPG
    IMG_3866.JPG
    89.8 KB · Views: 20
  • IMG_3863.JPG
    IMG_3863.JPG
    94.4 KB · Views: 23
  • IMG_3862.JPG
    IMG_3862.JPG
    106 KB · Views: 20
  • IMG_3400.JPG
    IMG_3400.JPG
    118.2 KB · Views: 22
  • IMG_3398.JPG
    IMG_3398.JPG
    125.7 KB · Views: 21
  • IMG_3399.JPG
    IMG_3399.JPG
    120 KB · Views: 23
  • IMG_3868.JPG
    IMG_3868.JPG
    94.5 KB · Views: 15
To avoid these ads, REGISTER NOW!
Top Bottom