To avoid these ads, REGISTER NOW!

Vise disassembly

To avoid these ads, REGISTER NOW!

metaleltr

Well-known member
Joined
Sep 4, 2009
Messages
2,680
Location
Western Ohio
unscrew the clamp screw all the way- hold on the front jaw will fall if you don't have a hold of it. Remove jaw with screw driver. yo should be able to unscrew the swivel lock and a bolt on the underside of the vise to separate it from the base
 

Slip_Kid

Well-known member
Joined
Apr 20, 2010
Messages
615
Location
Rhode Island
Look at the picture below, your will be close to this. Remove the collar screws at the end, then unscrew the handle. The rest should be easy.

sam-4635-L.jpg


sam-4654-L.jpg
 
OP
K

kythri

Well-known member
Joined
Jan 3, 2007
Messages
6,330
Location
Lebanon, OR
OK, so, mostly disassembled. There's still the silver "end cap" in the main body, as well as the threaded receiver the screw goes into. This appears to be held in by a pin of some kind?

Want to make sure I don't mung this up beyond repair.

Edited to add: Not SUPER concerned about saving it, but there's a "Craftsman Professional" plate riveted or pinned to the side that I'd like to save if I can. What's the best way to remove and re-attach this?
 
Last edited:
OP
K

kythri

Well-known member
Joined
Jan 3, 2007
Messages
6,330
Location
Lebanon, OR
I'm going to have the thing bead blasted, before painting - any issues there? Just tape off the "throat" ?
 

Slip_Kid

Well-known member
Joined
Apr 20, 2010
Messages
615
Location
Rhode Island
I would tape off (or cut a piece of cardboard) the throat and blast it. If you must take it apart the end can can be removed with a wooden dowel, insert it where the screw was and tap the end cap off.
 
To avoid these ads, REGISTER NOW!
OP
K

kythri

Well-known member
Joined
Jan 3, 2007
Messages
6,330
Location
Lebanon, OR
Here's my "before" pictures, so you can see the awesome finish. Keep in mind it's only 2-3 years old, I don't have major moisture issues in my shop, and don't have rust problems with much of anything.

You can see how it's flaking off in huge chunks. No primer.

vise_crap_paint_1.JPG


vise_crap_paint_2.JPG


vise_crap_paint_3.JPG


vise_crap_paint_4.JPG


vise_crap_paint_5.JPG


vise_crap_paint_6.JPG


HUGE pieces just fall off:

vise_crap_paint_7.JPG


vise_crap_paint_8.JPG


Here's the plate I want to attempt to save and replace on it when it's repainted. You can see the rivets or whatever. Need to figure out how to get them off/out without screwing up the plate:

vise_crap_paint_9.JPG


vise_crap_paint_10.JPG


And the pin in the rear that I mentioned, that seems to hold the screw assembly (there's one on the other side that matches, or it's the other end of this pin):

vise_crap_paint_11.JPG
 
OP
K

kythri

Well-known member
Joined
Jan 3, 2007
Messages
6,330
Location
Lebanon, OR
Cool - just one pin all the way through, or two pins, one on each side? Haven't popped the end cap yet, it's out in the shop.
 

Slip_Kid

Well-known member
Joined
Apr 20, 2010
Messages
615
Location
Rhode Island
Cool - just one pin all the way through, or two pins, one on each side? Haven't popped the end cap yet, it's out in the shop.

There were two pins, they did not line up either. I removed the end cap to see mine, maybe you have one pin.
 

dlleno

Well-known member
Joined
Dec 29, 2011
Messages
93
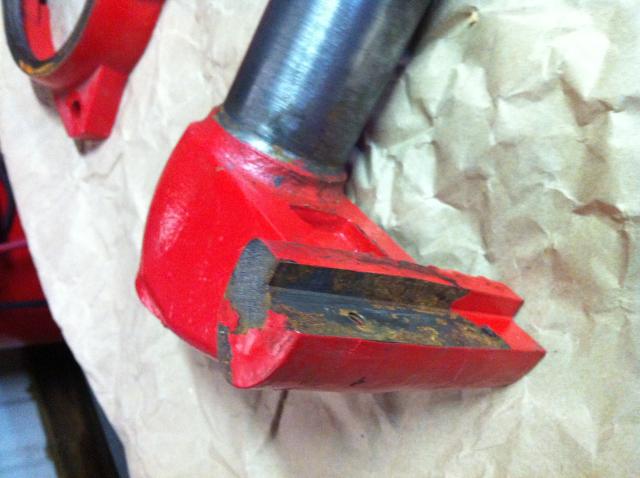
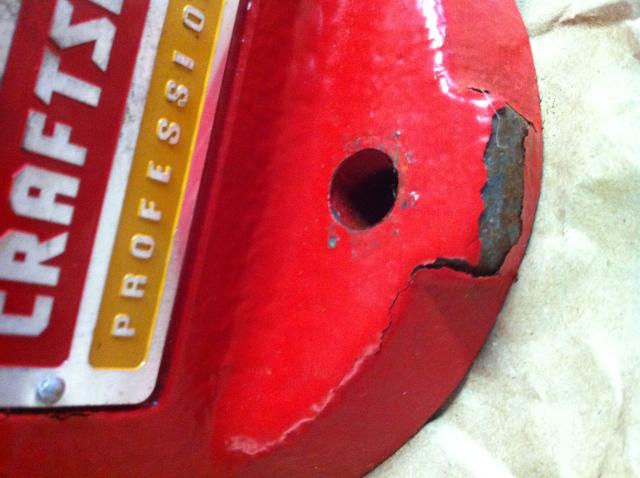
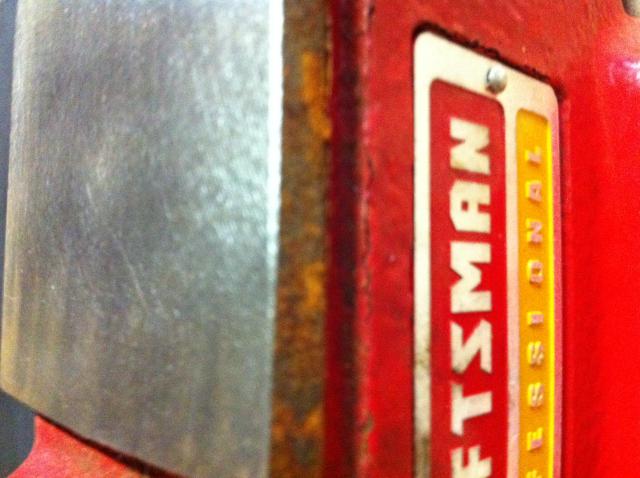
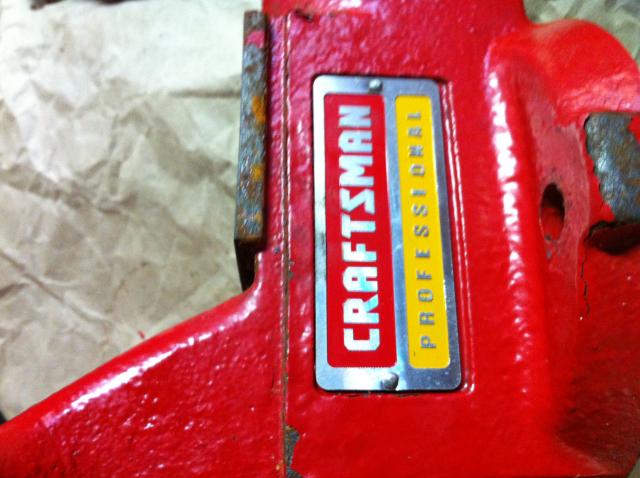
kythri many thanks for bringing this issue to the front. your experience, as well as my own inspections convinced me this one was worth the buy even if it requires a restore in 3 years. I just paid $95 for mine and noticed that the surface finish out of the box is arguably the poorest quality of the entire vise. But since this is a chinese copy of an imported wilton :) I'm not surprised -- I came to realize that what you are buying is a product which can be re-finished later, yielding a high quality vise in the end. Its rather like finding a 1745 with new jaws and only cosmetic defects at a yard sale for $100.

Slip_Kid many thanks for showing your disassembled Wilton; very helpful. I have some remaining questions I wasn't able to answer from reading here, with respect to the rear (female) screw assembly, which I assume is held by the pin(s)

1. how are the pin(s) removed, if needed?
2. how can the end cap be removed - is this simply a press fit that can be pried out with a screwdriver?
3. is the static screw assembly one piece that is removed out the end after the cap and pins are removed?

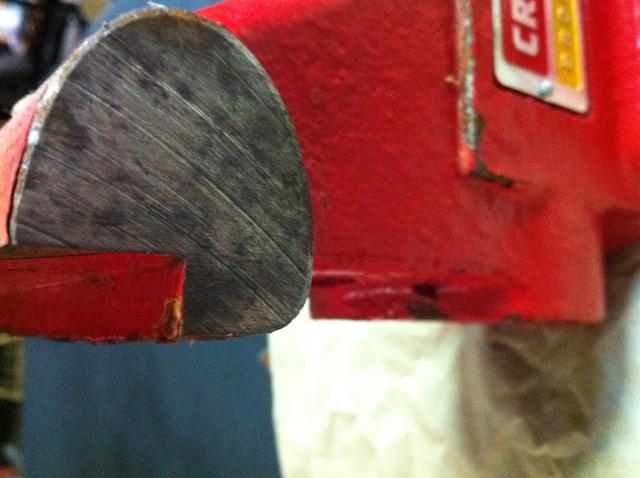
If curiosity gets to me, I might take mine apart just to inspect those parts more thoroughly (i.e. with a better view than one can obtain from the front). This area is pretty important, as it applies and sustains the clamping force generated by the lead screw.
 

bigcaddy

Well-known member
Joined
Jan 17, 2012
Messages
2,418
Location
Orange County/ San Fernando Valley
The name plates are held on by drive screw/rivets. They have a 4 sided twisted shank that are tapped in. We have something similar at our office for attaching pipe hangers into wooden ceiling beams.

They used these kinds of fasteners on machinery, electrical motors and even bicycles.

If you have a sharp edged mini prybar, you can get them out fairly easily. Just be careful not to mar up that nice nameplate.
 
To avoid these ads, REGISTER NOW!
Top Bottom