DocsMachine
Well-known member
- Joined
- Sep 16, 2006
- Messages
- 1,849
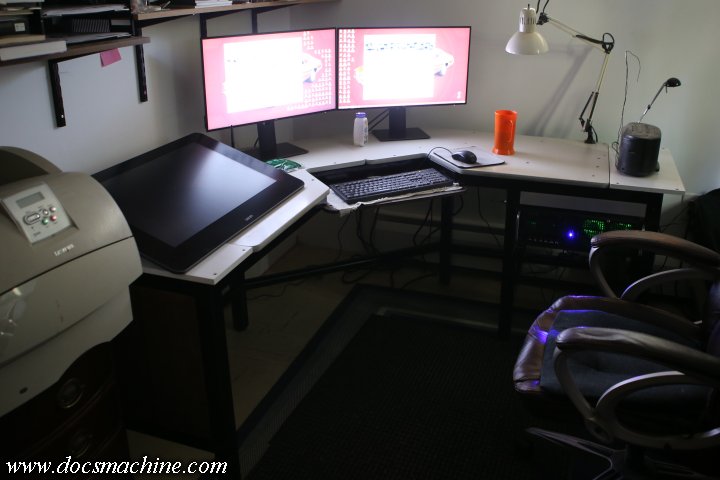
I spend altogether too much time sitting at this damn PC, and... well, long story short, the old desk I'd been using for far too many years, was just plain falling apart. I'd reinforced and rebuilt it several times, but really, it was just cheap sheetmetal and pressboard, so there was a limit to what I could do.
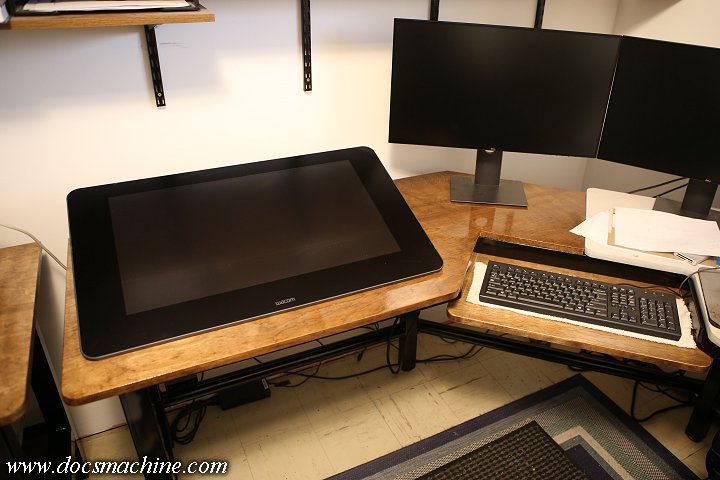
The kicker was, a year or so ago, I splurged on a nice big WACOM graphics tablet, to make it easier to do my webcomic. (Shameless plug. )
)
The tablet was very useful, but hung over the end of the old desk by an easy eight inches. I'd also been remodelling my spare room into a proper office, and because the desk had briefly been literally supported by another piece (a big office type credenza I kept a lot of my papers an invoices in) I wound up with the tablet end of the desk sitting on an old 2-drawer filing cabinet, both just to hold it up, and to 'stretch' the deck enough to properly support the tablet.
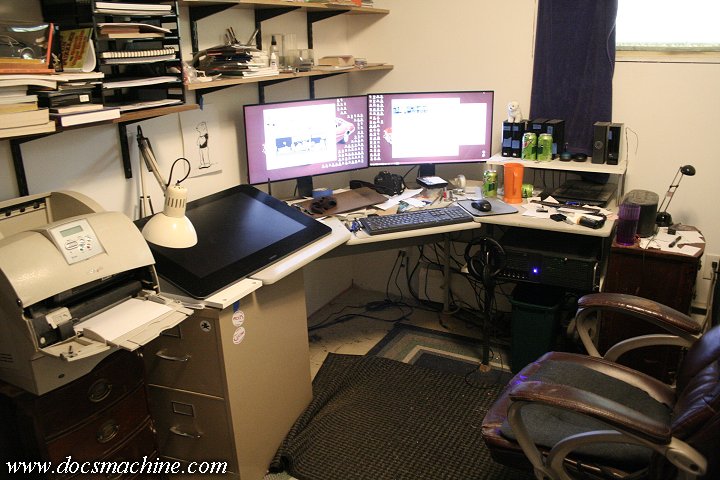
It all worked, but it was a mess. I'd been thinking about building a proper desk for a while, and finally, towards the beginning of August, I started on it.
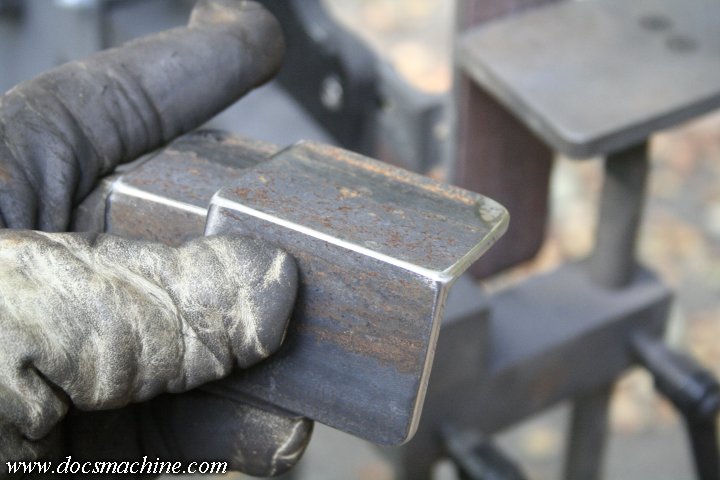
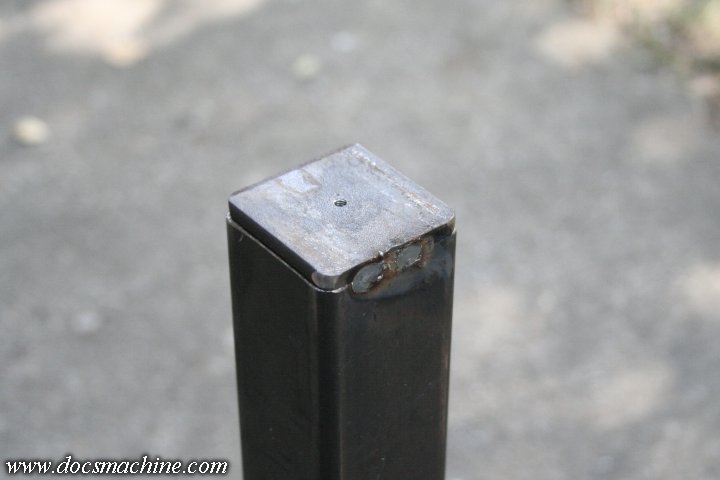
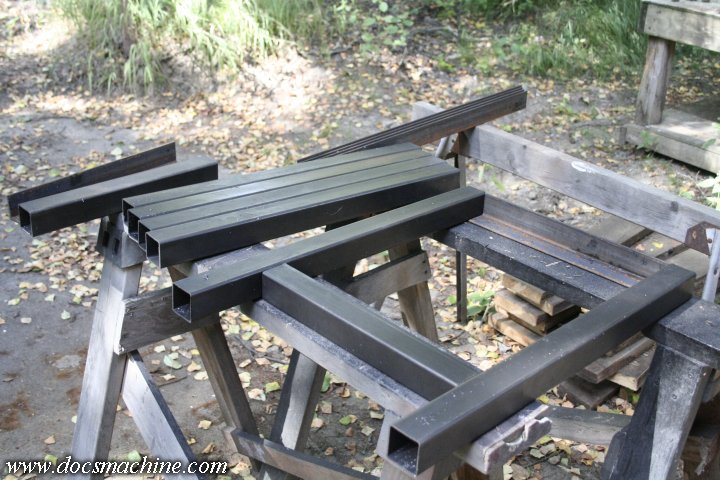
My horizontal bandsaw is still down while I work on the gearbox, so I just had my local metal supplier cut everything to size for me, in 2" thinwall box tubing and 2" angle:
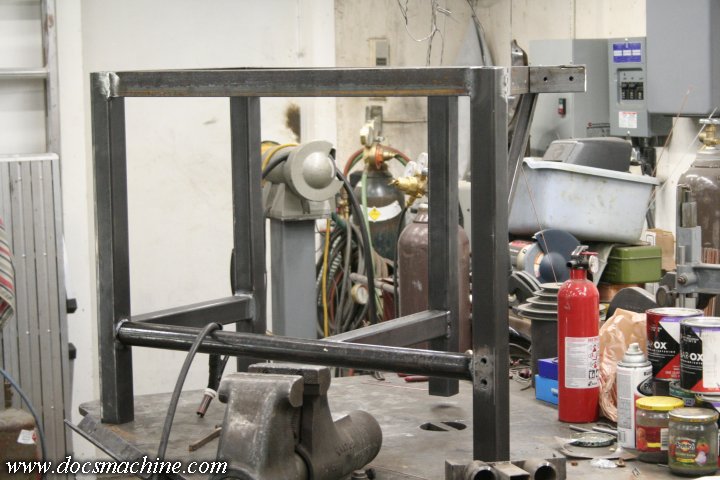
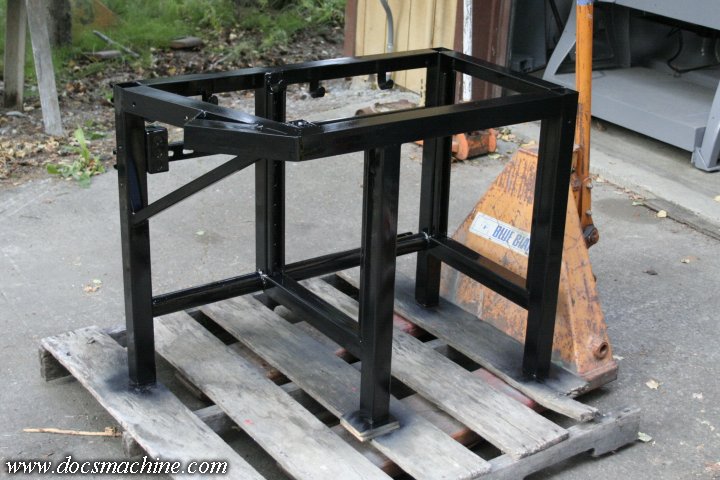
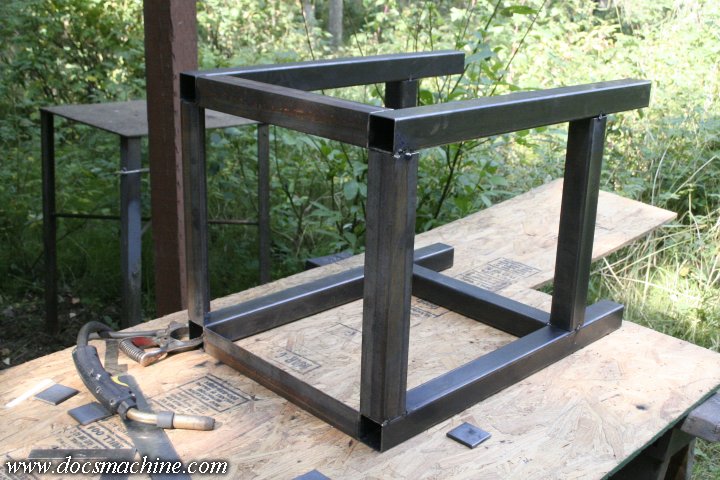
I started by tacking together what would be the end faces ...

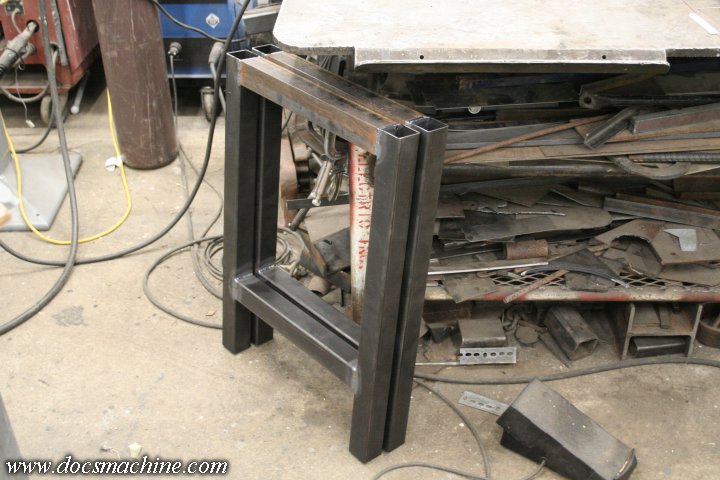
And then carefully added a third leg.
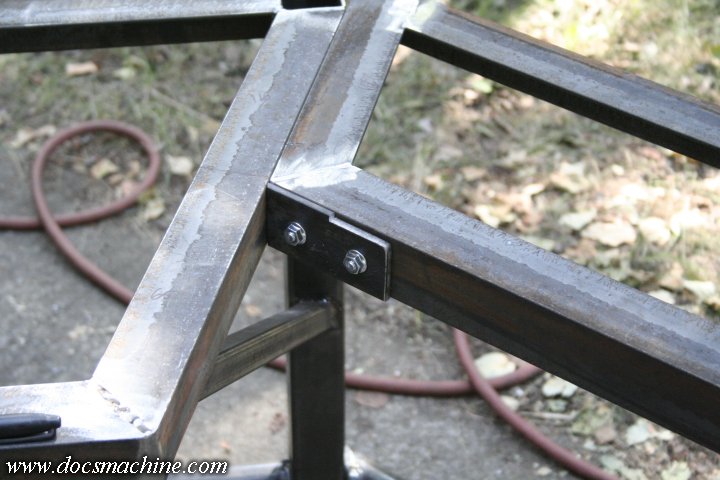
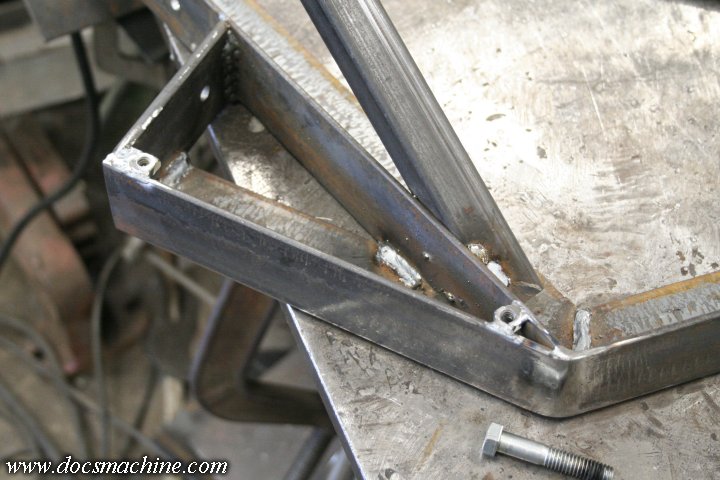
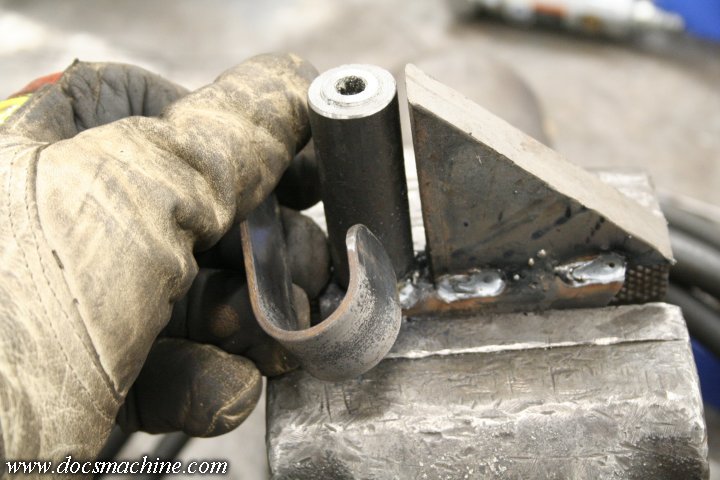
That leg got tied in with a chunk of round bar, which would act as a footrest.
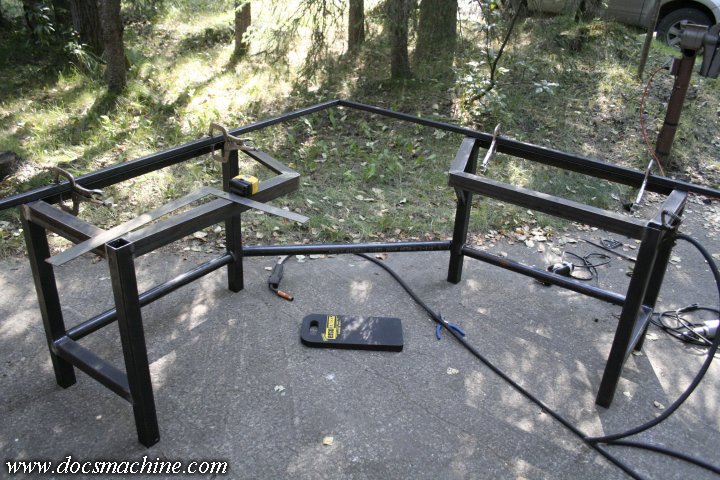
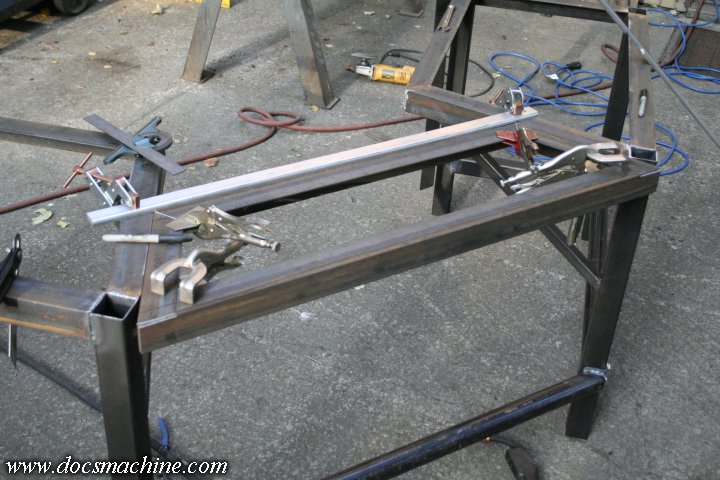
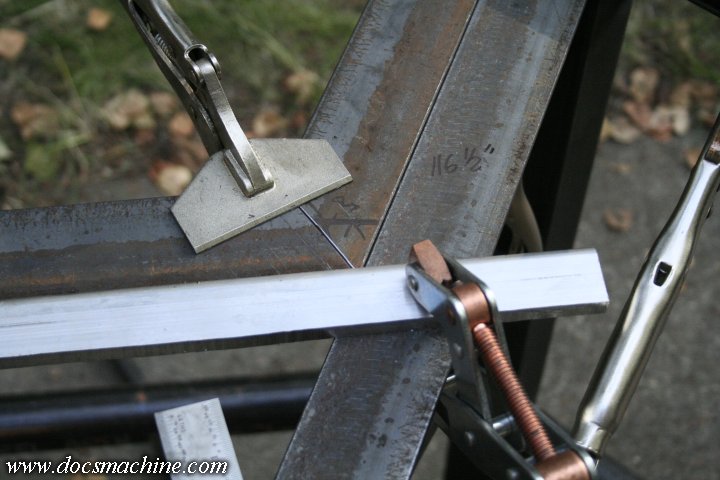
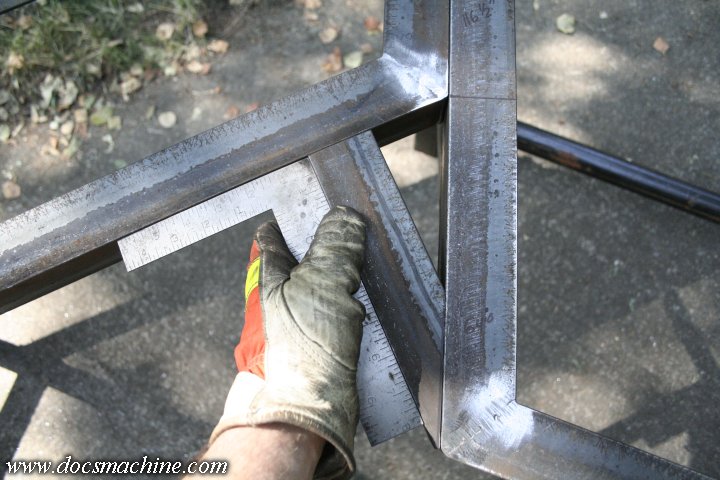
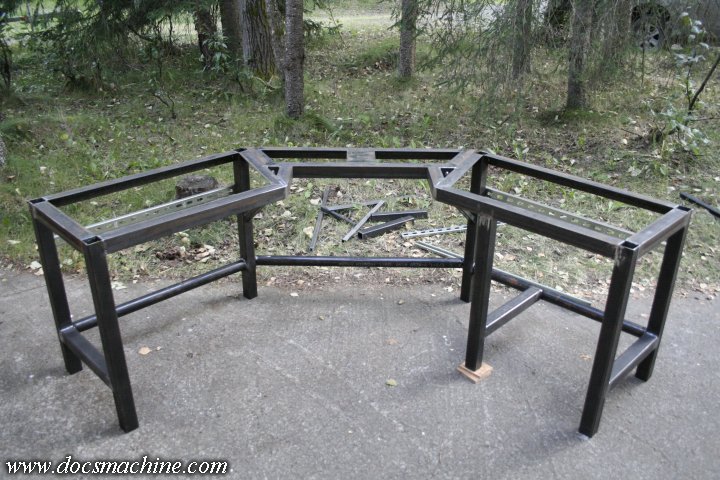
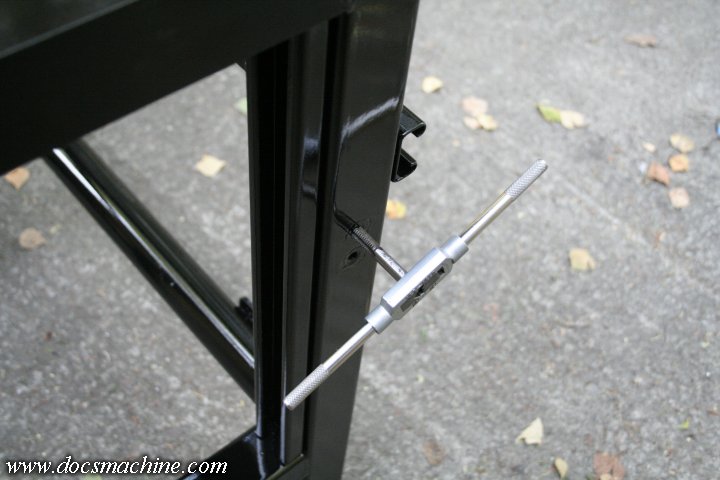
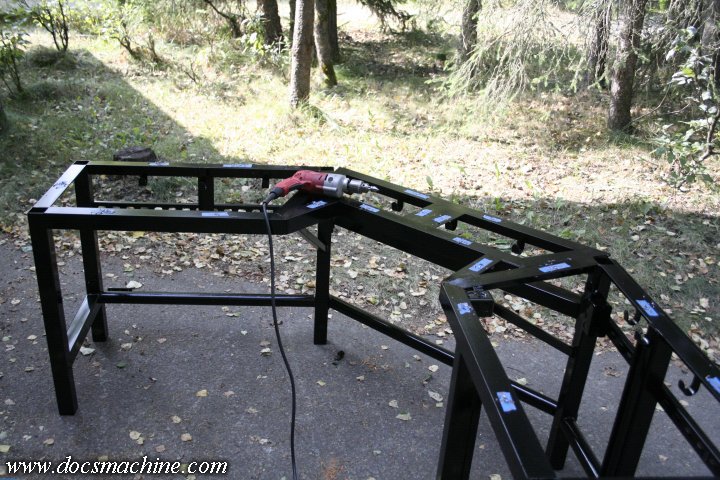
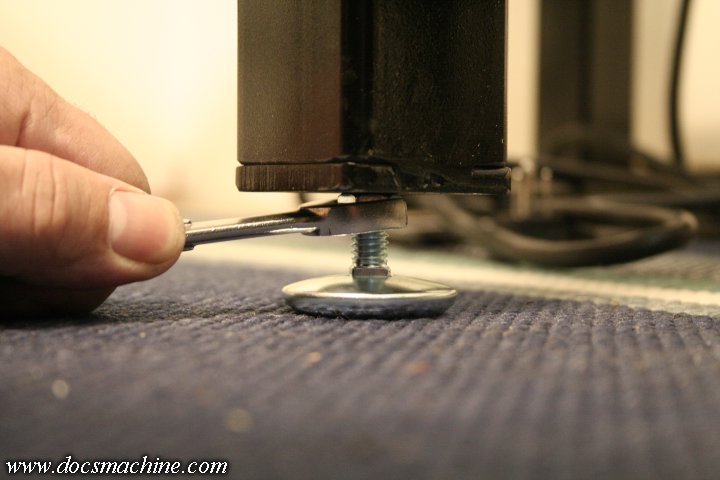
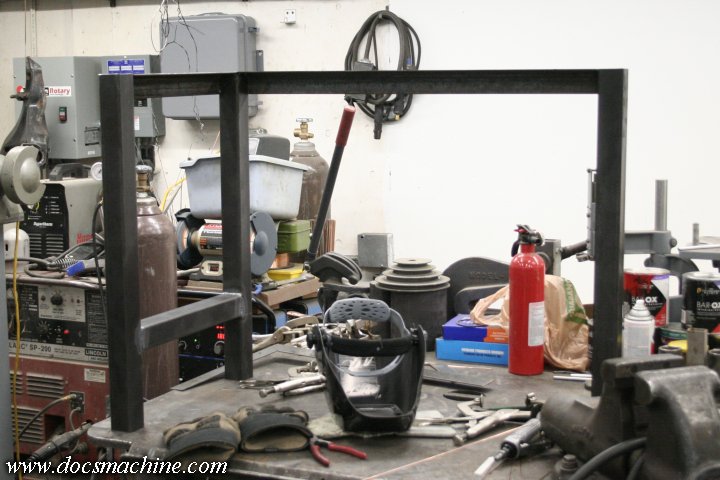
Once I had two of these, mirror imaged to each other, I took it out on the shop's apron- the only place I had with enough room for the full desk - and got 'em squared up to each other in order to get some measurements and angles.
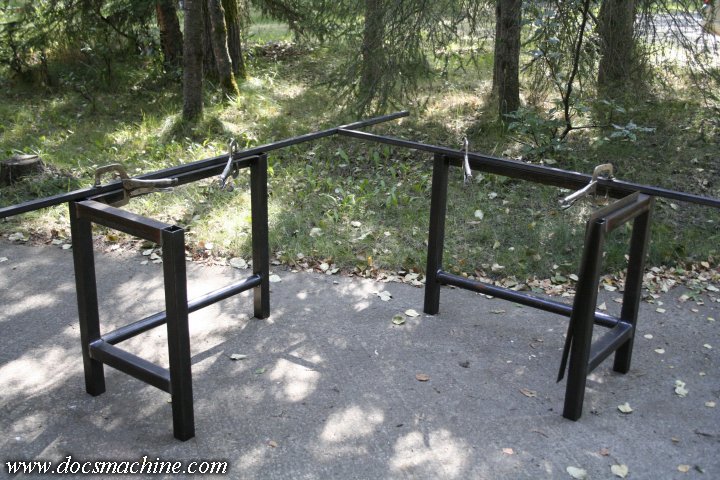
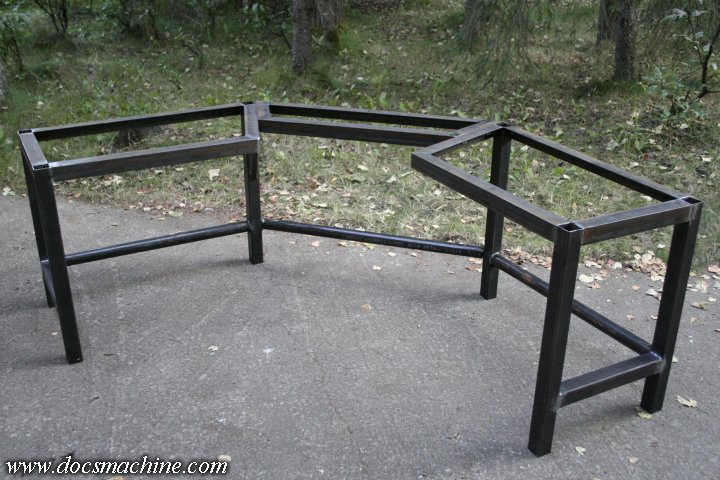
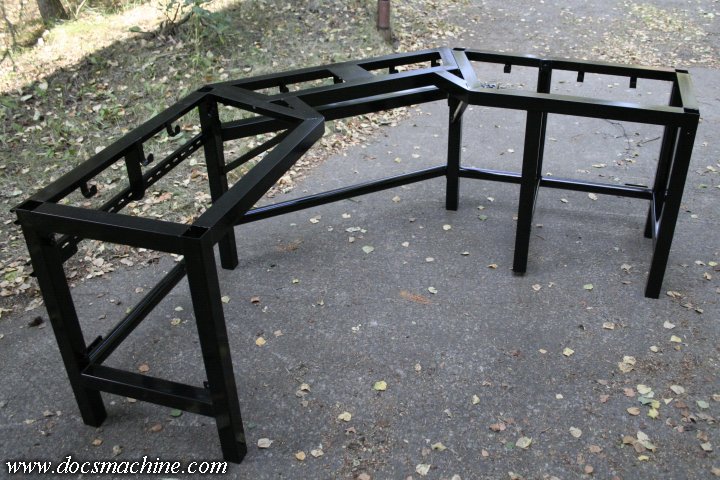
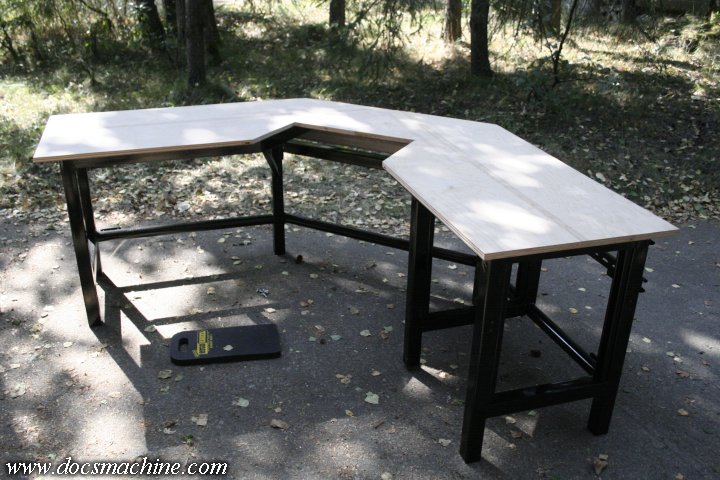
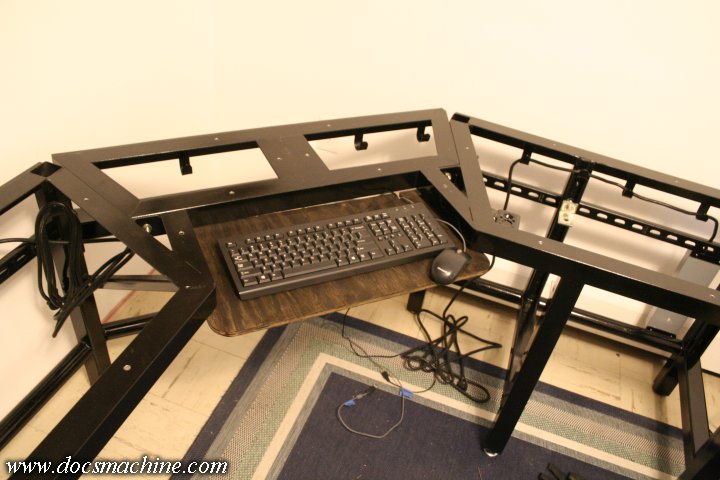
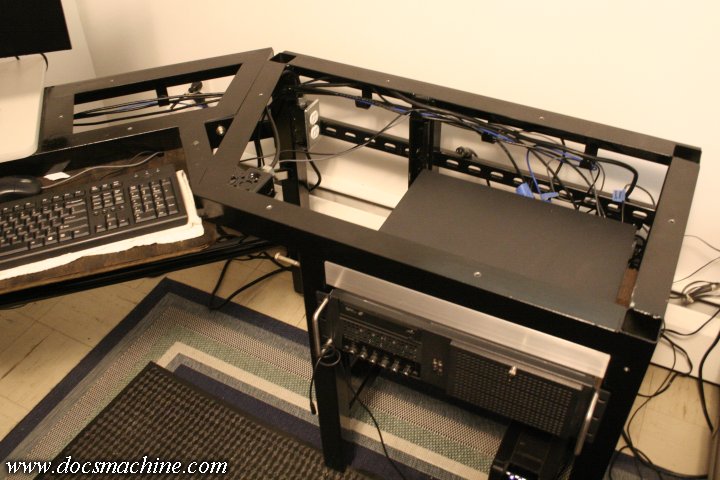
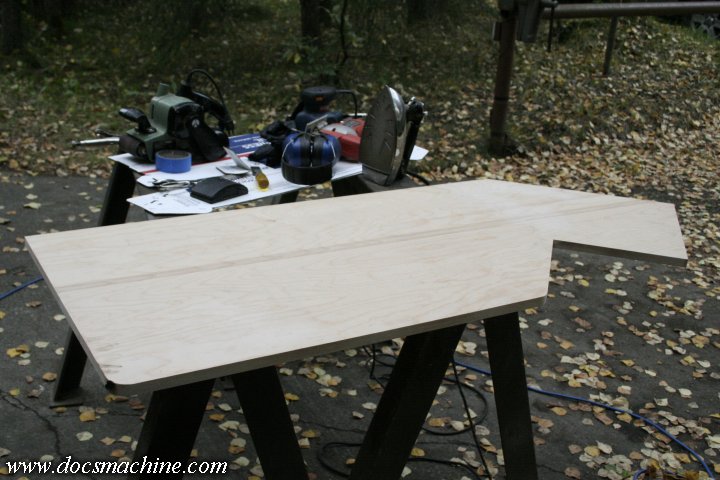
The original desk was a corner unit, where the operator sat facing the 'point' of the corner, with a "wing" on either side. I liked that setup, so I was emulating the general layout, just with a heavier frame and longer 'wings'.
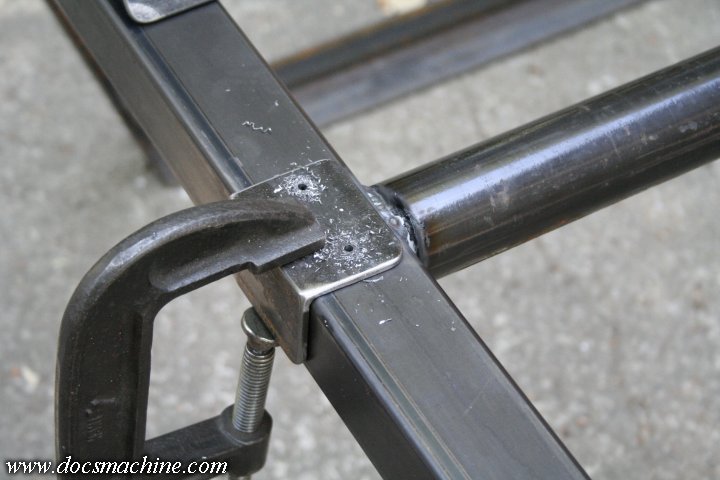
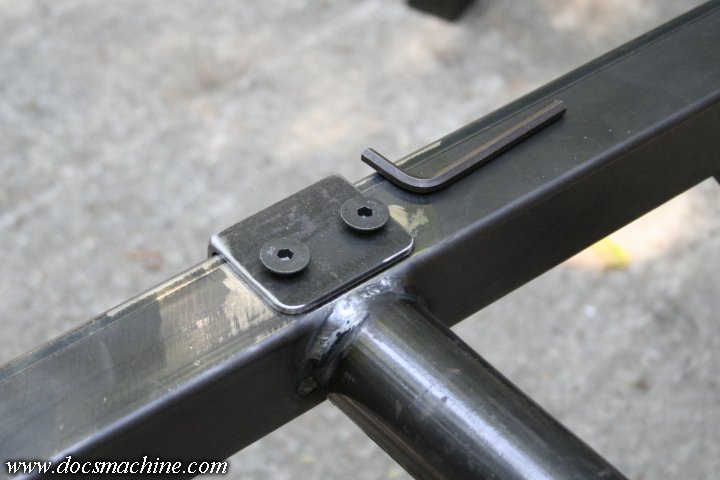
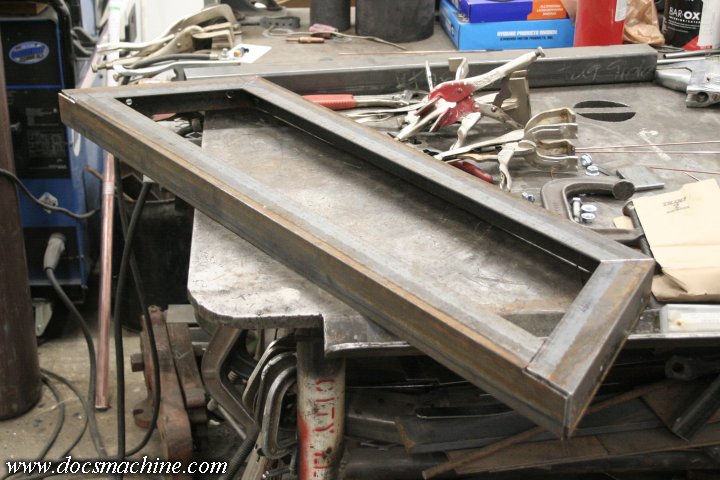
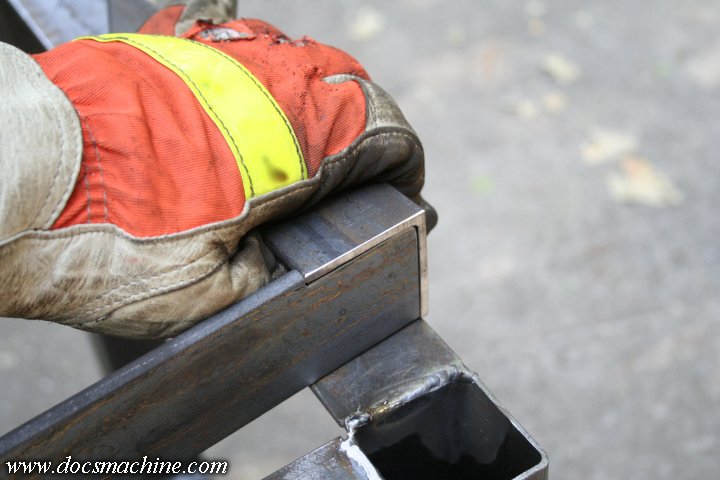
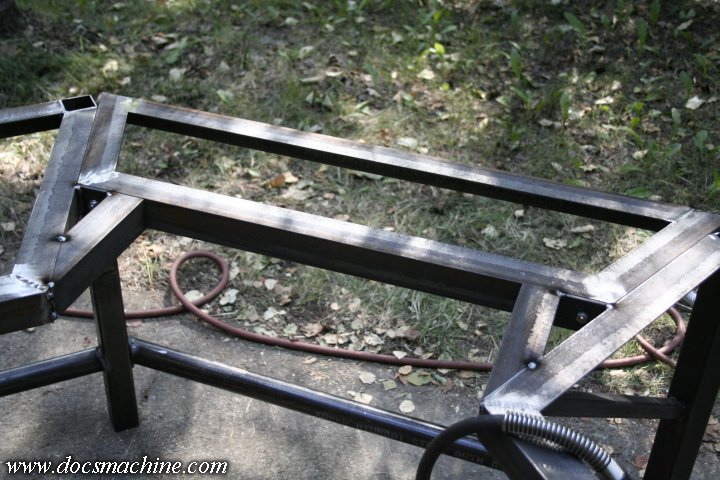
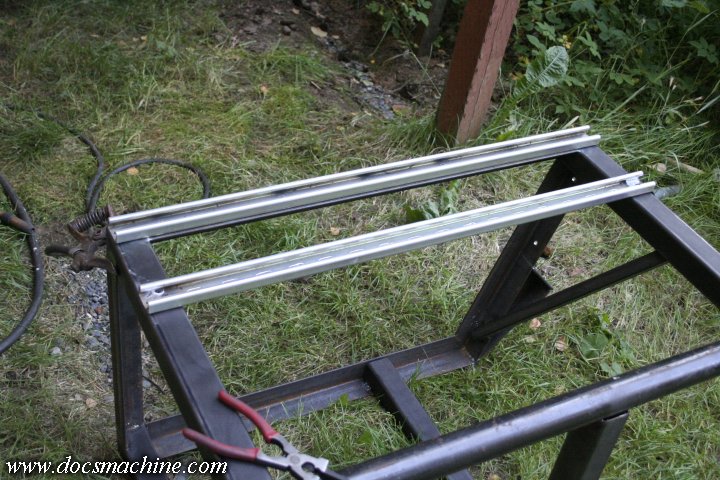
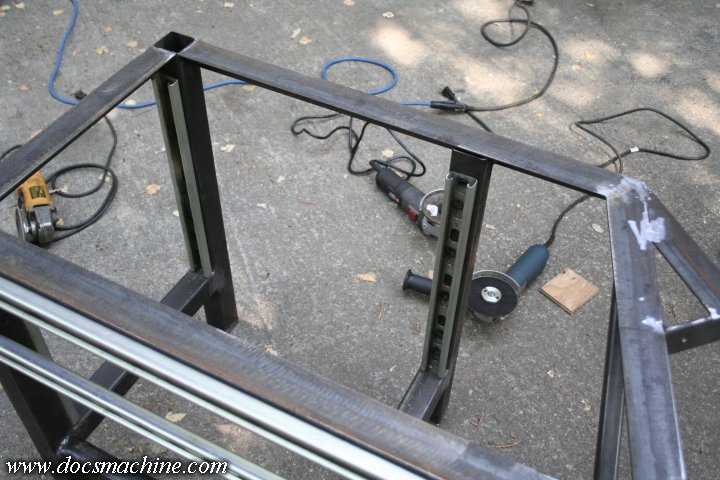
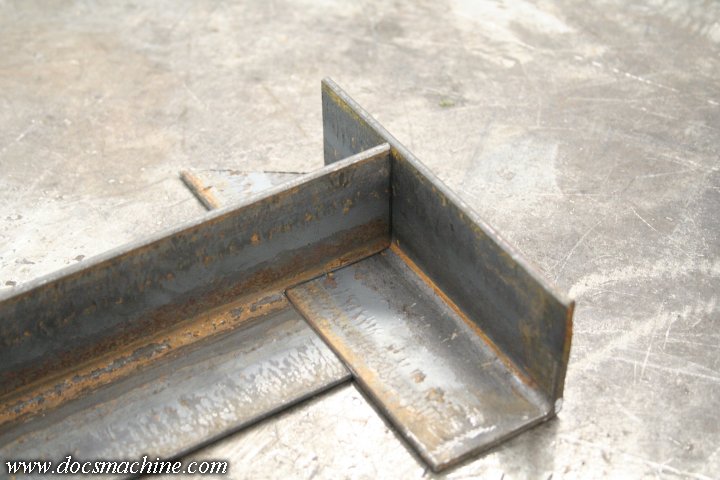
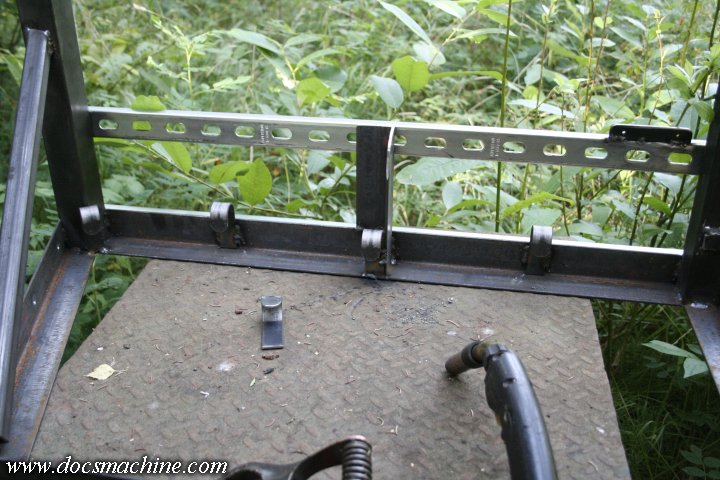
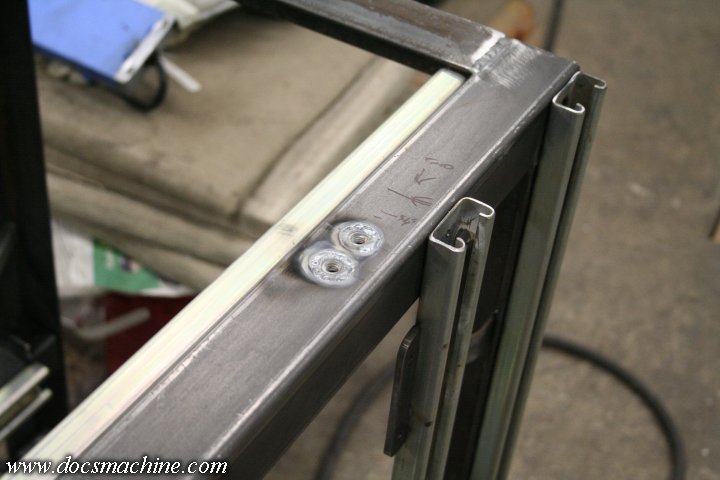
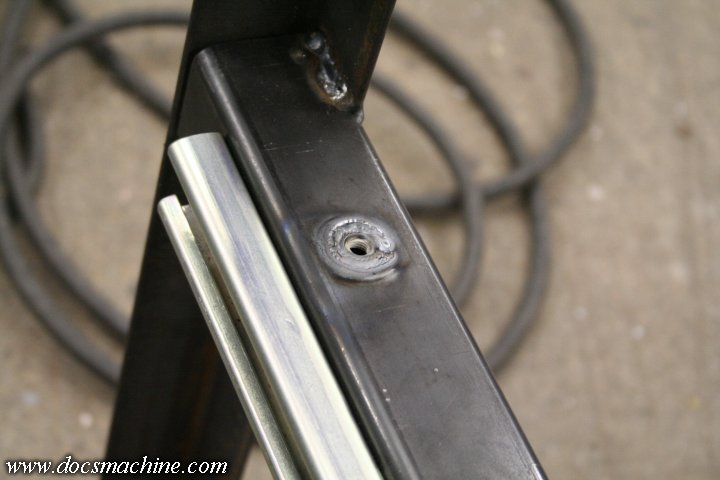
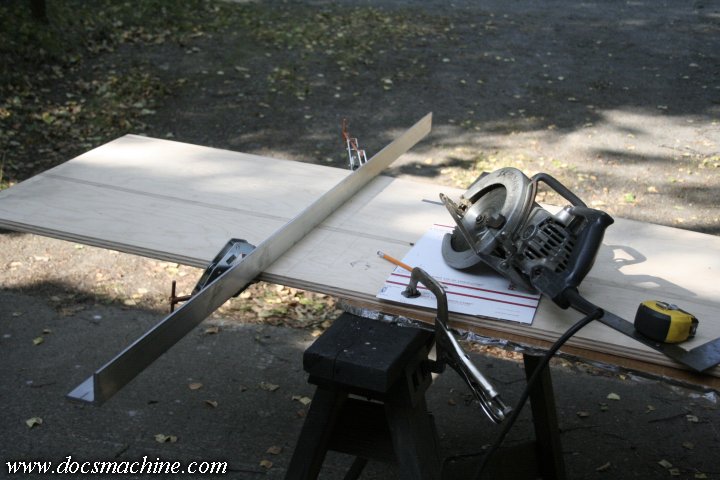
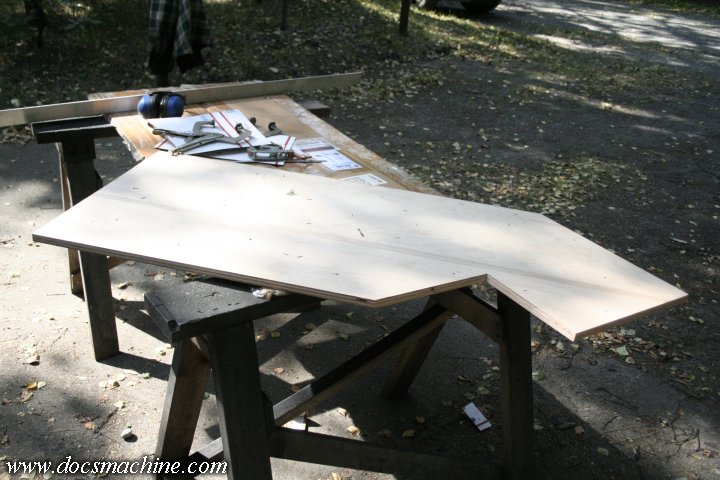
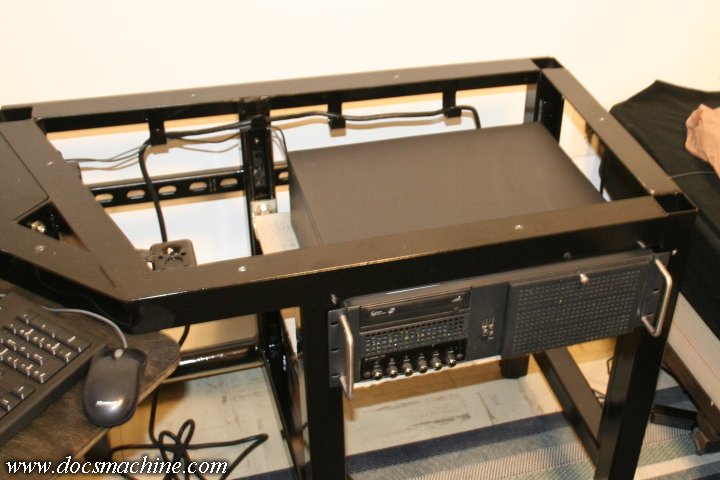
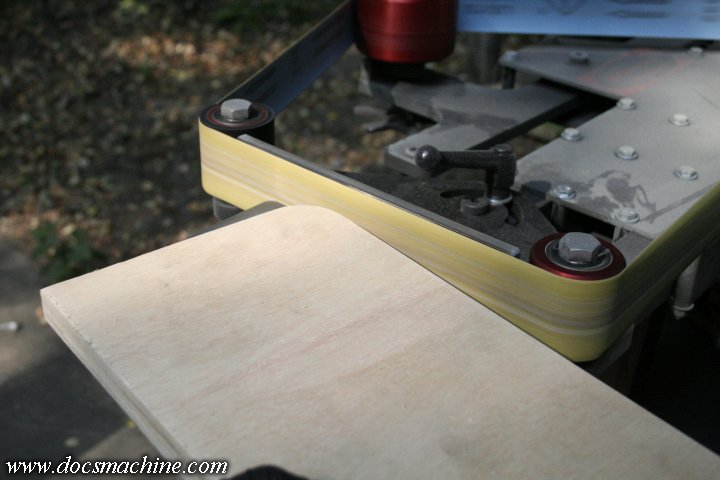
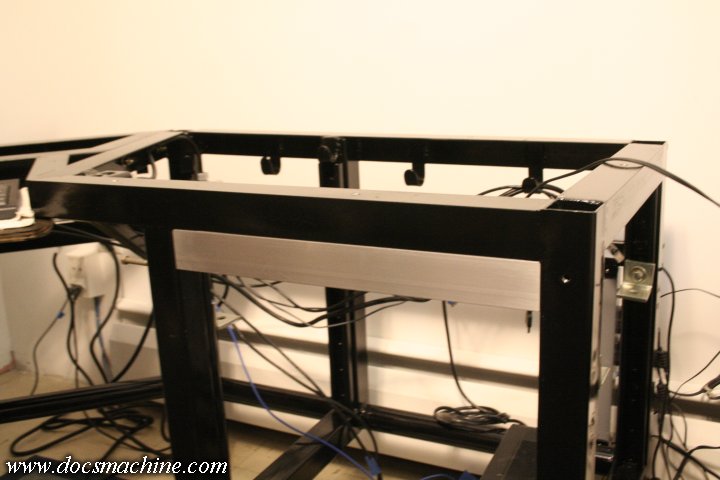
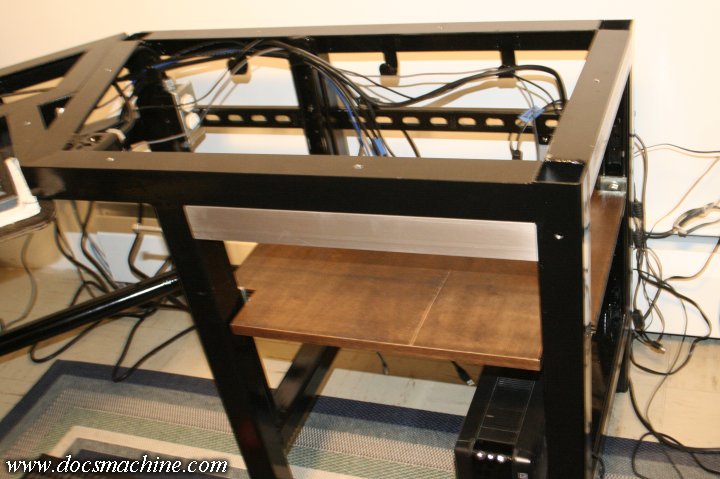
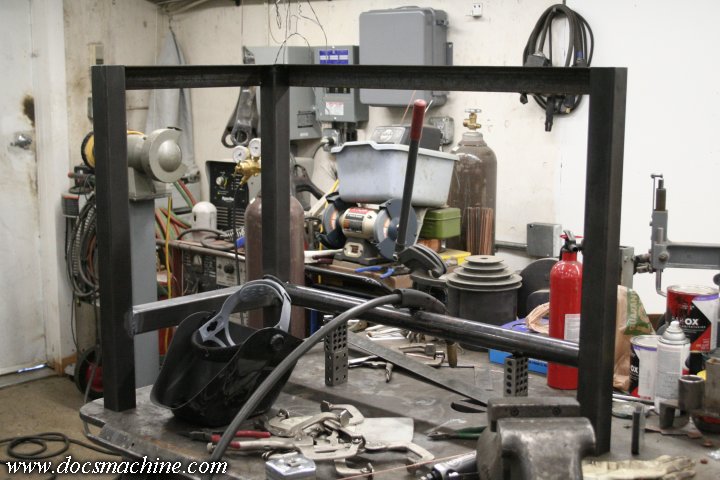
So with a little careful measuring, I added the rest of the perimeter of the 'frame' for the desktop.
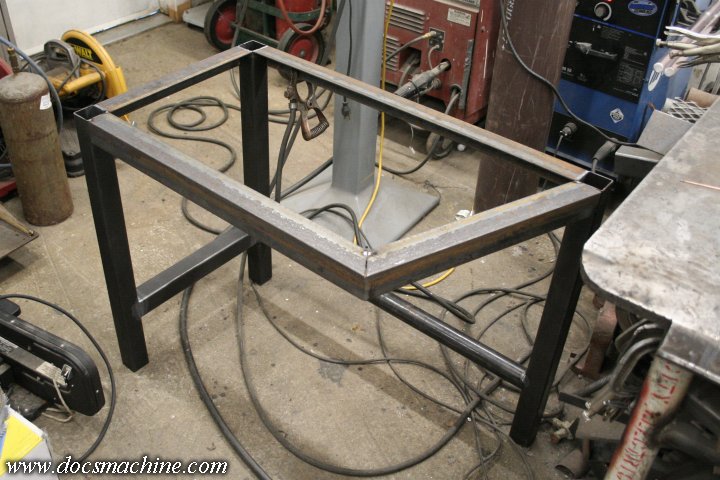
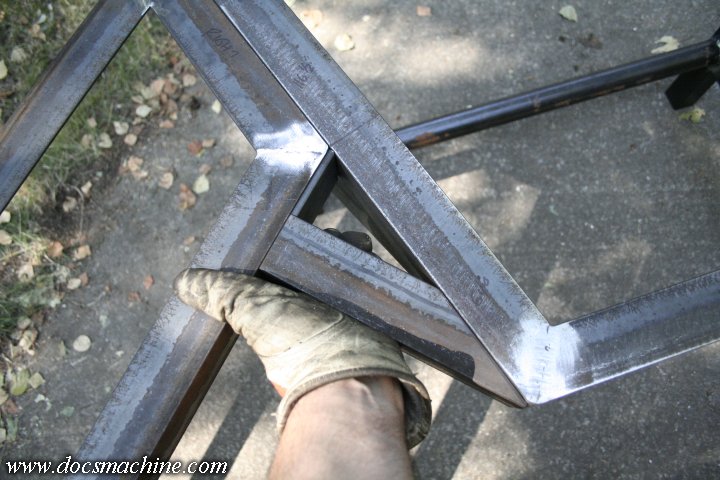
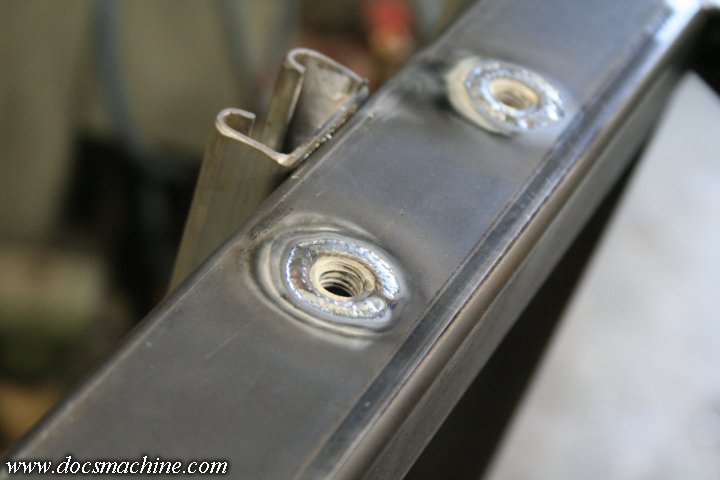
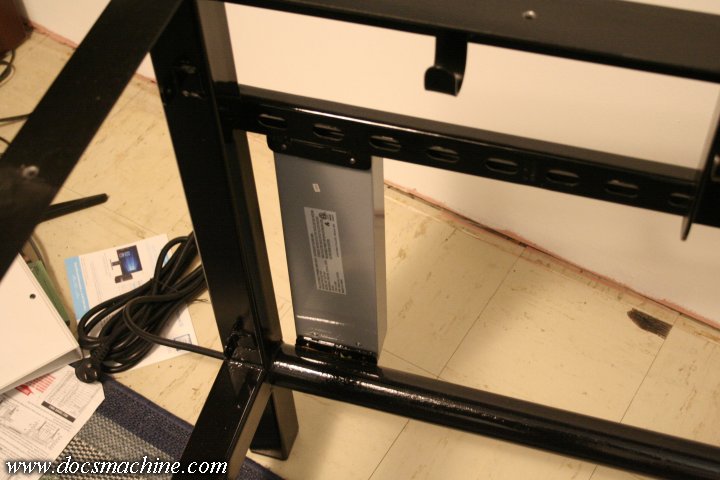
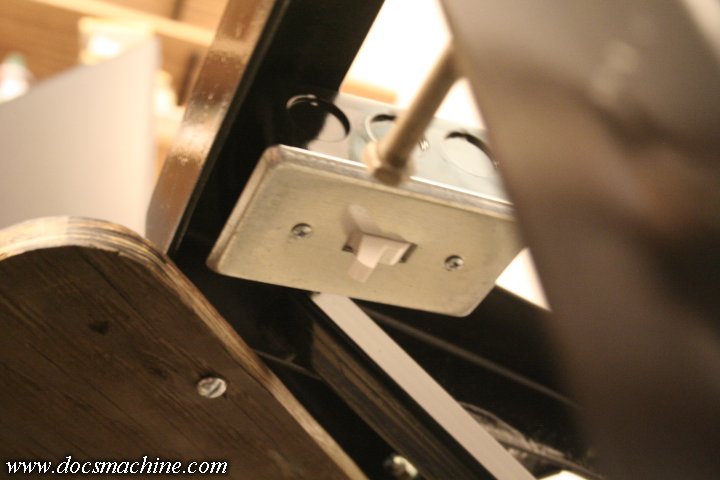
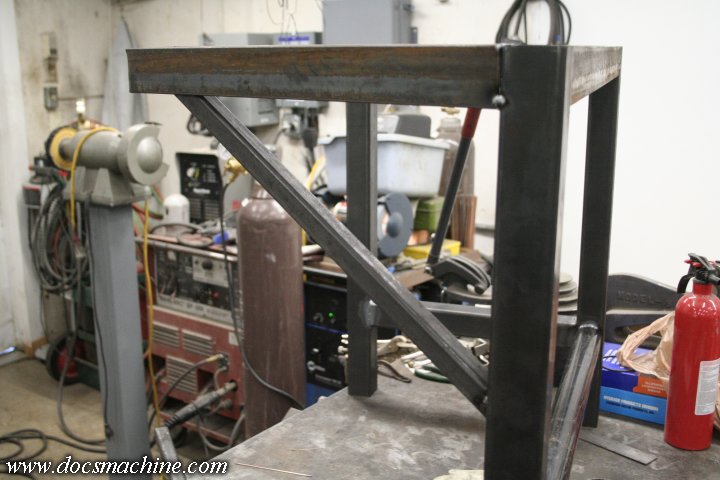
And, knowing how rickety the original desk was, I added a brace to help support the top frame, but high enough it wouldn't get in the way of my feet or legs.
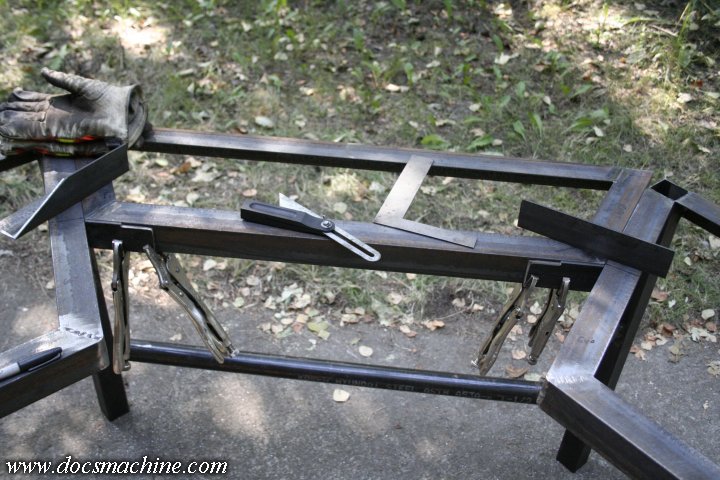
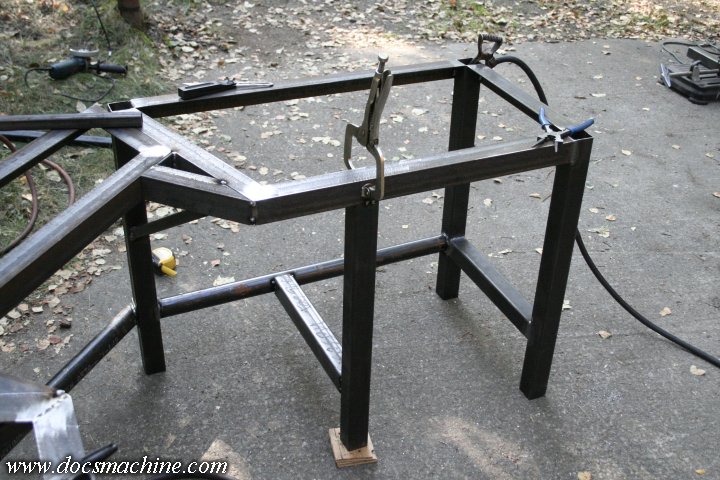
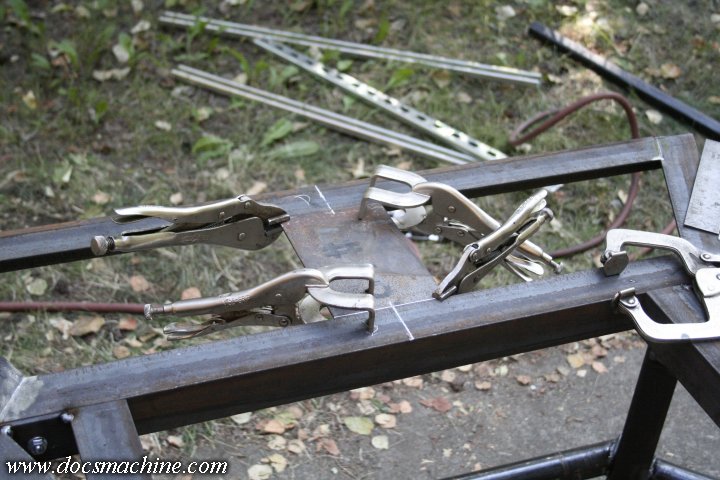
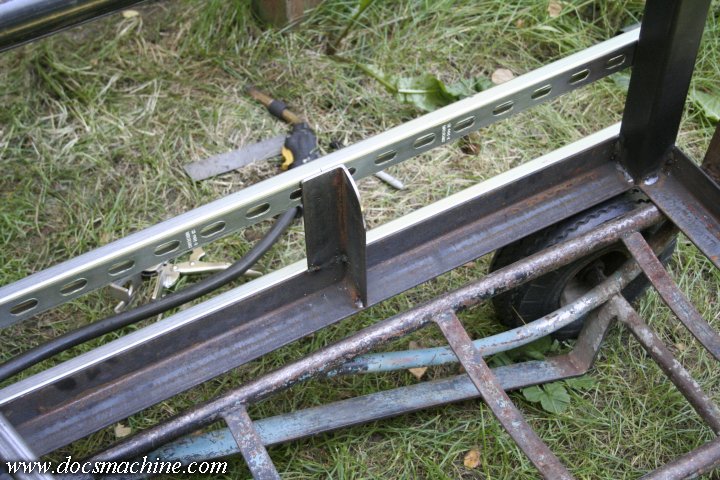
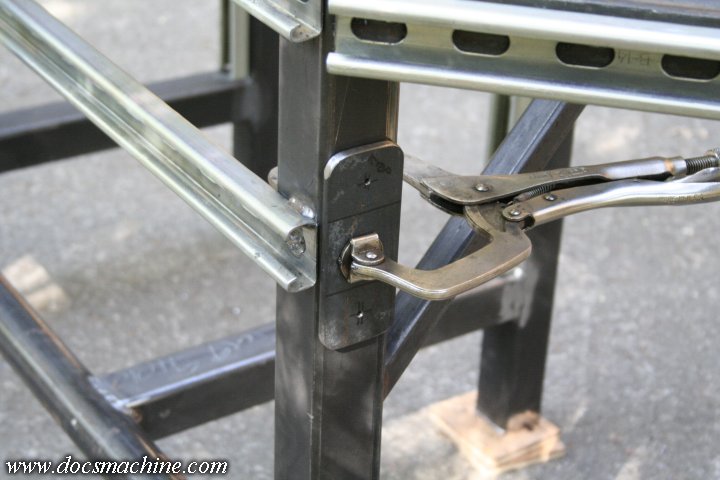
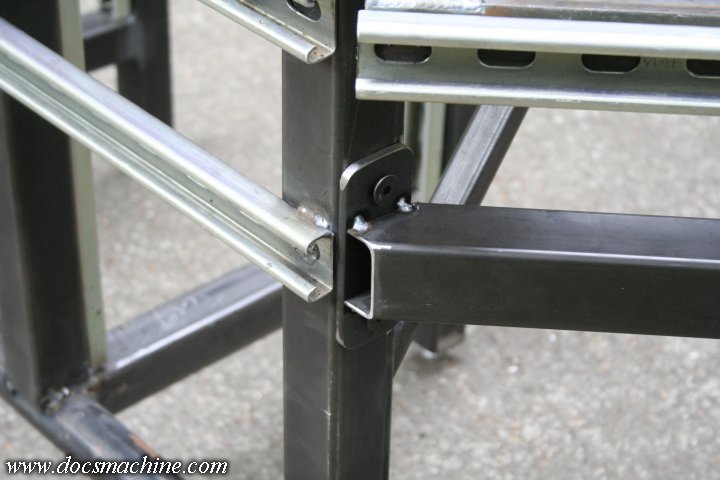
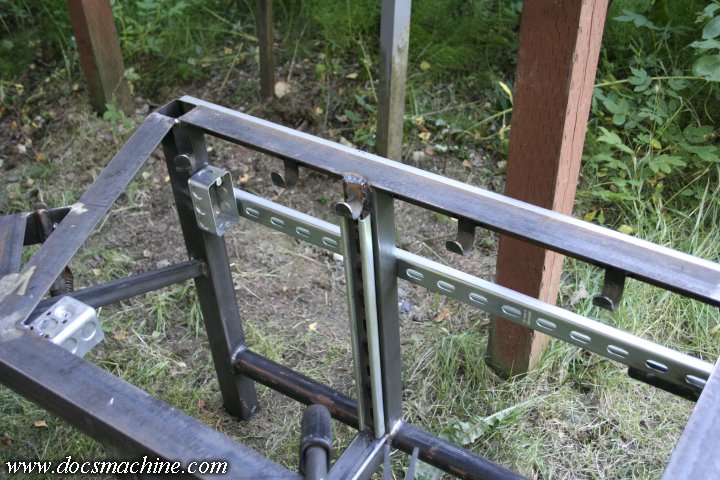
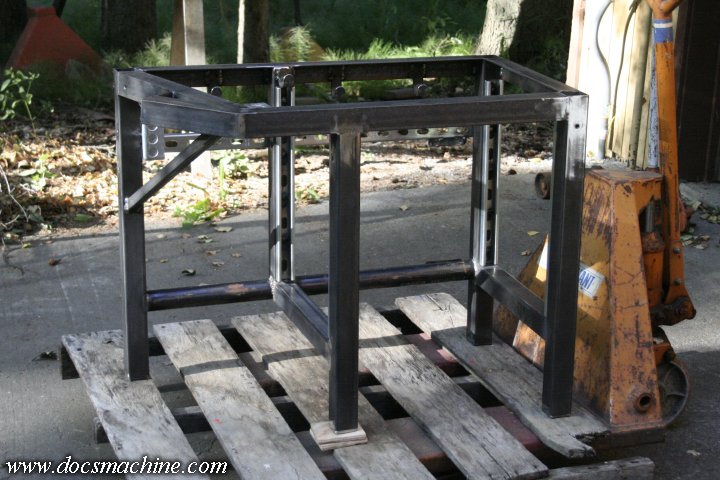
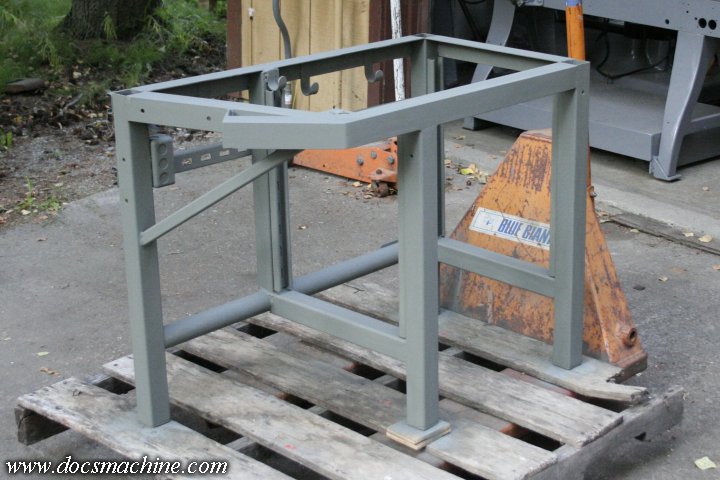
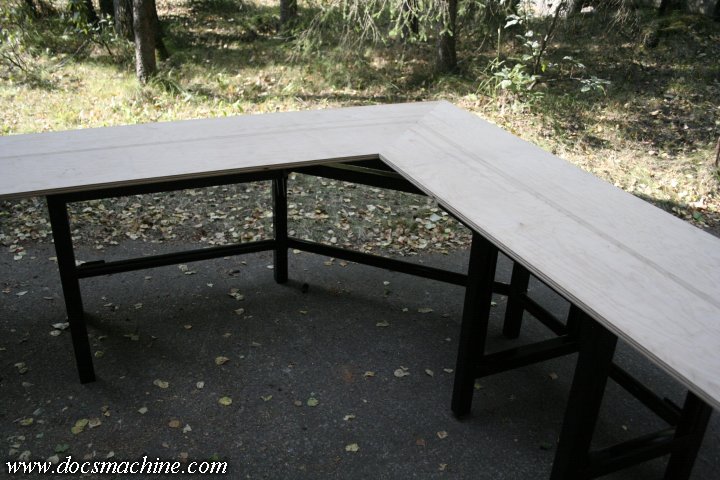
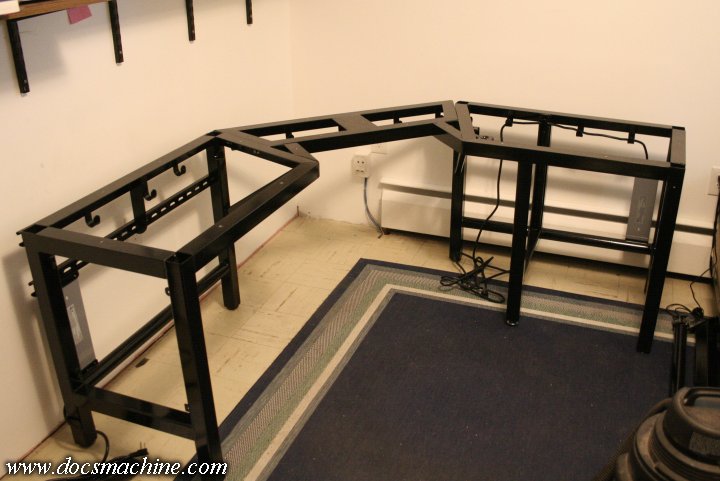
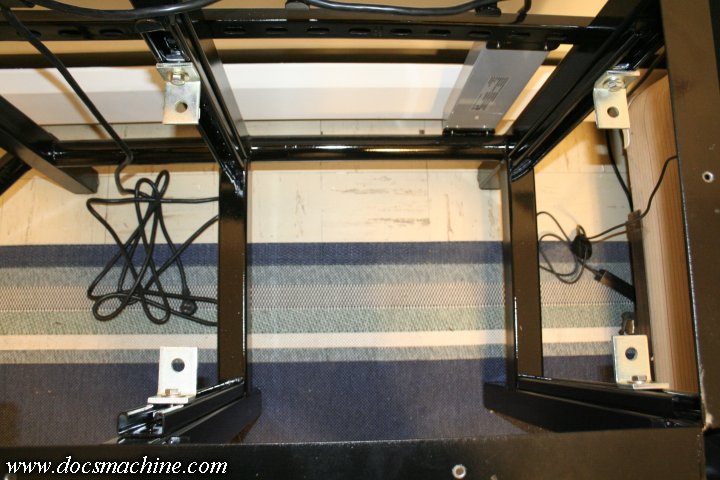
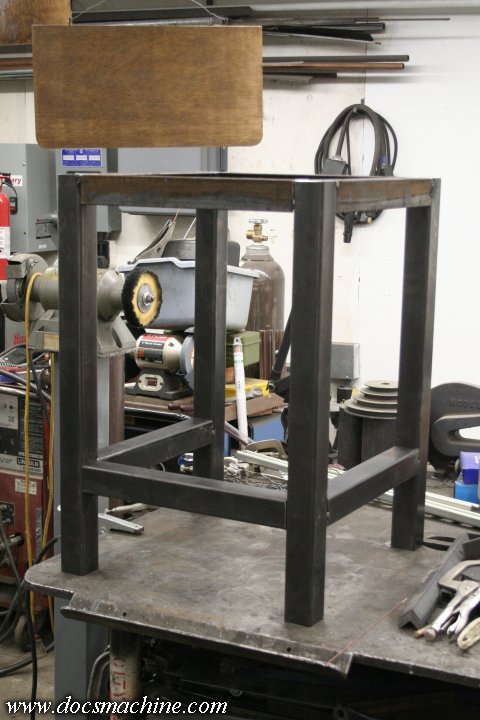
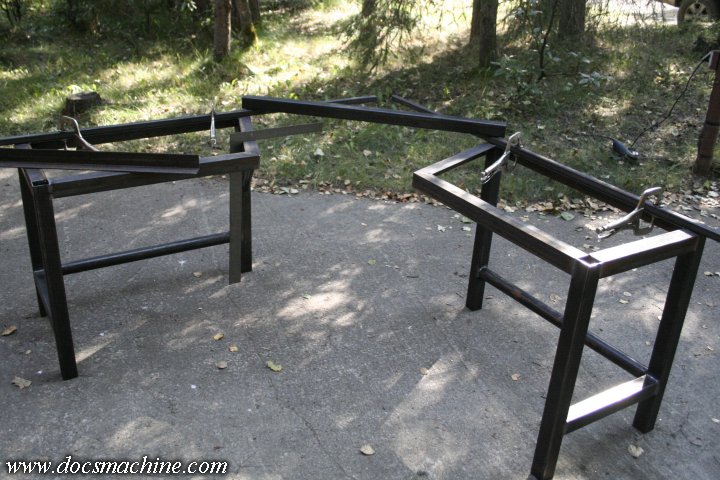
With the perimeter frame on both halves, I once again set 'em up and squared them to each other, in preparation to fab a center section to tie them together.
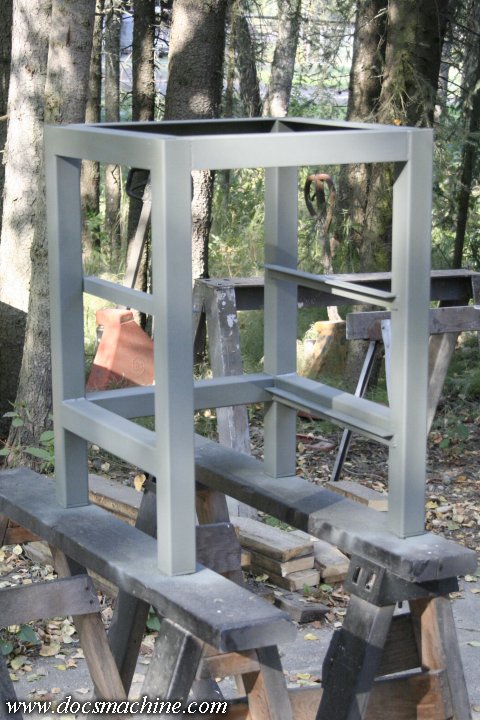
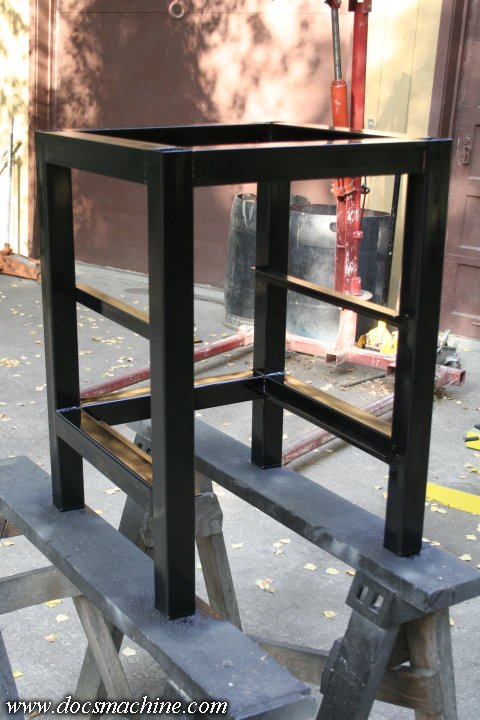
(To be continued...)
The kicker was, a year or so ago, I splurged on a nice big WACOM graphics tablet, to make it easier to do my webcomic. (Shameless plug.
)The tablet was very useful, but hung over the end of the old desk by an easy eight inches. I'd also been remodelling my spare room into a proper office, and because the desk had briefly been literally supported by another piece (a big office type credenza I kept a lot of my papers an invoices in) I wound up with the tablet end of the desk sitting on an old 2-drawer filing cabinet, both just to hold it up, and to 'stretch' the deck enough to properly support the tablet.
It all worked, but it was a mess. I'd been thinking about building a proper desk for a while, and finally, towards the beginning of August, I started on it.
My horizontal bandsaw is still down while I work on the gearbox, so I just had my local metal supplier cut everything to size for me, in 2" thinwall box tubing and 2" angle:
I started by tacking together what would be the end faces ...
And then carefully added a third leg.
That leg got tied in with a chunk of round bar, which would act as a footrest.
Once I had two of these, mirror imaged to each other, I took it out on the shop's apron- the only place I had with enough room for the full desk
- and got 'em squared up to each other in order to get some measurements and angles.
The original desk was a corner unit, where the operator sat facing the 'point' of the corner, with a "wing" on either side. I liked that setup, so I was emulating the general layout, just with a heavier frame and longer 'wings'.
So with a little careful measuring, I added the rest of the perimeter of the 'frame' for the desktop.
And, knowing how rickety the original desk was, I added a brace to help support the top frame, but high enough it wouldn't get in the way of my feet or legs.
With the perimeter frame on both halves, I once again set 'em up and squared them to each other, in preparation to fab a center section to tie them together.
(To be continued...)