What size wire are you using? .023 is great for sheet metal, .030 works with some care, and .035 is difficult to use on thin metal.
All depends on the welder, all depends on welder setup, all depends on the technique used. Believe what you will, the picture shown below uses .035 wire and the machine's settings are for 3/16 steel and uses about 1/2 second duration on the weld to control the amount of heat the panel "sees". Panel is 19 ga, measures out to .039 thick. You should be able to use any of the three sizes you indicate above with success, given the proper machine
and operator tweaking.... But a person needs to step out of the box and experiment with their machine to see what its capable of. Don't rush out and get a roll of .023 wire just because Joe Smith uses it in his, which btw, is likely a different machine from yours. Get out of your comfort zone and see what the machine will do with the wire that's in it, try various different heat settings and elapsed time for control, so you can dial it in to find that sweet spot...
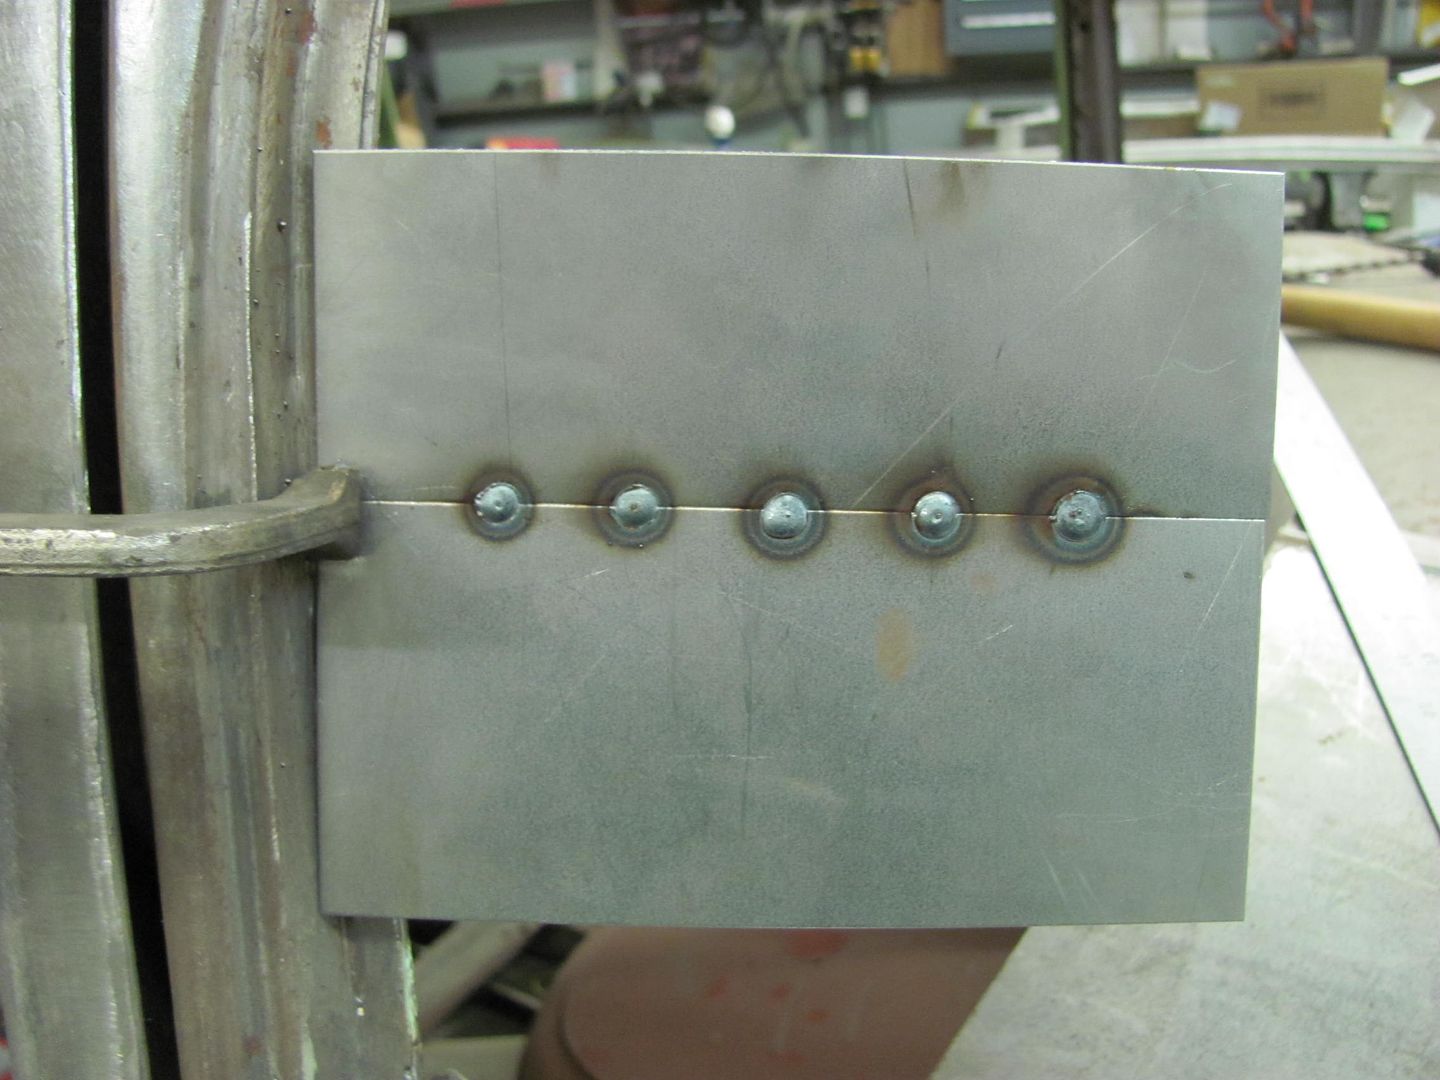
Put the .035 ER70S-7 back in, dialed in the settings for 3/16 thick steel, and ran some test welds...
Front side....
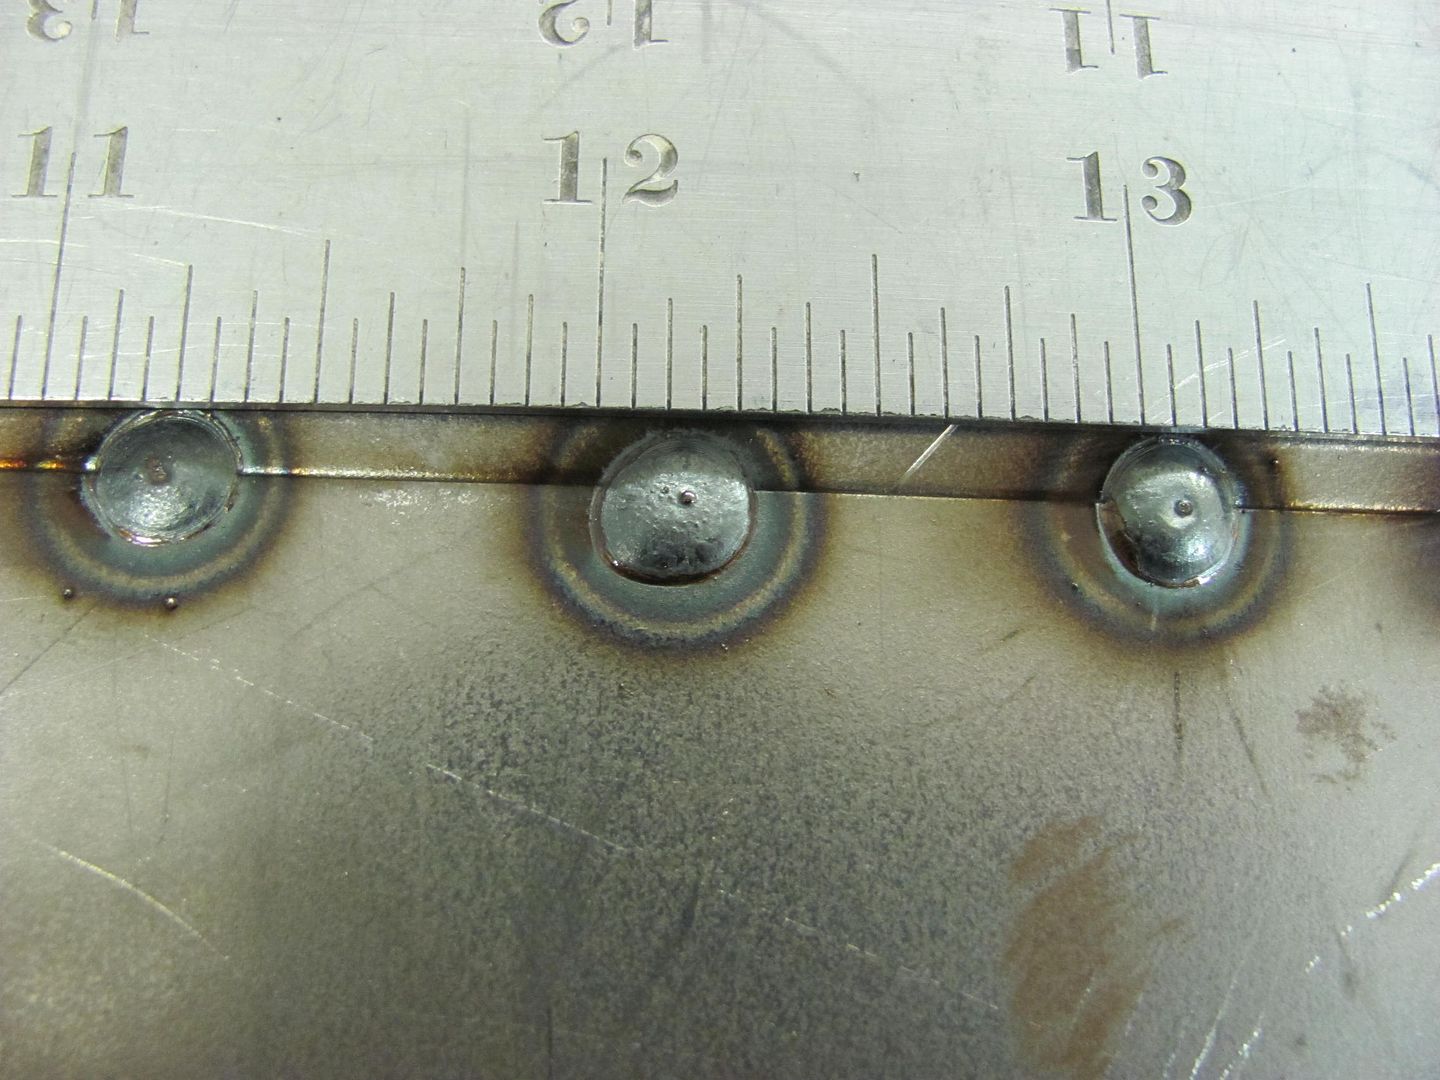
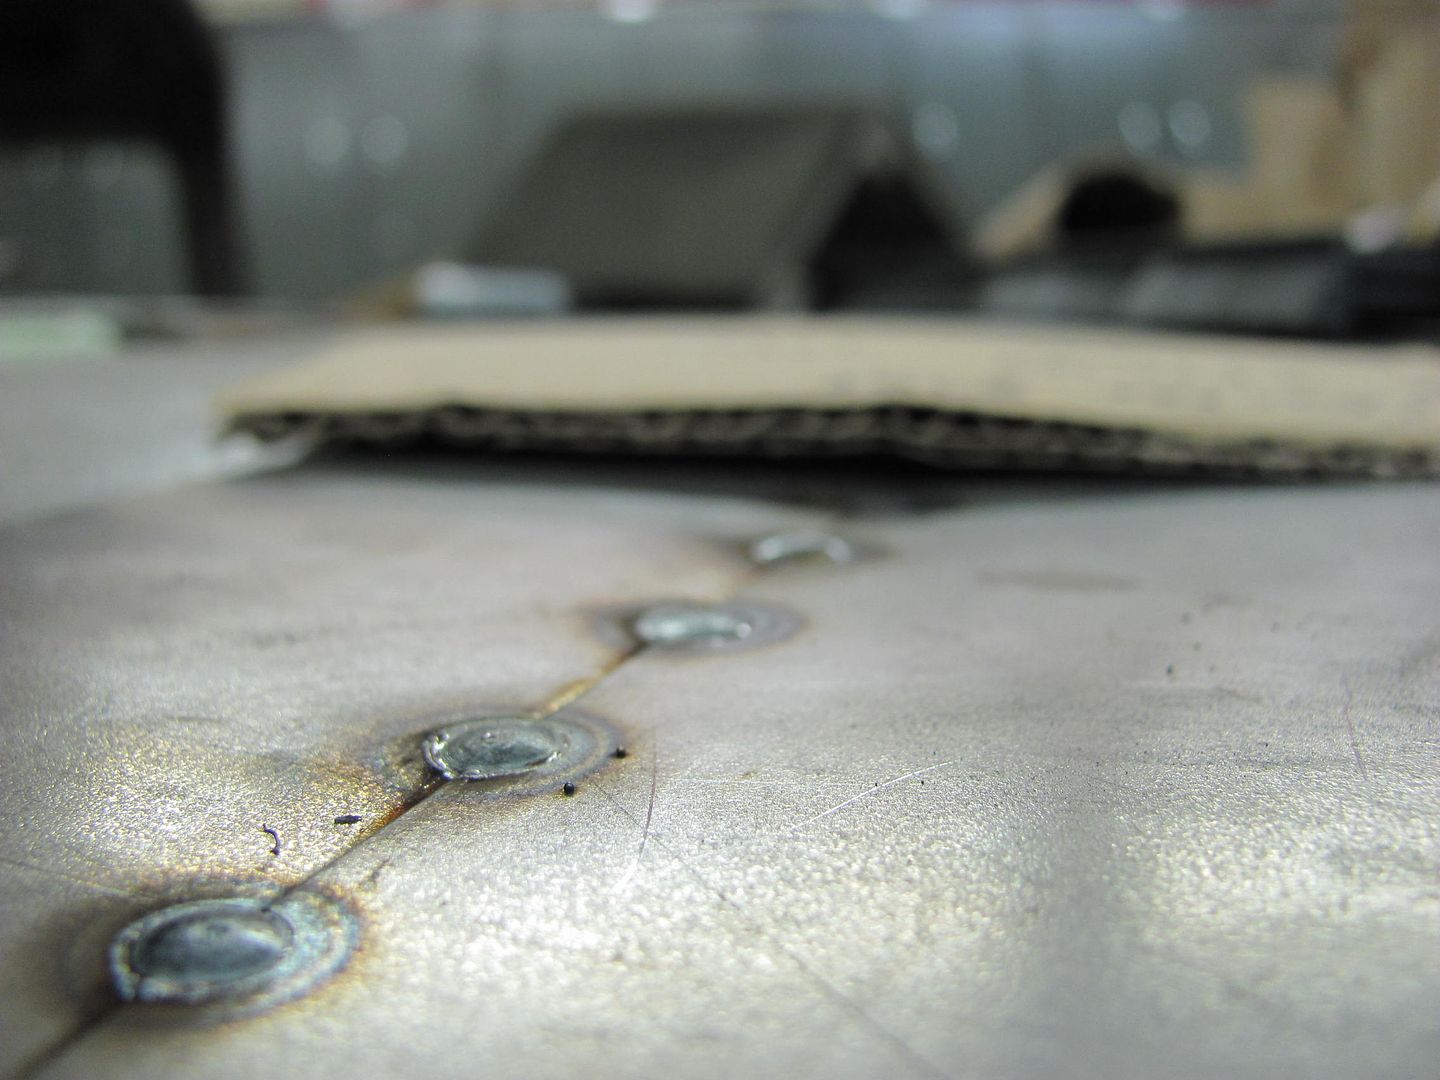
Rear side....
Plenty of heat for full penetration welds (note consistency of size from front to back) which make them ideal for planishing, minimal size of HAZ due to quick in, quick out. People who weld cold and then sit there trying to fill a plug weld still in the end have a cold weld joint with minimal weld penetration that is susceptible to failure. If it starts as a cold joint it always is a cold joint. Don't be afraid of the heat.