Once you get started on that tiger moth keep us updated with lots of pics, man how I would love to be in a group or club and help with a project like yours. BCD.
Will do! This was one of those opportunities that a rational person would realize is way beyond the realms of possibility or reason. But something about the airplane called to me, so I'm off on a great adventure! I have only two rules for the project.
First, nothing I do will prevent a future owner from reverting the aircraft to 100% original factory condition. This means no permanent modifications to original parts, and all original parts which are not used are kept with the airplane for future generations. Also, everything will be documented in *extreme* detail both during and after disassembly, as a reference for other restorers or future owners.
Second, if the project sits idle for 1 year with no meaningful progress made, no matter what the reason... it gets moved on to a new owner with the resources to properly finish the job. I deplore seeing people's dream airplanes rotting away in hangars (or outside!) because they ran out of money, time, or health to finish the project. That already happened to this airplane once before me but it won't happen again after me.
Other than that... it will be a rather unorthodox restoration. I don't need a museum-piece airplane that I'm too scared to fly in anything but perfect weather. I need a sturdy, reliable trainer that will teach me the skills to move on to flying more exciting aircraft, culminating hopefully with a Spitfire. So to that end, the restoration will take advantage of a lot of modern advances both for safety and reliability. The engine will be equipped with a full digital CHT/EGT setup, this means I'll be able to keep a close eye on its health and ideally spot problems as they develop, before parts are damaged beyond repair. The rear cockpit will have a glass panel, it will have GPS, ADS-B in and out, AoA, the works. It will even have a proper set of radios and radio navigation aids. Now, don't get me wrong, it's a Tiger Moth, 99% of your flying is done VFR with your head outside of the cockpit. But I live in the Pacific Northwest, we are well known for sudden and sometimes drastic and unpredictable changes in weather. Given the choice between having to land in a field (or forest) because the clouds rolled in and I was out of options, versus being able to make an emergency IFR approach in order to save my skin (and the airplane!) I'll take the latter. Likewise the structure... modern epoxy adhesives will supplement the old "nail it together and pray" means of construction. But I won't change the "spirit" of the airplane... it'll still use the unconventional British brake setup, instead of toe brakes as on modern aircraft, it'll still have the same weight and balance and roughly the same performance, etc. It should still be great fun to fly
")

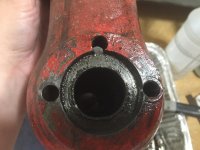
 00w0w_eXozF6xp1GI_1200x900.jpg55.2 KB · Views: 211
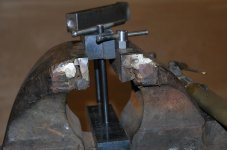
 2016-07-15 at 07.40.53.jpg144.8 KB · Views: 176
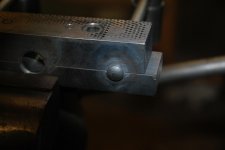
 2016-07-15 at 07.40.03.jpg144.2 KB · Views: 182
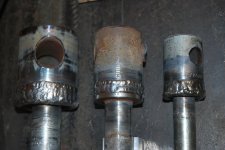
 2016-07-14 at 20.04.52.jpg150.6 KB · Views: 162
 2016-07-15 at 07.40.41.jpg144.4 KB · Views: 162
 2016-07-15 at 07.41.20.jpg141 KB · Views: 172
 2016-07-14 at 19.59.26.jpg142.5 KB · Views: 182


.JPG")
.JPG")
