Crizzle
Well-known member
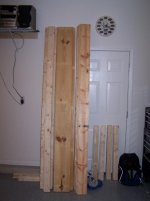
Have a stack of wood on the garage floor as of last night. Going to start work on my bench this weekend. 


 , this post will also serve as where I left off, keep 'em coming.
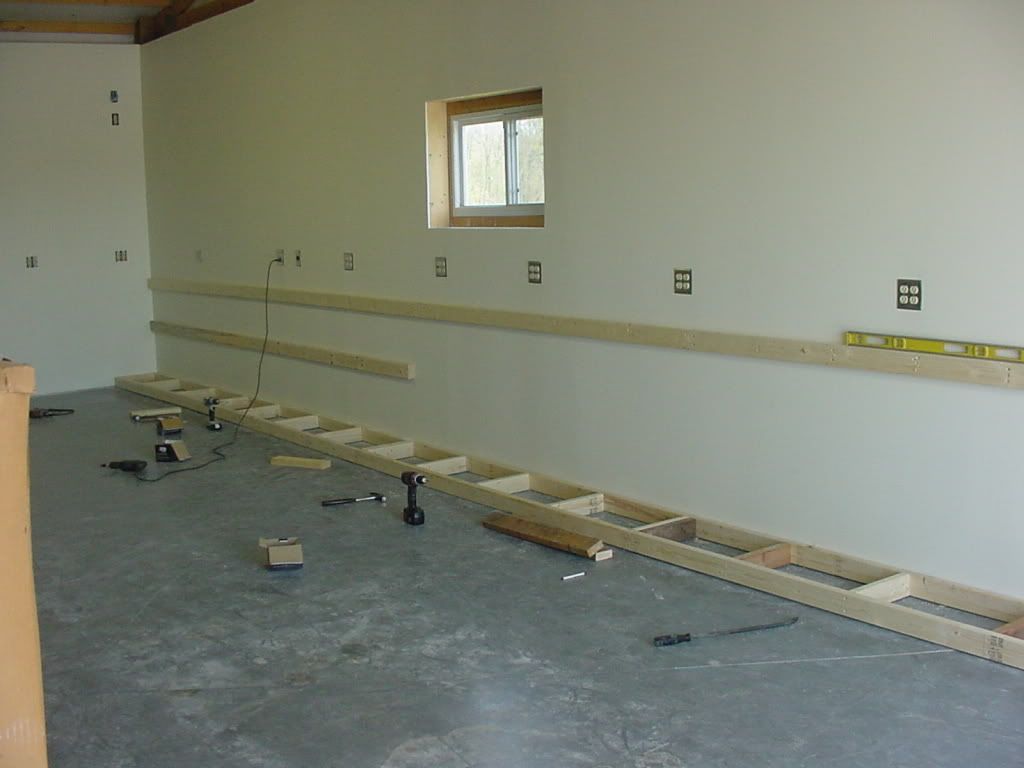
When you guys are building a free-standing bench, what do you start with? What I mean is, do you lay out the posts on the floor and tie them together, then stand it up?
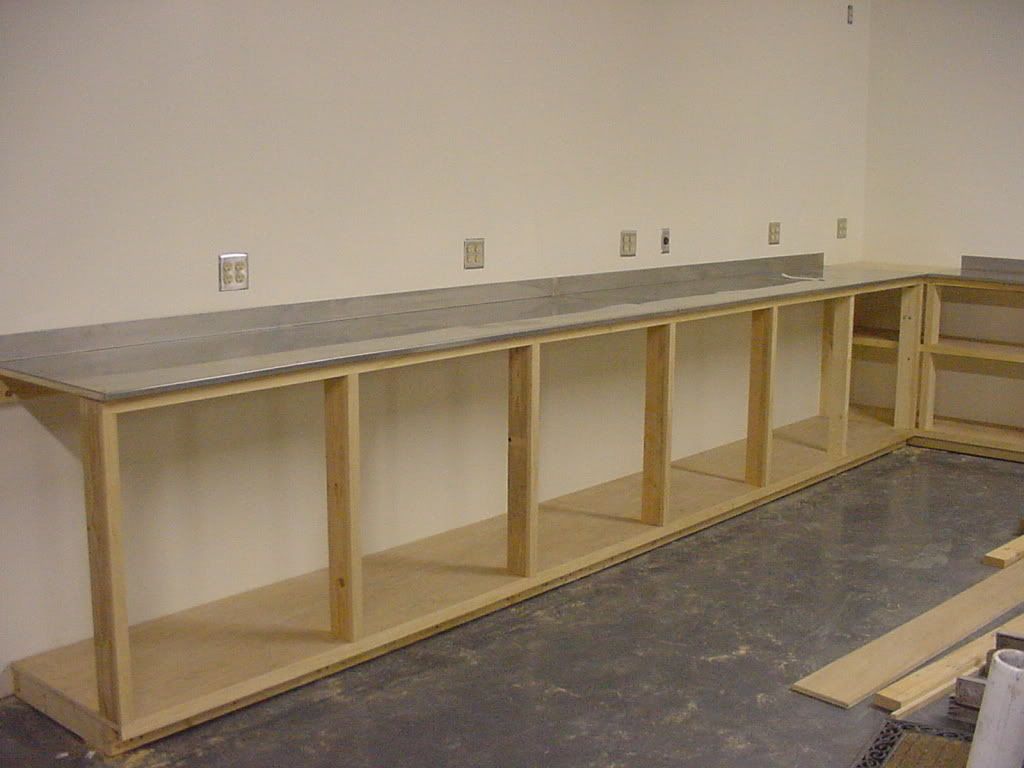
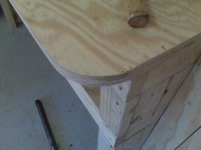
If you are going to use plywood as a top, I would HIGHLY recommend using at least two layers of 3/4 " plywood. One layer has far too much bounce IMNSHO.
If you go 32" wide you can get three layers from two 4x8 sheets.


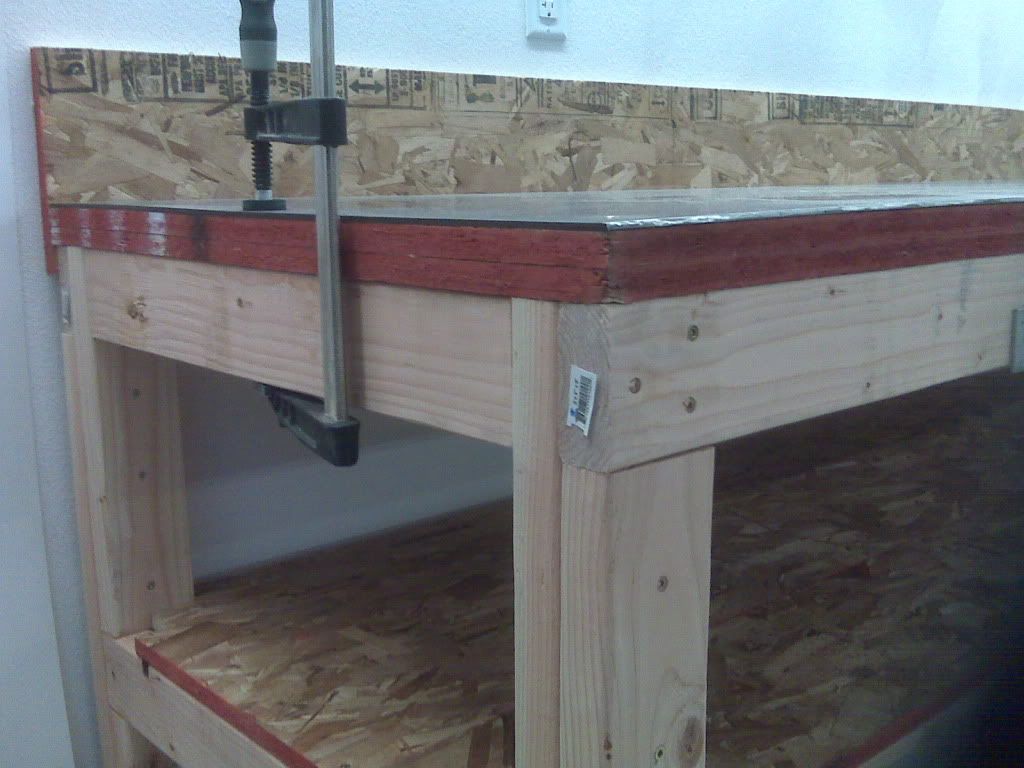

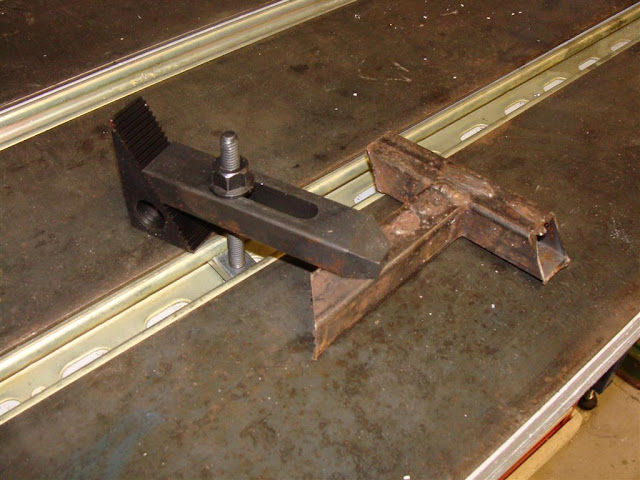

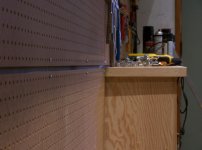
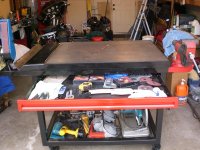
It uses strut channel for T-slots so that i can clamp anything down. Has hitch receivers in the front for mounting vises and other "bench top" equipment.


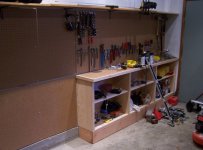
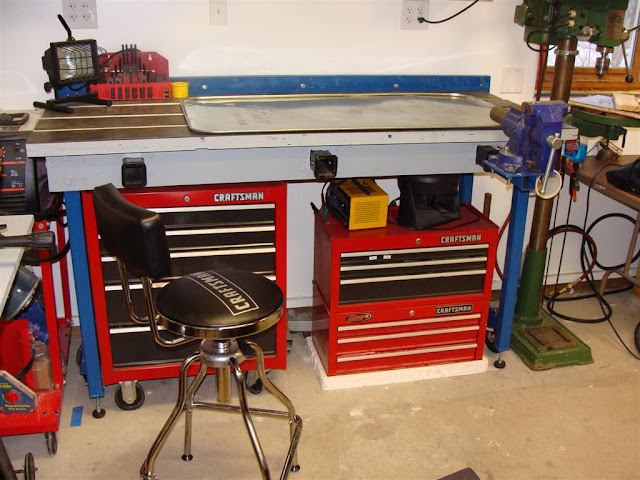
I plan on hanging one of those lights with the giant magnifying glass over on the right side somewhere. Basically still playing around with it.
View media item 3912

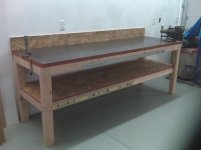
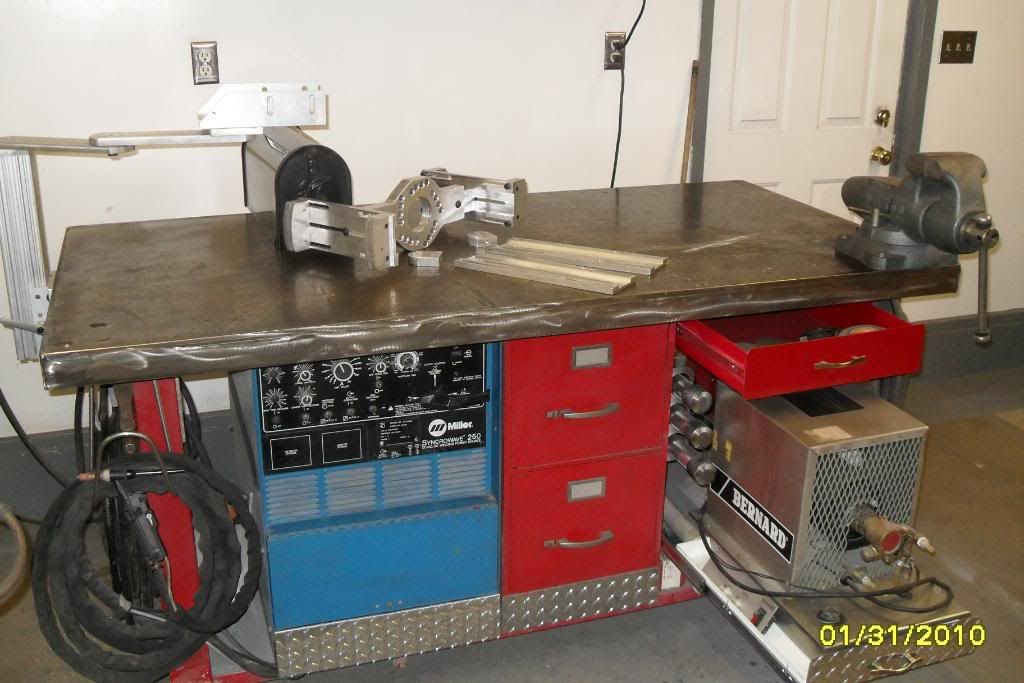
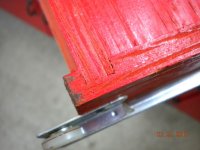
this is my welding bench that I just finaly finished the top is 36x72 and is 1/2 thick and sits over a old solid core door with a firebarrier between built it 10 years ago and just finished it to be a little more functional.


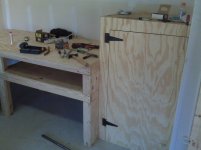
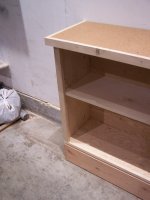
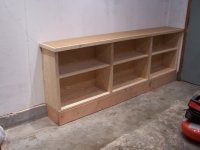
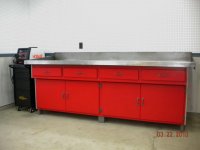
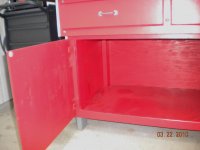
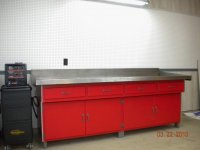
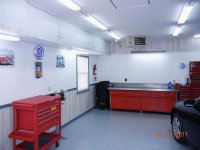
this is a portion of my main bench that I am just trying to finish and organize.two drawer file cabinets make some awsome bench drawers roller bearings and super load capacity.
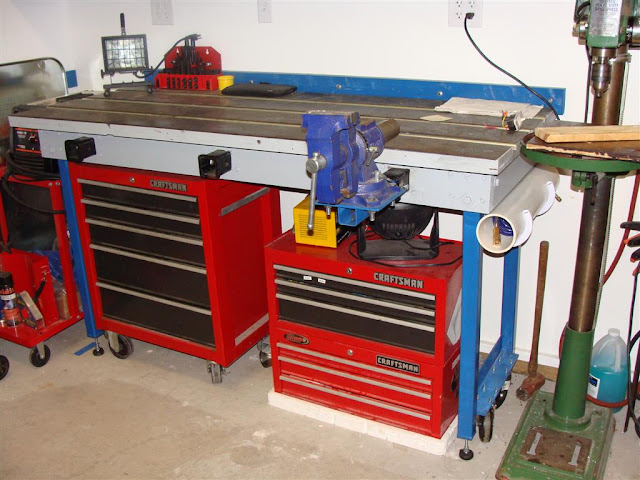
love your welding bench. but what are the rond bars, that are monted under the wice for?


yes as someone else had posted they are for welding rods used for tig welding. different thickness,different metals filler rod.they are made from pvc plastic and i just painted them with chrome like paint and bought some stainless caps for sanitary pipe from mc master carr co. hope this helps.love your welding bench. but what are the rond bars, that are monted under the wice for?


Here are a few pics