Jeep Monkey RTR
Well-known member
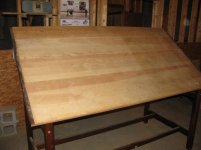
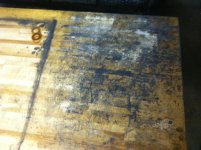
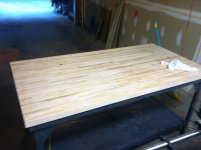
So I managed to scrounge up this Heavy Duty (Emphasis on the Heavy) Work Table made by Stronghold Products. It was used for years in a lab type situation and, as you can see, the top has seen a lot of use. In the middle you can see where the lab equipment sat but the edges are very worn.
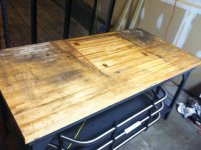
Yesterday afternoon I took it to a coin operated spray wash place and thoroughly rinsed the whole thing down from top tot bottom and then took it back to my garage to let dry out.
My question is: Does anybody have any tips on sanding and restaining (or whatever the proper term would be here) this top to bring some beauty back to it?
I have attached a few pics for reference.
I know I should probably just go with it as is and use it, but I want to start with something clean.
Thanks.

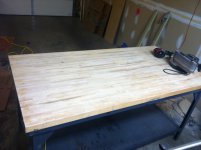
") Looks pretty good.
Looks pretty good.