OP
sublime68charger
Well-known member
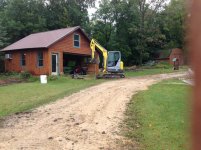
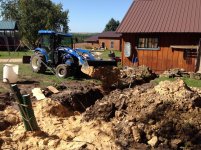
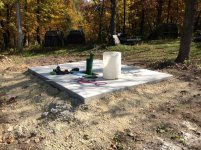
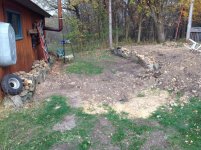
so working on the Wood Boiler install and getting the trench lines dug,
Got the little tractor/backhoe from my brother-in-law, bent the dipper cylinder rod trying to root out a stump that was a $350 lesson,
then bent the same cylinder again digging threw some rocky ground!@#!@#$@#$@. went with a bigger rod in the reworked cylinder that was a $680 lesson.
but I have the trench dug for the most part getting a mini ex tomorrow with jackhammer to finish out the last 20' of rock that I need to get out.
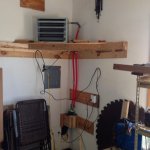
some Pics of how things are going.
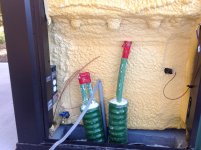
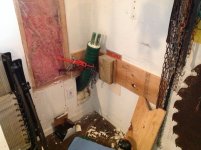
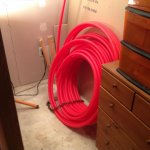
Boiler to House

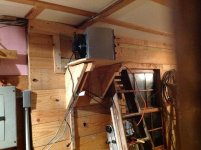
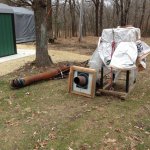
Garage to Studio,

Got the little tractor/backhoe from my brother-in-law, bent the dipper cylinder rod trying to root out a stump that was a $350 lesson,
then bent the same cylinder again digging threw some rocky ground!@#!@#$@#$@. went with a bigger rod in the reworked cylinder that was a $680 lesson.
but I have the trench dug for the most part getting a mini ex tomorrow with jackhammer to finish out the last 20' of rock that I need to get out.
some Pics of how things are going.
Boiler to House
Garage to Studio,