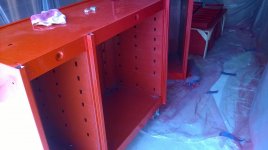
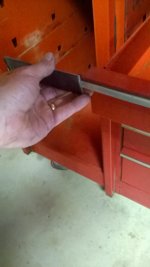
Anyone know why they even put them big circular holes in the bottom of the boxes?
Sent from my iPhone 5s using Tapatalk
Locating jig for manufacturing and shipping?


Anyone know why they even put them big circular holes in the bottom of the boxes?
Sent from my iPhone 5s using Tapatalk

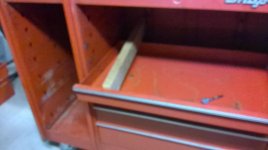
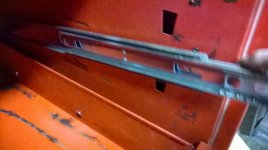
I had this problem also for 2 of my slides. I called snap on about it and they said they didn't have the ability to send me just a rubber stopper or even sell me one. I ended up putting the 2 slides with drawers that I doubled up slides on. That way there would still be a slide on one of em with a stopperThanks man, i appreciate the support. Hey does any one know where I can get some of the little rubber stops that go in the back end of the slides? I noticed they were missing from a few of my slides.
Sent from my iPhone 5s using Tapatalk


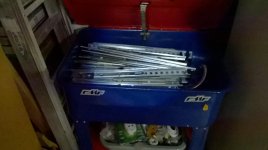
looks, good i need to source some casters for my kr1000B but cant swallow the 1000$ snapon wants.
are you happy with the urethane wheels?
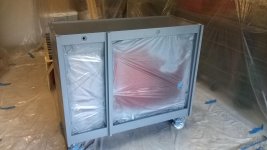
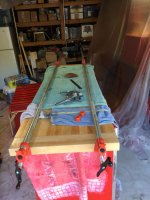
Nice work!Things did not go on super smooth because I was spraying medium reducer in 100 degree heat and I had the wrong quick connects on my spray gun. Turns out that you need "hi-flow" air-line connectors on your air system or the HVLP guns don't get enough flow at the recommended pressures. Once things were squared away with the connectors, the gun performed great. Also, I used a really good full face respirator, this stuff is nasty. Urethane usually goes on with a little orange peel, and my using too fast of a reducer aggravated things a bit. But one of the nice things about urethane is that you can color sand (600, then 1000, then 1500 grits) and buff out the imperfections. Yeah I know its just a toolbox, but I wanted it right because I'm only doing this once. Besides, I figure this is practice for when I do my cars. See pics of the end of the box where I repaired the dent and you can see how well the surfacer and block sanding paid off.
")
Thanks guys for the encouragement. Right now I'm polishing the trim, more pix soon


![WP_20150320_001[1].jpg](/forum/data/attachments/369/369835-1739d8a77102db63cf067b1e9a652225.jpg)