>>>Jump to Update
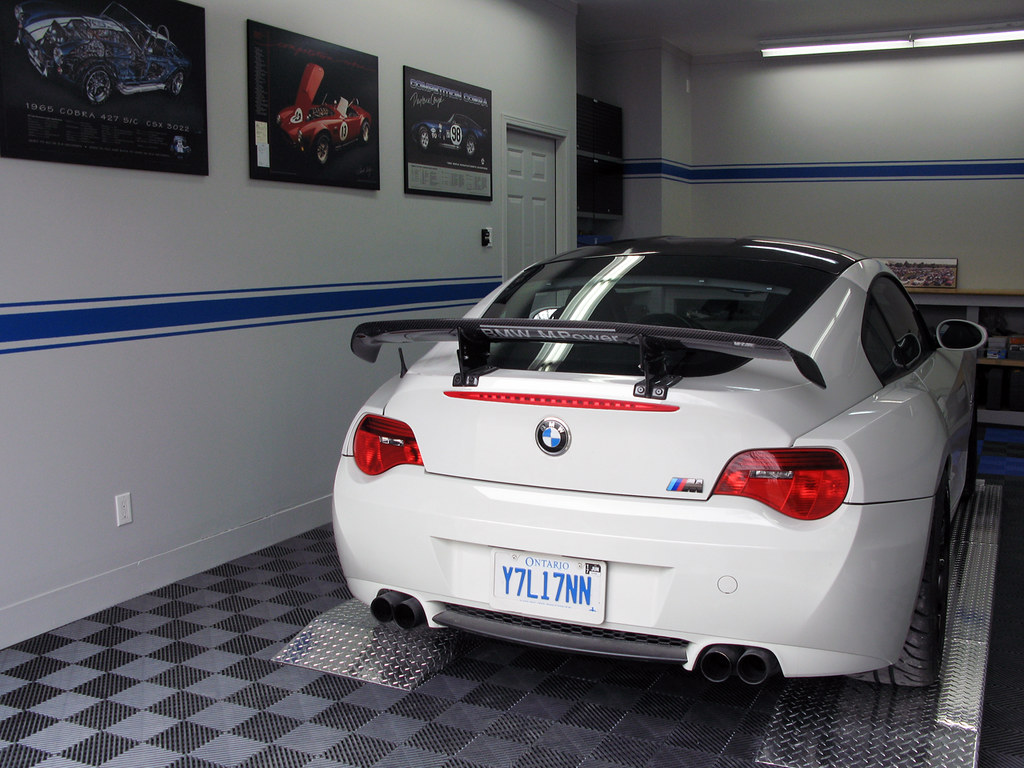
I've had my garage for about 25 years now
It has a lot of function with a car lift etc., but pretty it isn't.
I'm a weekend car nut that enjoys the garage but never had the time to make the upgrades I wanted
Additionally, a big issue for me is that it's not heated. (Canada)
I have all that time when the car is stored in there for winter, but its just too dang cold to work out there.
Fixing up the garage has looooong been on my wish list.
So now that I'm no longer tied to a 9to5 I decided to git'er dun.
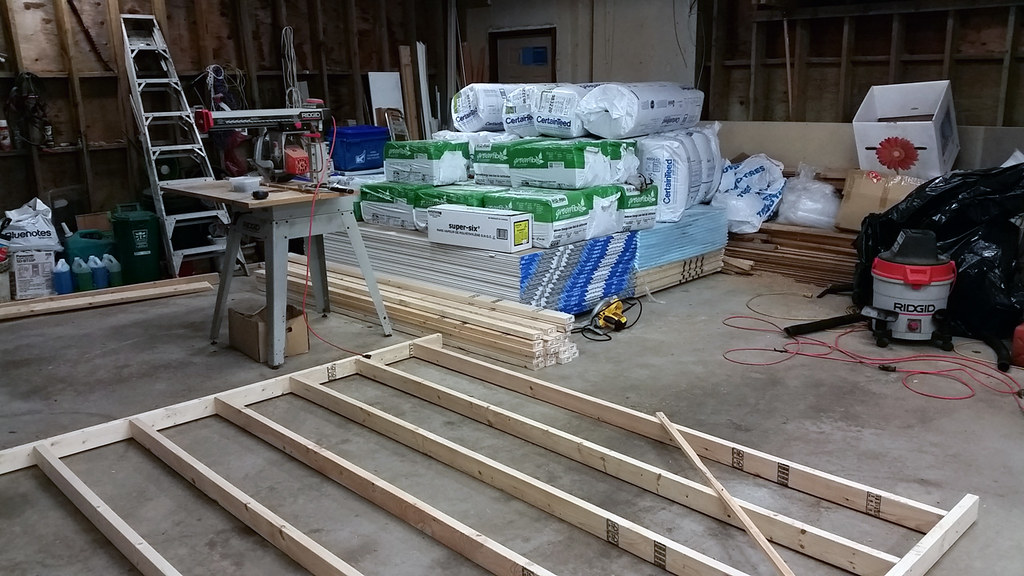
I got things rolling before Christmas.
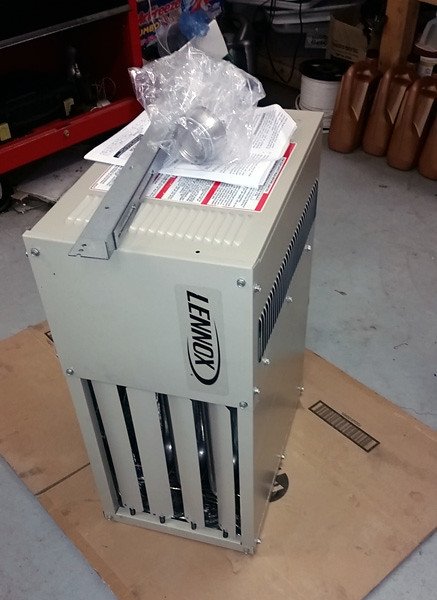
The biggest challenge was to get some heat in there quickly before it really got cold.
1st thing was a 40K BTU gas fired unit heater.
.
and some material to start framing and insulating.
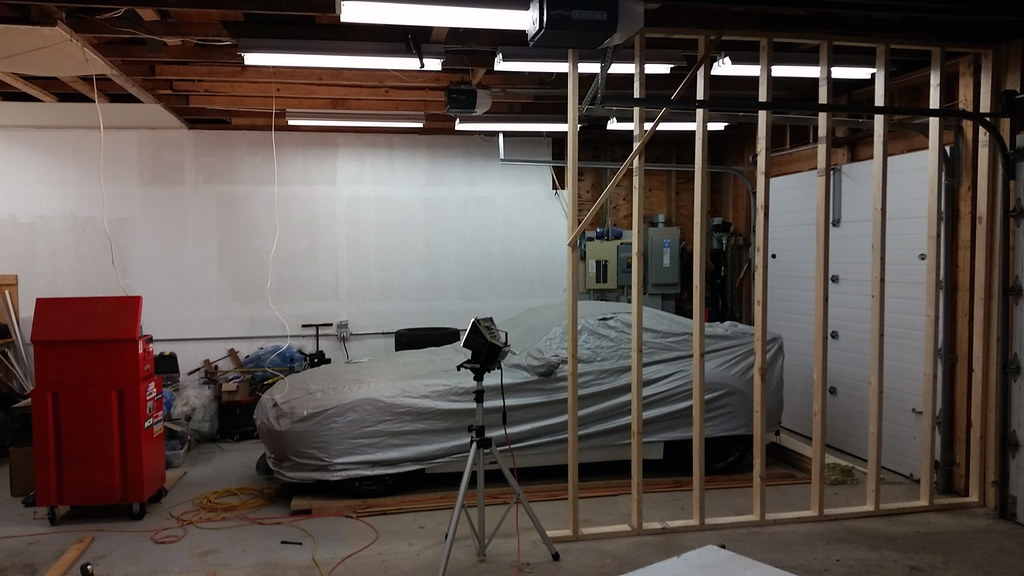
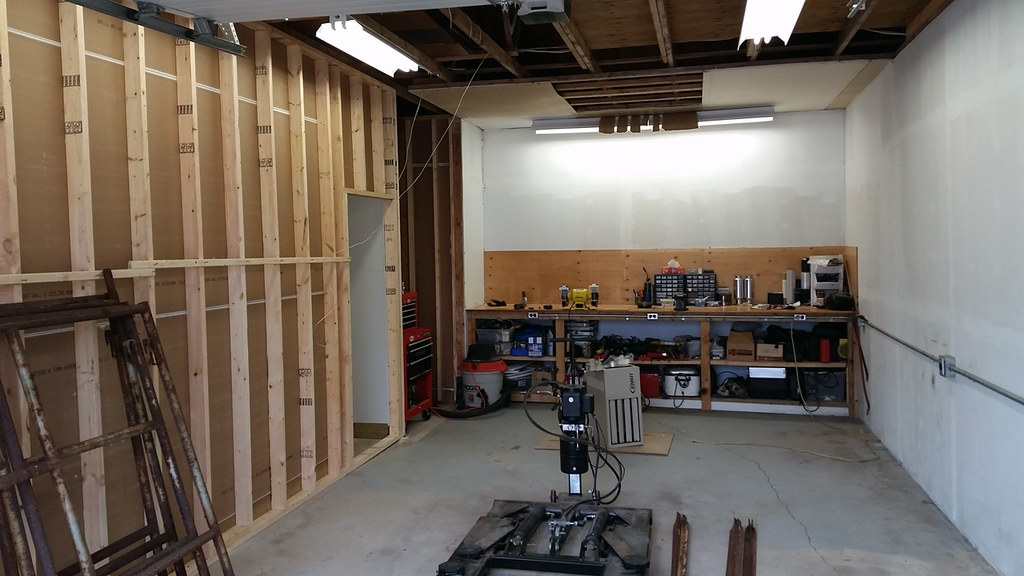
The garage was completely open across all three bays (26' x 44').
The first thing to frame up was a demising wall to separate the workshop.
I cheated the wall over to the middle overhead door as much as possible.
.
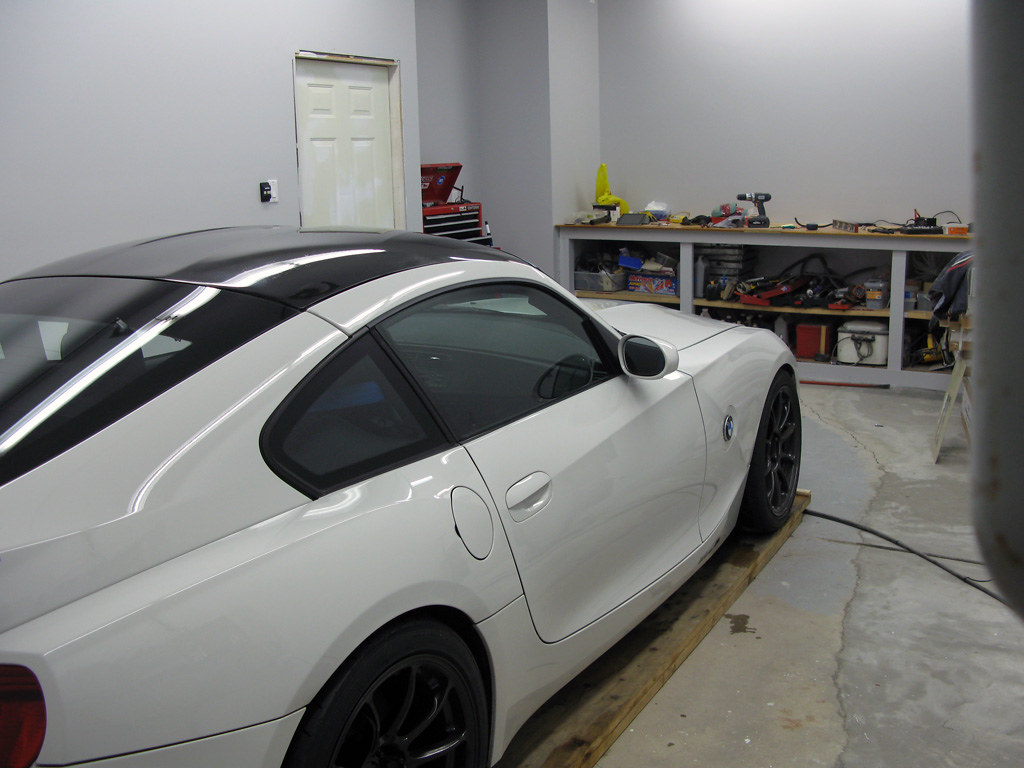
Had to work carefully with the car still in the bay until I could free up materials from the other 2 bays.
.
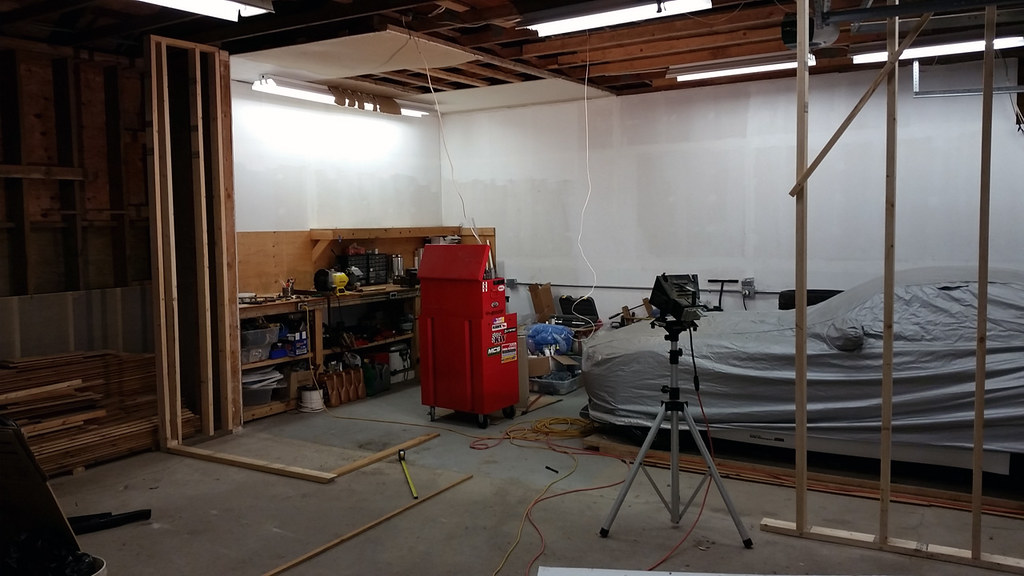
Framing done & wall board started (non-heated side)
Now able to get the car out of the shop bay.

.
With demising wall up and drywalled on the outside, time to get the unit heater in so I can get some heat going.
Did just enough ceiling board to get it in and fired up.
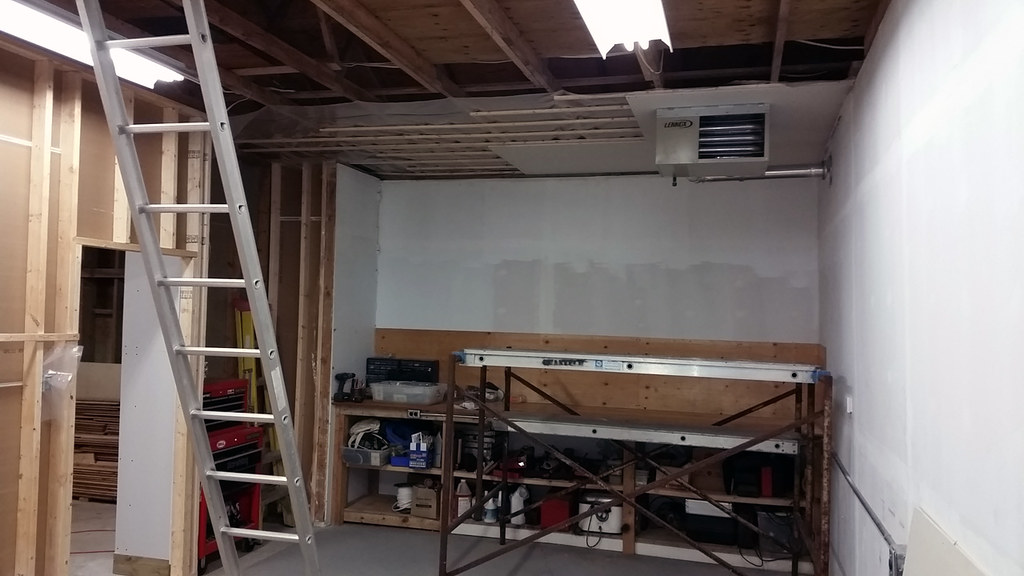
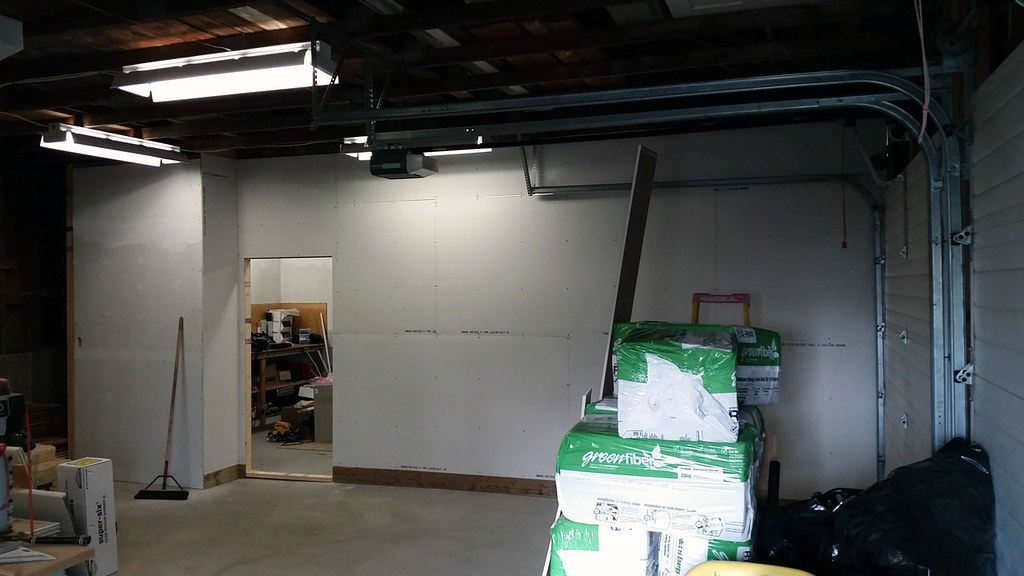
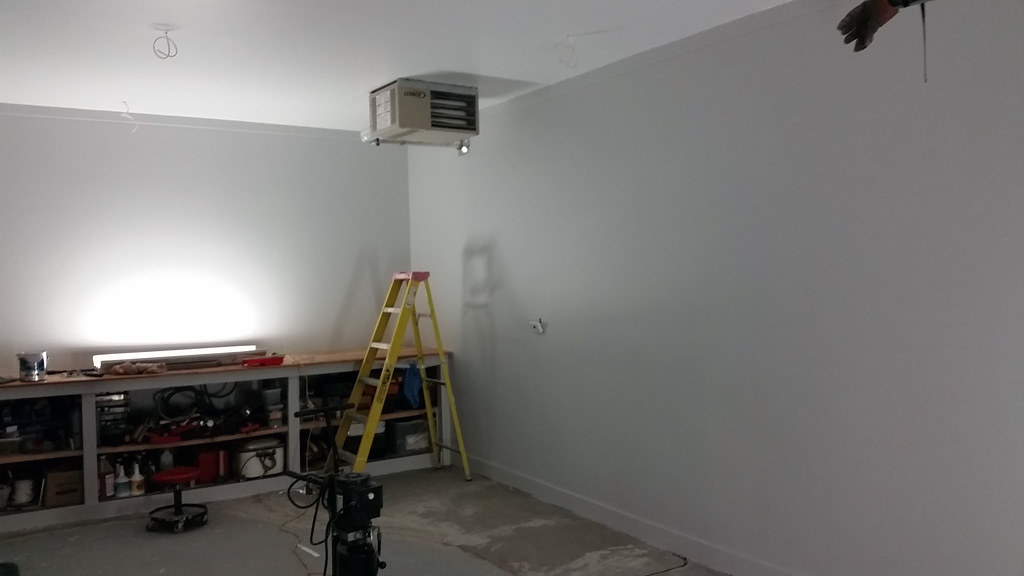
Insulation complete and interior wall board up.
Electrical roughed in for lighting & door opener.
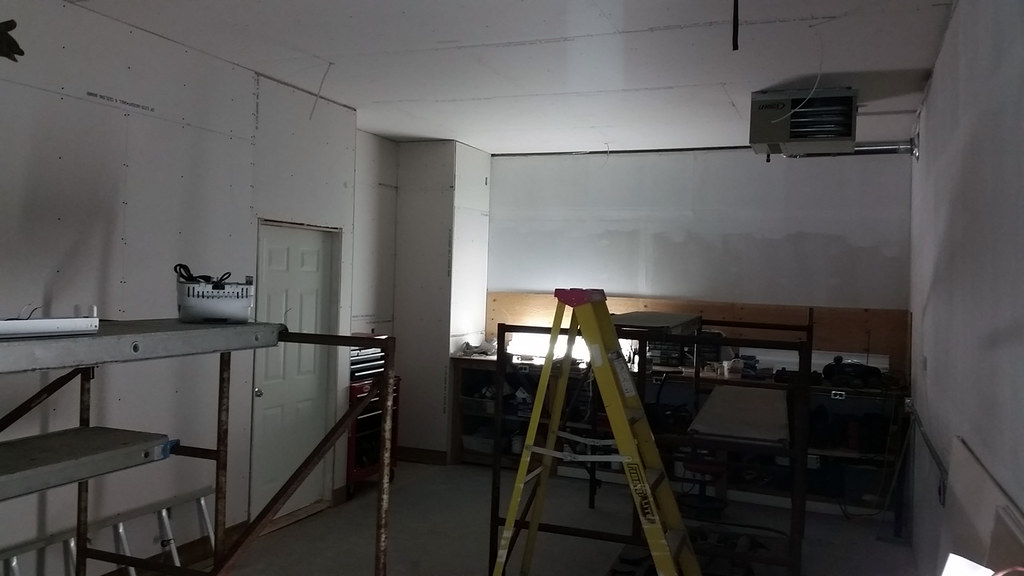
Starting to feel like a proper workshop.
.
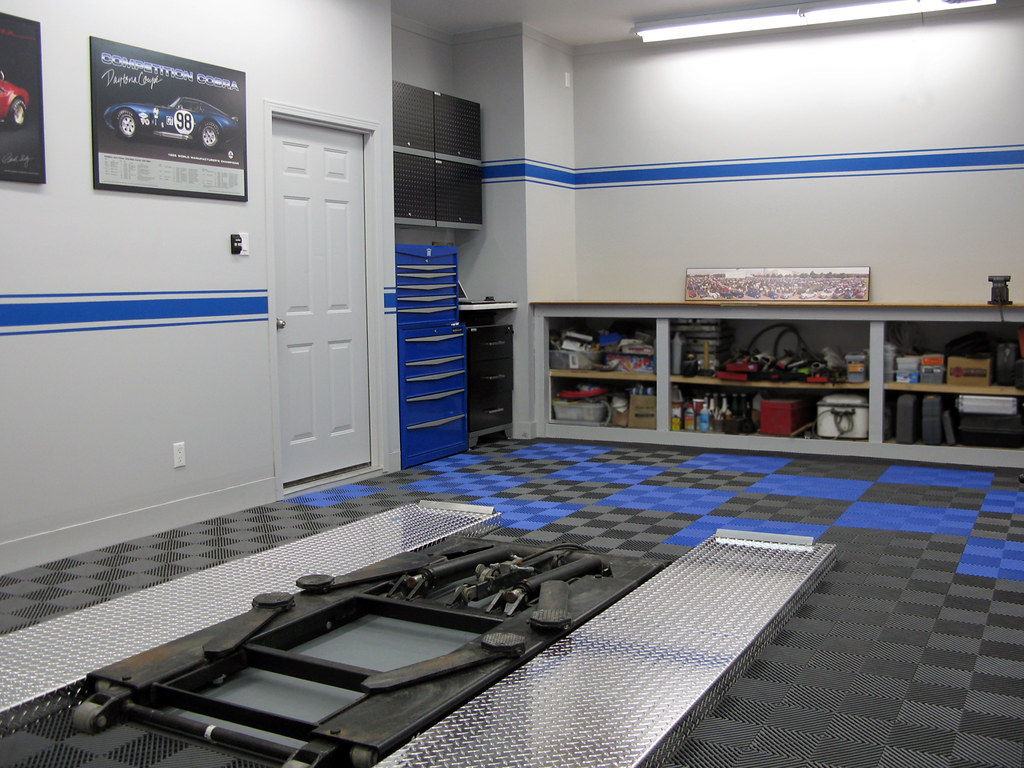
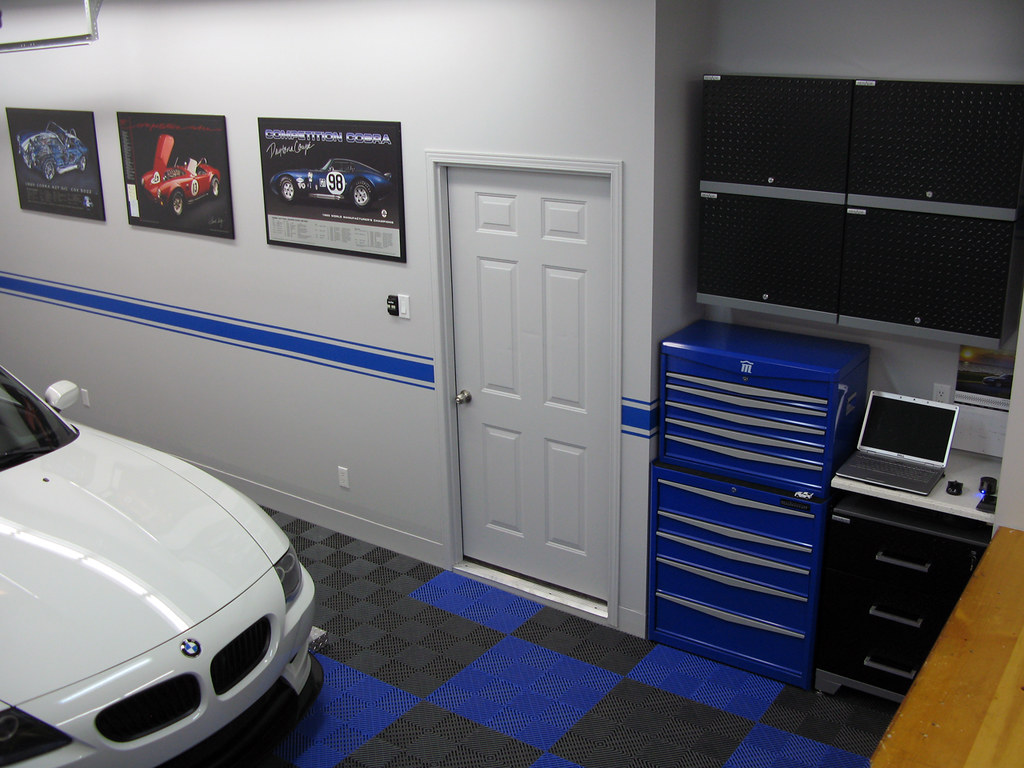
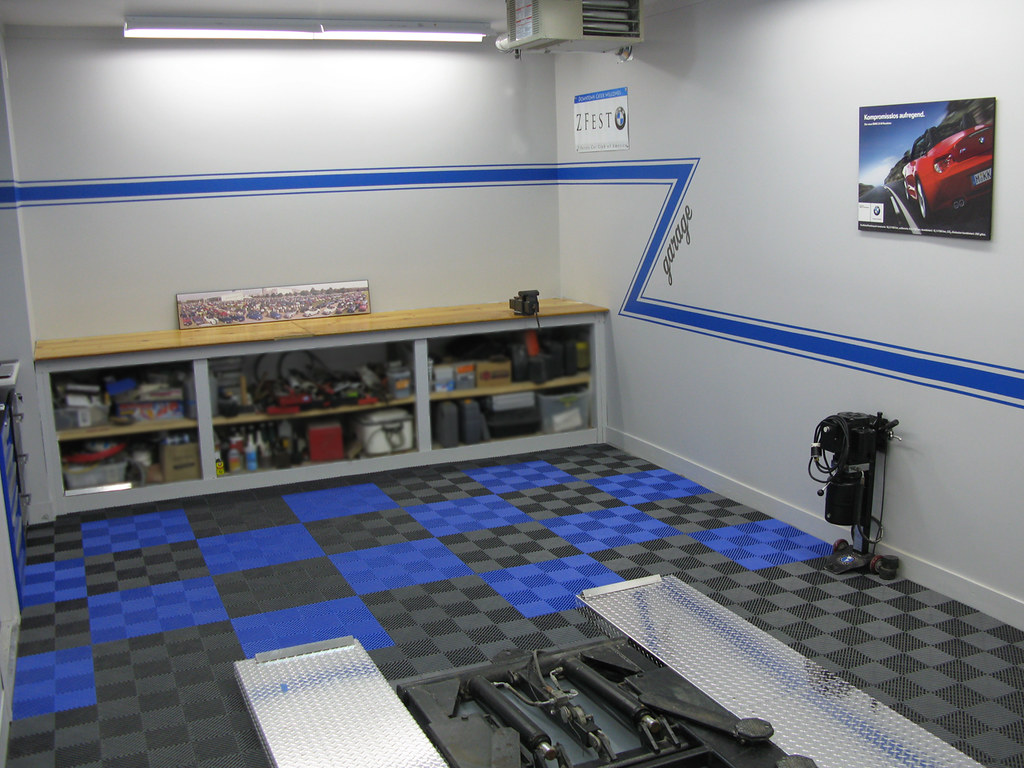
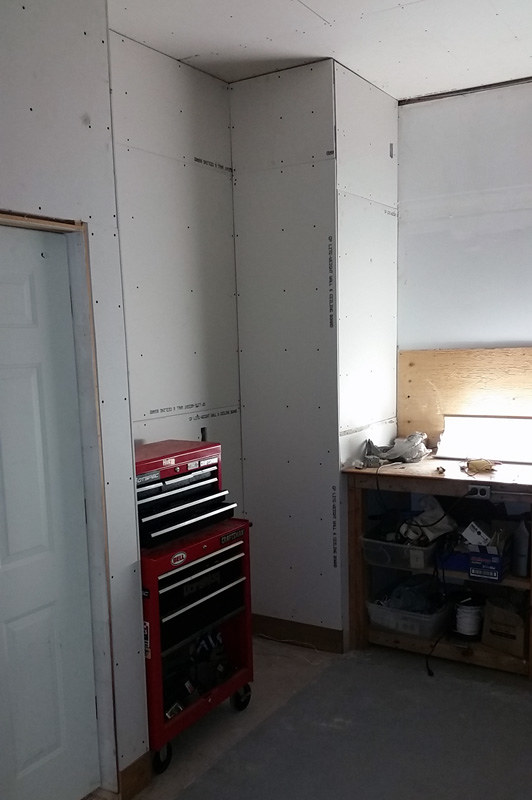
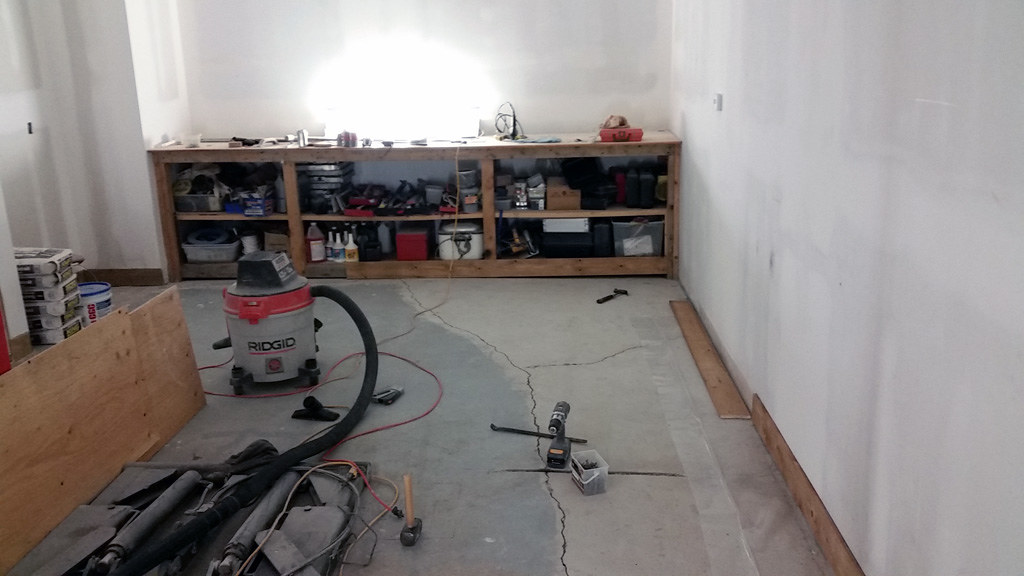
alcove is for tool box, overhead storage and a computer desk.
Keeps the floor space clear.
A/V outlet roughed in above work bench.
mudding half way done.
cornice not done as it will be finished with a trim piece.
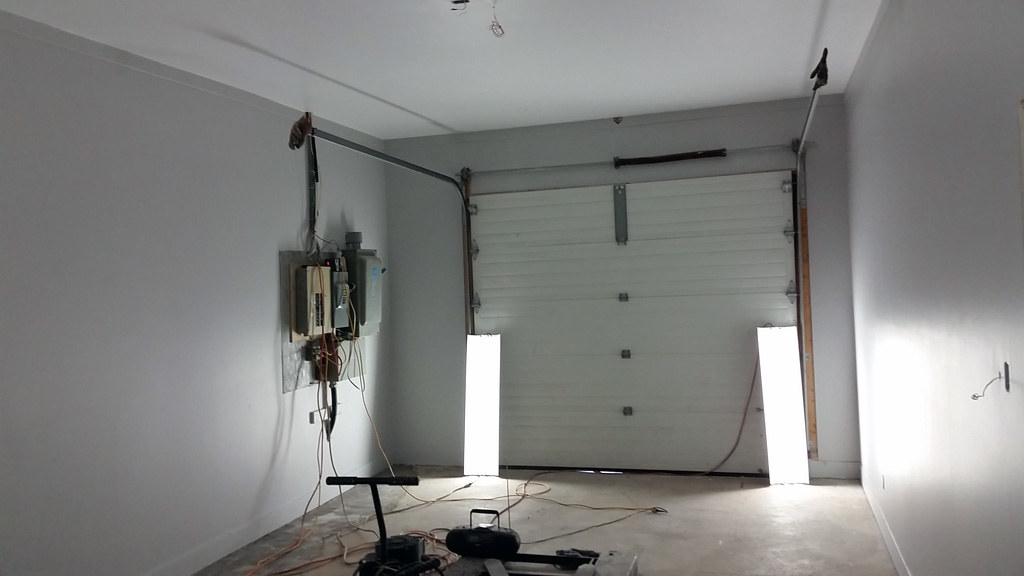
Final mudding pass complete, ready for paint.

Before moving on to paint, I had some floor repairs to do.
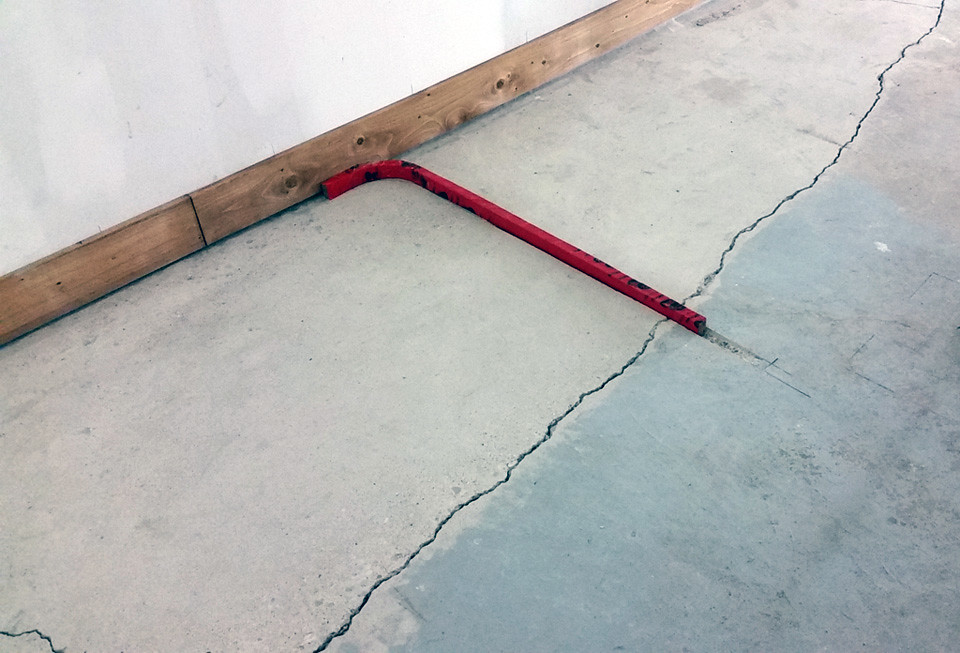
Floor had cracked and settled not long after it was installed 25yr ago due to improper compaction of backfill.
first step was to grind it down so that resurfacer can bite.
I used a diamond cutter on an angle grinder, it cut down the old concrete surface like it was butter.
cut a slot so that the lift hydraulic hose can go under the finished floor.
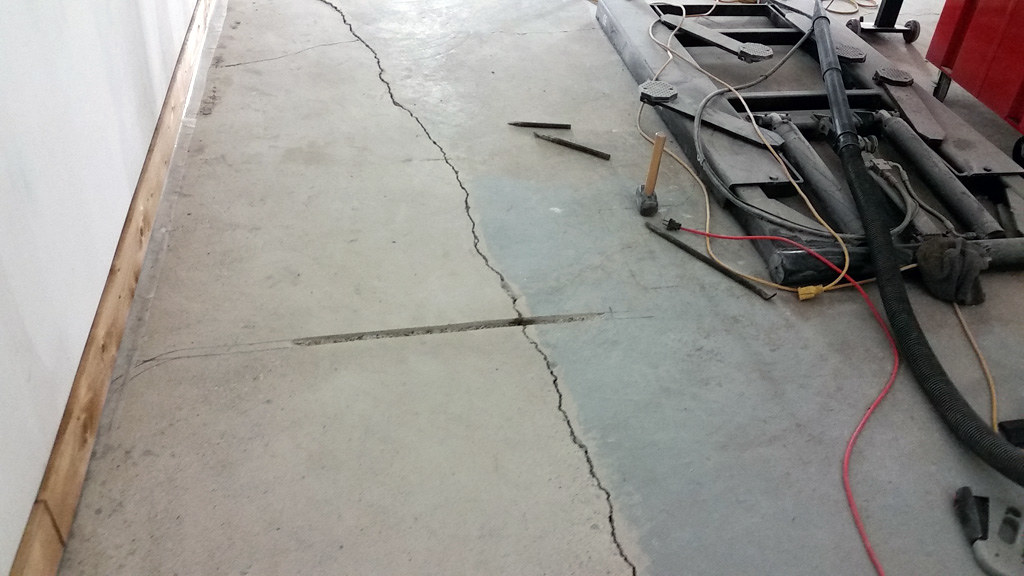
made a form for the slot from cardboard & tuck tape.
finished & curing

finally ready for paint...

(electrical service will get boxed in eventually)
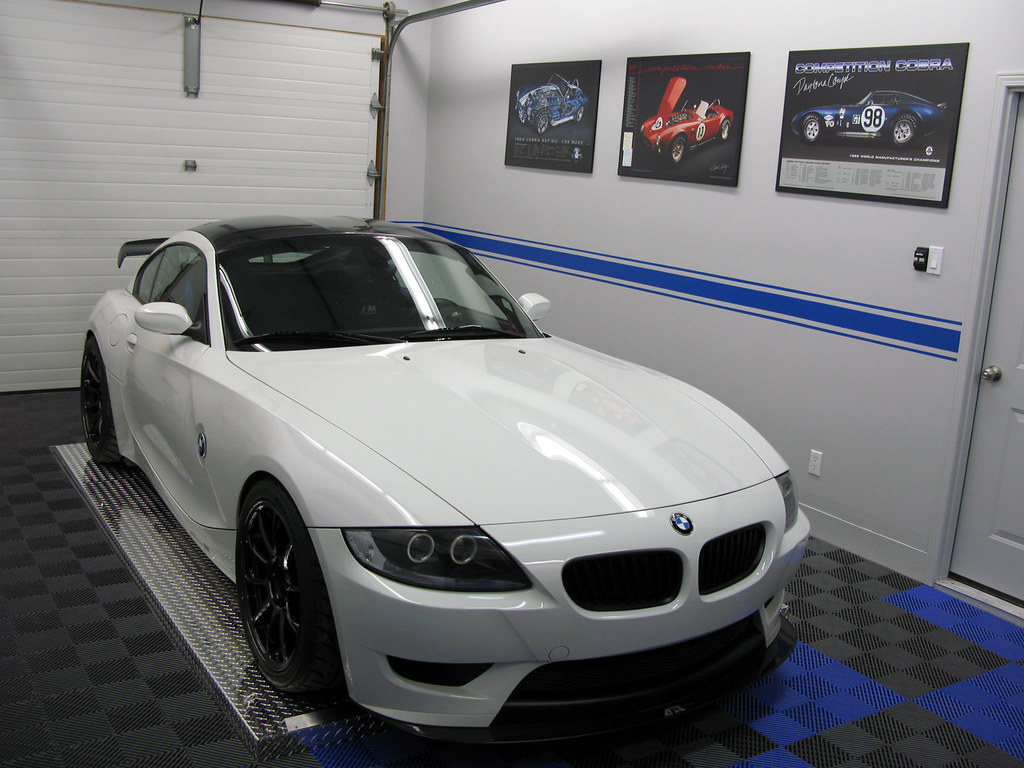
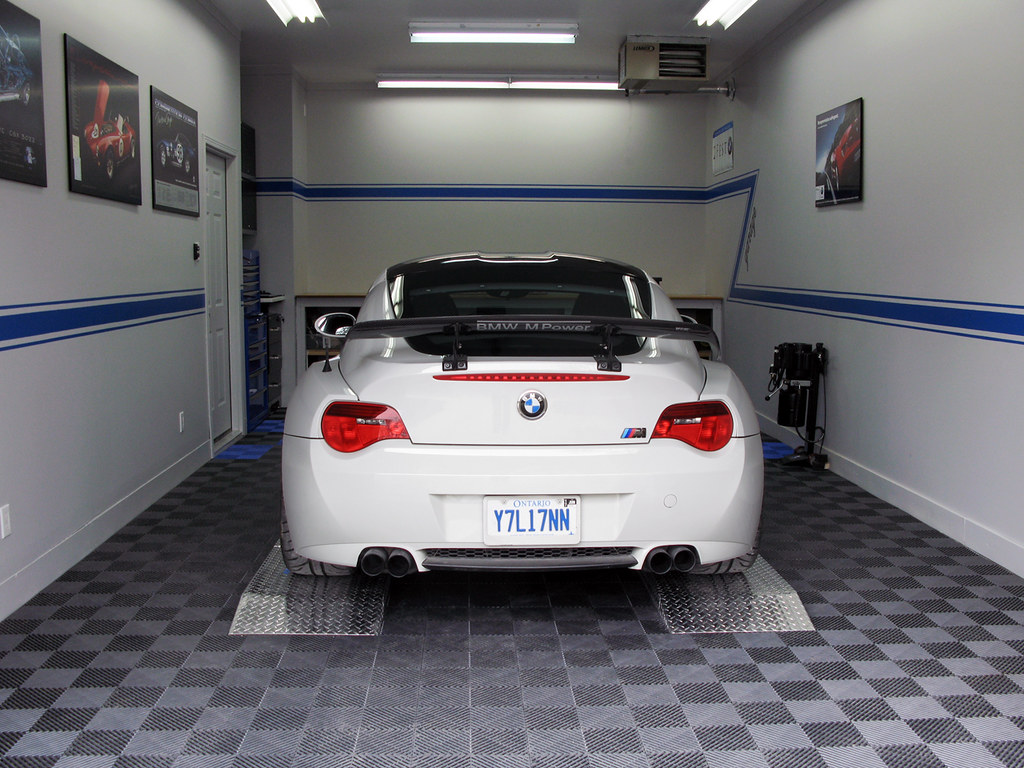
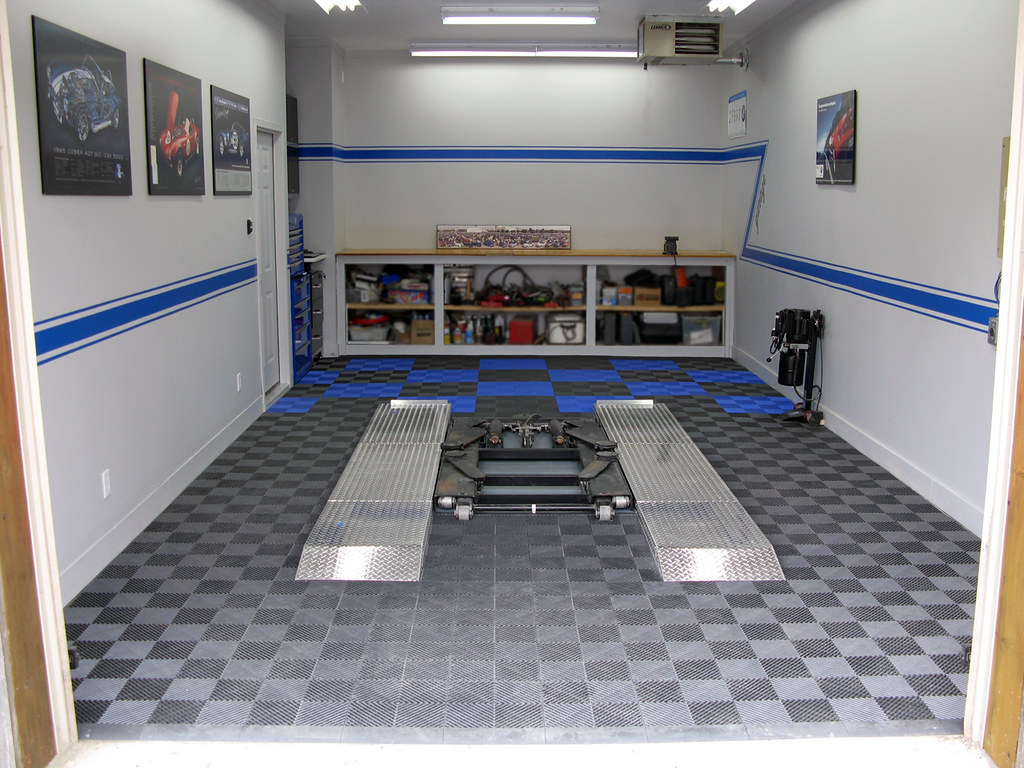
...rolled baby into her new home to test lift location & to layout flooring.
Flooring is next.
I've pretty much decided on a free flow type of tile from either RaceDeck or Swisstrax.
I've gone through a lot of the flooring postings to get the decision this far.
Price will definitely be a factor in final decision.
I'll update more as I go along.
Any input on things is definitely appreciated.
.
I've had my garage for about 25 years now
It has a lot of function with a car lift etc., but pretty it isn't.
I'm a weekend car nut that enjoys the garage but never had the time to make the upgrades I wanted
Additionally, a big issue for me is that it's not heated. (Canada)
I have all that time when the car is stored in there for winter, but its just too dang cold to work out there.
Fixing up the garage has looooong been on my wish list.
So now that I'm no longer tied to a 9to5 I decided to git'er dun.
I got things rolling before Christmas.
The biggest challenge was to get some heat in there quickly before it really got cold.
1st thing was a 40K BTU gas fired unit heater.
.
and some material to start framing and insulating.
The garage was completely open across all three bays (26' x 44').
The first thing to frame up was a demising wall to separate the workshop.
I cheated the wall over to the middle overhead door as much as possible.
.
Had to work carefully with the car still in the bay until I could free up materials from the other 2 bays.
.
Framing done & wall board started (non-heated side)
Now able to get the car out of the shop bay.
.
With demising wall up and drywalled on the outside, time to get the unit heater in so I can get some heat going.
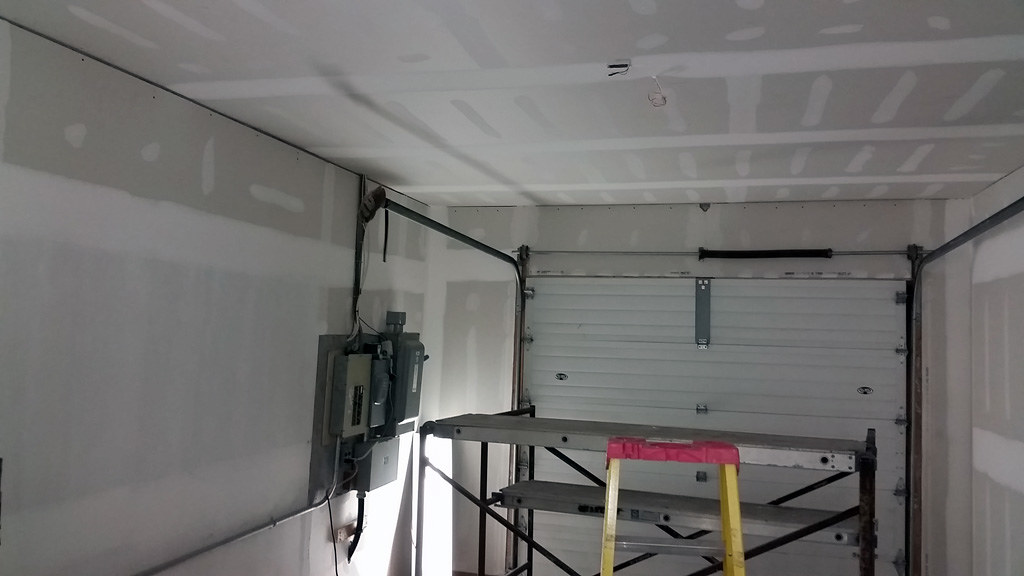
Did just enough ceiling board to get it in and fired up.
Insulation complete and interior wall board up.
Electrical roughed in for lighting & door opener.
Starting to feel like a proper workshop.
.
alcove is for tool box, overhead storage and a computer desk.
Keeps the floor space clear.
A/V outlet roughed in above work bench.
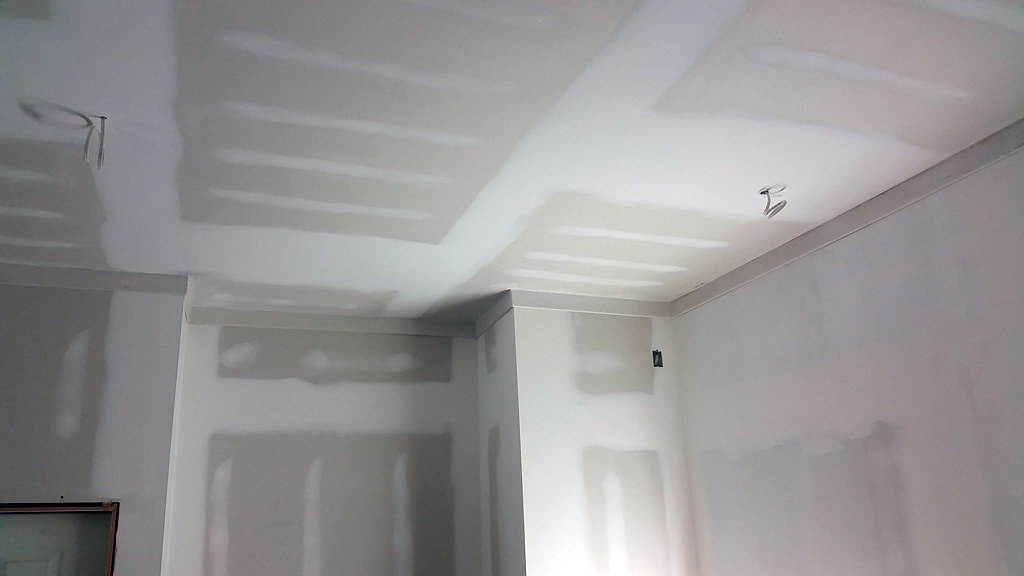
mudding half way done.
cornice not done as it will be finished with a trim piece.
Final mudding pass complete, ready for paint.
Before moving on to paint, I had some floor repairs to do.
Floor had cracked and settled not long after it was installed 25yr ago due to improper compaction of backfill.
first step was to grind it down so that resurfacer can bite.
I used a diamond cutter on an angle grinder, it cut down the old concrete surface like it was butter.
cut a slot so that the lift hydraulic hose can go under the finished floor.
made a form for the slot from cardboard & tuck tape.
finished & curing
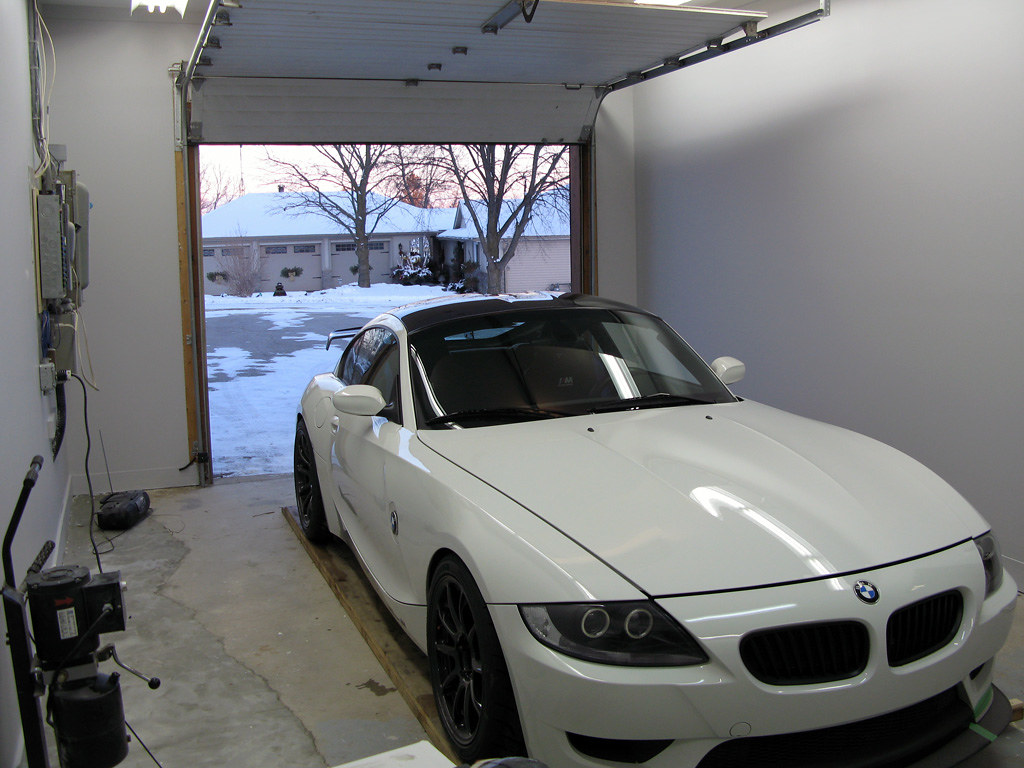
finally ready for paint...
(electrical service will get boxed in eventually)
...rolled baby into her new home to test lift location & to layout flooring.
Flooring is next.
I've pretty much decided on a free flow type of tile from either RaceDeck or Swisstrax.
I've gone through a lot of the flooring postings to get the decision this far.
Price will definitely be a factor in final decision.
I'll update more as I go along.
Any input on things is definitely appreciated.
.
Last edited: