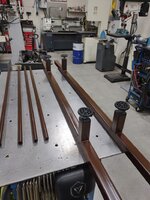
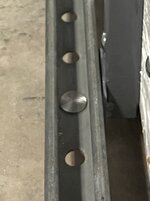
Some more progress last night.
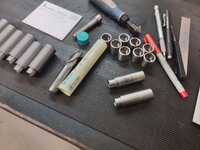
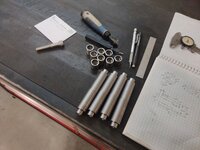
First order of the night was to cut all of the major components to length, wipe them down with acetone and prepare them for the next steps in the process.

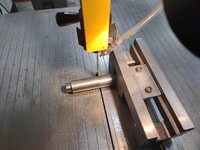
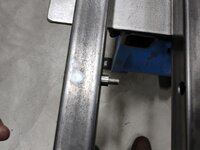
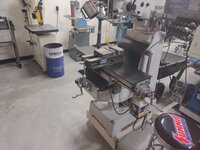
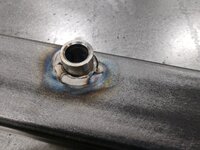
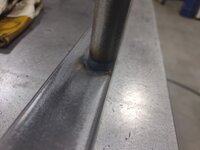
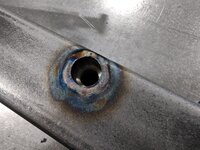
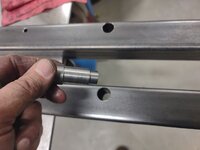
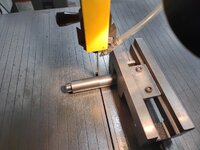
With the side rails measured, marked and clamped in the mill's vise, I found the edge of the tube and zero'd the DRO. The round tubes that will serve as the crossbars are 1" in diameter so in order to keep the top of the crossbar round tubes, flush with the tops of the side rails I will drill the through holes .500" from the top.
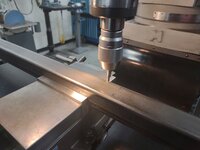
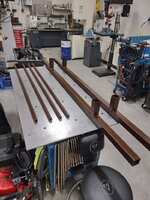
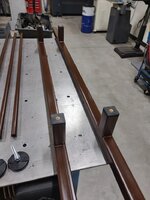
Progressing through the drilling process hole by hole. A few repositioning events needed to take place but all in all a pretty easy procedure to ensure the holes are all at the same dimension from the top of the rail. I also drilled some 5/16" holes through the top rails in which I will attach the wood side rails that are now holding the headboard to the footboard. The wood rails will bolt to the metal inner framework to try and keep as much of the wood aesthetics as possible.

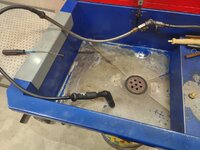
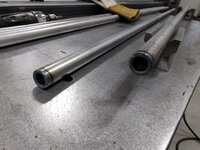
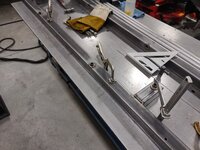
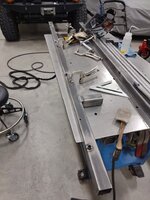
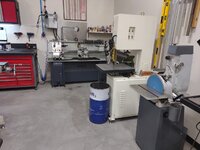
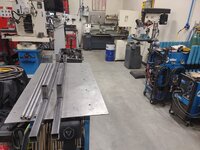
Both side rails are drilled and in need of wiping the cutting fluid off then chamfering the holes. I HATE this picture because it shows the mess in my shop with the yard cart and everything else stuffed in the shop while the garage is being worked on. It makes my shop feel so cluttered right now.
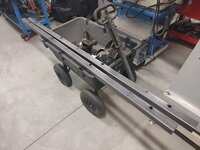
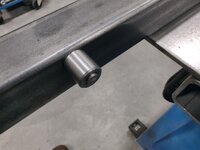
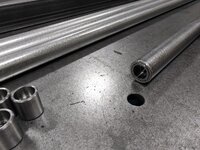
Side rails wiped down with acetone and all of the holes chamfered.

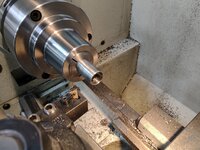
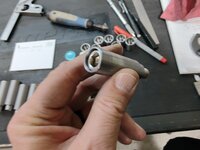
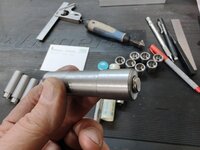
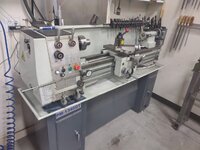
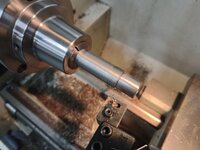
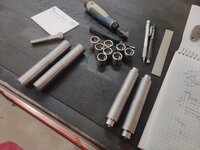
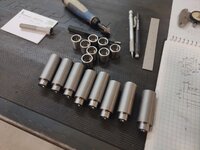
Next I shifted gears back to the lathe and started machining the OD of the through bungs that will be welded into each of these large through holes in the side rails. I was able to get a couple of them taken down to the correct OD's last night, next will be to complete the remainder and then drill holes through them with counterbores for the socket head cap screw bolt heads.
This next part I thought I'd share for those drilling deep holes on lathes. It is a technique that I learned a few years ago, however, maybe many of you already know this and I am just late to the party.

The technique I believe is called "pecking", but don't quote me on that. It saves time and effort turning the tailstock handle as you plunge into the hole and then have to extract the bit to clear chips and reapply cutting fluid before cranking the tailstock handle all the way back in again.
The process may seem difficult but once you practice it a time or two becomes very quick and almost habitual in motion. Once you have your drill chuck and bit in the tailstock, move the entire tailstock up close to the workpiece with the tailstock threaded in nearly to the point of extracting the chuck. This keep from having to overextend the tailstock as the hole depth increases.
Once the bit is near the workpiece, move the carriage away from the head of the lathe up to the point it barely makes contact with the base of the tailstock.
Here you can see the tailstock and carriage are in light contact as there is no gap between them.

Next lock the tailstock to the ways and begin feeding the bit into the work and drilling as normal using the tailstock crank.

When you get to the point that the chips need to be cleared and more cutting fluid applied, rather than cranking the tailstock quill all the way back into the tailstock housing, merely back the crank off about a half a turn, basically just break contact with the bit's cutting end and the workpiece, then release the tailstock to bedway lock and pull the tailstock away from the workpiece. This allows quick cleaning of the chip and ability to reapply fluid to the bit.

Next, push the tailstock back towards the head of the lathe and "bump" it up against the carriage and lock the tailstock to the bed. At this point the bit's tip is not in contact with the workpiece yet and you can begin cranking it from the point you left off in the previous step. Then it is as simple as apply, rinse and repeat until the hole is drilled to depth.

One thing that aids in the "fluidity" of the motion is to ensure there is some way oil on the bedways. I generally apply a little extra by rocking the tailstock or pivoting it back slightly, squirt a bit under the leading edge of the tailstock and then push it back and forth a couple of times to distribute the way oil under the tailstock before beginning this technique. This helps the tailstock "float" in and out with ease as you are pulling it away from and back towards the carriage.
Hope that helps and I apologize if everyone already knew about this techique. It is something I only learned a few years ago and use it frequently when drilling deep holes in multiple parts as it really is a time saver.
Thanks for looking.




 To be honest, I was in the zone machining and hadn't looked up from the lathe in a while and hadn't noticed the shop being full of cutting fluid smoke.