Blue Chips
Well-known member
Today I prepped and painted a replacement cross-member for the 1954 Dodge M37 that I'm restoring.
I also welded/repaired four bullet holes in the floor of the tool box that goes under the bed of the M37.
First, the replacement cross member: My M37 is amazingly rust free, but there are a couple of places that tend to rust out on most of these beasts. One of those places is the front bed support cross-member, which tends to collect dirt and water inside it, leaving the cross-member perpetually filled with mud. Here's the rusted cross-member:
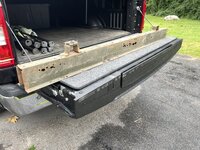

I was all set to start fabricating a new cross-member, but then I spied a reproduction cross-member at Midwest Military for what I thought was a reasonable price considering the work involved, and it frees me up to do other restoration tasks that are more interesting.
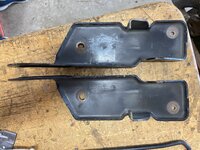
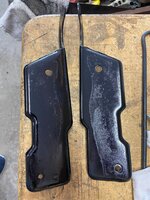
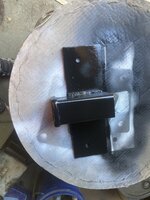
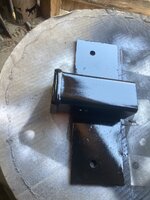
Below is the new cross-member after relieving the sharp edges with a sanding block (to hold paint better), thoroughly scrubbing it with mineral spirits and acetone, and priming it with self-etching primer. I always insert temporary bolts into nuts or threaded holes before painting to keep paint out of the threads.
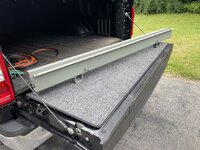

After I took the above photo, I painted the cross-member Marine Corps green (no photo) and it's now drying.
Now, some repairs:
Today, I repaired some 'drain holes' in the floor of the under-bed tool box. I'm guessing that these drain holes were added to the bed and tool box by a soldier in the field with whatever tool that was at hand, and in this case, I suspect that the handy 'tool' was something like an M1 Garand or perhaps some later model.


First, I closed up the holes a bit with a hammer and dolly:
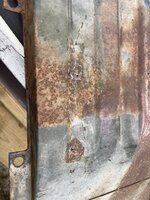
Then I cleaned the area around the holes, welded them shut, and ground the welds. Here are a couple of the welded-up holes after the initial rough grinding:
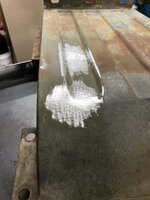
And then a coat of temporary primer, just to check the surface where I repaired the holes:

The next step is to repair a damaged mounting flange on this piece, and then abrasive blast it to get it all down to clean bare metal.
I'm looking around for a local blasting company. I have a small blasting cabinet, but this is way too large for it. I do have a wet-blasting attachment for my pressure washer, but it's very messy to use, although I'll resort to that if I can't find any reasonably priced local sandblasting services.
I also welded/repaired four bullet holes in the floor of the tool box that goes under the bed of the M37.
First, the replacement cross member: My M37 is amazingly rust free, but there are a couple of places that tend to rust out on most of these beasts. One of those places is the front bed support cross-member, which tends to collect dirt and water inside it, leaving the cross-member perpetually filled with mud. Here's the rusted cross-member:
I was all set to start fabricating a new cross-member, but then I spied a reproduction cross-member at Midwest Military for what I thought was a reasonable price considering the work involved, and it frees me up to do other restoration tasks that are more interesting.
Below is the new cross-member after relieving the sharp edges with a sanding block (to hold paint better), thoroughly scrubbing it with mineral spirits and acetone, and priming it with self-etching primer. I always insert temporary bolts into nuts or threaded holes before painting to keep paint out of the threads.
After I took the above photo, I painted the cross-member Marine Corps green (no photo) and it's now drying.
Now, some repairs:
Today, I repaired some 'drain holes' in the floor of the under-bed tool box. I'm guessing that these drain holes were added to the bed and tool box by a soldier in the field with whatever tool that was at hand, and in this case, I suspect that the handy 'tool' was something like an M1 Garand or perhaps some later model.
First, I closed up the holes a bit with a hammer and dolly:
Then I cleaned the area around the holes, welded them shut, and ground the welds. Here are a couple of the welded-up holes after the initial rough grinding:
And then a coat of temporary primer, just to check the surface where I repaired the holes:
The next step is to repair a damaged mounting flange on this piece, and then abrasive blast it to get it all down to clean bare metal.
I'm looking around for a local blasting company. I have a small blasting cabinet, but this is way too large for it. I do have a wet-blasting attachment for my pressure washer, but it's very messy to use, although I'll resort to that if I can't find any reasonably priced local sandblasting services.
Last edited:


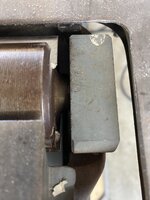
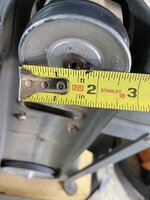
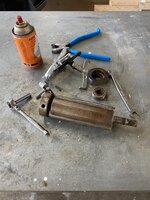
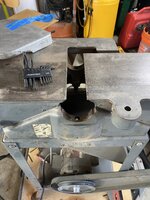














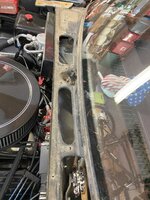
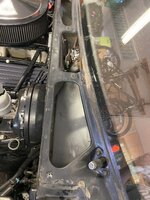
 The wipers have to come off to take the cowl grille off so the window can be removed. Glass isn't cracked but has years of sandblasting/pitting. She is getting the windows retinted including the windshield.