ZRX61
Well-known member
I even resorted to walking around barefoot last night.If you really wanted to find the screw you would have moved the truck......


I even resorted to walking around barefoot last night.If you really wanted to find the screw you would have moved the truck......
I even resorted to walking around barefoot last night.
Rick, if you buy a new one, the missing one will magically appear,Conducted two more (fruitless) searches for that goddamn screw.


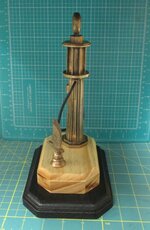
Ok, well let's add another trophy to the mix. This one is called the 'Heritage Award' and will be awarded in the 'Pre-WWII Vehicle' class.Meet 'Rats Rule's' twin brother 'Rat Bike'. Can't have enough Rat Awards I guess. Made Rat Bike yesterday and finished assembling today. Same basic construction as Rats Rule.
Rumor has it there may be a Rat triplet running about, but that may just be hyperbole.. Oh well its back to the work bench to see what else I can come up with for the Car Show.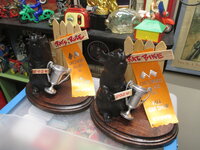
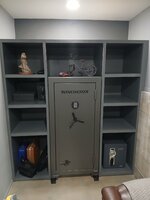
finished the bookcase for around the gun safe.
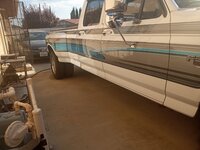

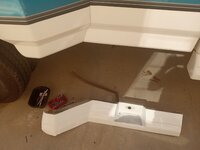
Got the right cab piece off. Whoever mounted it only used half the mounting holes in the main brackets.. & ran a wire through one of the unused holes for the running lights... but no connector so had to cut the damn wire. FFS. I'll put that back with bullet connectors.
Just about all self-tappers everywhere. Will be using M6 & M8 bolts & Nylocs when it goes back together. There will also be some tidying up of the wiring.
You just made a friend for life.lolHoly **** that's a beautiful truck. Any more pics you can share?
You just made a friend for life.lol

Here's the BaT listing:Holy **** that's a beautiful truck. Any more pics you can share?
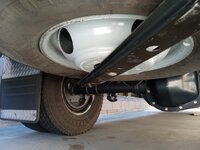
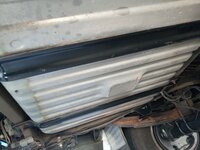
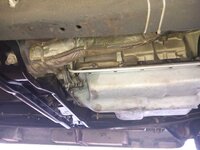

That's a good idea. I actually have the safe pulled forward a bit. I'll see if I have room to do something like thatSorry if this is 20-20 hindsight, but while I think you did a beautiful job, I'd have extended and made a "cover door" over the safe, and added a storage drawer for the crank wheel so it didn't stick out.
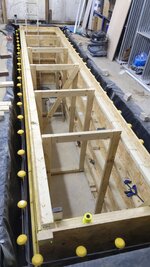
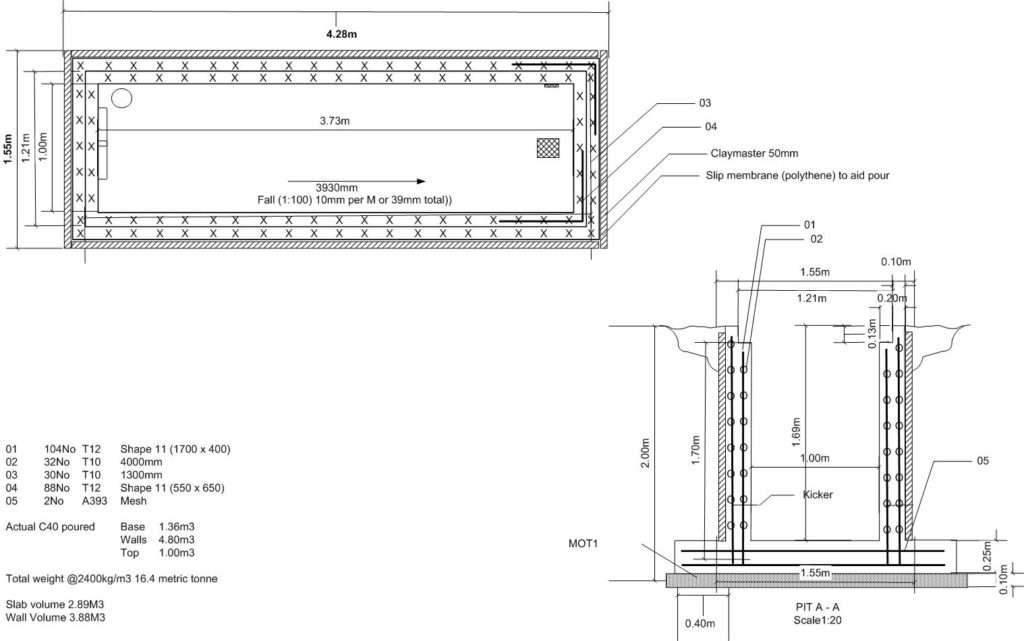
Yeah, Ive kicked the idea around long enough so finally took the plunge, lift isn't an option due to height and I'm low on space so settled on a pitWow! &Demon69
Service pit for shop?

We (I) would love to know more details of the pit. Lots of hate on pits so hopefully not steering you into a land mine.Yeah, Ive kicked the idea around long enough so finally took the plunge, lift isn't an option due to height and I'm low on space so settled on a pit
Be careful with that pit. I've done lots of work in them and don't hate them, just need to know how to be careful in them.Yeah, Ive kicked the idea around long enough so finally took the plunge, lift isn't an option due to height and I'm low on space so settled on a pit
Pit user tips always appreciated.Be careful with that pit. I've done lots of work in them and don't hate them, just need to know how to be careful in them.
Two biggest things to be aware of are gasoline fumes that will settle to the bottom of the pit and concentrate enough to make it hard to breathe and likely to ignite. The other surprising thing is just the ease with which people can fall into them! Watch every step and cover them when not in use. Good ventilation is a plus, most folks won't spend the money on an explosion proof rated fan.Pit user tips always appreciated.
They aren't legal in a lot of places. Adequate ventilation is a must, CO and other gasses tend to accumulate in the bottom. Maybe a CO and CO2 detectors near the bottom as well.Pit user tips always appreciated.
Will do a quick thread when its doneWe (I) would love to know more details of the pit. Lots of hate on pits so hopefully not steering you into a land mine.
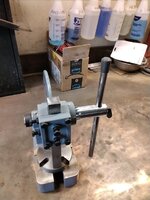
, Ive some plans for a high lift jack that should make it more user friendly. 
Yep, falling in it and petrol related fires top my list of concerns, that said Ive enough experience with 2/4 post lifts to know nothing is without risk. The pit has a 4" vent pipe set low in the wall but honestly, I see the main role for that in making it a more pleasant place to be, well ventilated, well lit, spacious and dry is the aim.Two biggest things to be aware of are gasoline fumes that will settle to the bottom of the pit and concentrate enough to make it hard to breathe and likely to ignite. The other surprising thing is trust the ease with which people can fall into them! Watch every step and cover them when not in use. Good ventilation is a plus, most folks won't spend the money on an explosion proof rated fan.


Pit user tips always appreciated.

Pit user tips always appreciated.