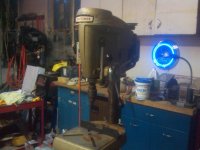
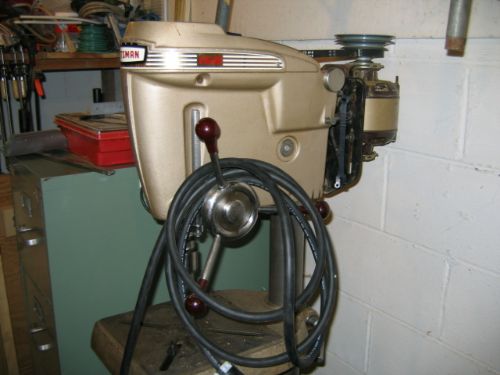
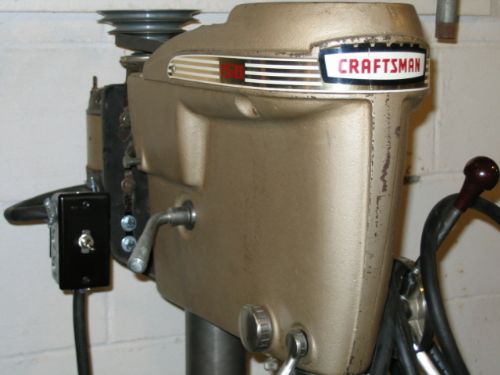
On the left, at the uprise in the casting. (last photos) IMHO, this is the best place to put it. Anything that get's you out of the way of the blade is good. The position shown first has your hands up around the blade, never a good thing. The next position could cause you to bend down and as dumb as it sounds, hit your head on the blade if exposed enough. Again, getting too close to be as safe as you could. Now, my W/T saw is down in that position from the factory and I really don't like it, but want to keep it in place. Plus, on mine, the last location you show is a removable plate on mine.
So, if it was me, I would place it in the last position, or the one I like the best... place it a little higher up and on the back side of the saw facing the wall. I know this is an odd place, but it is not in the way there, and you have plenty of room between the wall. This location is not only safe, but there is very little chance it would get switched on my accident. Another advantage is that once the saw is painted, it will look very clean without the bulky switch jutting out on the saw. The cord, running out of the bottom of the box will look cleaner as well. With the box on the back, you can run the cord down to the base on the outside of the saw without seeing it.
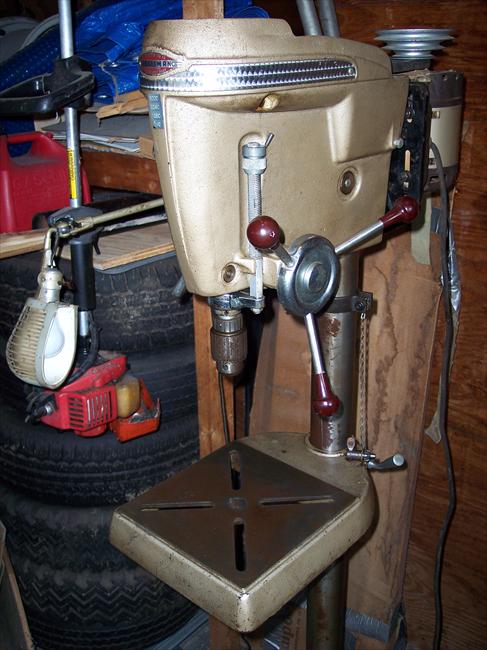
PS, is that a meat saw? It seems well closed up for a band saw, and I do see a mitre slot on the table. Do you know the brand on it?

.


 J/K
J/K