
BevoZ06
Well-known member
Well, I have been a member of this forum for just about two weeks and I must say I am inspired by what I have read and seen, as well as how much I have learned in a short time from all of you. I have been inspired and challenged to attack my own garage project. We own two new Corvettes that sleep in the garage every night. My daily driver is a GMC Sierra extended cab truck and my wife drives a Nissan sedan daily. They have to sleep outside.
We were annexed into the city over our objections and the environuts who control the city council and zoning board will not permit any expansion of the current garage. So I am now going to try to make the most of what I have and I have decided to finally finish off the interior of a detached garage that was originally built 19 years ago. I have pretty well decided to use plywood on the interior walls rather than drywall/sheetrock.
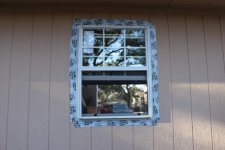
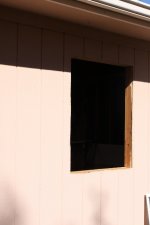
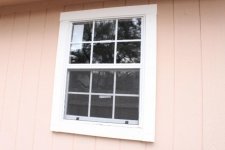
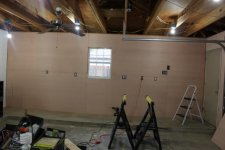
It has the 16' wide overhead door and a 3' walk-in door. I ran the electrical rough in when we first bought the property and have installed receptacles about every four feet around the perimeter. There are no windows, so I have ordered windows and the window installation will be the first step of finishing.
I need to do one wall at a time because I already have so much in the garage that I cannot clear more than one wall at a time to work on it. I will need to park the two vehicles inside each night so I can't just clear everything from all the walls and move it all to the center at the same time.
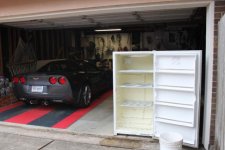
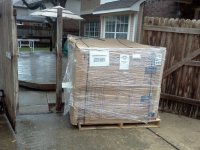
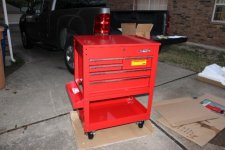
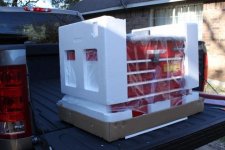
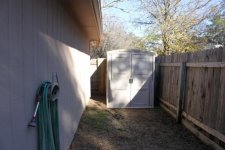
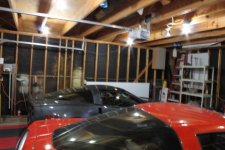
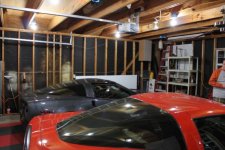
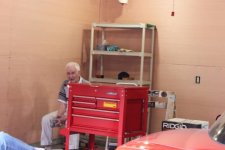
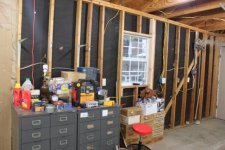
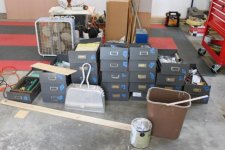
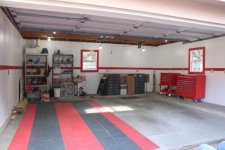
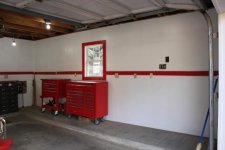
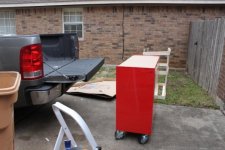
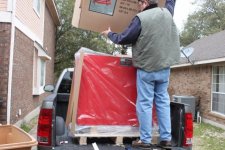
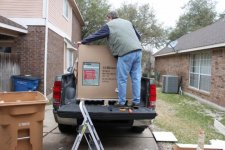
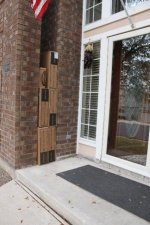
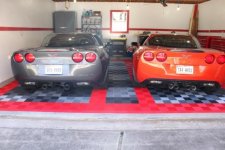
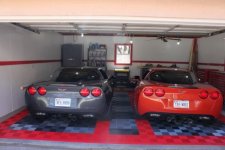
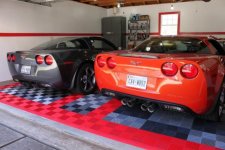
Here is the garage as seen from the driveway approach. The second photo is also shot from the driveway. I am defrosting and cleaning a freezer that will be moved from the garage to an inside utility room. The third shot shows the approach from the walk-in door. When I moved the freezer outside I discovered the remains of a long-ago ant invasion. It was surprising how much dirt was behind and under the freezer.
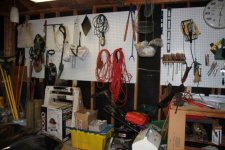
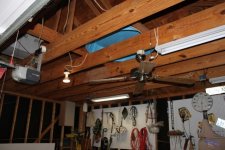
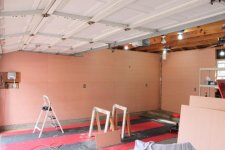
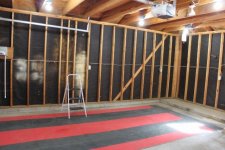
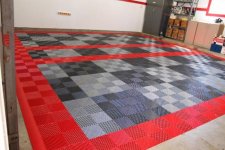
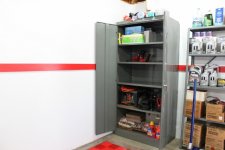
There are about a dozen photos showing the various interior walls and ceiling joists. The half-done flooring was put in some years ago when I had one Corvette that was black exterior with a red/black interior. That car was sold and I will redo the entire floor before the project is complete.
I have worked out a floor plan on the Grizzly Workshop site and will begin next weekend when my windows should arrive. This will be a weekend project and I anticipate that it will take several months, but by posting this publicly I will be encouraging, if not shaming, myself to keep at it until I am done.
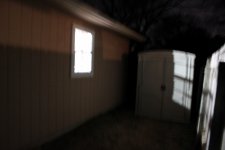
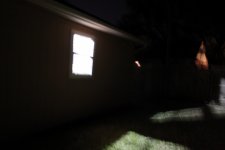
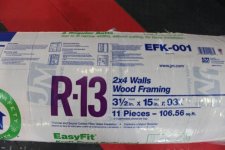
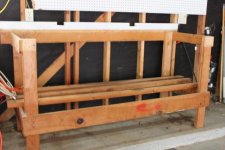
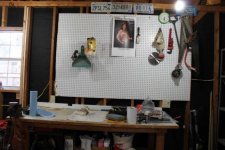
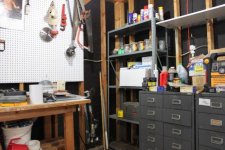
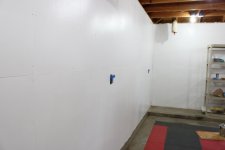
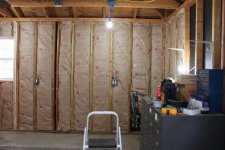
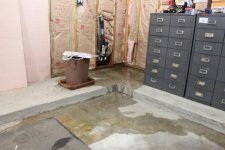
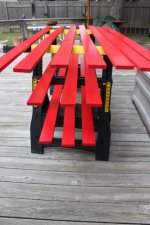
I will appreciate any and all suggestions any of you may have along the way. I'll especially appreciate it if you can save me from making a big mistake along the way. I will keep this thread updated with progress reports and photos. Thanks for reading along with me. Here are the "before" photos taken today, December 10, 2011.
Bevo
We were annexed into the city over our objections and the environuts who control the city council and zoning board will not permit any expansion of the current garage. So I am now going to try to make the most of what I have and I have decided to finally finish off the interior of a detached garage that was originally built 19 years ago. I have pretty well decided to use plywood on the interior walls rather than drywall/sheetrock.
It has the 16' wide overhead door and a 3' walk-in door. I ran the electrical rough in when we first bought the property and have installed receptacles about every four feet around the perimeter. There are no windows, so I have ordered windows and the window installation will be the first step of finishing.
I need to do one wall at a time because I already have so much in the garage that I cannot clear more than one wall at a time to work on it. I will need to park the two vehicles inside each night so I can't just clear everything from all the walls and move it all to the center at the same time.
Here is the garage as seen from the driveway approach. The second photo is also shot from the driveway. I am defrosting and cleaning a freezer that will be moved from the garage to an inside utility room. The third shot shows the approach from the walk-in door. When I moved the freezer outside I discovered the remains of a long-ago ant invasion. It was surprising how much dirt was behind and under the freezer.
There are about a dozen photos showing the various interior walls and ceiling joists. The half-done flooring was put in some years ago when I had one Corvette that was black exterior with a red/black interior. That car was sold and I will redo the entire floor before the project is complete.
I have worked out a floor plan on the Grizzly Workshop site and will begin next weekend when my windows should arrive. This will be a weekend project and I anticipate that it will take several months, but by posting this publicly I will be encouraging, if not shaming, myself to keep at it until I am done.
I will appreciate any and all suggestions any of you may have along the way. I'll especially appreciate it if you can save me from making a big mistake along the way. I will keep this thread updated with progress reports and photos. Thanks for reading along with me. Here are the "before" photos taken today, December 10, 2011.
Bevo
Attachments
-
 IMG_4309 (640x427).jpg51.1 KB · Views: 682
 -
 IMG_4310 (640x427).jpg35.7 KB · Views: 674
 -
 IMG_4312 (640x427).jpg40.8 KB · Views: 597
 -
 IMG_4313 (640x427).jpg54.4 KB · Views: 632
 -
 IMG_4314 (640x427).jpg44.1 KB · Views: 733
 -
 IMG_4315 (640x427).jpg44.7 KB · Views: 622
 -
 IMG_4316 (640x427).jpg48 KB · Views: 636
Last edited:


































 \m/
\m/