To avoid these ads, REGISTER NOW!

The BEFORE/AFTER Thread - Let’s see your garage, shed, or shop transformations

To avoid these ads, REGISTER NOW!

Derrickwade

Well-known member
Joined
Jun 16, 2012
Messages
613
Location
Illinois
2011-09-21_20-25-18_932.jpg


2012-09-30_19-32-14_958.jpg
 

don long

Well-known member
Joined
Mar 31, 2012
Messages
8,852
Location
southern california
After posting the party garage it dawned on me that I have a couple more before and after projects

Found this old gas station in barstow Ca. November 2011

5ccfgo.jpg


Not quite finished, worked on it today

361qu.jpg
 

Plane Crazy

Well-known member
Joined
Sep 12, 2009
Messages
136
Who do you need to know to get a wrecked airplane
and what made you think of making a garage out of one

OUTSTANDING


PM me what you need and I will tell the boss
he will get in touch with you..

My wood shop roof at home, was leaking,
One day while at work, it was raining,
looked around, and thought,
Man this is big enough to be a shop lol
 

dave67fd

Well-known member
Joined
Apr 25, 2011
Messages
872
Location
Southern NH
Here's mine. The "afters" are really still in progress.
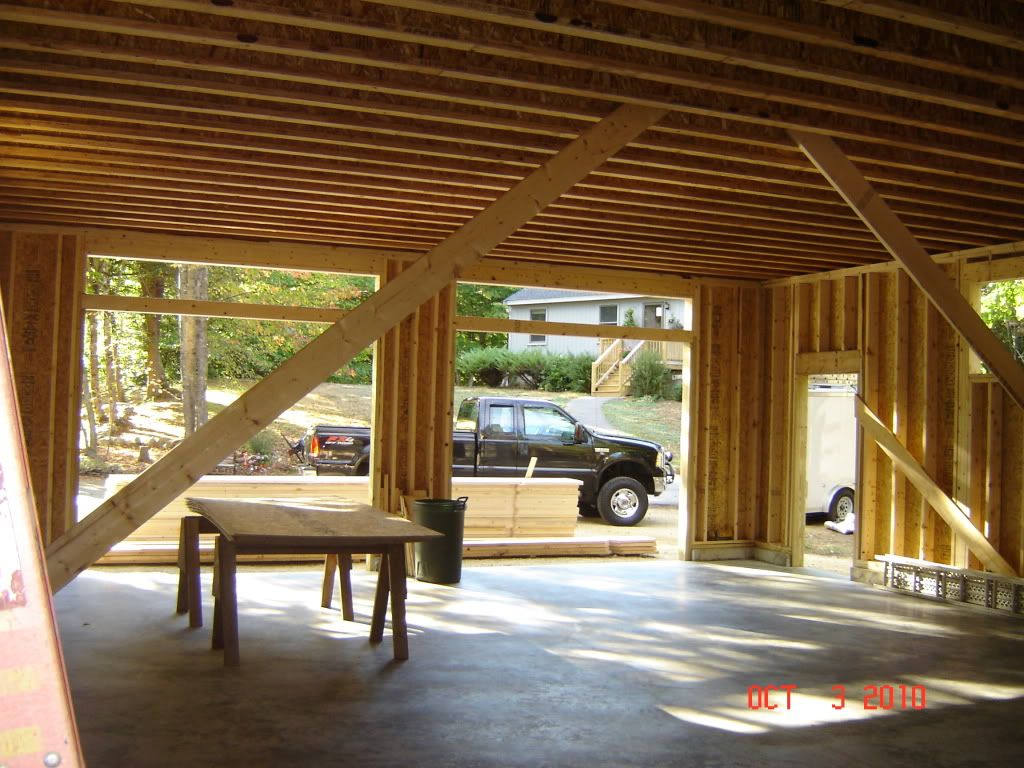
BEFORE:
GARAGE9.jpg


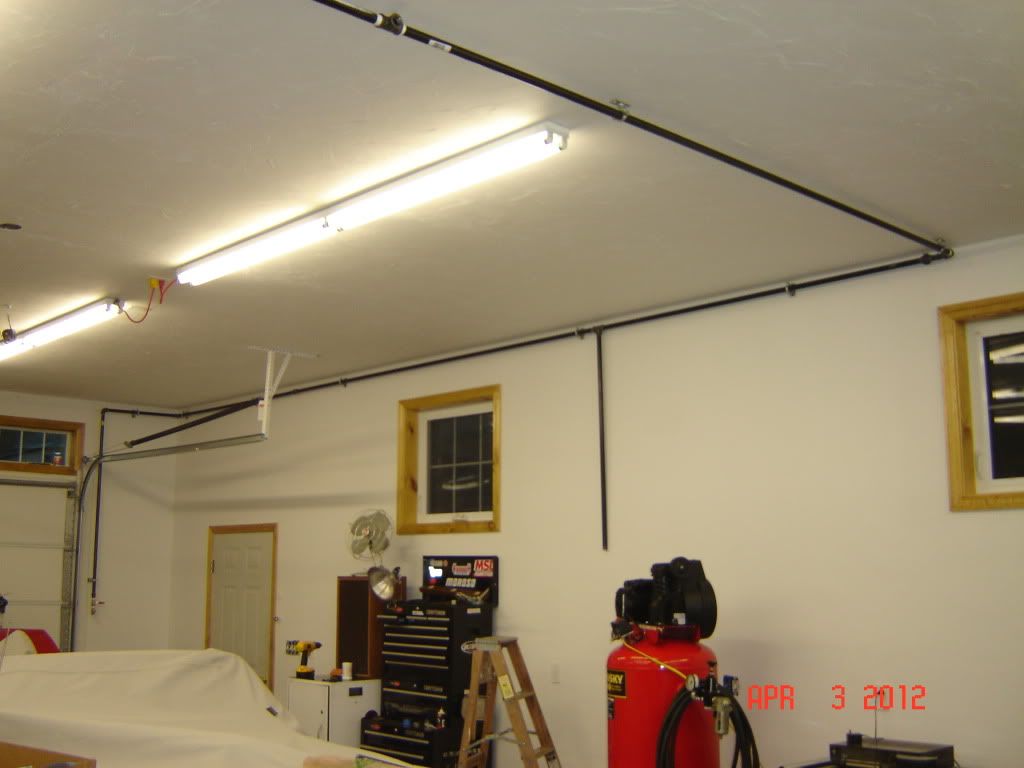
AFTER:
DSC01731.jpg


BEFORE:
garage021.jpg


AFTER:
DSC01574.jpg


BEFORE:
garage020.jpg


AFTER:
DSC01785.jpg
 
Last edited:

Kevin54

MEMBER EMERITUS
Joined
Jan 12, 2005
Messages
29,341
Location
Urbana, Ohio
DSC01785.jpg


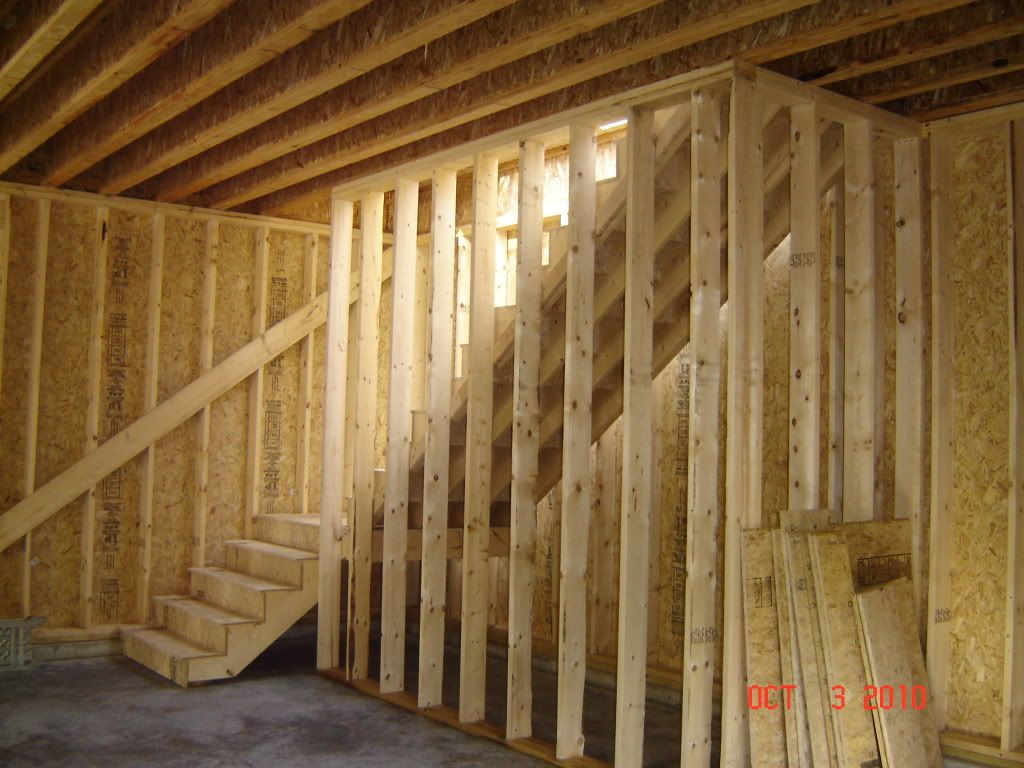
Did you completely close off the area underneath the stairs? I think I would have cut a door on the end and at least made a closet out of it for brooms and such.

I do like the black cabinets. The all black is pretty sharp looking against the white walls.
 

upndown

Well-known member
Joined
Dec 5, 2010
Messages
3,107
Location
Desert Hills/Peeples Valley AZ.
PM me what you need and I will tell the boss
he will get in touch with you..

My wood shop roof at home, was leaking,
One day while at work, it was raining,
looked around, and thought,
Man this is big enough to be a shop lol

Your shop turned out great!! I still remember you hauling that carcass home and wondering WTF..HAHA:thumbup::thumbup:
 
To avoid these ads, REGISTER NOW!

dave67fd

Well-known member
Joined
Apr 25, 2011
Messages
872
Location
Southern NH
DSC01785.jpg


Did you completely close off the area underneath the stairs? I think I would have cut a door on the end and at least made a closet out of it for brooms and such.

I do like the black cabinets. The all black is pretty sharp looking against the white walls.

Kev,
Thanks. Yeah, I could never let that space go to waist.:D
 

Attachments

  • DSC01507.jpg
    DSC01507.jpg
    132.8 KB · Views: 177
  • DSC01506.jpg
    DSC01506.jpg
    125.3 KB · Views: 154

IMCA38

Well-known member
Joined
Sep 21, 2007
Messages
1,000
Location
Bennet, NE
Unfortunately, I didn't do a very good job of documenting my shop rebuild about ten years ago. After a few years of living on an acreage in the country where I had an "adequate" 24x32 building, we bought a different acreage on the edge of town. All that can be said about the building I got with it was that it had "potential". The building was a frame "barn" 24 x 48 with a full upstairs and a 13' wide post/steel lean-to down one side and across the back. The prior owners used the building as a true barn, even raising sheep in it.
The highlights-
Front 32' was concrete, but poorly done, it appeared as though someone had a deal with the concrete company to take leftovers off of the truck as they were available. The floor was very rough, and the seams were very inconsistant, thus leading to my conclusion that the floor was poured a chunk at a time. There were gaps between the floor and the foundation wide enough to lose a large endwrench.
The back 16' was approximately 2' lower and just dirt. This is where the sheep were living. There were a couple of dutch doors that led out to a pen area in the back. Half of this area also had a hay loft that was about 6' above the dirt floor.
With the full upstairs, there was a wooden beam running down the length of the building and a 4x4 post every 8' holding it up.
Despite having a 100a panel, electrical was sparse at best, just a few exposed light bulbs and a handful of 110 plugs.
The front door was a roted out wooden mess.
There was one "window" with nothing more than an aluminum storm pane in place.
There was also a massive staircase leading to the upstairs stealing valuable floorspace.
With that said, here are the few before pictures that I have.
 

Attachments

  • MVC-001F.JPG
    MVC-001F.JPG
    73.3 KB · Views: 179
  • MVC-002F.JPG
    MVC-002F.JPG
    74.8 KB · Views: 168
  • MVC-003F.JPG
    MVC-003F.JPG
    63 KB · Views: 166
  • MVC-004F.JPG
    MVC-004F.JPG
    85.5 KB · Views: 1,044

IMCA38

Well-known member
Joined
Sep 21, 2007
Messages
1,000
Location
Bennet, NE
Unfortunately, I had a lot of time to plan and dream as it took almost a year to sell the old place. Once the old place sold, I started in.
First order of business was to buy a power washer and spending a weekend hosing down walls, ceiling, and floor and then doing it all again and again.
Then we rented some basement jacks and supported the rear portion of the building where the floor was lower. We took a sawzall and trimmed off the bottom 2' of the wall and then had a mason come in and build up the foundation with concrete block. We now had a level foundation all the way around.
After a frustrating process of contacting contractors, getting them to show up, and getting bids out of them, we finally found someone to dig up the old floor, fill in the back portion where we built up the foundation, and tear out the old wooden beam and posts. A steel beam was put into place alongside the wooden beam. The steel beam is supported by posts embedded in each end wall and two posts made from steel I beams in between.
Tearing out the old floor was an adventure as the fill under it was akin to a junkyard. In some places, they dug out over a foot deep as they had red clay blocks under the floor and the concrete had run into the holes in the blocks, making for a big thick mess.
The new floor was poured and after it cured and I rolled on a coat of sealer, it was time for me to get to work!
We stripped all of the existing wiring out and totally rewired the place. Plugs are on the wall generally every 4' in open areas. I also ran two circuits with plugs in the ceiling for hanging flourescent lights. Also, a subpanel was installed in the back to handle my 220 needs for the welder and air compressor.
A 10 x 12 storage room was constructed in the back corner. This contains tons of shelving, and is also where the compressor lives. Nice to close the door and have relative quiet! We were able to build the storage room wall around one of the support beam post, so there is only one exposed post to deal with.
After that, the walls were insulated with kraft backed insulation and the walls were sheeted with 7/16 OSB. We were able to get 9' sheets, so there was no splicing required. The OSB took two coats of sealer/primer and two coats of semi gloss paint.
A better window was bought at an auction and installed in place of the storm pane and a new exterior grade steel door was installed. A second door was installed in the side wall to have direct access to the lean-to.
A 300# capacity folding staircase was installed in front of the existing staircase and the existing staircase was removed. We also added a railing around the opening upstairs for safety.
A long, involved process, but well worth it in the end!
 

Attachments

  • north wall.jpg
    north wall.jpg
    21.5 KB · Views: 196
  • southwall.jpg
    southwall.jpg
    14.3 KB · Views: 178
  • Bolt bin.jpg
    Bolt bin.jpg
    140.4 KB · Views: 239
  • lockers.jpg
    lockers.jpg
    146.2 KB · Views: 172
Last edited:
OP
S

shopnut

Well-known member
Joined
Feb 22, 2006
Messages
4,237
Location
Florida
Thanks for the bump tommyxgun! I was thinking about doing it for all the new forum members to see, but you saved me the trouble.

Thanks to all those that have participated so far. Great transformations guys (and gals)! Keep them coming.

BTW, if this thread gets buried, you can always find it by looking in the Garage Gallery Index thread "Sticky". I included a link to it there in Reply #4
 

purevil115

Well-known member
Joined
Dec 8, 2012
Messages
108
yes it is. I am going to be blasting it soon and having it painted to match my truck then ill get some glass for the top. going in living room
 

wkd383

New member
Joined
Oct 8, 2012
Messages
1
Location
Mallee, Victoria, Australia
Hi,
First post here, My Fiance and I bought our first house in April 2012, the existing shed was too far gone to fix up, dirt floor, white ants etc so we quickly pulled it down and got started on the new one, 6mt x 9mt, which we have erected ourselves, helps having my best mate and Dad as concretors...

BEFORE

IMG_0452_zps153a6b85.jpg


IMG_0445_zps7ce061f7.jpg


AFTER

IMG_07561_zps2f90bb26.jpg


IMG_07571_zps262155a9.jpg


Still working on the interior, I'll save that for a full build thread one day

Daniel & Kaila
 

661Charger

Active member
Joined
Apr 30, 2010
Messages
25
Mine :)
 

Attachments

  • 1358694919-picsay.jpg
    1358694919-picsay.jpg
    134 KB · Views: 209
  • 1358695047-picsay.jpg
    1358695047-picsay.jpg
    103 KB · Views: 274

don long

Well-known member
Joined
Mar 31, 2012
Messages
8,852
Location
southern california
I worked on my 1926 texaco gas station today and after took a few shots
and thought of this thread

When I first found the station

9gy7wo.jpg


2wh3vk9.jpg


10nb2mt.jpg
 
Last edited:

loveall13

Well-known member
Joined
Jan 10, 2008
Messages
169
Location
Auburn, KY
I worked on my 1926 texaco gas station today and after took a few shots
and thought of this thread

When I first found the station

9gy7wo.jpg


2wh3vk9.jpg


10nb2mt.jpg

Don,
You have that station looking awesome! Its hard to believe how bad it looked when you found it.

Jeremy
 
To avoid these ads, REGISTER NOW!
Top Bottom